
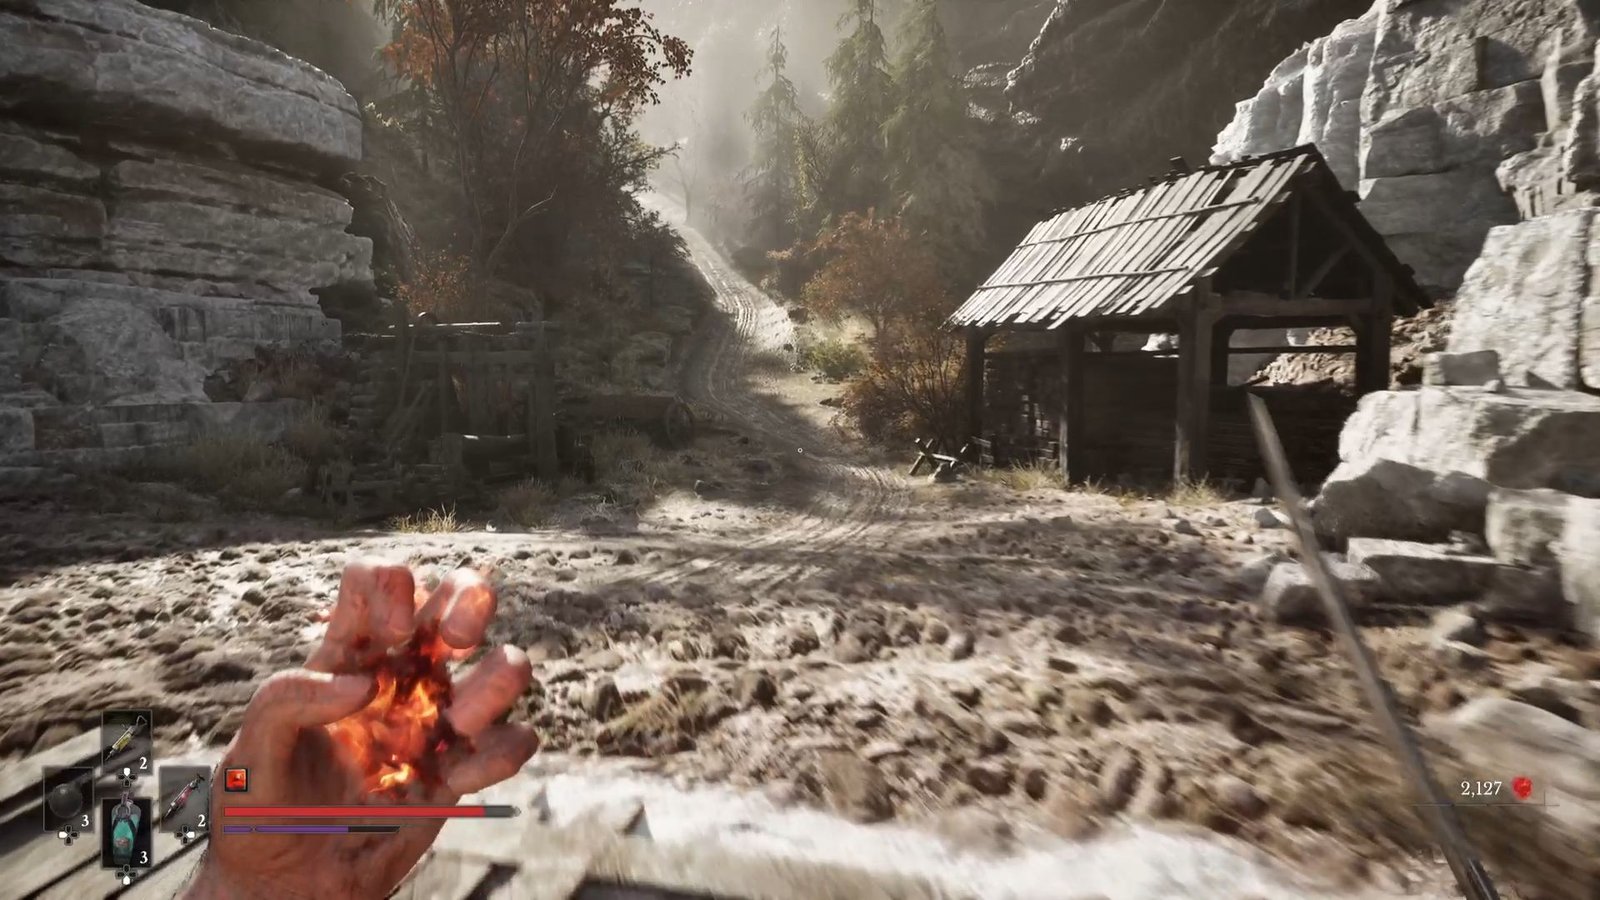
Part 2 in Valor Mortis begins with Lucjan instructing us to find our colleagues, and then, unhelpfully, leaves us to figure out the way to reach them on our own. This is the first full chapter after the initial tutorial, where the game really gets into enemy placements, platforming, side quests, giving us a gun, and finally, taking on a boss at the end of the level.
The level has quite a few collectibles and upgrade materials, all of these will help when we make our way finally to the Abandoned Church once this chapter is done. In this guide, I have put the details of everything that is required to help you get through Chapter 2 – Regroup.
Table of Contents
Starting Chapter 2 – Regroup
From the Lantern, go straight ahead to grab the Uncommon Catalyst Clot. You will find another Uncommon Catalyst Clot on the right next to the carriage.
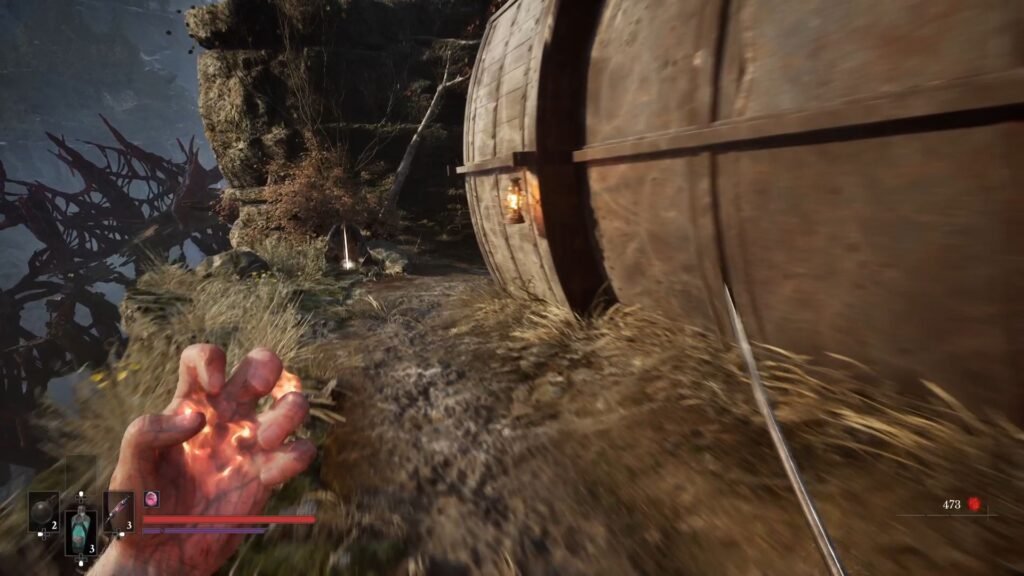
Taking the path, watch out for the enemy that rushes at you from the right. Take care of him and then loot the Nephtoglobin Vial.
Continue straight ahead, climb the platform, and you will see a Rifleman straight ahead; and another Swordsman on the left. Use the carriage as cover, and staying out of sight from the Rifleman, take care of the other enemy. Then, once you hear the sound of the bullet fired, sprint towards the Rifleman and get him out.
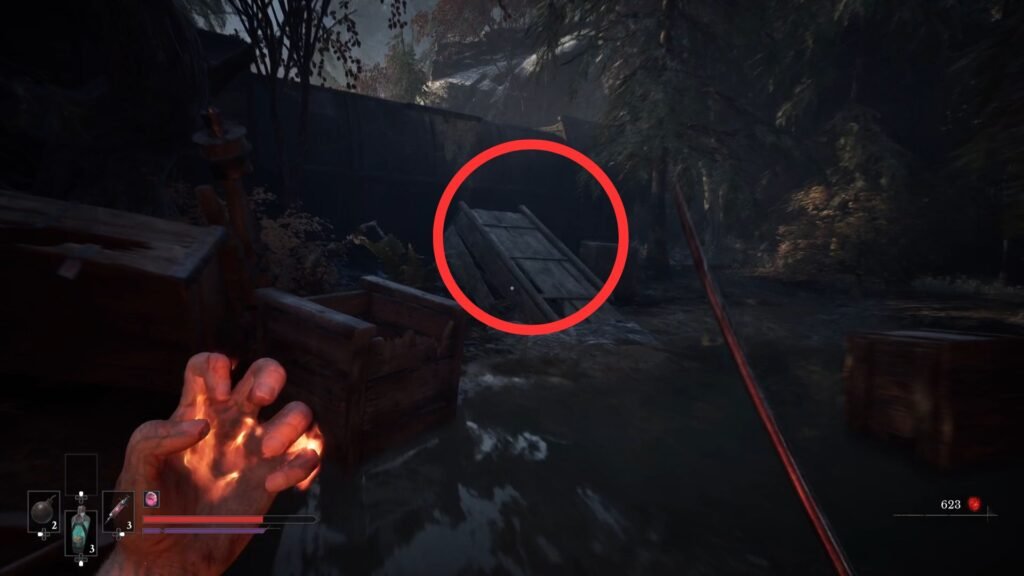
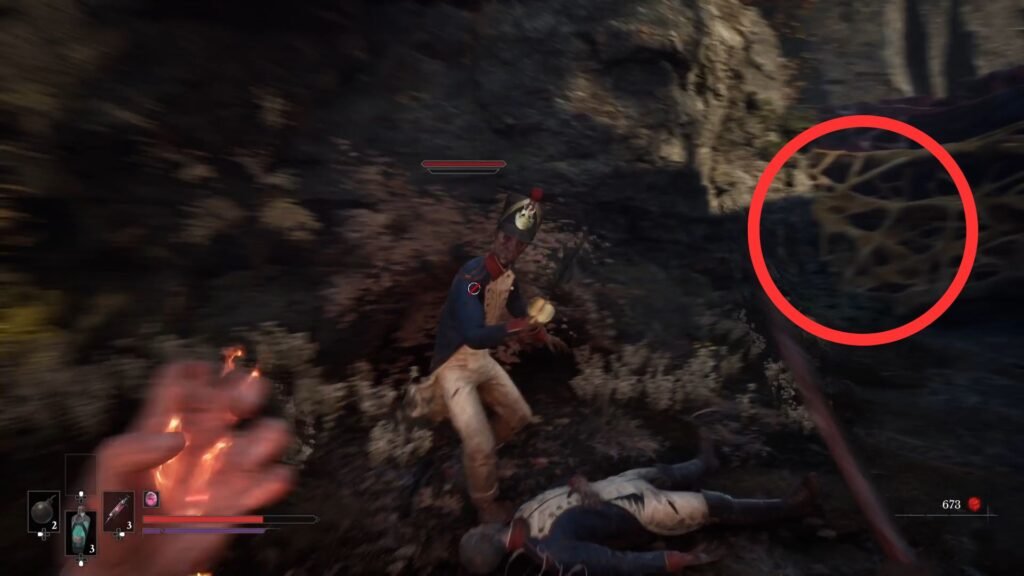
Continue on the linear path, and you will arrive at an enemy looking the other way. Backstab him, and then take out the enemy with the Rapier on the left. He will deploy quick thrust attacks, so the parry window is short here. Burn the vines to open up a shortcut.
Ferrofluid Power Upgrade
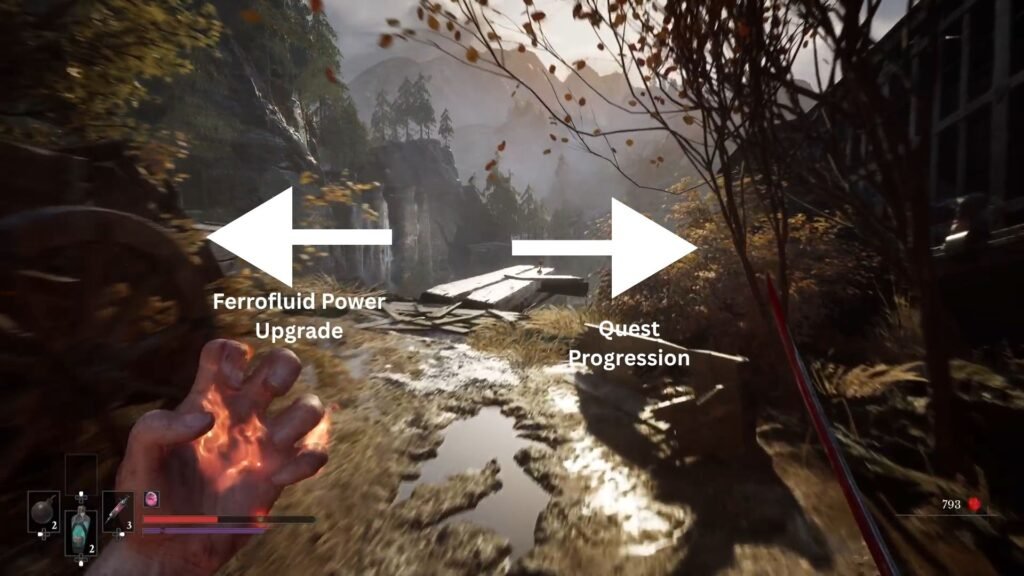
Returning back to the path, straight ahead, you will see an overhanging ledge on the right, and a path that winds on the left. Take that path, to come across the enemy with the axe. With the Fire Transmutation, he should now be much easier to handle as compared to Chapter 1. You will find a Ferrofluid Power Upgrade, that increases the healing effectiveness.
Now, jump on to the ledge. Walk carefully to collect the Whetstone. Now back on solid ground, you will come across a new enemy type with a shield. Dodge his attacks, and deliver a charged blow on his back; or cook him with your Fire Transmutation.
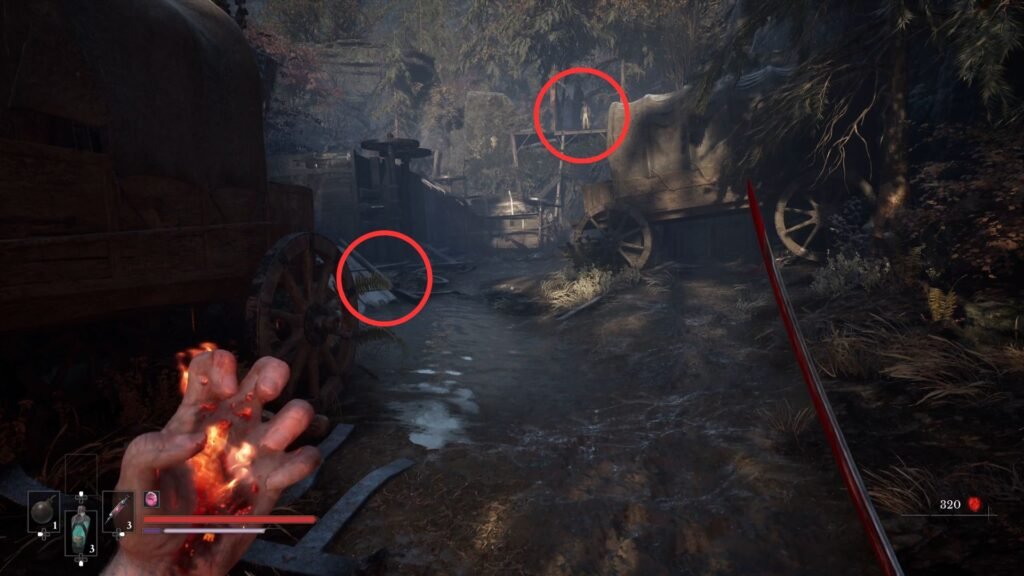
Quickly take the ramp on the left, climb over to the other side and take out the Rifleman. When taking the ramp, keep an eye out for the enemy on the right. If you want to play it safe, take him out, and then do the platforming.
Make your way to the right, continue straight, and get the Refreshing Vial. Retrace your steps, and continue on the opposite path from where you came to take out the Rifleman. Burn the vines on your left to open up a shortcut.
Indestructible Shell Amber
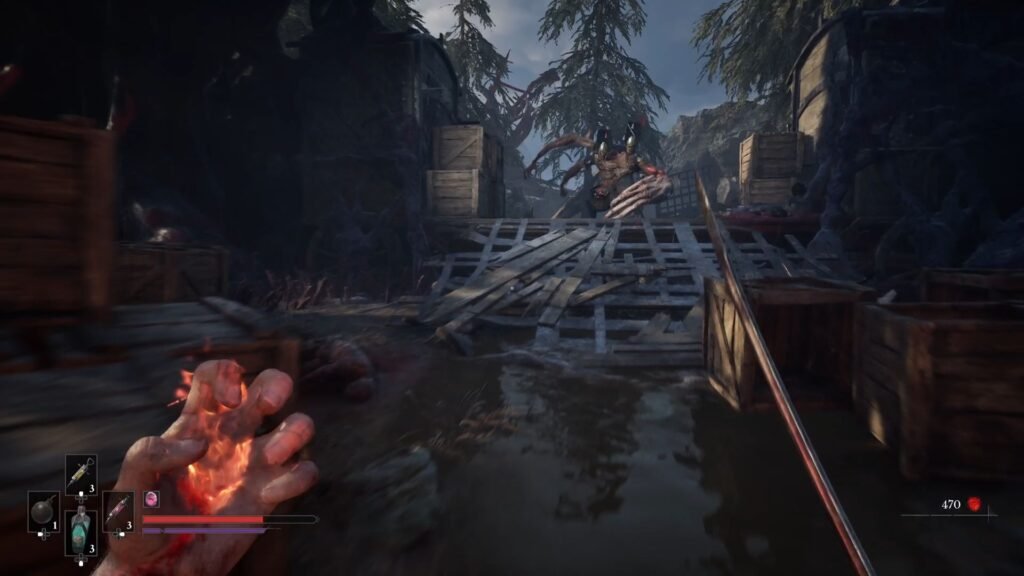
On the other side, you will get the Grenadier enemy. Dodge his grenade throws, get close to him, and unload your Fire. Better – shoot the grenade box to take him out, and unlock a trophy in the process!
Loot the Indestructible Shell (Reduce damage from explosions) Amber from the chest, and make your way through the steel carriage. On the other side, make note of the locked ladder on the right. We will be reaching there soon.
Getting the Pistol
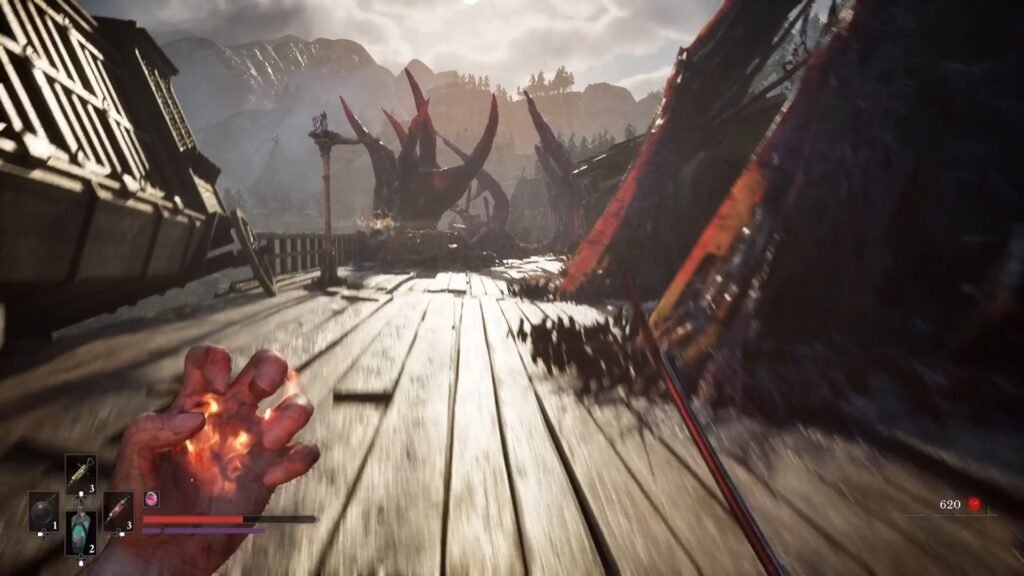
For now, continue on the path to the left to arrive at the Lantern. Here, we will get our first side quest from the Adjutant Sous-Officer who is stranded in the railway coach just ahead. The path for this side quest – An Unheard Farewell coincides with the main story progression, so accept the quest.

Ahead is a series of platforming that takes you down the bridge, to the carriage where you get your first firearm – the Pistol.
Empty Ferrofluid Flask
Shoot the Nephtoglobin straight ahead, which opens up the path and an enemy waiting to shoot at us. Use your Pistol on him, and move ahead. Shoot the Nephtoglobin on the tree to open up a bridge across the stream.
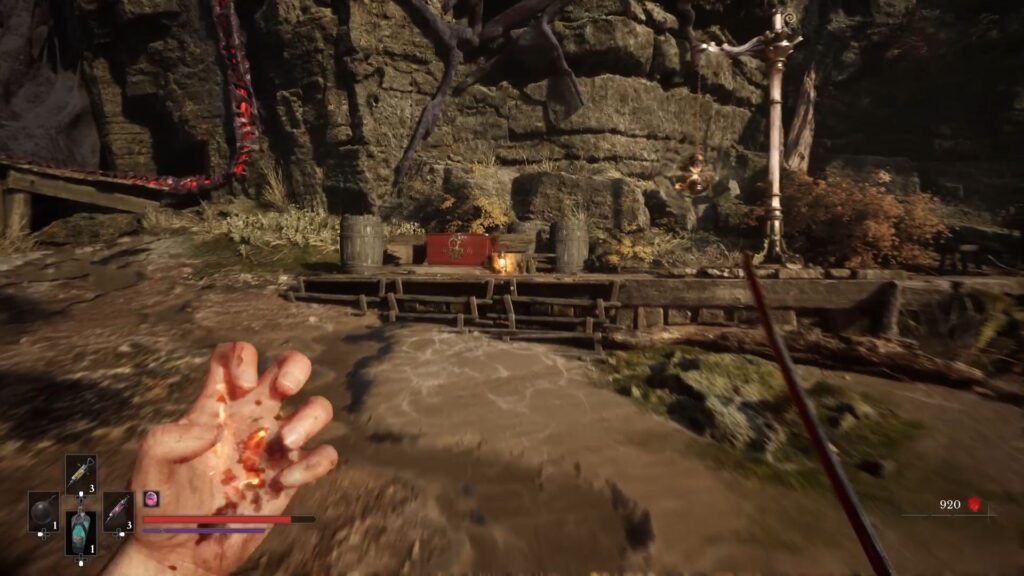
Now, either shoot both the Rifleman, or sprint to the one on the right, take him down, and then the one on the left. After that, save at the Lantern, loot the chest to get your first Empty Ferrofluid Flask – this increases the Flask Use by 1.
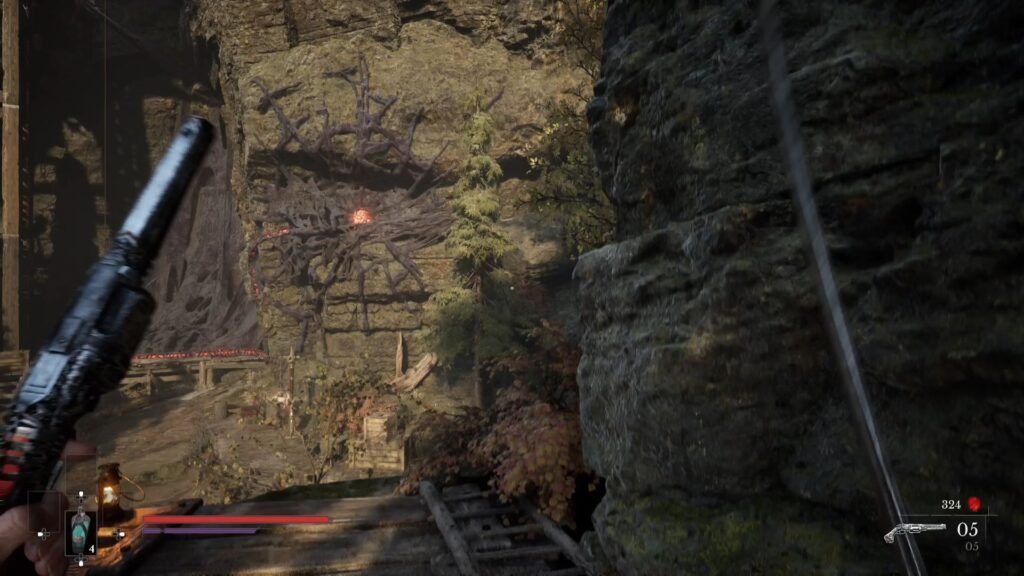
We now need to shoot the Nephtoglobin on the platform on the right to open up the elevator. You will see a ramp opposite the Lantern, use that to get the right angle to shoot.
Take the elevator, and burn the vines to enter the crawl space. You will get attacked by Carrions – use your Fire Transmuation. Using these on the lanterns will lead to an AoE burn effect and take down the enemies quite quickly.
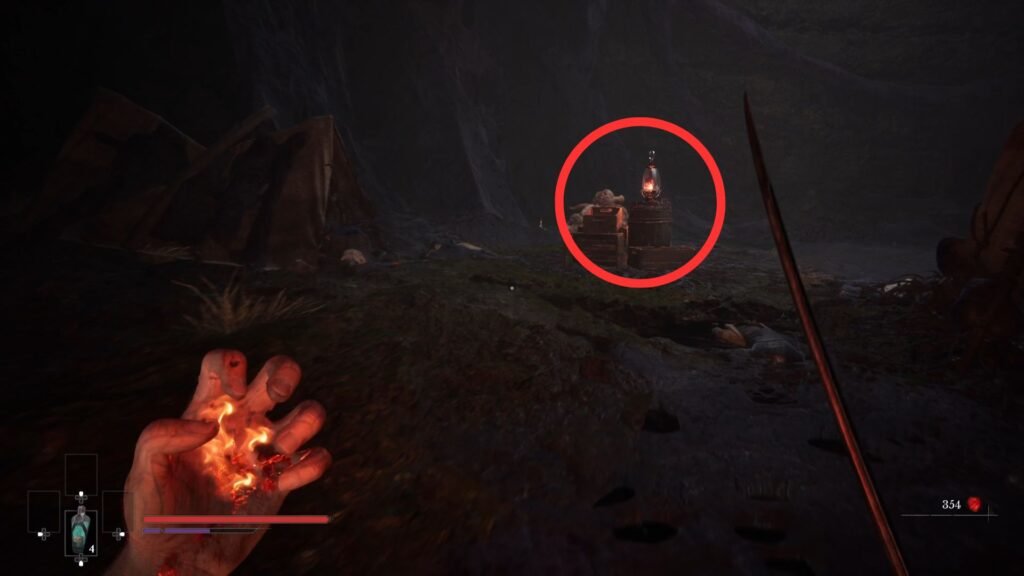
Once that is sorted, take the ladder, and once you are outside on the ledges; shoot the Rifleman straight ahead; and help take care of the ambush as soon as you make your way to the other ledge.
Shoot the two Nephtoglobins on the opposite sides, and this will free up the elevator. Now, jump on to the elevator and while it is going down, you will see another area closed with vines. Jump down there, burn the vines and prepare for a tough fight.
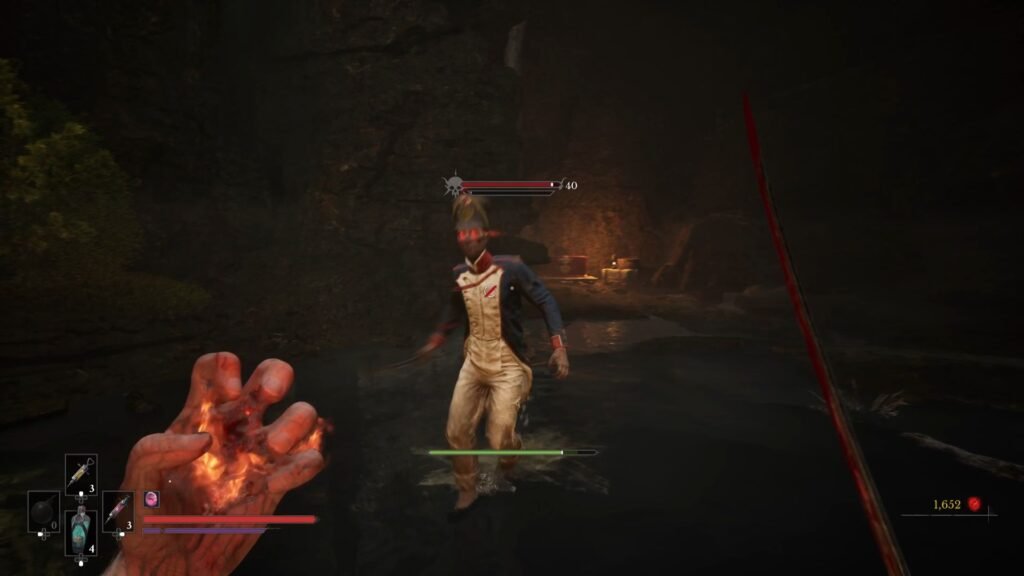
You can keep dodging it’s attacks, come in, get two hits, and repeat. Burn him with Fire once your meter is full. Once he is taken care of, loot the chest to get Pure Blade Material.
Take the ladder, and once you are out in the open, jump down – be watchful of the enemy that will try to ambush you. Shoot the Riflemen on the other side, and you will arrive at the final section before you can head to the safety of a Lantern.
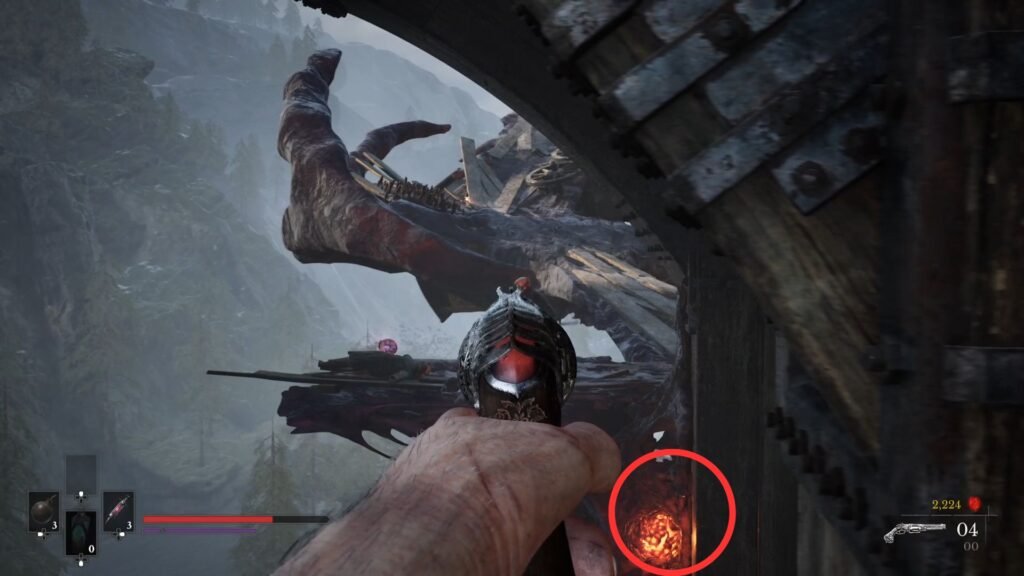
You will have 2 Riflemen on the left, and 1 on the right. Below the 2 Riflemen, you will see a Nephtoglobin – hit it and those two are taken care of. For the last one, either shoot it from distance or sprint and melee attack him.
Sleight of Hand Amber / Side Quest Closure
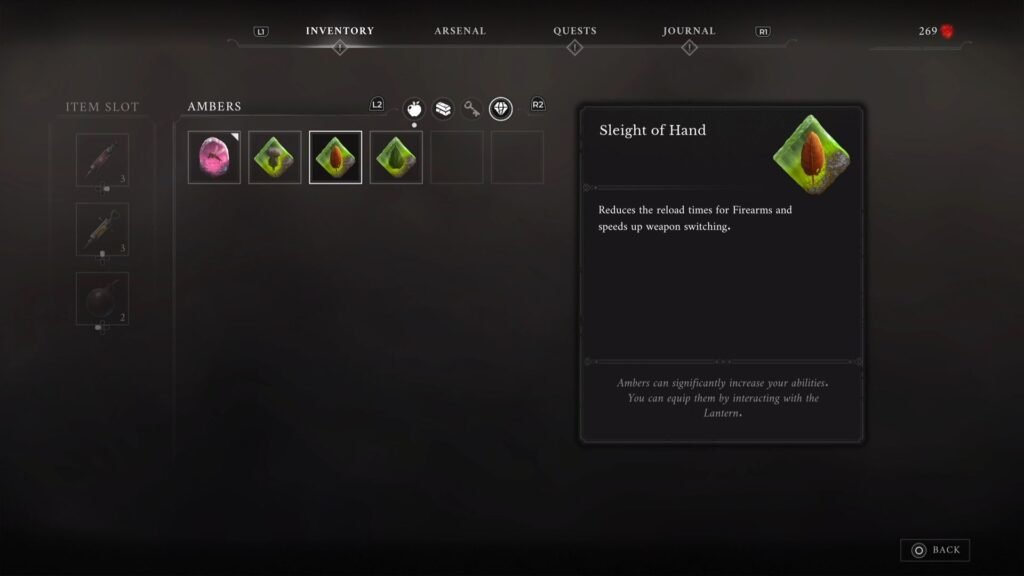
Climb the path up, shoot the Nephtoglobin, unlock the ladder, and it will lead back to the Adjutant Sous-Officer and the Lantern. Speak to him to close the side quest, to get rewarded with the Sleight of Hand Amber.
Beginning the Oathbound Side Quest
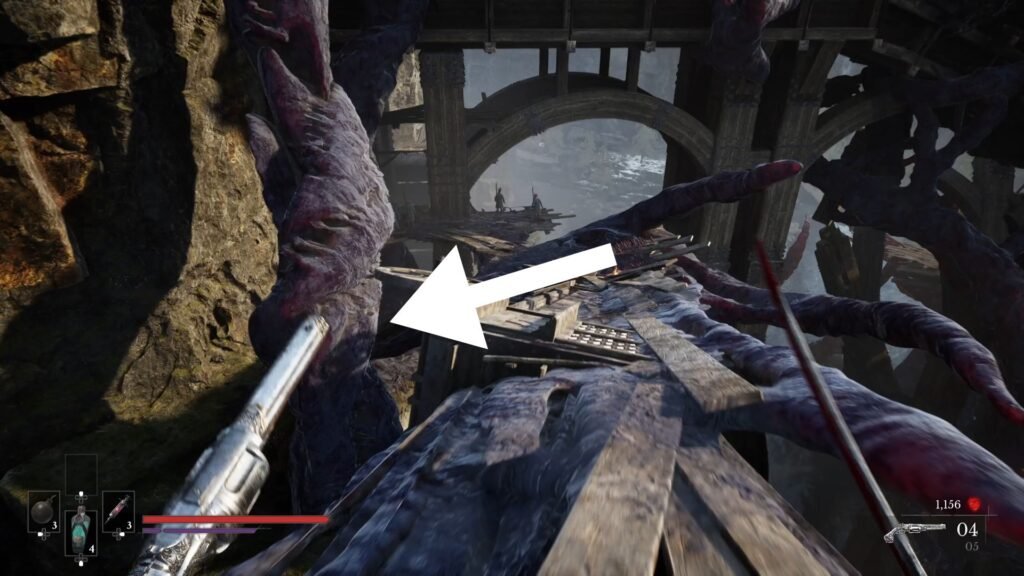
Shooting the Nephtoglobin unlocked a new path straight across the bridge. But before that, a brief detour. Take the ramp downwards, and you will see another path to the left that winds further down.
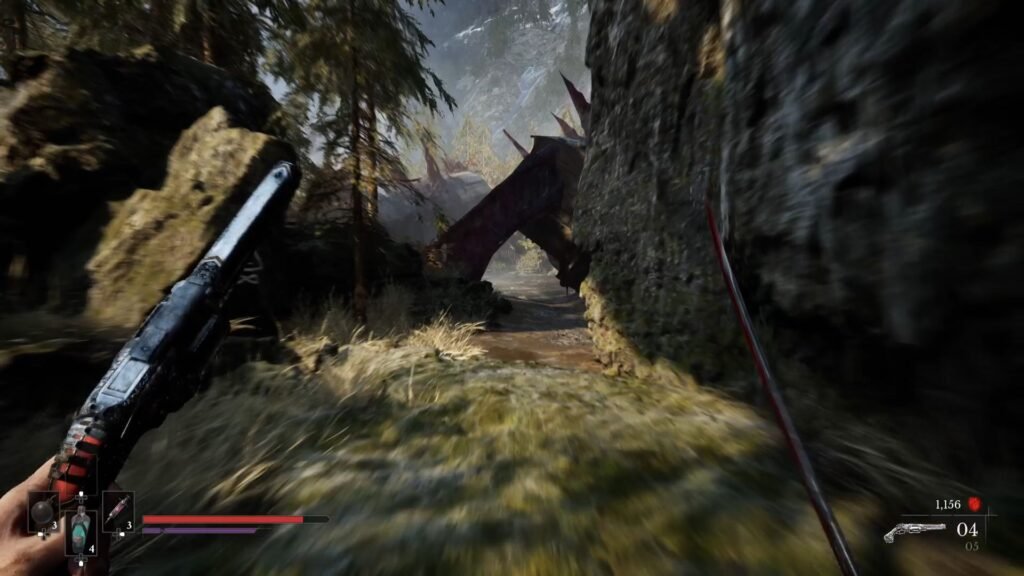
Take that path, and you will come across an open arena with a tough enemy to defeat. Once that is done, you will unlock The Oathbound side quest, along with a Mysterious Stone Pyramid, and Lucien Lafontaine’s Emblem.
Now, make your way back to the new path that you unlocked across the bridge, and let’s progress on the main quest. Jump across, and prepare for a difficult enemy placement + platforming sequence. You will have a Rifleman straight ahead at a distance, a narrow board to walk across to the left, and on the left, another Rifleman waiting to shoot at you as you make your way carefully.
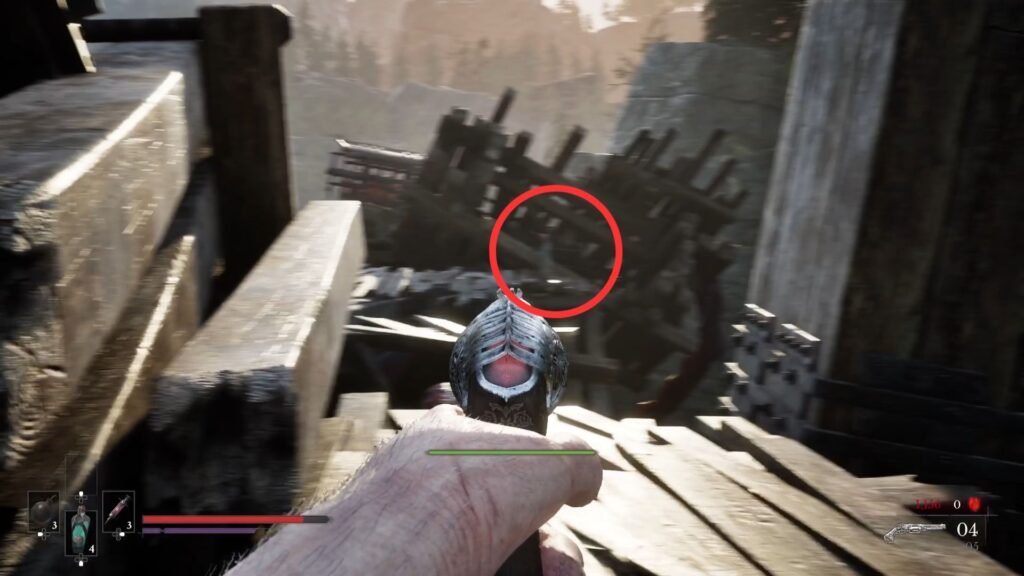
Shoot the Rifleman straight ahead – it will be a difficult aim and you may go through more bullets than what is ideal, but do that to prevent a lot of pain. Next, either jump and sprint across the narrow board to the other one, or, as soon as he appears in your line of vision, if you are good with the gun, take a couple of shots to take him down.
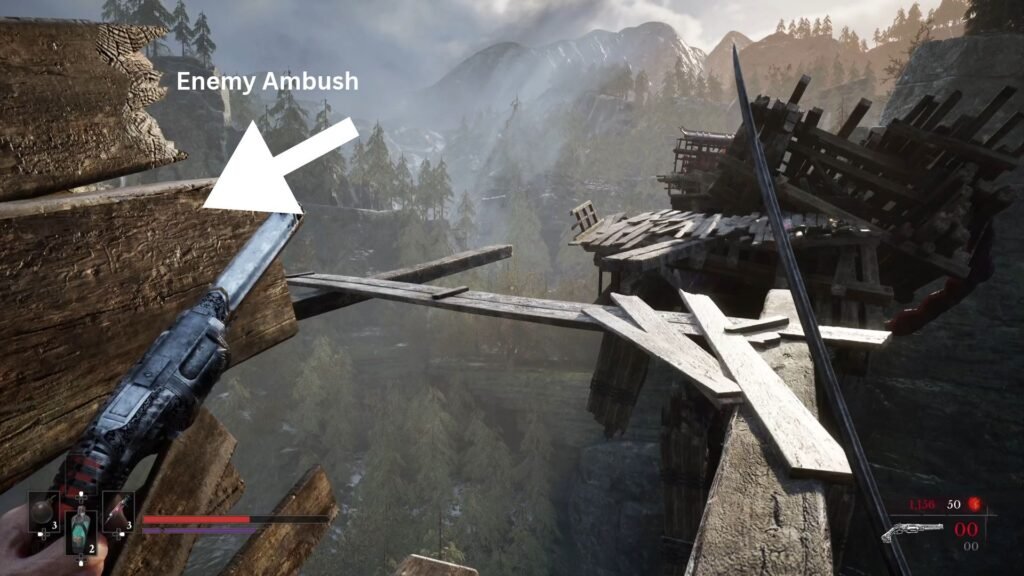
Collect the Standard Firearm Parts, and progress. After jumping over to the next platform, you will have two enemies, one with a sword, and the Grenadier at the back. This is the last set of enemies before the Lantern, so use health potions if needed to get through these enemies. Take the Whetstone from in-between the wrecked carriages; and then save at the Lantern.
Beginning The Emissary Side Quest
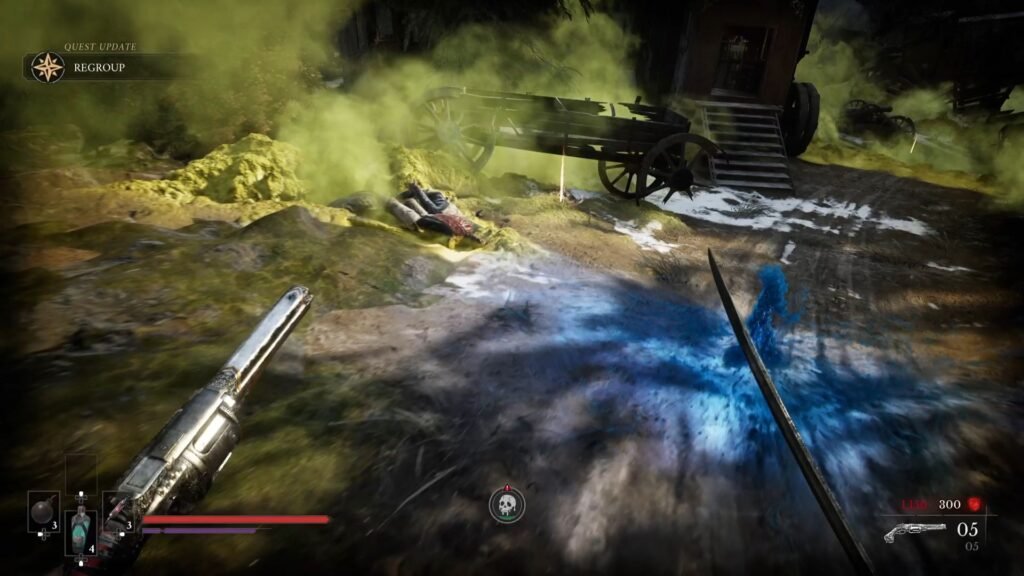
The next area involves opening a series of shortcuts and getting some nice loot on the way including an Amber. Before we go straight, though, take a left, there is a narrow path where you can avoid the poison, into the carriage. Here, you will come across a seal, take it to begin The Emissary side quest. You will not be able to do much on this, or about the poison area for now, so retrace your steps back and take the main path.
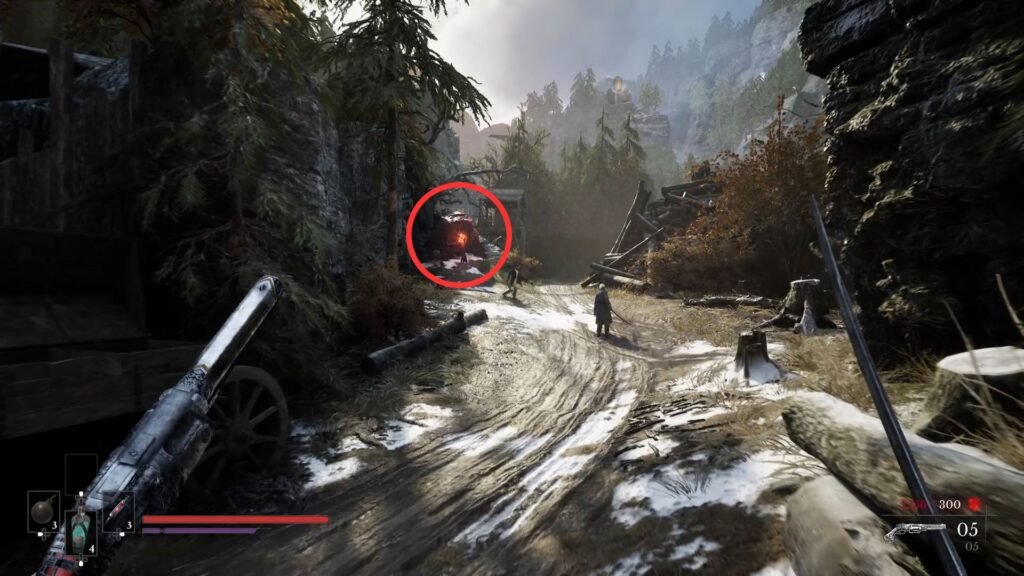
Proceed ahead, and shoot the Nephtoglobin on the cart, it will take care of one of the two enemies. Deal with the other one. Observe the locked ladder on the left, we will be unlocking it soon.
You will see the path laden with explosive red barrels. A swarm of enemies will come and attack you, shoot the barrels, starting from the furthest, to dwindle down their numbers. If done correctly, you can get all enemies defeated with those barrels itself.
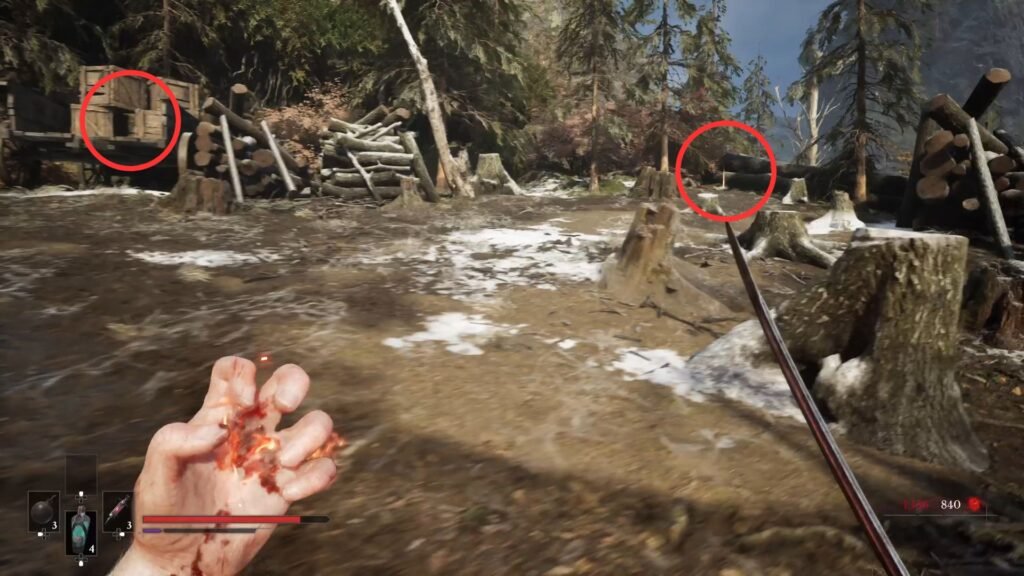
Now, continue ahead on the rightx and defeat the Axe wielding enemy. Loot the Hand Grenade from the corpse next to the tree stumps on the right. Destroy the crates on the carriage next to it to get a Whetstone.
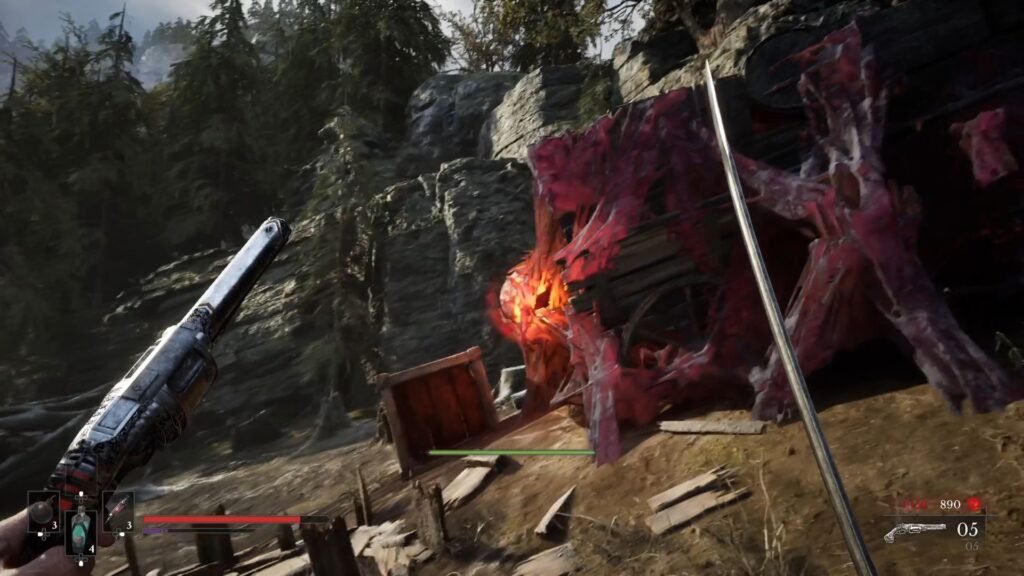
Take the path that winds upwards, and backstab the enemy facing the other way. Destroy the crates and shoot the Nephtoglobin holding back the cart. It will go downhill and help create a platform for you to cross over the locked gate. An enemy with a Rapier will come attack you from the right.
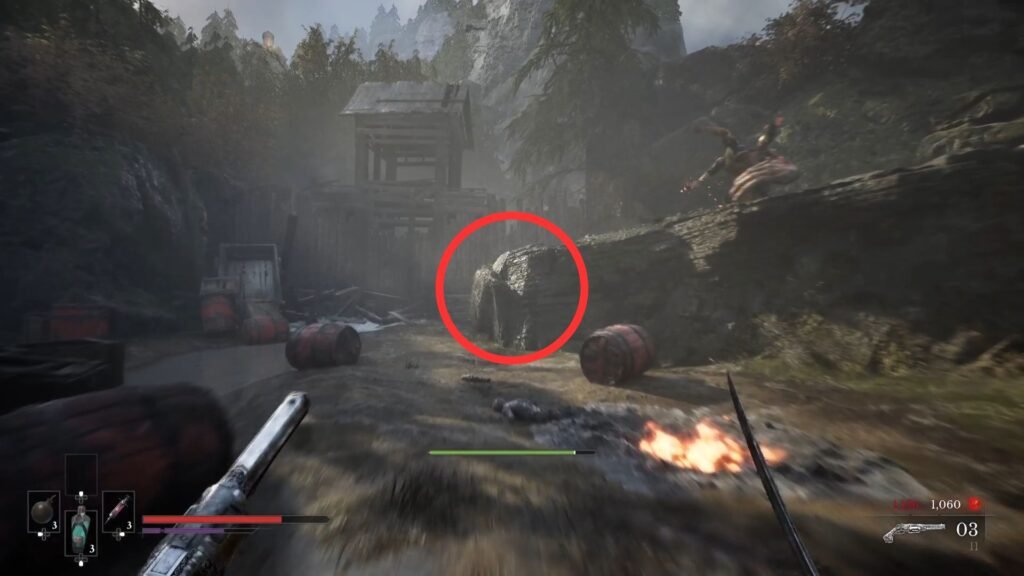
Once he is dealt with, use the cart and climb over. The next area will again have a lot of explosive barrels, and a Grenadier on the right. Quickly move to cover to his left, and from there onto higher ground. From here, if the Grenadier has jumped down, shoot the barrels, or else use Fire to make quick work of him.
From here, before taking the path on the right that requires you to jump over, first, loot the Uncommon Catalyst Clot straight ahead, then take left and unlock the ladder to open up the shortcut, collecting Pistol Cartridges on the way.
If required, make a quick run to save at the Lantern, and then retrace your steps to the path which requires you to jump over and progress ahead. You will get introduced to a new enemy type. Watch out for it’s quick lunges, and dodge to avoid taking damage. Fire works best on it, and do this immediately as it completes a lunge – you will have enough time to cook it.
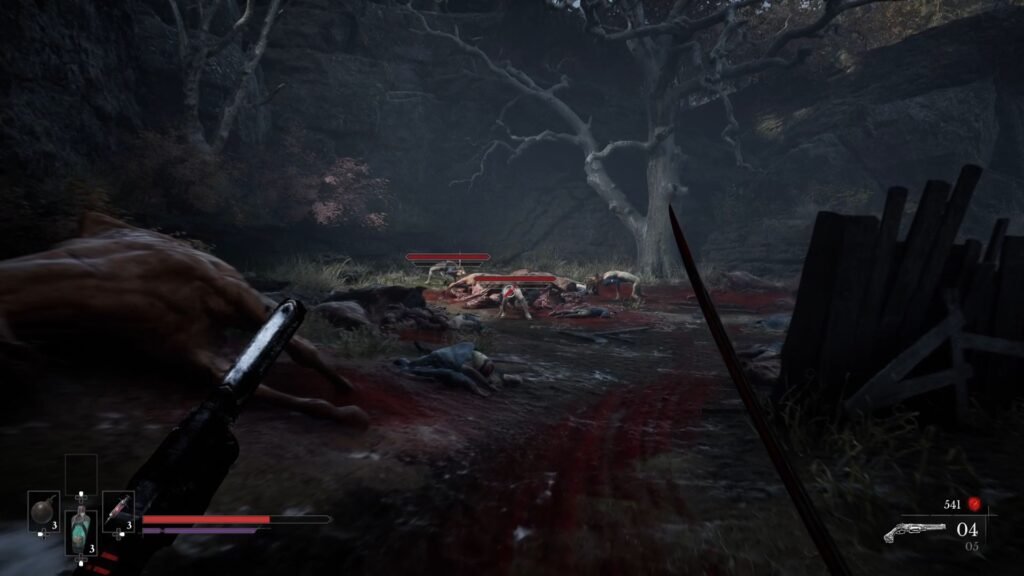
The next segment has three of those. The best strategy here is to throw a Grenade and make quick work of them. Loot the Standard Firearm Parts, and move ahead.
Take the path on the left to unlock the Lantern. Now from here, take the ladder straight ahead, and use the cannon to defeat a set of enemies in the camp.
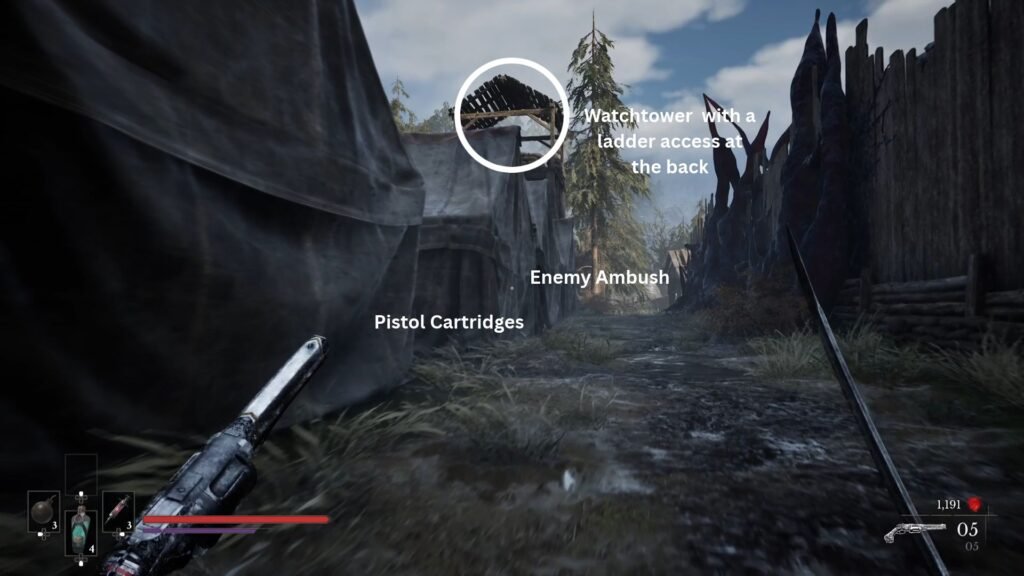
Now enter the camp, sneak and stick to the right, loot the Pistol Cartridges on your left. Watch out for the ambush from an enemy on the next left. Take care of it and then use the ladder to the watchtower. Defeat the enemy.
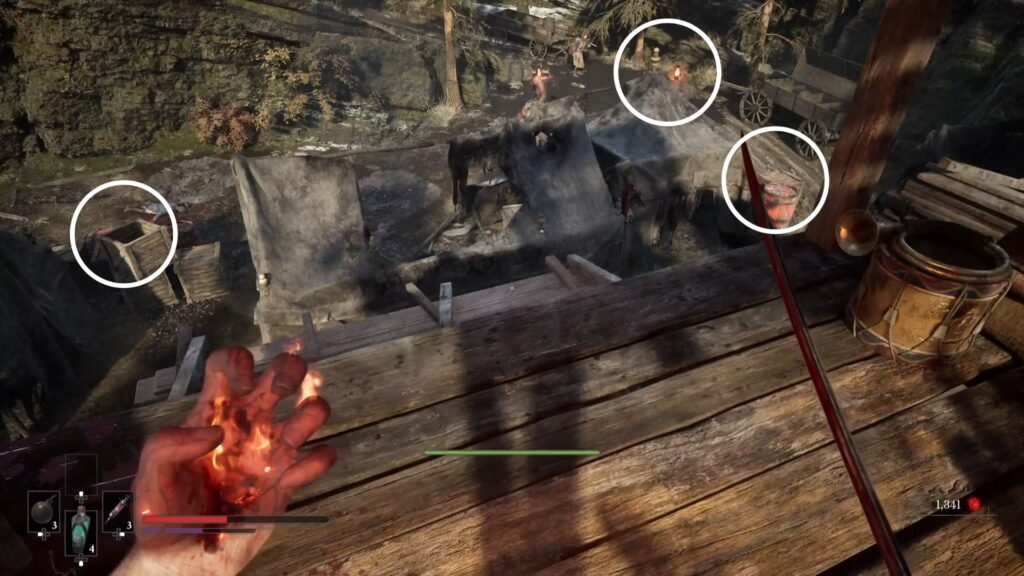
From here, you will have a nice view of enemy paths, and the explosive barrels placed. From here, you can take out all 3 enemies – two with lining up a shot as they walk past the barrels, and one by shooting the lantern to get him caught in a flame AoE.
From the watch tower, before going to the area where the enemies were patrolling, straight ahead, you will see the ladder that we can unlock to open up the shortcut, and the Deadly Rounds.
Dominatus Amber
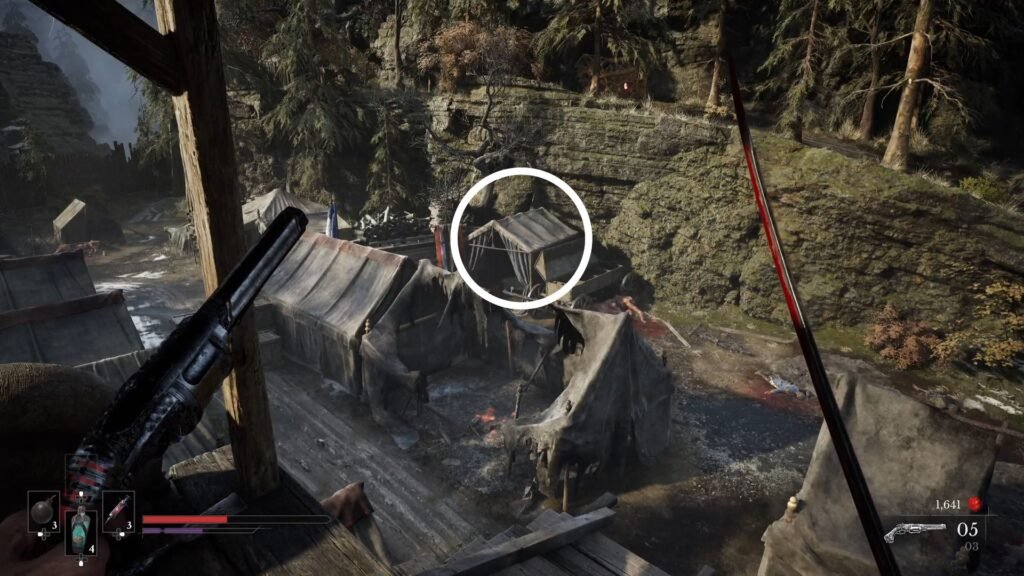
After this, take the first clear path, to loot the Fire-Clad Rounds. Then the second clear path, to get the Hand Grenade, and more importantly -the Dominatus Amber, along with a Letter collectible. The Dominatus Amber restores health when performing Critical Attacks.
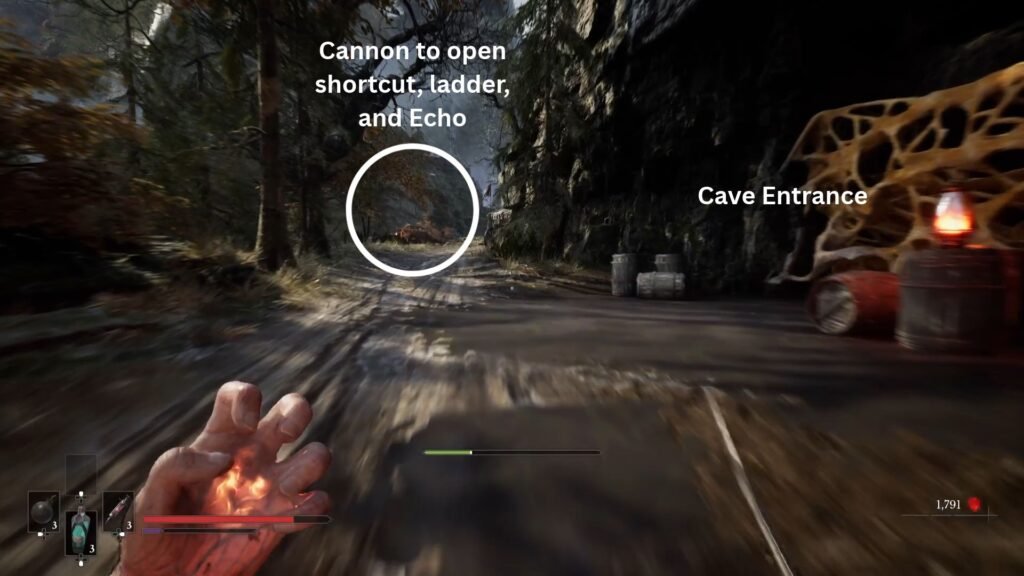
Now take the path that winds upwards to see a vine. Before we go there, continue ahead, use the cannon to destroy the gate, get the blue Echo, and unlock the ladder next to the cannon.
Surplus Amber
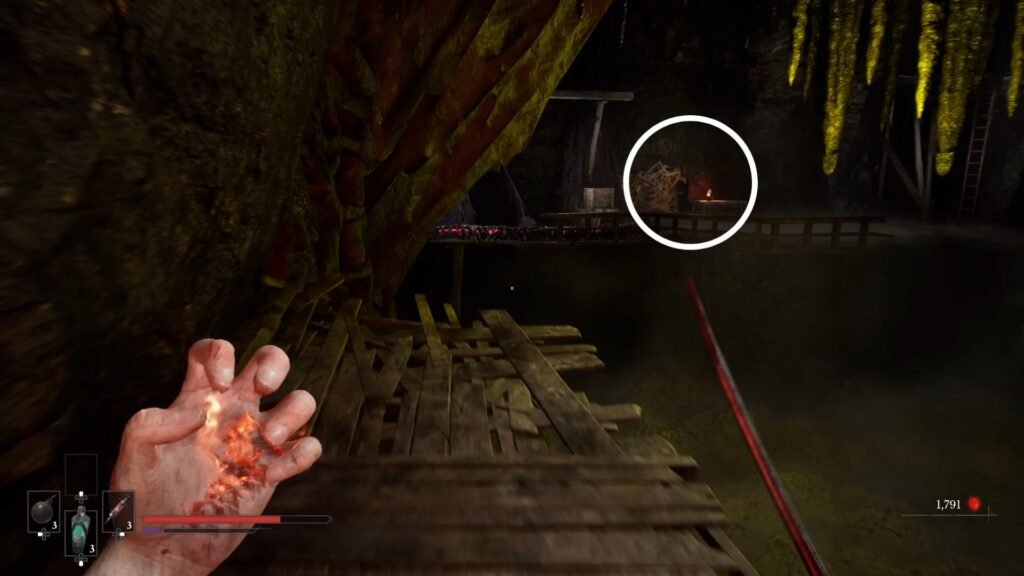
Let’s head back to the vines. Burn them, to open up a cave that is filled with poison. However, you can get to the other side. Shoot the lantern next to the vines on the opposite side. This opens up a Nephtoglobin, shoot it to then open up a ledge that you can use to jump over.
Do that, and you will have 2 Carrion enemies attack you. Take care of them, and use the ladder to climb. Then, swing across the ledge, and make your way out of the cave to loot the Surplus Amber from the chest! Unlock the ladder and climb down to the area with the cannon.
Make your way out of the camp, with the Lantern on your right, and the next area through the now open gate (which you destroyed with the cannon shot) up ahead.
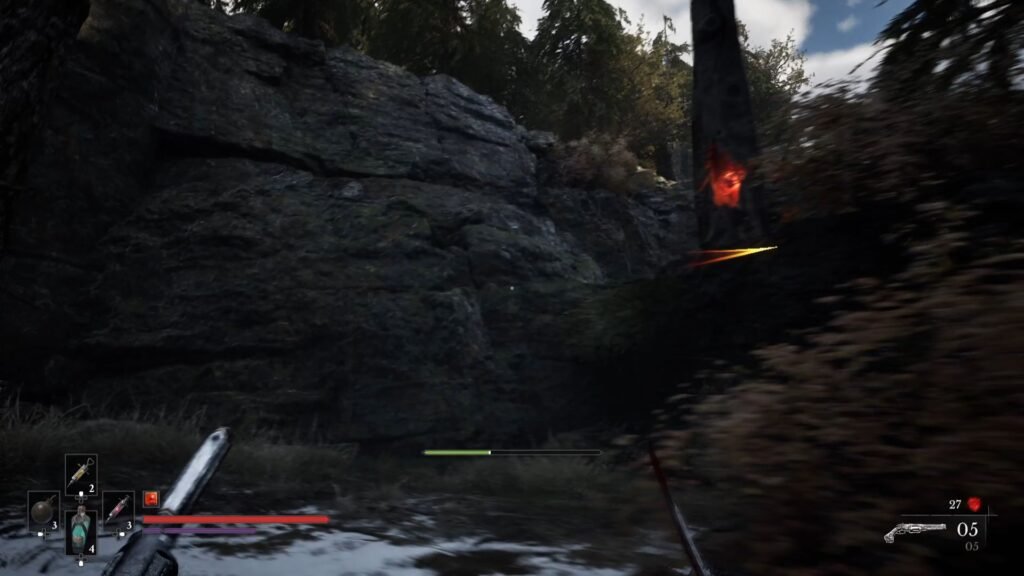
In the next section, follow the linear path. Go slow, so that you don’t trigger the Grenadier entry. As soon as you see a left, take that, and keep an eye out for a tree with Nephtoglobin – this will open up a path that allows you to go behind most enemies in this area. Take them out one by one, and then follow the path to the Lantern in the Quarry.
Quarry Section
We now come to the last, and one of the more extensive sections of the Chapter. Here, you have to move levers to align platforms and zip lines to run across, all the while avoiding enemy ambushes and pesky Rifleman who shoot from afar. So let’s begin from the Lantern for this section.
Use the lever on the left of the Lantern to bring down the crate. Jump on to it before it moves up, and then to the platform.
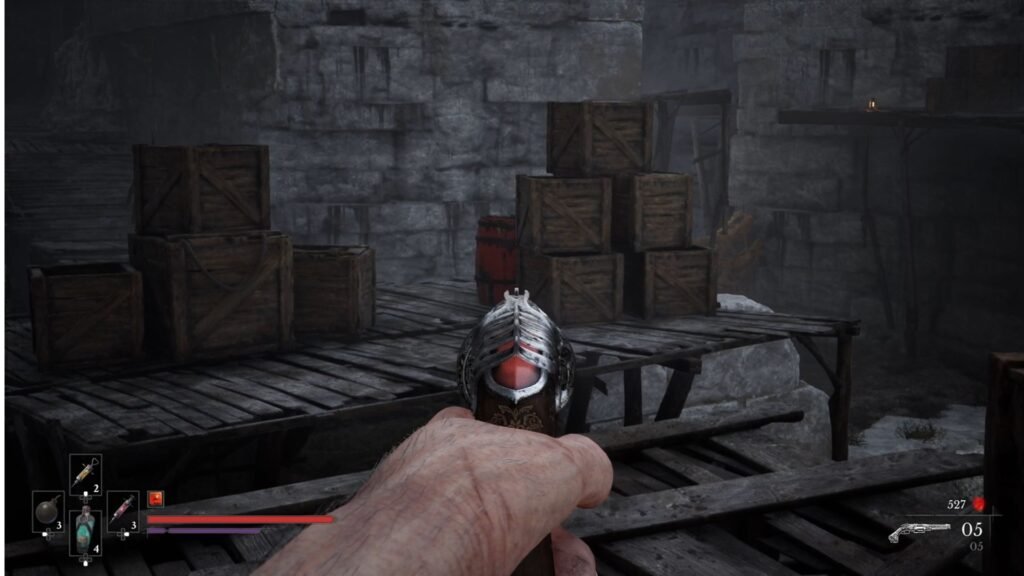
Shoot the explosive barrels up ahead. Take care of the Rifleman as well. Now, when you attempt to run ahead, a portion of the platform will break and you will plunge below with 2 enemies waiting to take advantage of your fall and attack you.
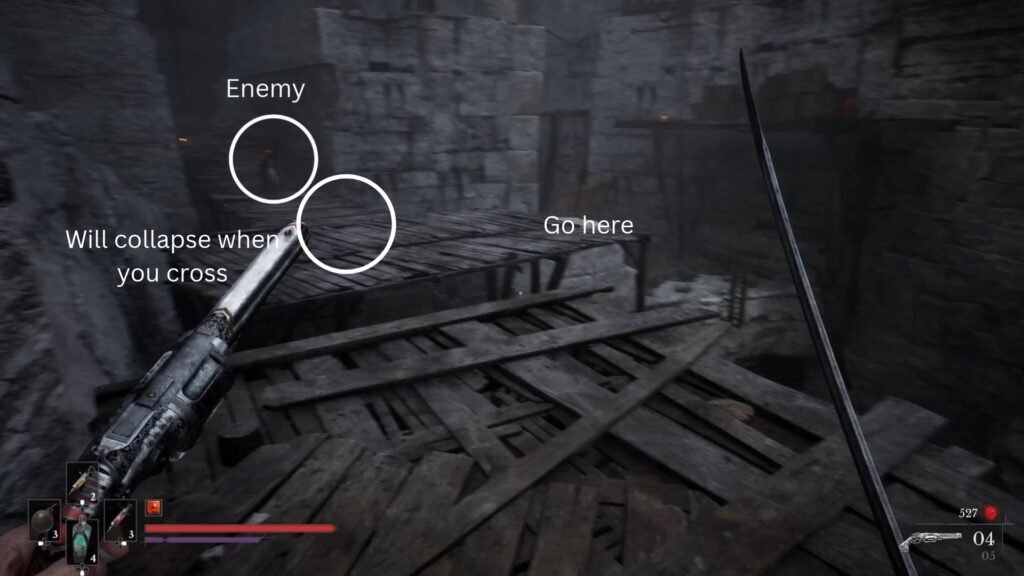
Instead, take the platform to the right that ends on a white stone, from where you can see one of the enemies and get him out with your Pistol. Also shoot the enemy on the platform opposite you. With that, jump down and defeat the lone enemy. He has a Rapier and does rapid thrusts, so best to get him out with the Fire.
Potent Concoction Amber
Now use the ledge up ahead, and climb to higher ground. Collect the Fire-Clad Rounds, and you will come to a platforming section with single, narrow boards to jump from.
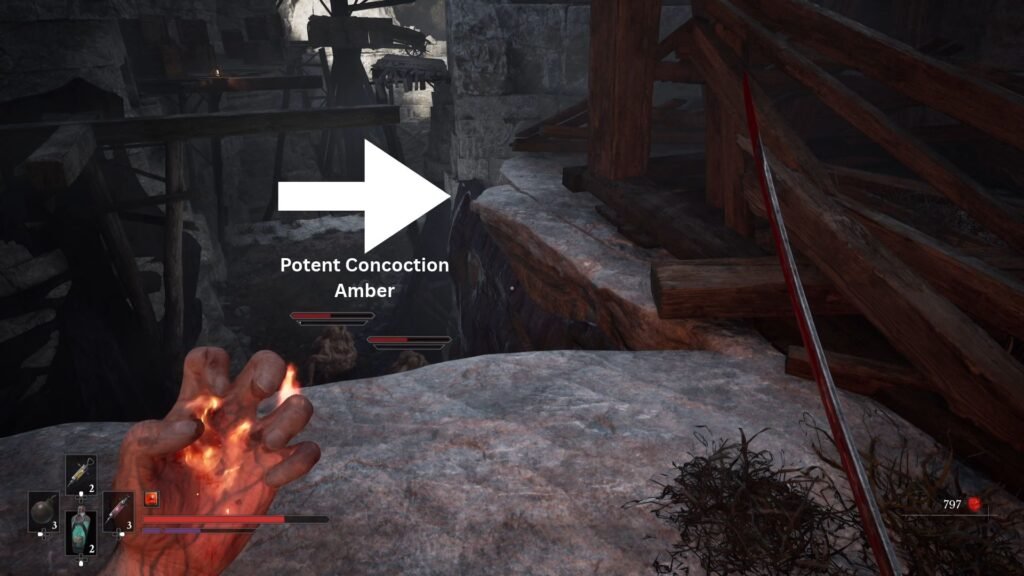
First, though, shoot the explosive barrels and get the 2 Carrions resting below out of the way. Jump down, and unlock the ladder straight ahead which unlocks a shortcut to the Lantern. On the right, you will have the chest with the Potent Concoction Amber. Also collect the Uncommon Catalyst Clot on the way.
Now, go back to those narrow boards and jump across them. You will have a Rifleman shooting at you from a distance, do your best and make it across to the wider platform. Here, also, you have Explosive Barrels, and an enemy ambush.
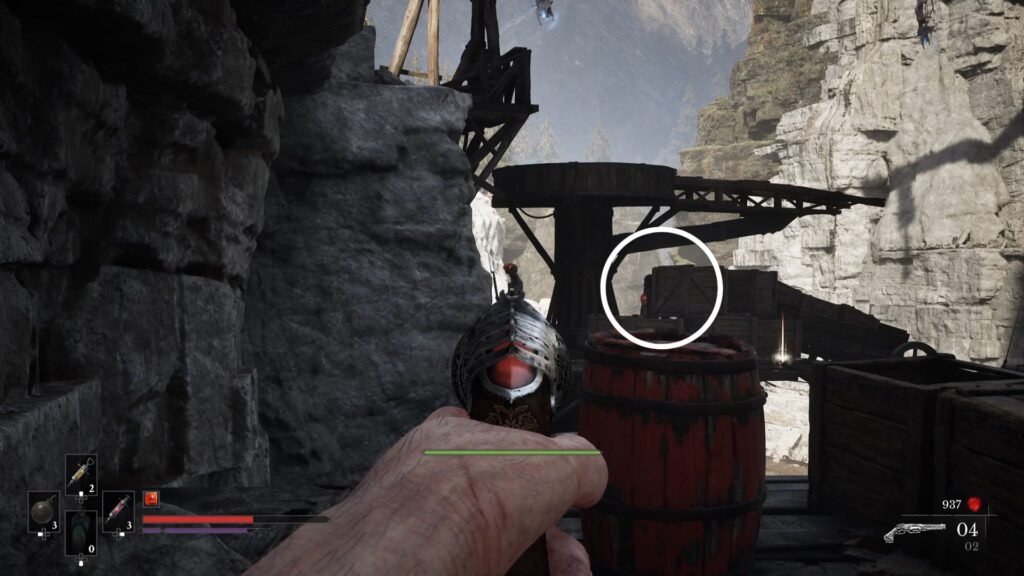
Once all the enemies are taken out, also pay attention to another enemy standing next to where the Rifleman was shooting you from, and take him out from here if you have Pistol ammo left.
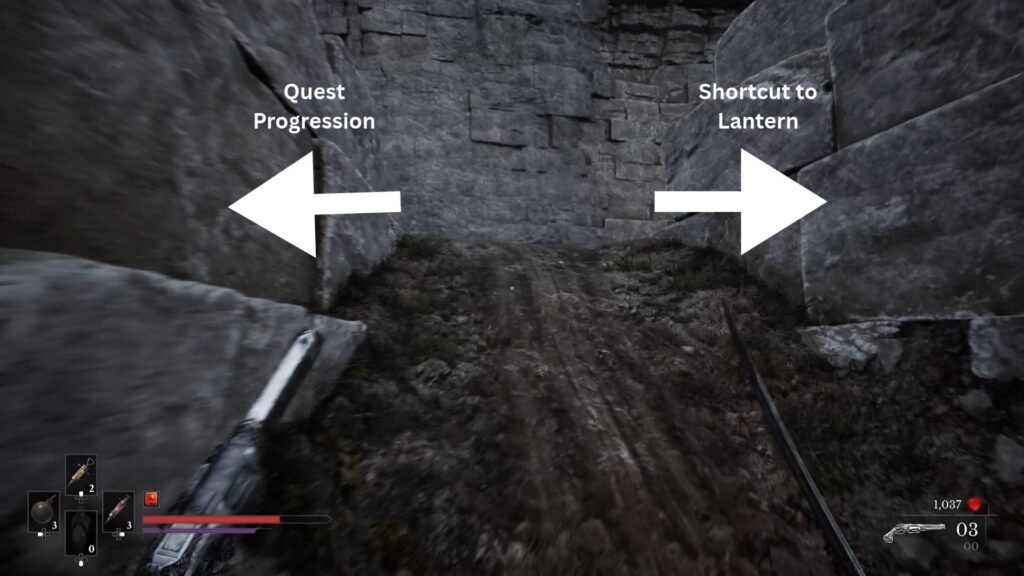
With that done, jump across. Destroy the crates to loot Pistol Cartridge, and then make your way to the path that leads up. Turn right, and shoot the Nephtoglobin to unlock the elevator, and the second shortcut to the Lantern.
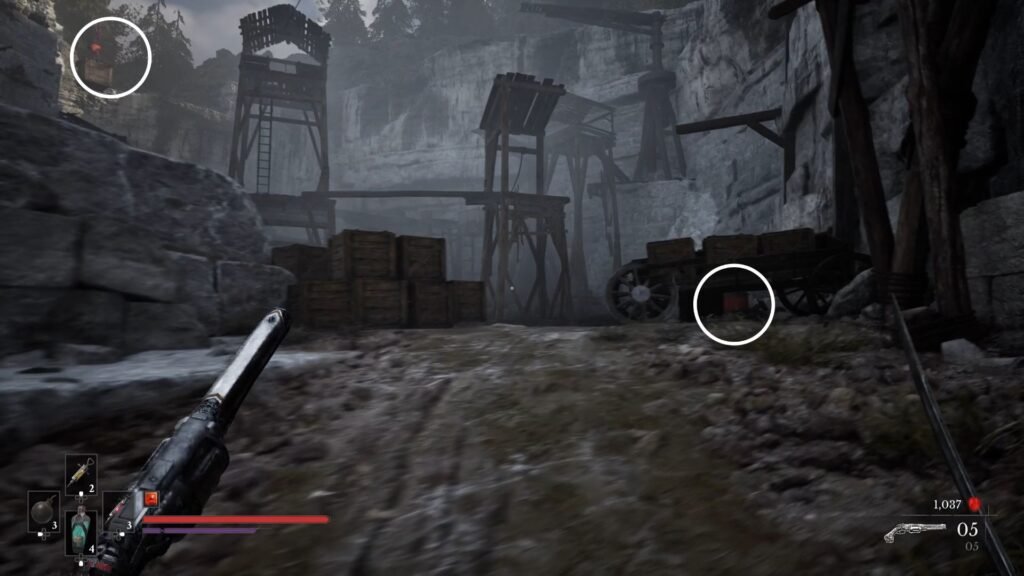
Now, take the left, proceed carefully, and on your left, high above, you will see a Nephtoglobin. Shoot it, and it will take down 2 Rifleman that would have been a problem in the next platforming section. From here, you will also see an explosive barrel behind the carriage straight ahead. Shoot it to take one more enemy out of the equation.
You now have an enemy with a sword, and a Grenadier here to defeat. Now, take the boards to the next section with a handle. As soon as you turn it, jump to the crate above, then the next, and finally to the platform.
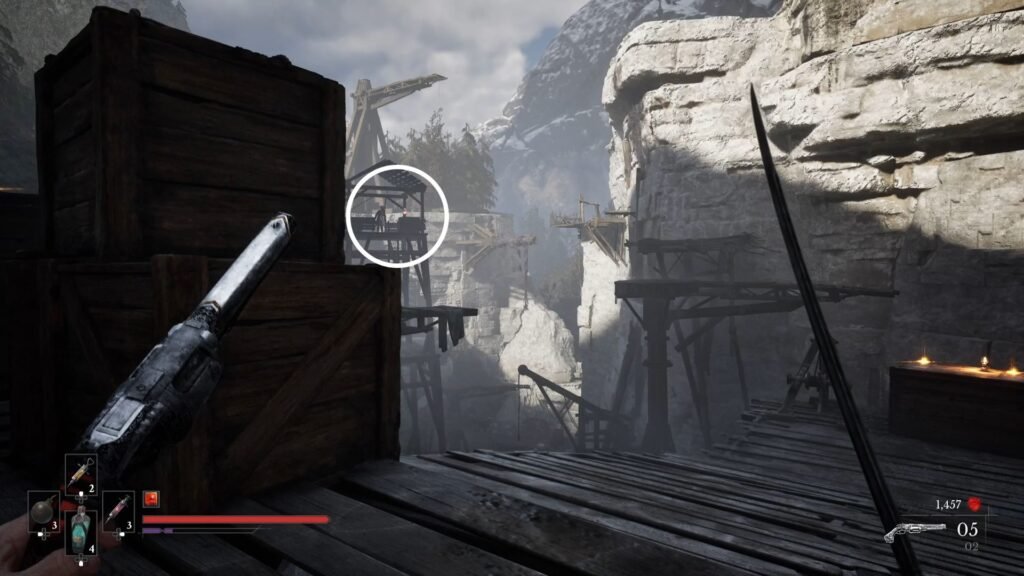
On your left, you will see another Rifleman, with an inflammable lantern next to him. You know what is to be done. After this, turn the handle straight ahead, and it will line up two platforms to help you jump over.
Use that, and then swing across the 2 ledges, to land upon a platform with the Axe-wielding enemy waiting for you. There is a zip line to take across after you are done with him.
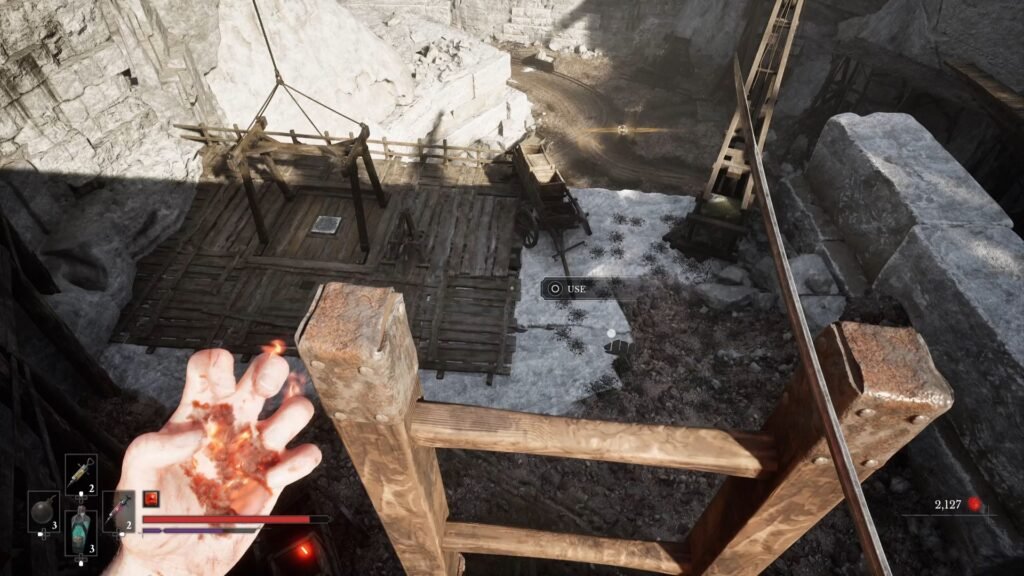
Unlock the ladder on your left to get the last shortcut to the Lantern.
Marksman’s Bane Amber
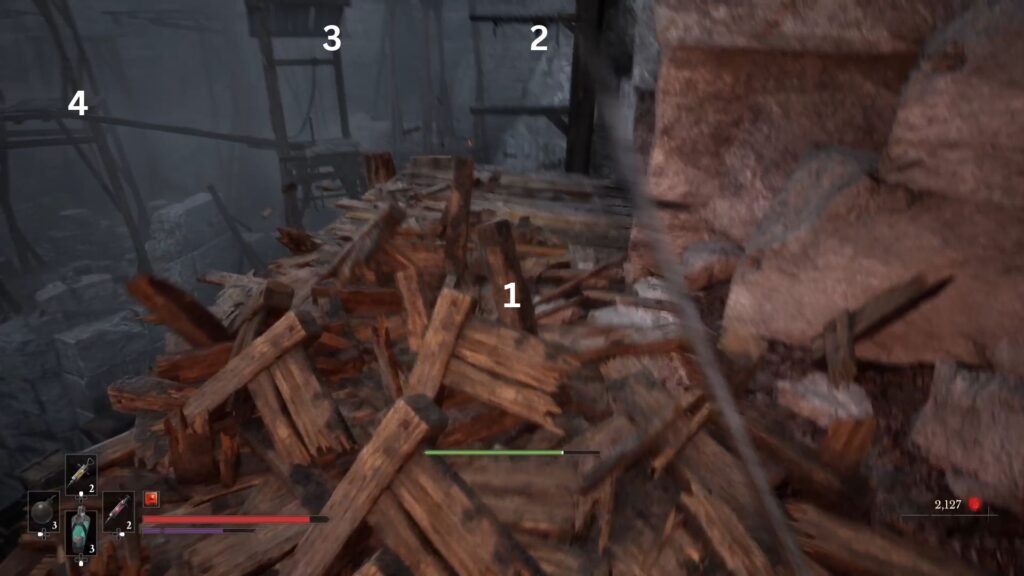
The area on the right leads to the boss, but we have one more Amber to grab before we do that. So, to trace the route from the Lantern, take the elevator, and then the ladder (this is the last shortcut that you activated), destroy the crates at the very end, to reveal a ledge you can swing on, and a narrow board to land on.
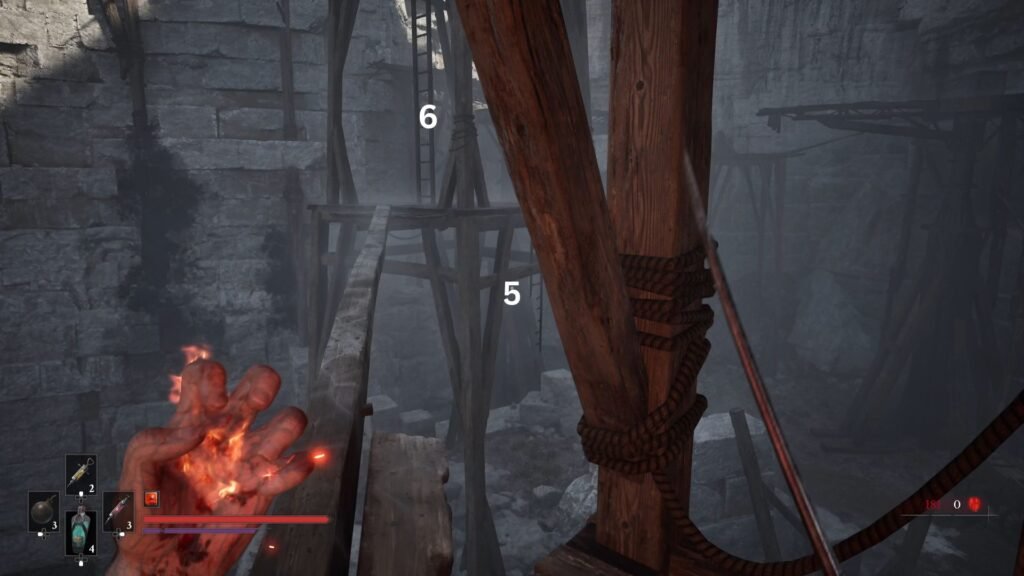
From here, jump to the tower with the broken ladder. Use the narrow board that connects it to the other tower. Take the ladder, defeat the Rifleman, and loot the chest next to him to get the Marksman’s Bane Amber. Also collect the Standard Rifle Parts from here. The Marksman’s Bane allows you to parry incoming ranged attacks.
And with that, you are all set to take on the boss for this area – the same one you faced briefly, and unsuccessfully at the end of Chapter 1: Revival. The boss General Lothaire is a tough one, but once you overcome this gruelling encounter, you get your hub area for Valor Mortis – the Abandoned Church, where you can now fast travel, upgrade material, and begin Chapter 3.
