
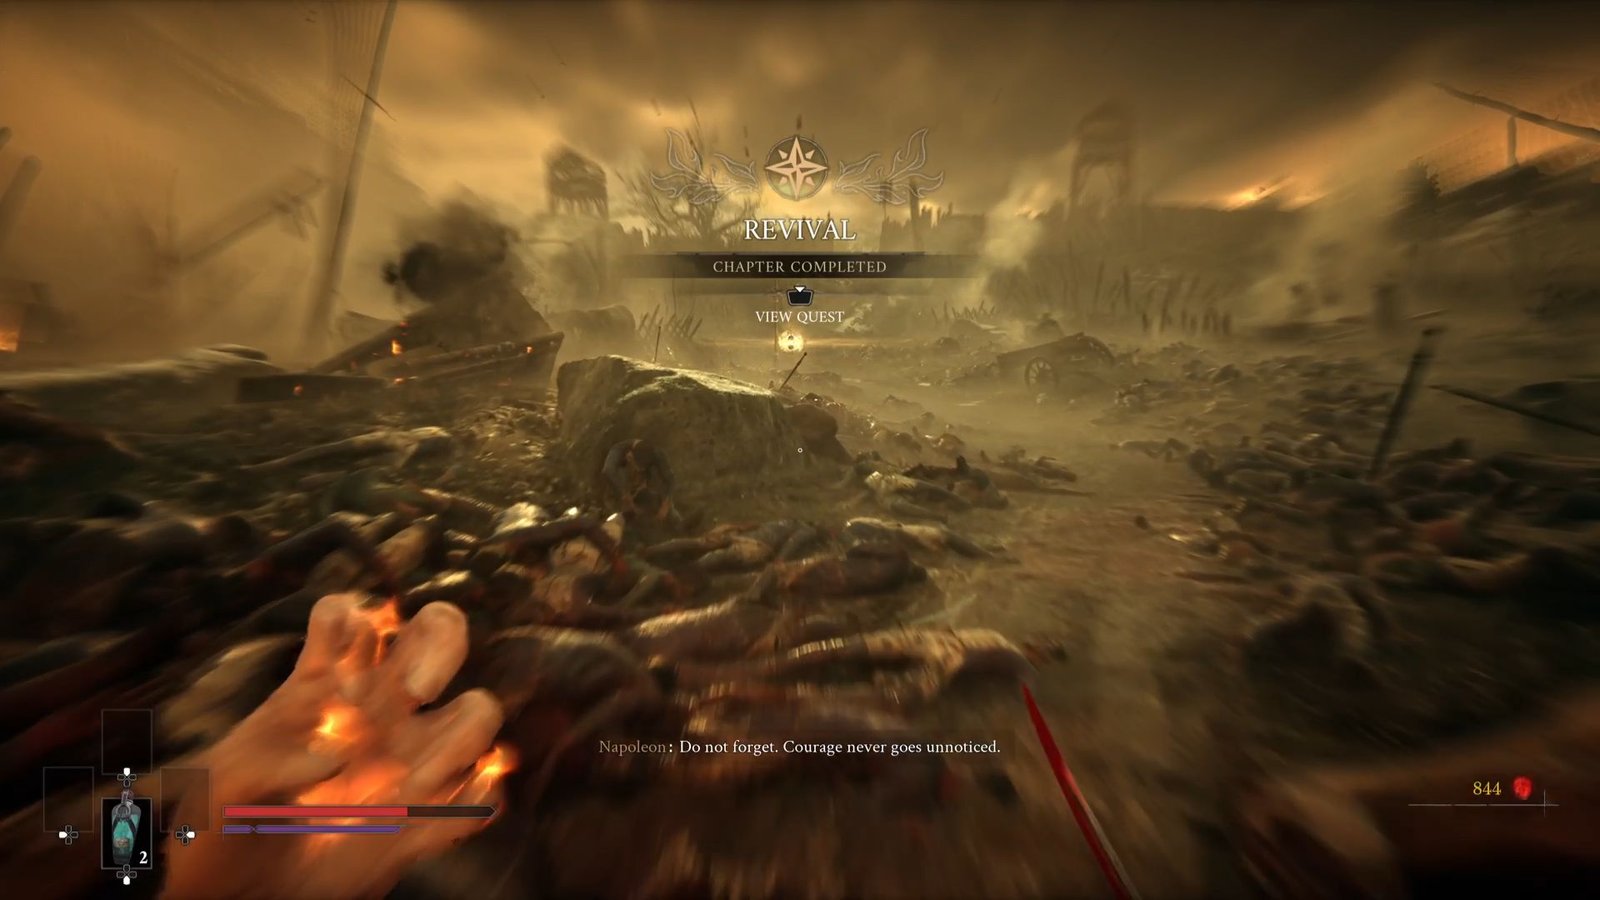
Chapter 1 begins with you groggily opening your eyes and taking in your surroundings – which look foreboding, to say the least. While this is effectively the tutorial section where the game walks you through its combat mechanics, there are still items here that you can miss – including a couple of Ambers as well.
In this guide, I will take you through the The Battlefield Area in Chapter 1: Revival of Valor Mortis – with all collectibles that you shouldn’t miss to prepare for the tough levels ahead.
Table of Contents
Starting Chapter 1: Revival
The first section is a linear one, as you walk ahead, the bridge will crumble and you will take health damage.
Use the health potion to replenish health and move ahead. Continue ahead, and keep clearing the enemies as the game gets you onboard with Light Attacks, Heavy Attacks, Backstabs, Blocking and Parrying.
Next, with multiple enemies, sprint and kill the soldier leaning against the crate, and then switch to the other one on the left.
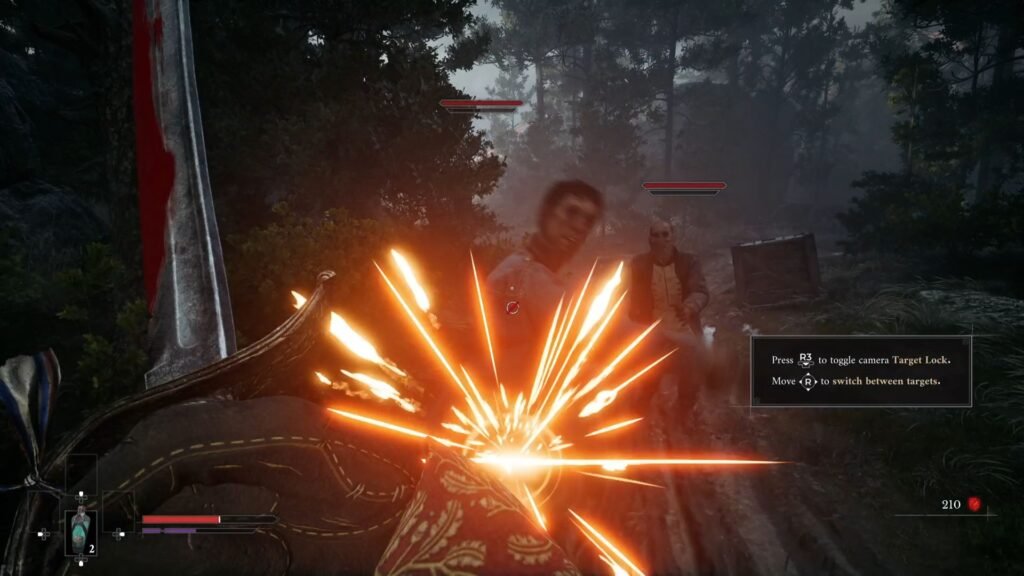
I would suggest to practice your parrying here – this will be one key skill that will be super useful when you progress to other chapters.
Take the Common Catalyst Clot next to the cannons. Before moving ahead across the bridge, take the right with the enemy guarding a chest. After defeating him, listen to the blue Echo on the right, and loot the chest to get Crude Blade Material.
Now make your way across the bridge. The next enemy will not get staggered by just one parry, it will take 2-3 parries to build up the stun meter, so get this part right. Use your health potions, this is the the last enemy you will face before the Lantern.
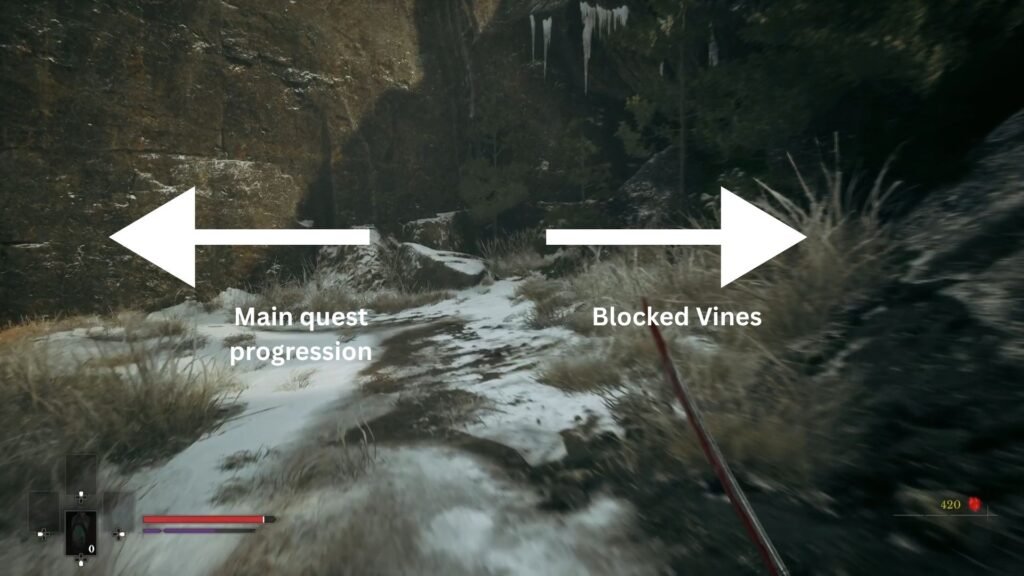
On the left, you will see branches you can use to jump and progress. Before doing that, note the vines kind of a structure on the right. We will be returning here in just a bit. Jump across and make your way to the Lantern.
Again, the vines structure blocks our progress down that path. Take the opposite route, crouch through and prepare for a battle against a tougher enemy. Time the red glowing attacks properly to dodge (the enemy will slow down for you to get a good two hits in). Your dodges will quickly eat away your Stamina, so take this fight slowly, and don’t rush in to hit.
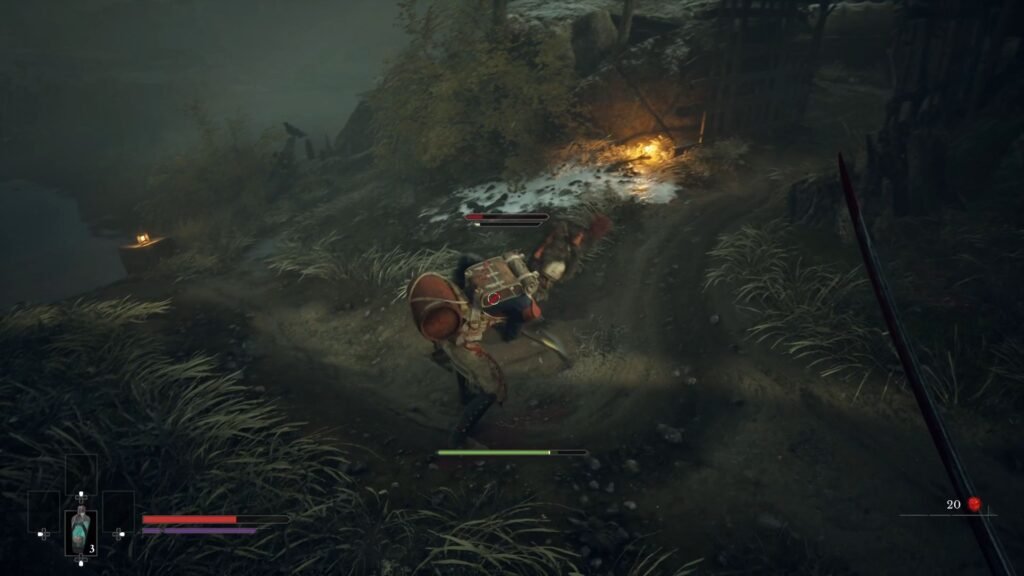
Once he is taken care of, continue ahead, and where the path branches, take the left first to collect Common Catalyst Clot, and then the right to collect your Fire Transmutation. We can now use this to burn the Vines.
Bottomless Well Amber
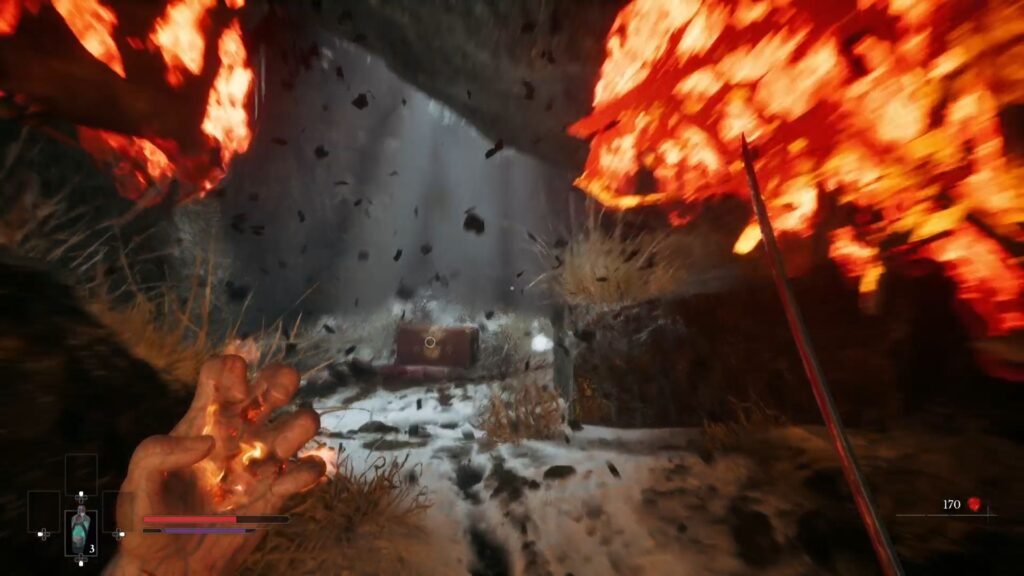
Remember the vine structure that we had noted before? Make your way back, burn the vines, and loot the chest to get Bottomless Well – your first Amber. These can be slotted as slots open up on the Skill Tree page; though for now, you will not be able to use it.
Now, make your way back, save if required at the Lantern, and burn the vines to enter the open field.
Here there are broadly three paths:
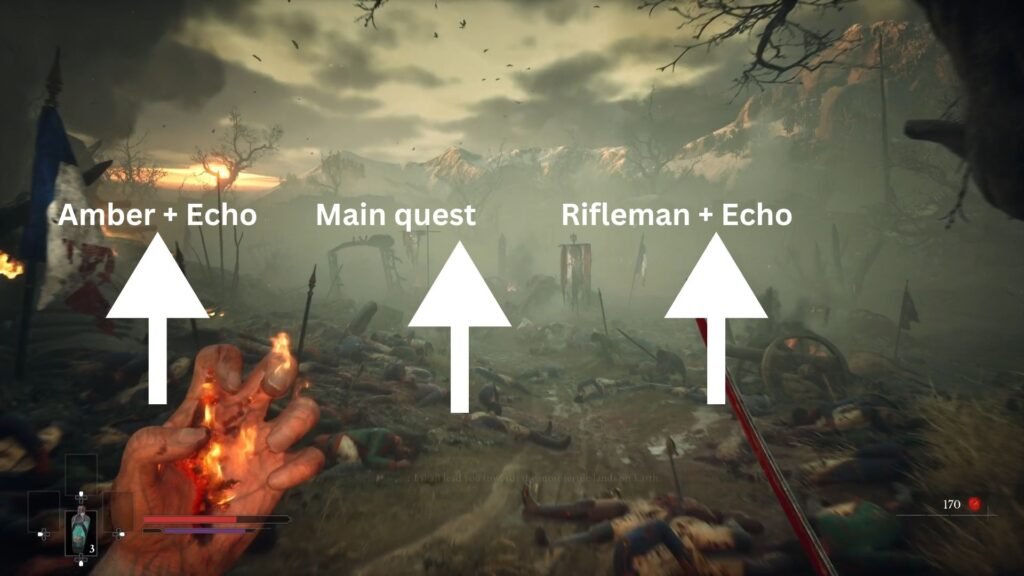
The rightmost path leads to a Rifleman and an Echo. There will be a couple of stragglers, so don’t rush in. You can approach the ramp and the path that leads to the Rifleman if you are silent and stick to the right – there is a chance he will not notice you and you will get the kill easily.
Transmuted Persistence Amber
The leftmost path leads to an Axe wielding enemy, an Echo, a chest and an Amber. If you are planning to burn away the Axe wielding enemy, watch out for the explosion in the end – it will damage you if you get caught. The chest contains Crude Blade Material.
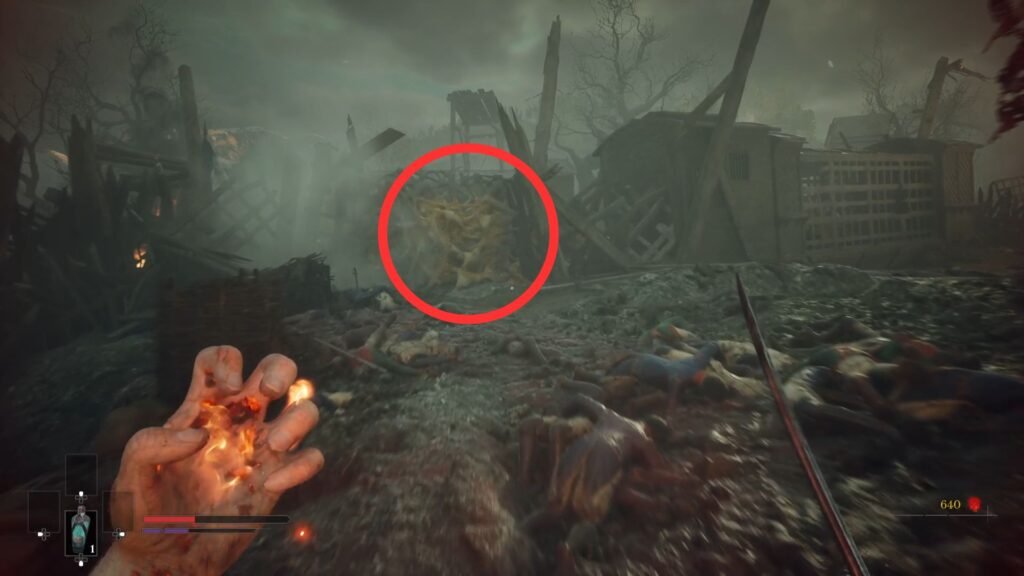
You will also come across a vine structure – use your Fire Transmutation. But be careful, ensure that you have cleared out enemies in the area, as you will get 3 enemies that mob you once you burn the vines. Defeat the enemies, and open the chest to get Transmuted Persistence Amber
The middle path has 3-4 enemies, and then leads you into a steel carriage where three enemies will attack you in a narrow space.
You will also notice a glowing Orange blister – we can’t do much about it till we get a Firearm, so keep that section aside for now.
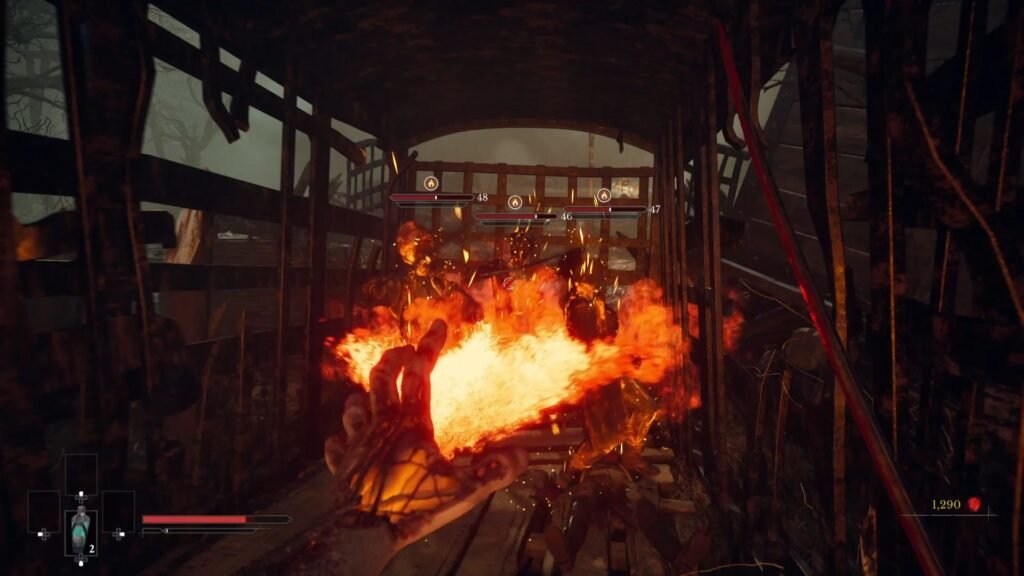
Once you clear the enemy group in the narrow space, the path will be clear to the next Lantern.
Now take the next section, and you will see a Rifleman – stick to the cover, and in between shots, sprint to the ladder that leads up to the enemy and kill him. Take the Nephtoglobin Vial, and progress to the next section.
Before heading for the shiny, watch out for the enemy planning to ambush you on its right. Once you have defeated him, take the Whetstone.
Iron Grip Amber
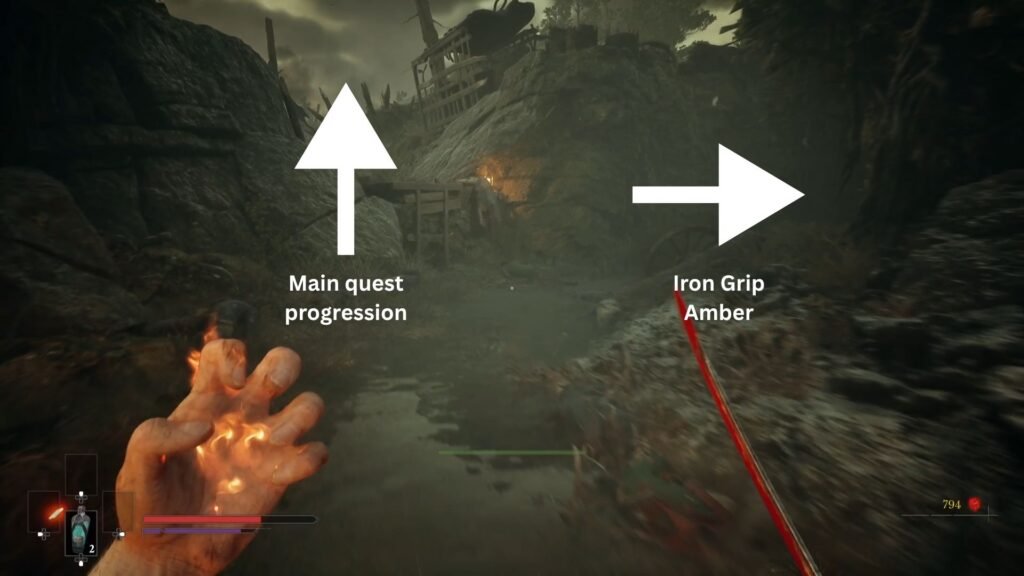
Continue ahead, and don’t rush in … there will be a cart that rams in and defeats the enemy ahead. The next section has a Rifleman shooting at you from a distance, as two melee attackers rush at you. If you can, bait them in the line of fire and they will take the hit instead. Lead them as much away from the Rifleman, and defeat those two, before making a sprint for the last enemy standing.
Continue ahead and plunge attack the next enemy. Before climbing the path on the left, take a right, and you will see an enemy guarding a chest. Defeat him and loot the chest to get Iron Grip Amber.
Now take the path up ahead, save at the Lantern, and proceed ahead to … fight a rather imposing boss, who will take you down mostly in a couple of hits. Don’t worry, that is supposed to happen. It ends this Chapter, as you next meet Lucjan when you open your eyes, and we start Chapter 2 in Valor Mortis.
As far as the boss is concerned, you will be taking on General Lothaire at the end of that Chapter.
