
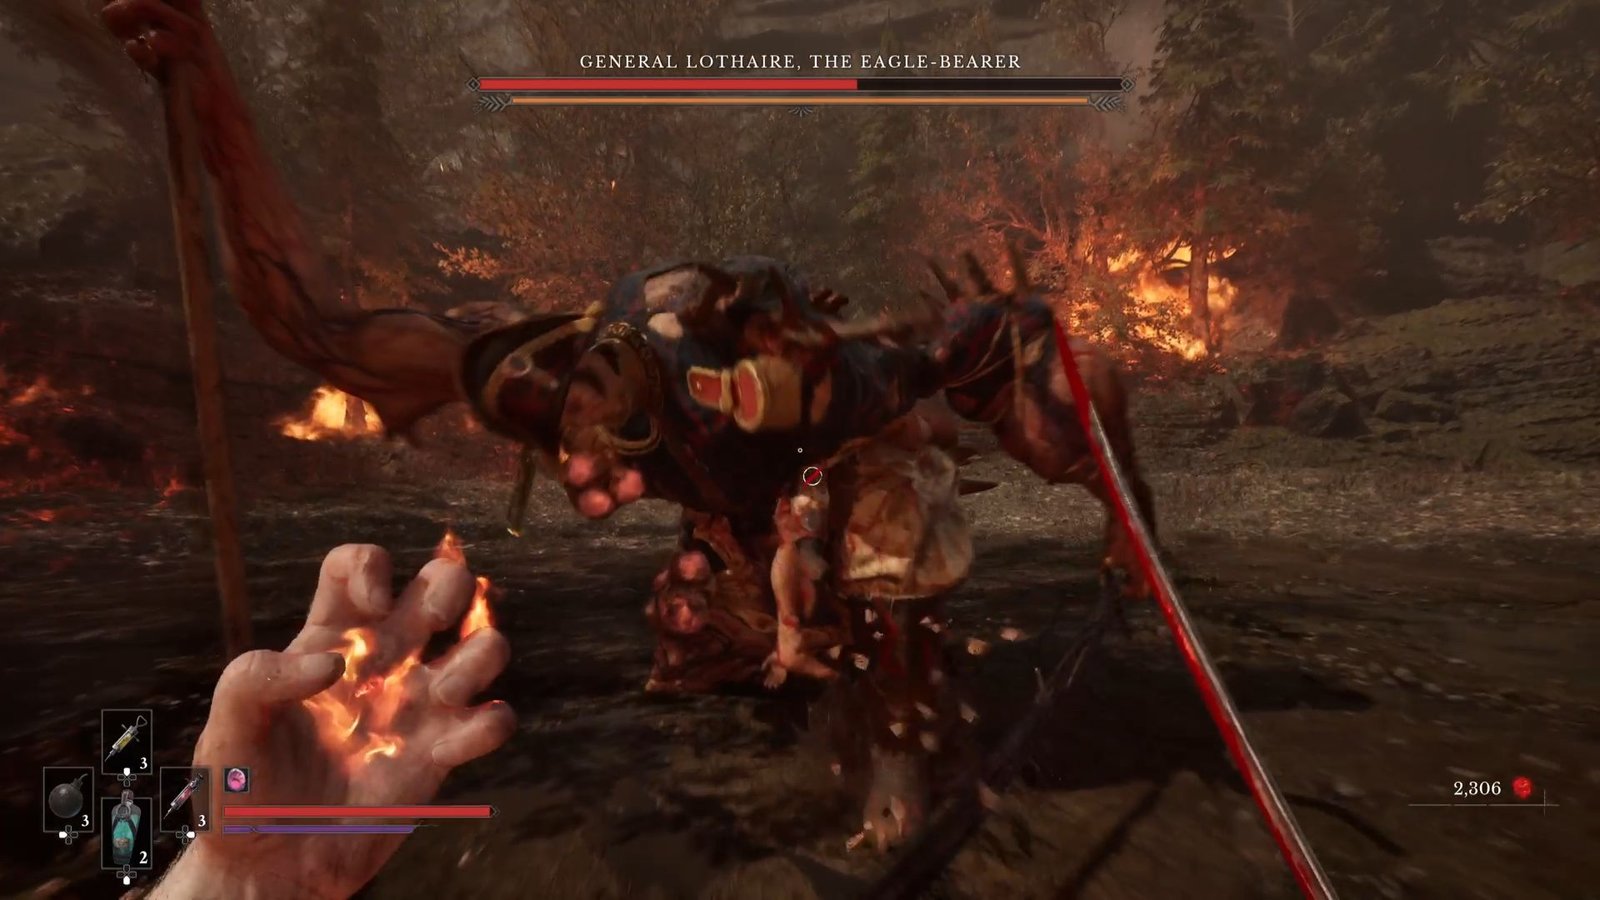
After you make it through the platforming challenges and all the lever mechanisms in what looks to be a mining area in Chapter 2, you are pulled into the Abandoned Church. But standing in between the door to the Church, and you, is the imposing figure of General Lothaire, the same one that you tried to fend off unsuccessfully right at the beginning of the campaign.
This time, however, there is no Lucjan to pull you up again, and you have to take down the big baddie on your own. This is not an easy fight, and if you are struggling, here is how to defeat General Lothaire in Valor Mortis
Preparation and Strategy to defeat Lothaire
In a nutshell, Phase 1 is all about parrying, and Phase 2 is about keeping distance and dodging. In between, keep flaming the boss with your Fire Transmutation.
First, ensure that you are sufficiently leveled up. You would, no doubt, have lost catalysts on your journey so far, but you should have had enough to atleast unlock the 4 upgrade points on health, the 4 on endurance, and then, maybe, one for increased posture damage from successful parries. These will help in the fight – in particular, investment in endurance.
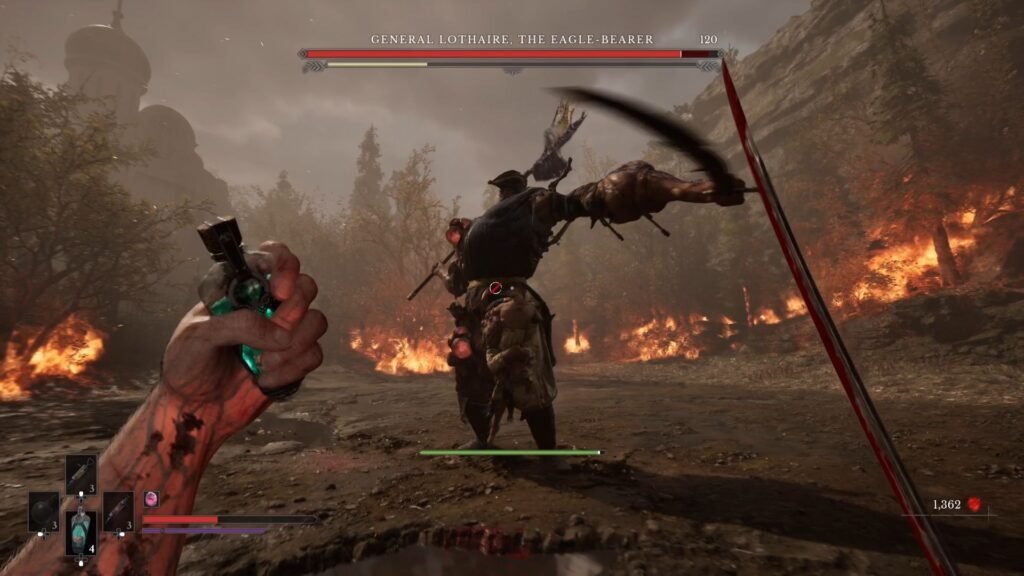
Second, amber. I would recommend here the one that gives you an invincibility window when chugging a potion. Lothaire’s heavy swings can easily wipeout half or more of your health, and the worst thing you want in a fight that was going on well till that time is a swing from him when you are refilling your health.
Third, do not rush in to swing with your Sabre. This will eat up a lot of stamina, and at this point, you would not be doing enough damage to justify the stamina cost. You don’t want to be blocking or attempting to parry a 4-5 hit moveset with barely enough stamina left.
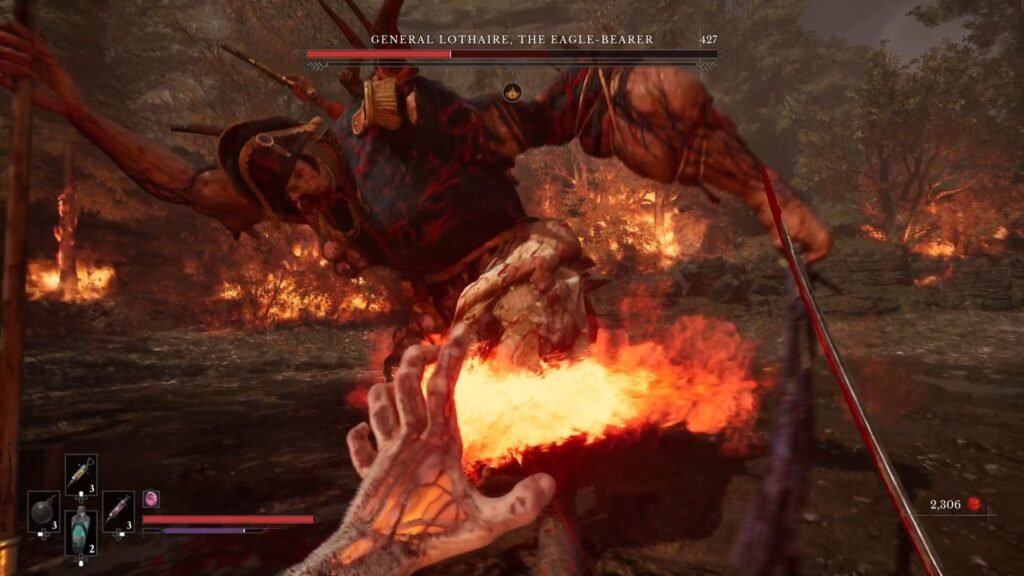
Arm the Fire Transmutation for Phase 1, and save the Pistol for Phase 2. Everytime you stun him and deliver a critical hit in Phase 1, immediately set him on fire. You will have ample window to completely set him alight every such time. Also, the moment he transitions into Phase 2 and his health bar refills, do the same thing again. In Phase 2, he will have these glowing blisters on his body. Shoot them with the Pistol to cause damage.
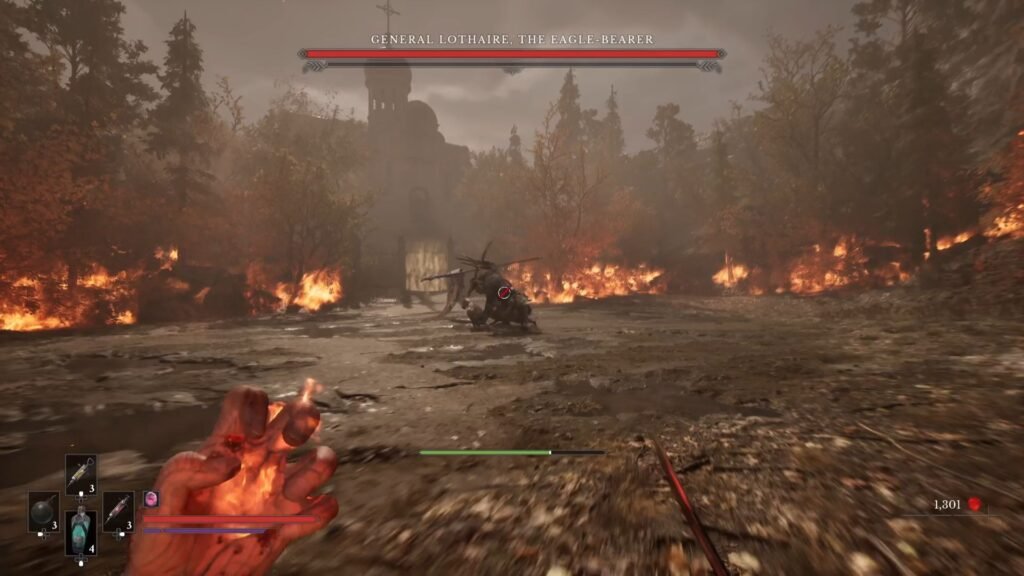
He will always open Phase 1 with either a glowing jump attack that can be dodged and attacked, or a three-hit grenade attack.
With these tips in mind, let’s look at his moveset in both the phases, and how you can whittle his health down, slowly.
General Lothaire – Phase One Movesets
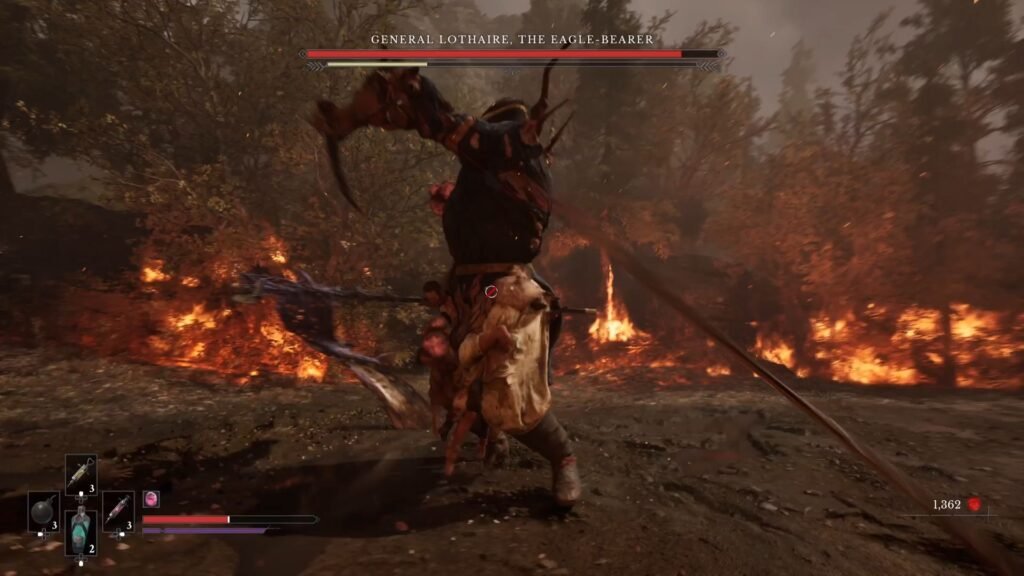
| Move | Tell | What to do |
| Three Grenade Attacks | He will fire three grenades from the gun on his shoulder. He will swing the Sword – almost as if giving an order to strike. | Dodge, stay at a distance, wait for the next move from the boss. |
| Glowing Jump Attack | He will squat himself and ready a jump that can cover half the battle arena. | Dodge at the right time to land a hit or two. Not more than that, though – move back as he is likely to swing his sword; and you want the stamina conserved for the dodge. |
| Three Swings with the Spear | He will swing the Spear on the left hand with increasing speed, especially the third one | Time your parries to build up the Stagger Meter. This is that one attack you should take advantage of every single time |
| Spear + Sword Slashes | He will do a Spear -> Sword -> Sword attack. If the first Spear attack comes from the other side, then that is a tell that it will be followed by Sword attacks. | His Sword attacks are short bursts with very less tell, and I found parrying them quite difficult. Dodge this entire moveset. |
| All Grenades At Once | He will ready himself and launch all three grenades at once | Again, easily dodged as long as you have stamina left, and have not been greedy in dishing out sword attacks. |
General Lothaire – Phase Two Movesets
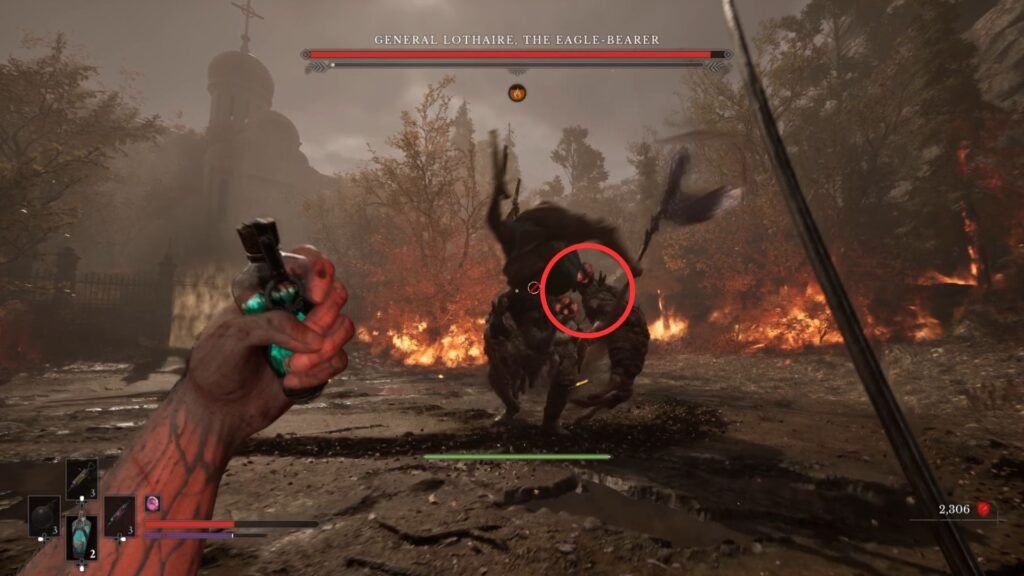
In Phase Two, he will grow a massive claw-like arm instead of the Sword; and also, in between keep spawning trash enemies – they don’t do much damage, and disappear after a while. I would recommend to just avoid their attacks and keep an eye on the boss during this time.
| Move | Tell | What to do |
| Three Swipes: Standard -> Unblockable -> Standard | He will lean slightly towards the left, and Swipe from the ground up. One of the attacks – mostly the second one, will be the glowing attack. | Dodge all attacks, if you dodged the glowing one correctly, get in with a couple of blows when in slow motion. |
| Ground Attack | He will call in spikes from the ground, in a straight line, or an AoE area | Move away if it is the spikes, jump and dodge if it is the AoE attack |
| Flame Ball on Claw Hand | Before he does the Ground Attacks, he will kind of have a Flame Ball on his hand. | Shoot the Flame Ball to prevent the attack, and also cause health and posture damage to the boss. |
| Two Spear Swipes | He will do 2, instead of 3 Spear Swipes | Parry these to build up stagger |
Once you settle into a rhythm and recognize the moves, the boss becomes much more manageable. Defeating him opens up the hub area for you, opening up fast travel and upgrades for your gear.
