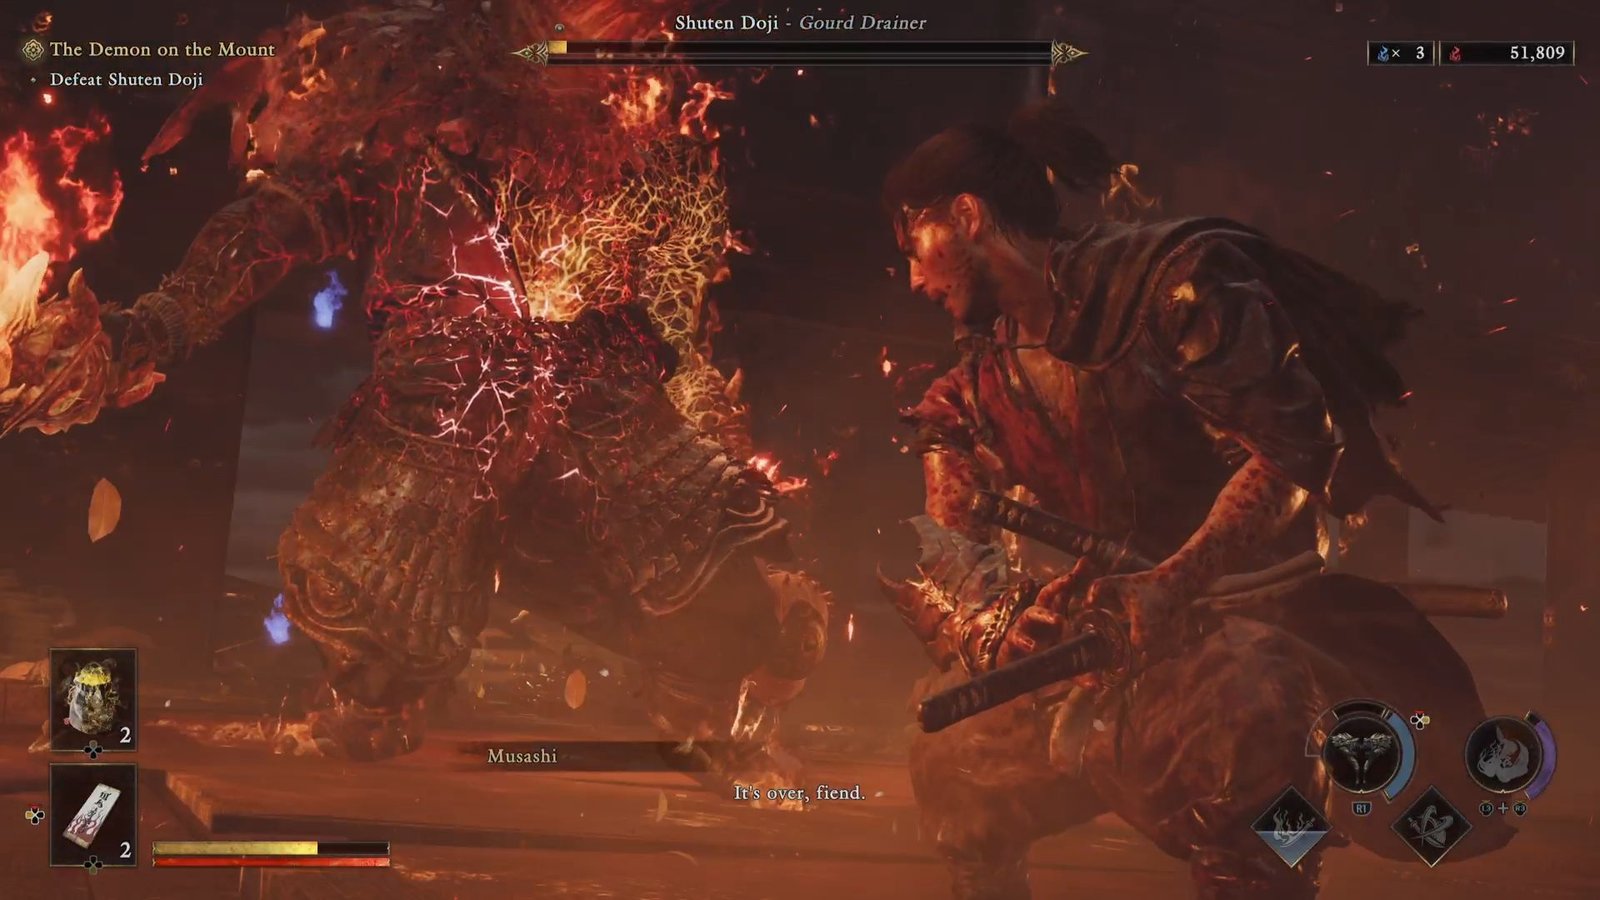
After completing the lengthy main mission The Demon on the Mount – you finally do confront the demon – who happens to be this giant boss Shuten Doji. He has a massive health pool, and is not helped by the fact that the damage you inflict hardly takes off a small slice of said health pool. What’s alarming, though, is – like Vicar Amelia in Bloodborne, he can heal himself – means that all the damage that you so laboriously inflicted can vanish off in seconds.
Added to the fact that, he, on the other hand, has devastating moves that inflict burn and can wipe off massive chunks of your health in seconds. However, when you take out all the show and jazz, the boss is essentially a set of moves that you can read and prepare for – and that’s what I will help you do in this article.
Shuten Doji – Strategy and Tips to take him down
The first and most important advice is for a move that he does in the second phase. In this move, he will raise his sword to unleash a fire attack; and at the same time, the floating head will ready itself to release a burst of flame. At this time – it is critical to hit the head with an arrow and stop it from doing so. You will have enough time to do this AND then deflect the sword attack – and even if you miss the latter, the damage will not be very high. Do this, and you will have taken out one of the highest damage dealing moves and made the 2nd phase much, much more manageable.
The second key advice here, is that after the first phase – there will be a (kickass) cutscene, and the 2nd phase will begin. If you die in the second phase, the fight will begin again only from here – which is a problem if you do not have many health potions left. So, unless you have 5, or atleast 4 health potions in phase 2, restart the fight from the beginning – yes, you will have to do phase 1 again – but all things considered, that will still serve you better in getting through this boss.
Whenever there is an attack opportunity, don’t get greedy and keep whaling the boss. The last thing you want is to be stuck in your attack animation when the boss is readying up the next attack.
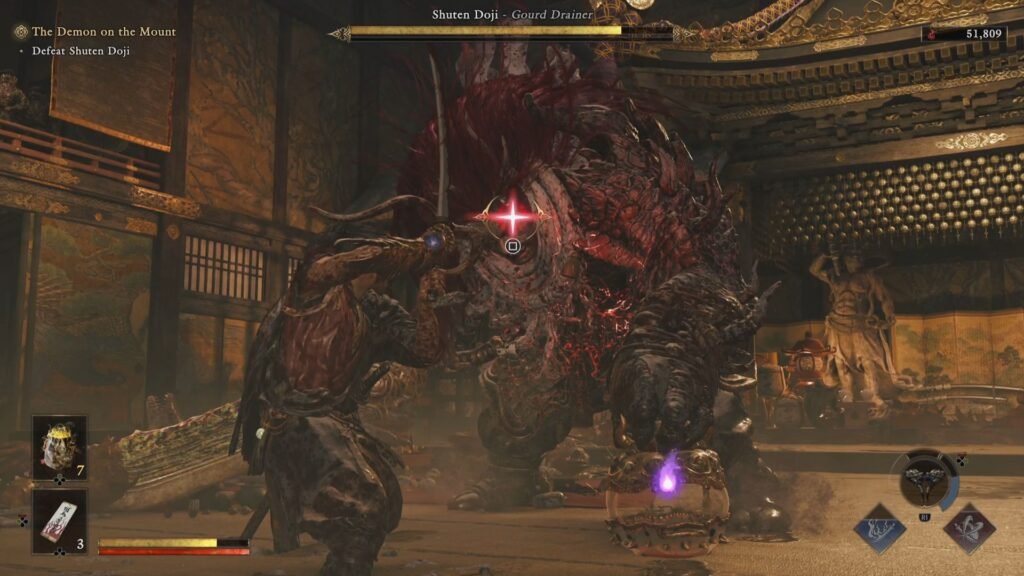
At all Break Issen opportunities in Phase 1 – take the Red Souls one that does max damage to his health – the Break Issen earned is too important to not take full advantage of and get his health reduced.
Which brings to the next point – this is going to be a long battle unlike the Sasaki Ganryu – 2, or the Benkei fight – so, bid your time, wait for the attacks that you are confident of and can read, and react to the boss’s moves here rather than trying to lead this fight by being aggressive.
In Phase 1, and sometimes in Phase 2, you will have him walk slowly towards you. Take that opportunity to fire in a few arrows – they do health and stamina damage.
Ensure you have your choice of charms fully upgraded, you have unlocked the Skill Tree to equip three charms. My recommendation for charms here will be the one that increases power of regular attacks, one that increases stamina restoration rate, and one that increases Blazing Gauge duration or power of Issen attacks.
From Basic Skills, ensure you have the Souls Absorption Yield and Bonus Boost maxed out – this will help trigger Oni Awakening one more time in Phase 2. In terms of Special Skills ensure that you have the Earth Shakers, and the Flashing Void Oni Armaments fully upgraded; as well as the Oni Agility: Fast Recover unlocked – this is one of the best skills in Onimusha WotS, allowing you to get into combat quickly after taking a blow.
With these tips out of the way, let me take you through the key boss moves in both phases, and how best to counter them.
Shuten Doji – Movesets & What to do in each case
Pull + Red Swing
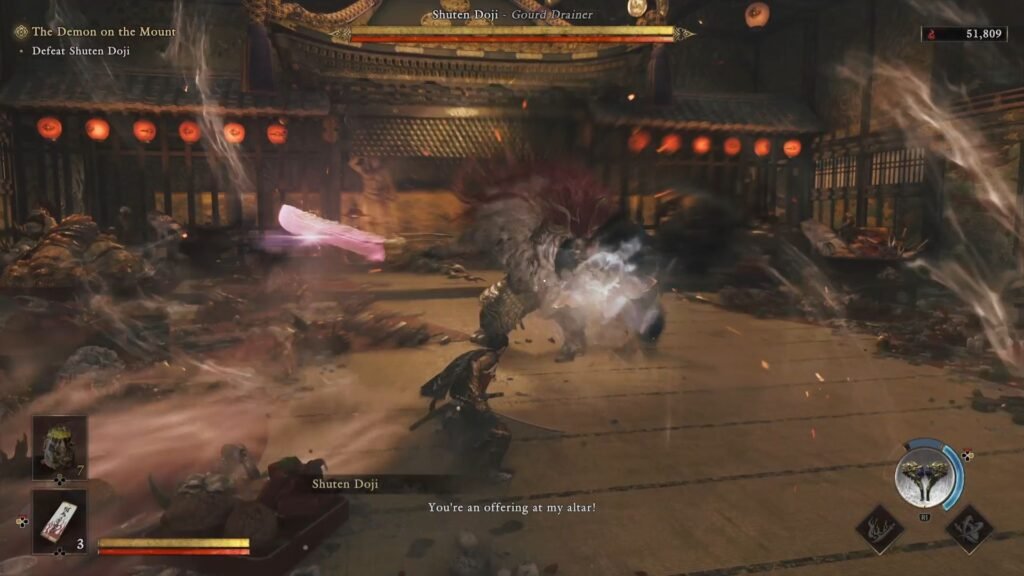
Shuten Doji will aim the gourd at you, pull you into his attack range, and then do an overhead slash red attack. You will have enough time to deflect this attack.
Kick, Straggle Backwards, and then Jump
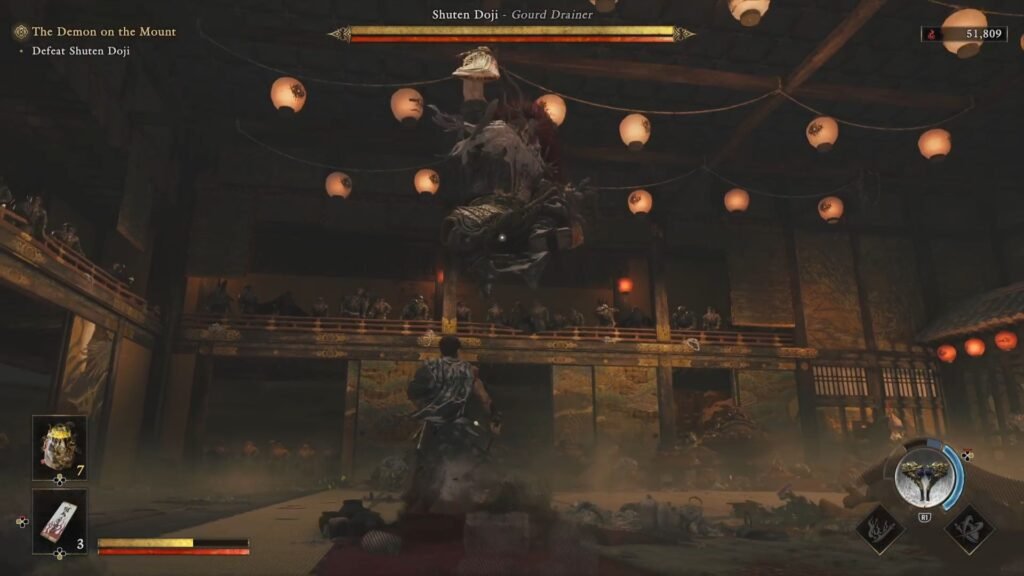
Shuten Doji will do a kick – dodge or block, then straggle backwards, and from here, either launch a jump attack at you, or do the above move. The Jump Attack is an easy tell, practice Issen against this move, you will deal a good amount of health and stamina damage.
Fire Attack Through Gourd
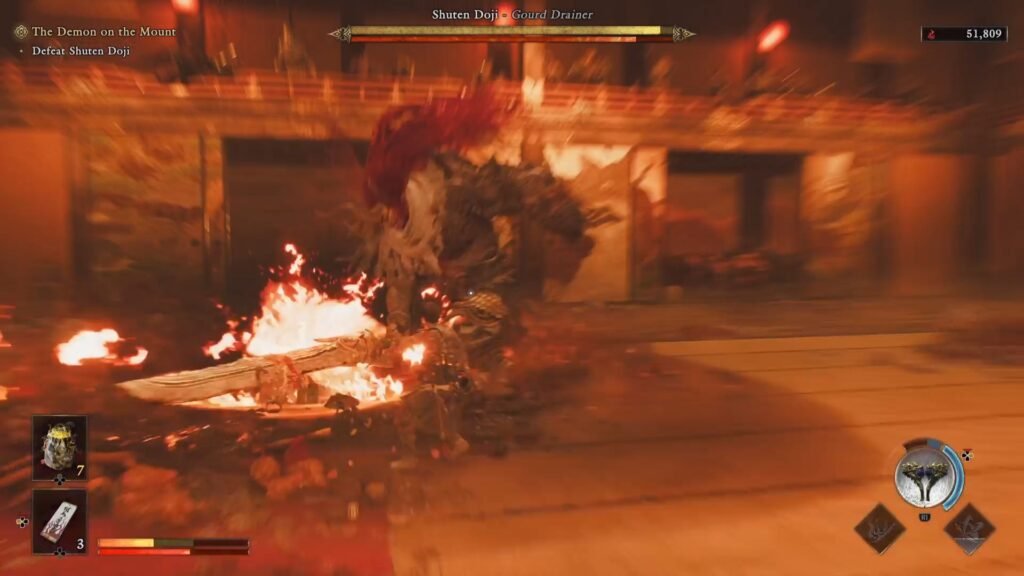
Shuten Doji will throw his Gourd on the ground, and hit it with his sword to have an AoE flame explosion. Jump at the moment the sword hits the Gourd to escape any damage.
Straggle Away and then Horizontal Slash
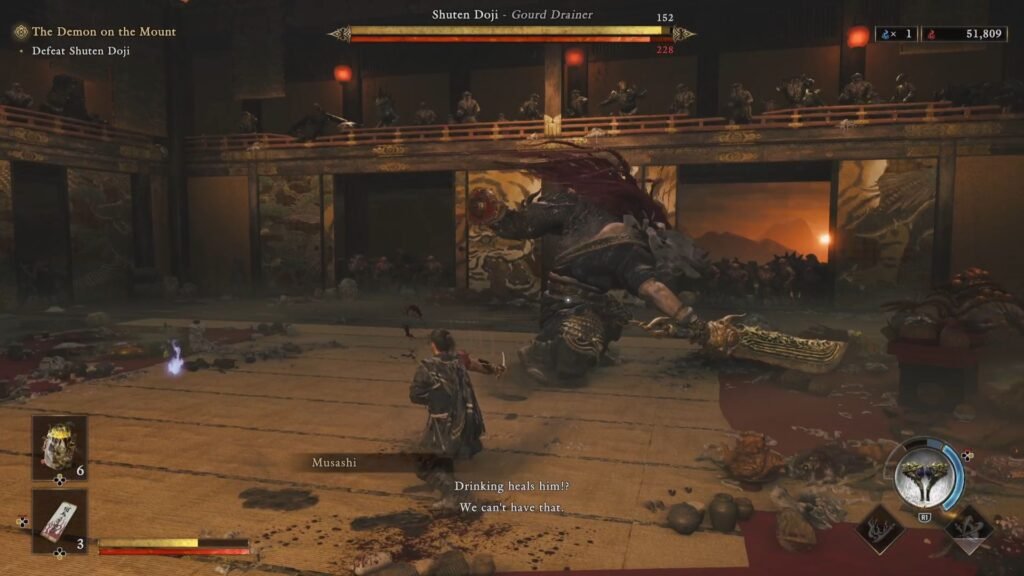
Shuten Doji will appear to straggle away and then suddenly turn and launch an horizontal slash. Parry or deflect this move.
On-ground errr… Dance Move
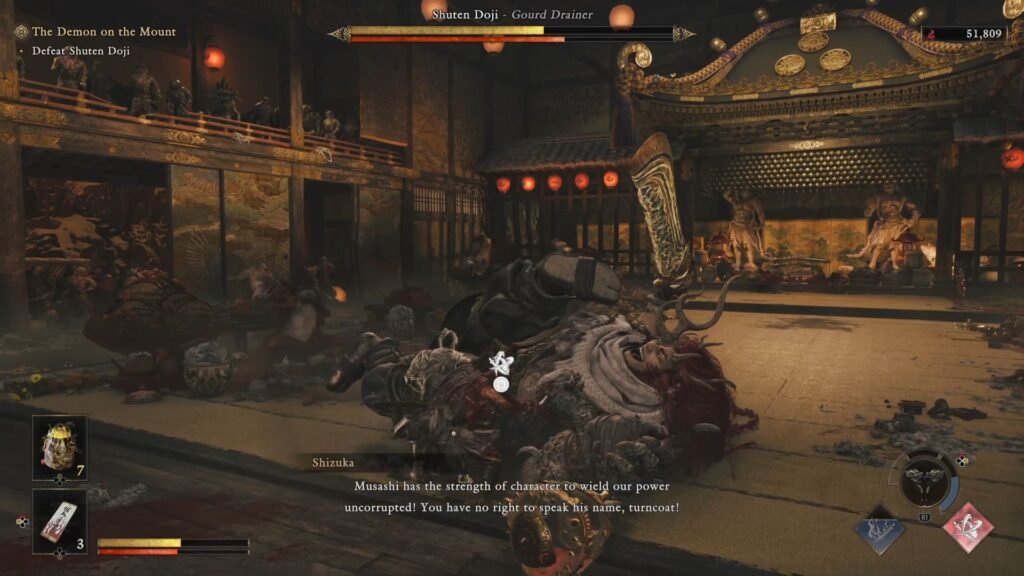
He will slam on the ground on his back – and after a delay, swivel on his back on the ground. This attack has a pretty weird hit box, stay away from him till he gets back on his feet. Sometimes, he will start to drink from his Gourd – it will be tempting to go in and land hits – you can get in two, or max three attacks. Step away after this, don’t get greedy, he will do his swivel move as soon as you come within his range.
If you are feeling confident, you can try Reflex Dodging the first attack – it will deal good damage.
Two overhead swings
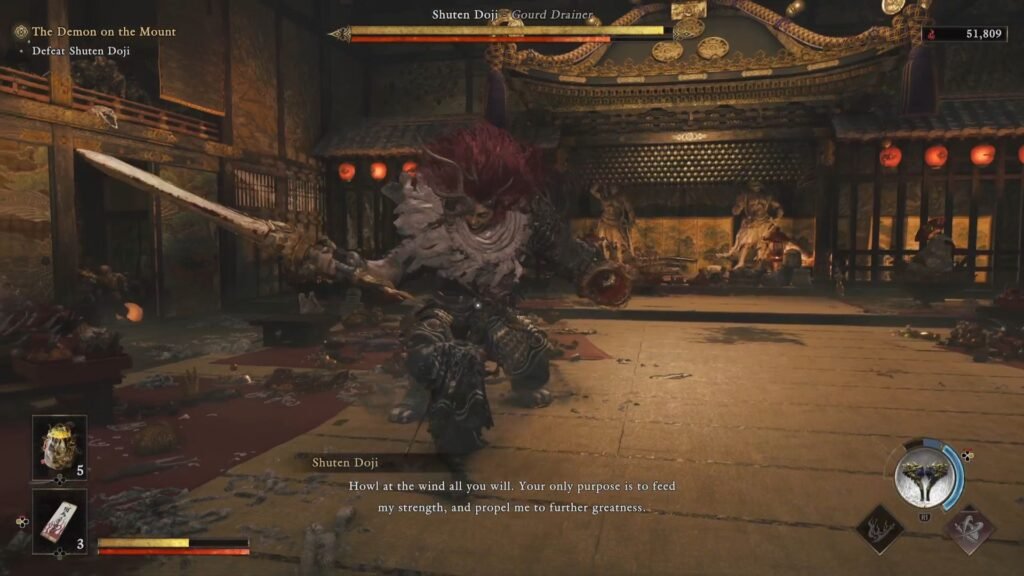
One from the left, and then one from the right – again, these are good opportunities to deflect and reduce his stamina.
Gourd Smash + Horizontal Slash
Shuten Doji will smash the Gourd on ground, and then do a horizontal slash. Stay away, or if you are near, block these attacks. A Reflex Dodge is also a good option here, and can help you land a few key hits.
Gourd Drink + Ablaze
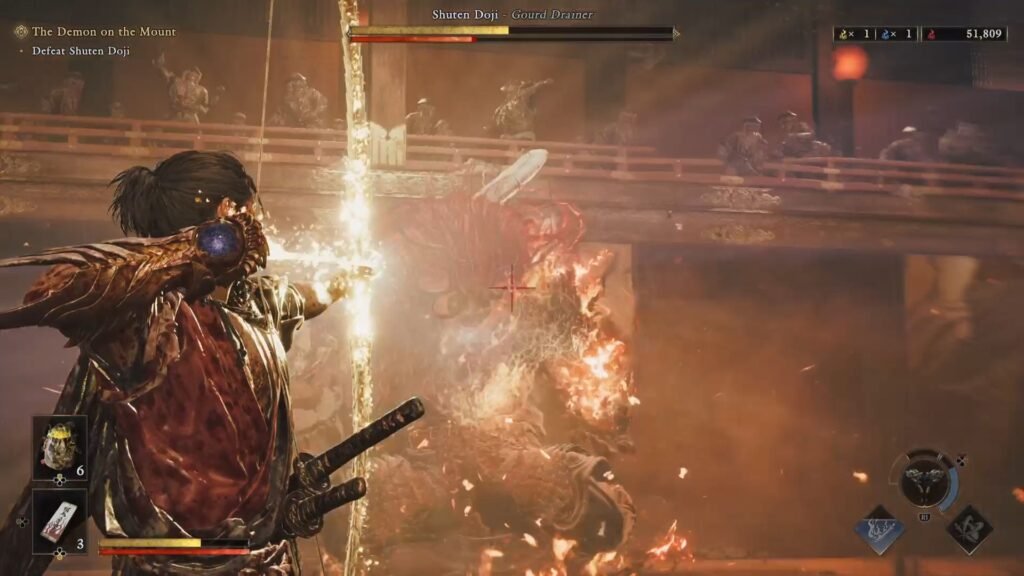
Shuten Doji will drink from the Gourd, and you will see him getting all fired up. Shoot the head before he can unleash all that fire onto you – this will also deal health and stamina damage.
Fire AoE
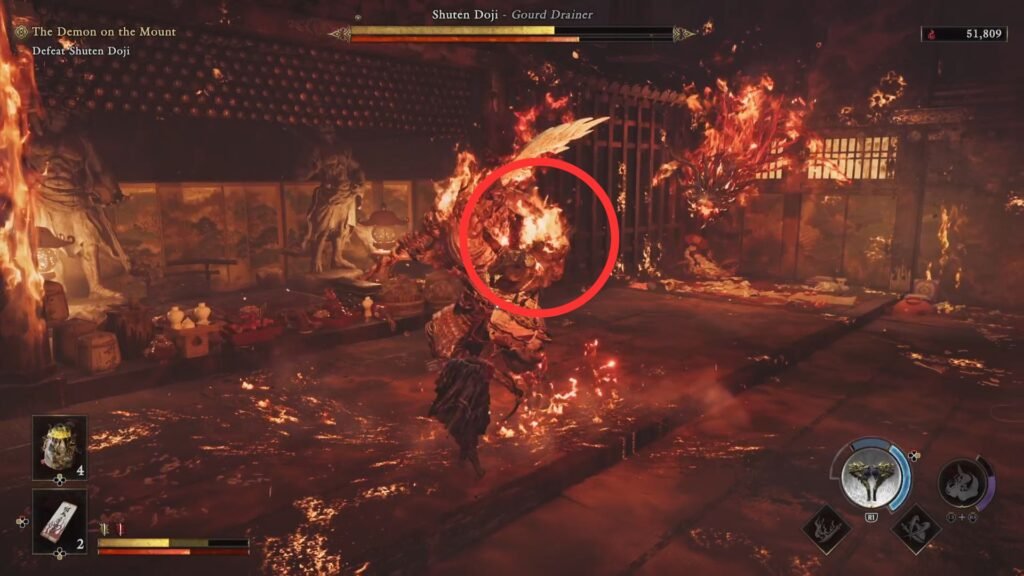
Shuten Doji will extend his hand, and then jump backwards – time for an on ground AoE attack – dodge to escape damage.
These are all the Phase 1 attacks. In Phase 2, most of these will get repeated, and a few ones will either change or get added onto. Watch out for these attacks in Phase 2
Alternate Swings + Head Slam
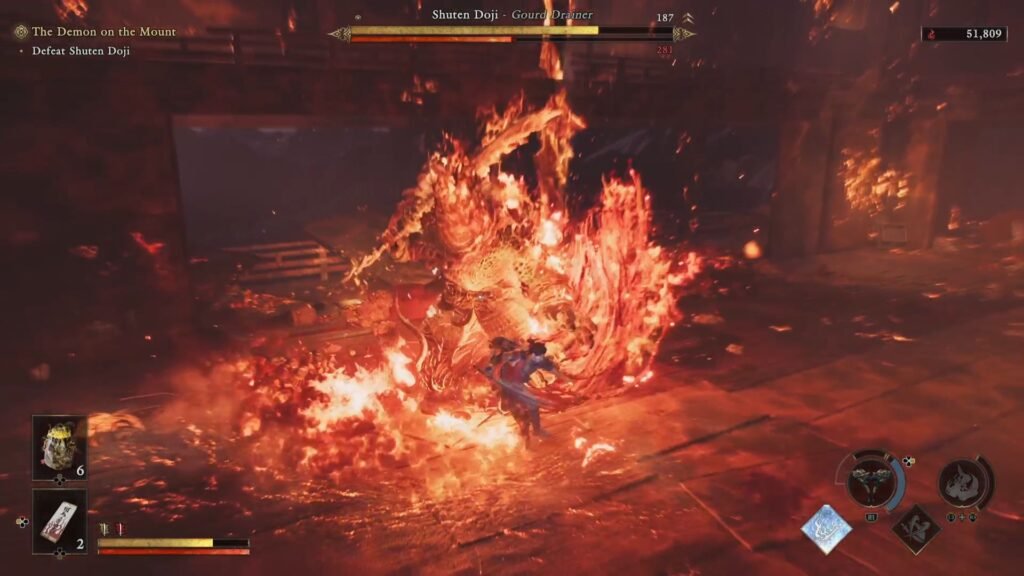
Remember the straggle away + Horizontal Slash? He will do two of those now, interspersed with a head slam that you need to dodge. So, the pattern of attacks will be Horizontal Slash – > Head Slam -> Horizontal Slash -> Head Slam; and hence your response must be Parry/Deflect -> Dodge -> Parry/Deflect -> Dodge.
Overhead Vertical Sword Attack ( + Flame Attack from Floating Head)
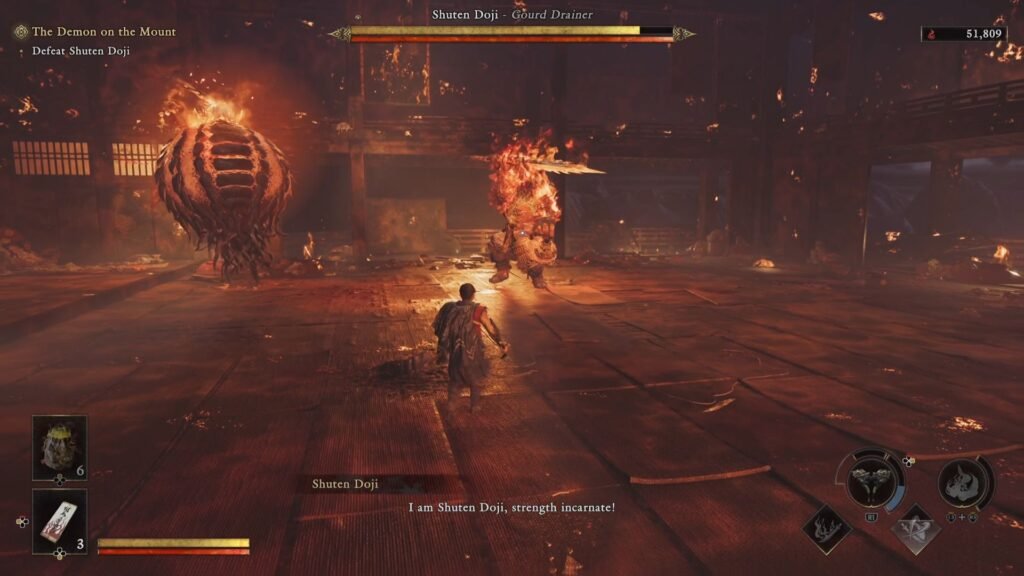
In most cases, though not always – he will follow the Alternate Swings + Head Slam with an overhead vertical sword attack. Now here, if you see the Floating Head prepare for a Flame Attack – the tell will be that the Floating Head starts to expand, and sometimes Shizuka will also warn, stop everything and shoot the Floating Head, even if you have to take damage from the Vertical Sword Attack.
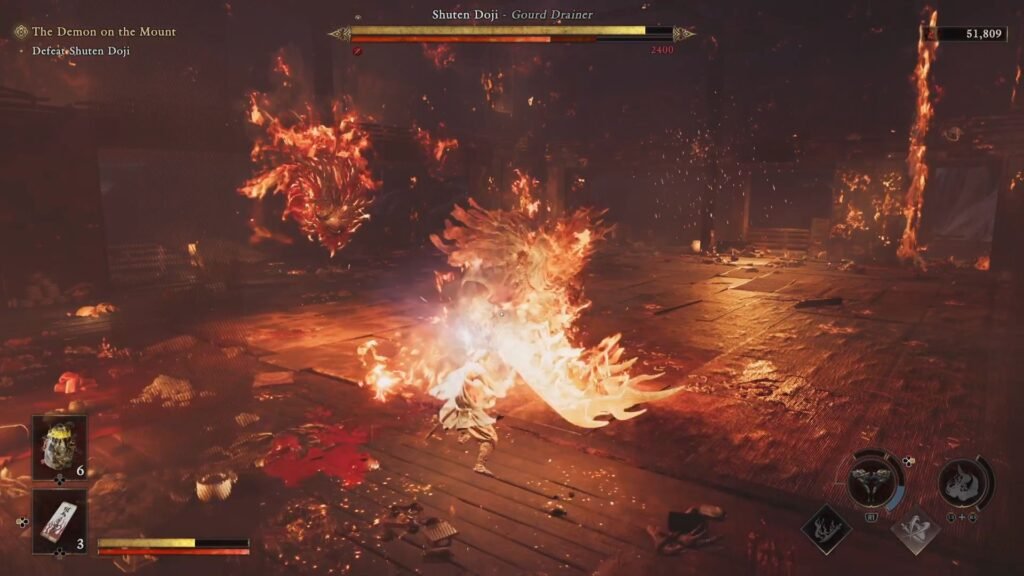
Sometimes, though, it will only be the Overhead Vertical Sword Attack – in which case, parry/deflect it – the attack is slow and you shouldn’t have a problem doing so.
Blue Grab Attack
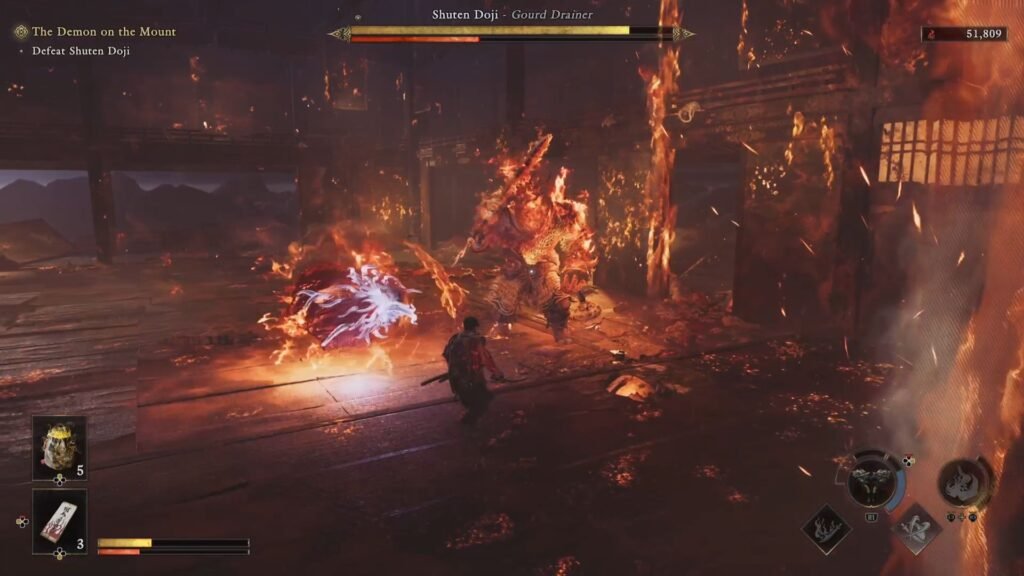
The Head will glow blue and then attack you, if you manage to dodge it, you will deal decent stamina damage. Else, you will get inflicted by Burn, so press O multiple times to remove that effect.
With this, you will be able to overcome this challenging boss in Onimusha Way of the Sword. The game opens up the last set of quests to explore and complete in the open zone in Eastern Kyoto. Make it a point to do all those, so that you can upgrade your gear to prep for the trio of difficult bosses in end game like Dokyo, and of course, Yoshitsune.
