
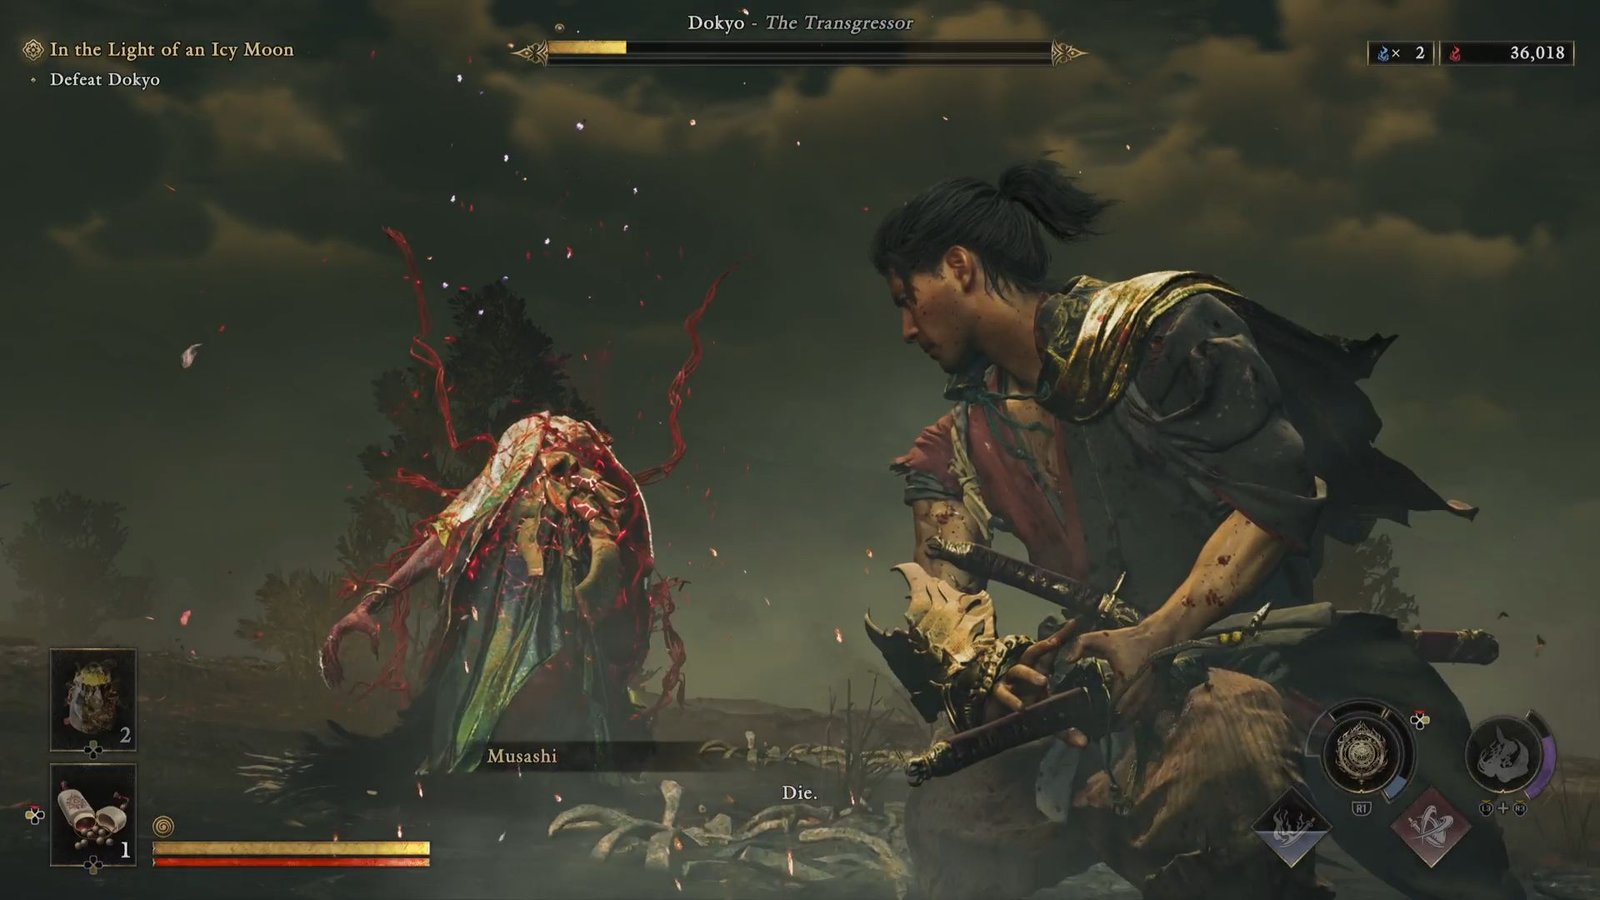
As you approach end game in Ominusha Way of the Sword, you get the fight that you knew was coming, and like you guessed correctly, it is the second last boss fight in the game – against Dokyo. What you may not have been expecting, however, is the nature of your fight. Rather than testing your core fighting skills, the boss fight with Dokyo, the trickster that she is, plays out quite differently, and forces you to use everything at your command – right down to the Bow, and Oni Vision; and turn her tricks against herself.
Here’s how to prepare for the boss fight, what to do against each of her moves, and defeat Dokyo in Onimusha Way of the Sword
Preparing for the Dokyo Boss Fight in Onimusha Way of the Sword
The 3 skills that I would recommend you to have in Onimusha WotS before taking on Dokyo are:
- Oni Vision: Search Range – This increases the range of Oni Vision, and will help counter one of the moves that I will detail below.
- Items: Quick Use – There will be limited opportunities to deal damage. There is one, though, where you can get a confirmed few hits in, and so it makes a lot of sense to take one of your damage increase items before that in the limited time window that you have.
- Firebird Flute: Projectiles – Most of the other Armaments will not be of much use, except perhaps Still Water. The Firebird Flute, though – keeps dealing burn damage as the boss continues to dish out her other moves where you can’t do much, and hence is better suited here in my experience.
All Dokyo Movesets, & How To Counter
The boss, like most others so far, has 2 phases. I will run you through each of the several moves that Dokyo has, and what best to be done for each of those. I have put them up starting from moves that are easiest and telegraphed
Surrounded by Masks
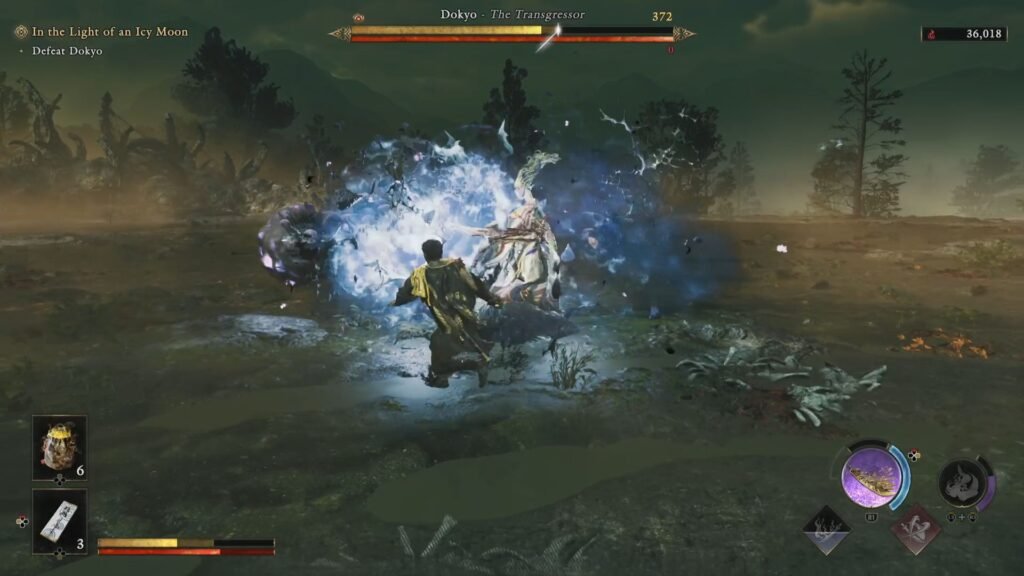
Dokyo will surround you with masks, that transform into those flying objects that inflate and burst to deal damage. Run towards Dokyo, and these will instead burst around her, deal damage, and stagger her enough for you to land in a few choice hits. This attack will repeat in Phase 2, with the change that there will be 1 red blob that remains in the end. You have to grab this when it glows blue, and throw it at Dokyo, to then deal damage to her.
AoE Attack – Raising All Stones
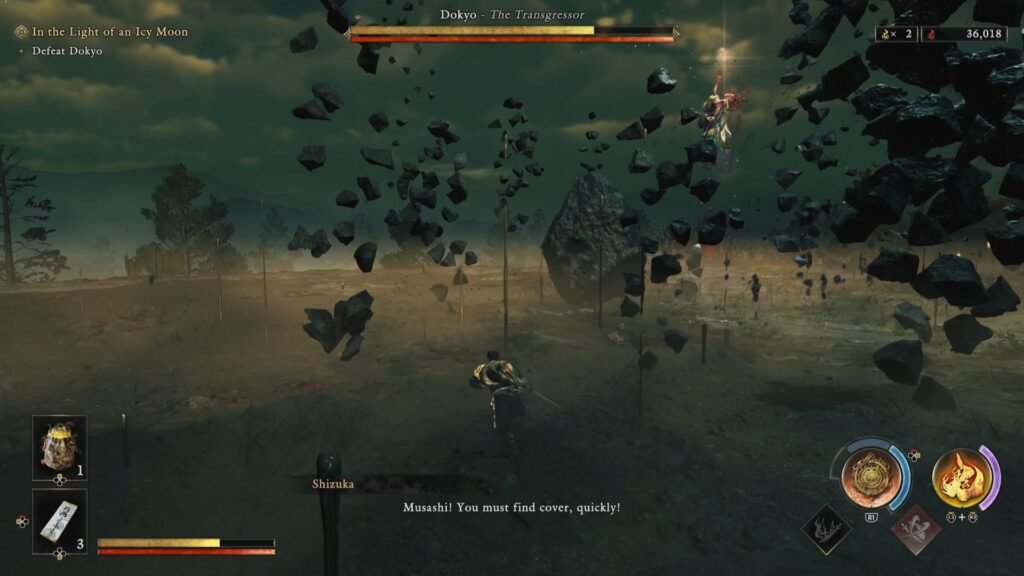
This attack will happen only in Phase 2. She will trigger all stones, except for one, and you have to go and hide behind it before she executes a devastating AoE attack. It is generally easy to spot that one big stone and take cover. This is the perfect time to take your damage increase consumable. Once the AoE attack is done, you will have a piece of stone in front of you that you can pick and throw at Dokyo to deal damage and stagger her. Quickly run up to her and dish out your most high damage moves.
Disappear and Reappear
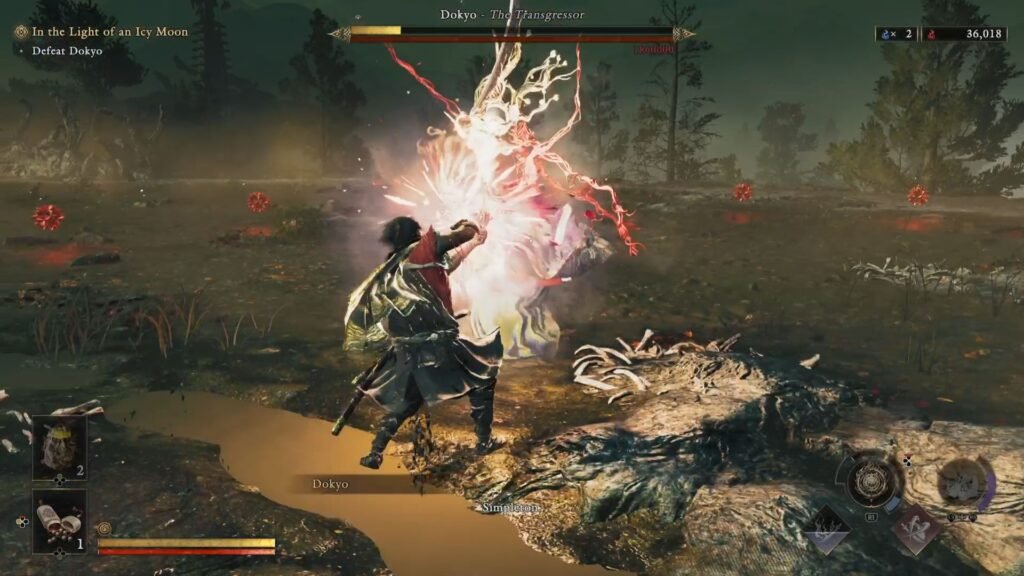
Again, this happens only in Phase 2, she will disappear from the arena and then reappear with, for once, a melee attack. You will probably not get it the first time round purely because it is unexpected, but once you know this attack, you will find it easier to deflect. Also, mostly (though not always), she does this attack after the barrage of those pesky objects that she opens Phase 2 with. The good thing is, there is a verbal cue with this – the moment you hear her say ‘Simpleton’, means that you need to be ready for this attack.
Two Dokyos With A Net
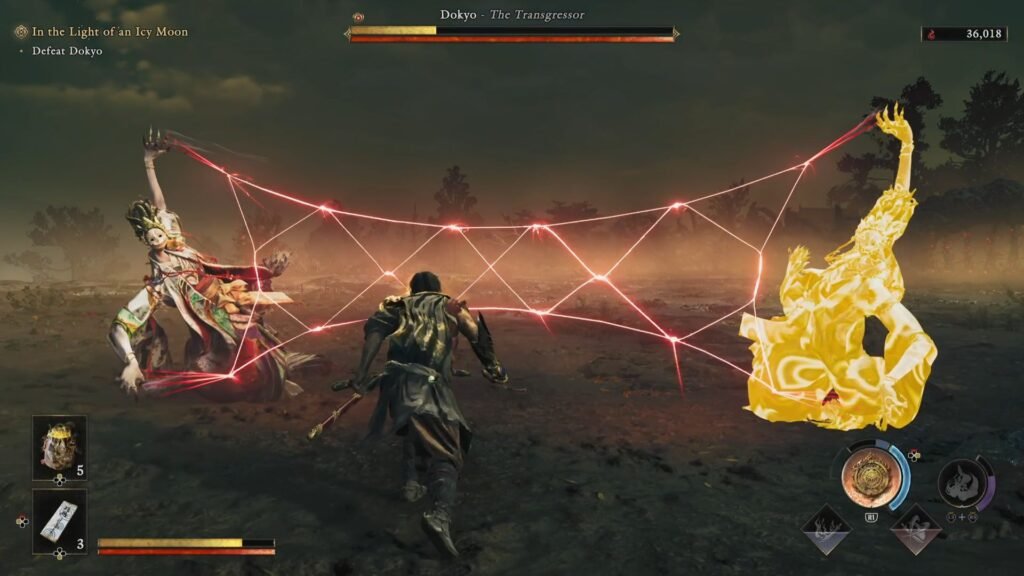
One of the two is a duplicate, as soon as you see them approach you with a net, press L2+ R2 for Oni Vision, and the duplicate Dokyo will get highlighted. The extended range upgrade helps here, since you can spot her much earlier than if you had not taken this upgrade, giving you time to shoot the glowing, duplicate Dokyo. Once you do that, the real Dokyo gets damage, gets staggered, and you can land in a few choice hits.
Masks In the Air
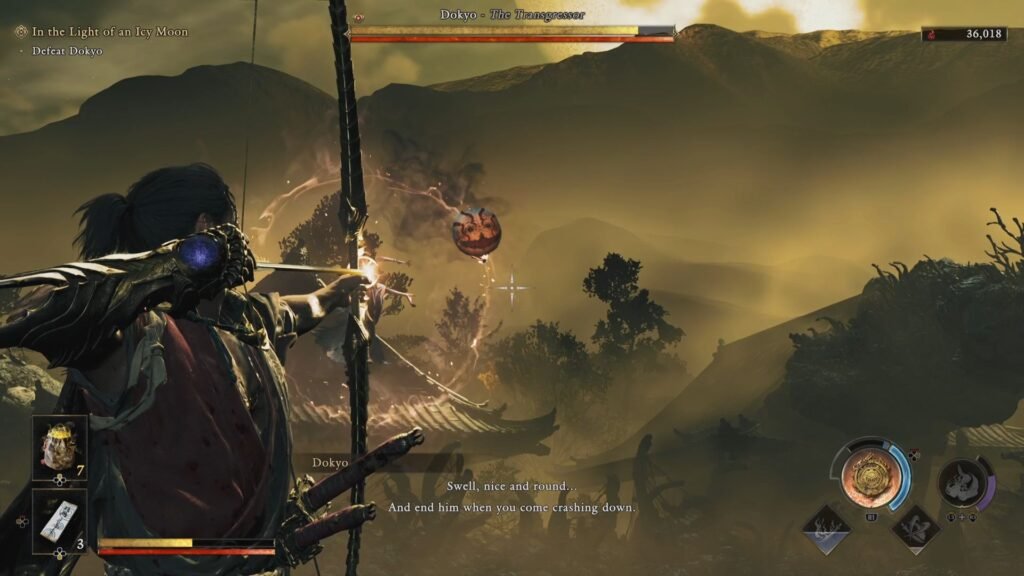
In Phase 1, she will occasionally rise up, surround herself in a circle, with a mask moving along the edge of the circle. Shoot the mask to cause fire damage. Phase 2 complicates matters by having 2 masks that you need to bring down. When you see this attack, get some distance between you and Dokyo to allow you enough retries to shoot the mask with your Bow. Once she is down, then try running quickly to her and land in a few blows. If your Oni Armament skill is charged, now would be a good time to throw the Firebird Flute at her.
Fire Vents from the Ground
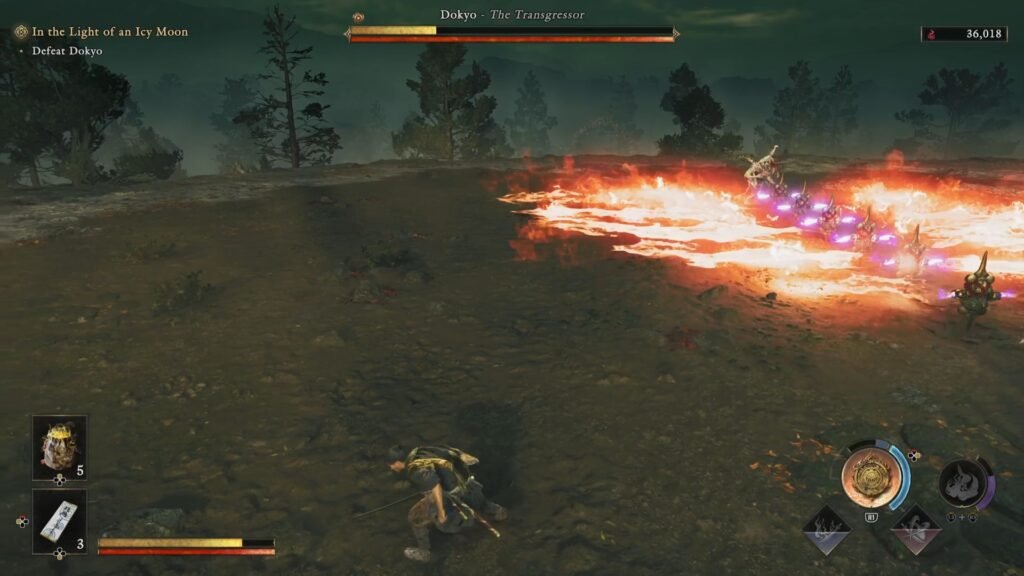
In Phase 1, she will get a series of fire cylinders to rise up from the ground, and then vent out fire from each of these. As soon as you see her keep some distance from you, remove the lock on on her, and run away diagonally from her – this will prevent damage from both of her actions.
Objects Barrage
Finally, her bread and butter move; and the most annoying one as well. In Phase 1 atleast, when she starts with this, you can quickly dodge through them to reach her and attack. However, as the fight progresses, and she starts mixing those red lasers; and especially in Phase 2, it is not worthwhile to try and dodge those to reach her. This is because by the time you do that, she would have disappeared onto her next moveset, making the effort useless. You can technically deflect everything except the laser beams back at her, so if you want to give that a shot, you are welcome. I preferred to just move around, dodging all that she throws in this attack, and wait for the other more workable movesets to dish damage.
One last note though on this. At the very end, she will often throw a spiked cylinder with masks around it. This is the one to try and deflect – if you can get that back at her, it will deal damage and stagger her. In Phase 2, this attack will need two deflects as she catches this the first time you throw it back at her and sends it your way once again.
General Tips for the Dokyo Boss Fight
- This is a boss fight where you react to the boss moves, rather than maintain aggression and pressure over the boss. So, take your time and don’t expect this to be a quick fight, or get impatient; especially if you are taking up this fight in Carnage Mode in Onimusha: WotS
- Listen for verbal cues – they tell the move that Dokyo is planning. ‘Burn them down to the marrow’ means the Fire Vents. ‘Simpleton’ means the melee attack.
- When running diagonally away from the Fire Vents, remove the lock-on on Dokyo, else you might not be able to get the required safe distance from the fire.
- When running to get cover behind the biggest stone for the AoE attack, ensure that you stand right next to it. It has happened to me a couple of times that I was what can be considered behind the stone, but at some distance – that does not work.
- Use the Awakened form after you have hit Dokyo with the stone after the AoE attack. You will get a small but useful window to throw in uninterrupted attacks on her as she is staggered.
