
Mirage Estate in Phantom Blade Zero is a clear move into end-game scenario. That is why, the game also gives a warning through Inanis- if you are strong enough and ready to take this area on, or if you have other things that you would rather complete first.
If you have been following this walkthrough, you would be more than ready to take this area on, after completing the Mountain of Imprisonment, Crimson Manor, and the Secrets At The Heart of the Lake.
Everything that you complete here in Mirage Estate counts towards the completion % for Pangzhen, so, treat this as the third and final walkthrough for that area. We will also be carrying over the count from Part 1, Part 2 and Part 3 walkthrough articles for Pangzhen, so that in the end, we can look at the overall completion for that region.
On This Page
See here for where the Mirage Estate region sits in our Best Progression Route for the Perfect Ending & 100% Completion.
Entering Mirage Estate
Ring the Mirage Estate Rear Entrance bell, after reaching there from the Green Serpent Manor in Pangzhen. Watch the cutscene. This would be a good time to revisit Crimson Forest for 100% completion – now that it is snowed over, it has opened up the balance area to explore.
Once that is done, return back to the bell and continue ahead – till you get interrupted by the Herald, teasing you using Yu’er’s body.
You will now be ambushed by a new enemy type that you will be coming across regularly in this area. You can parry its attacks easily to deplete the Sha-Chi bar. Watch out for the jump attack that needs to be dodged, other wise this should not cause you any trouble.
Yu’er’s Memory Flower (1/3) | Patron Gao’s Memory Flower (1/3)
Go straight and collect the Memory Flower, and the chest with the upgrade materials. Go left from there, and collect the loot from another chest at the other end, Flawless Forged Metal from it’s left, and open the door to the building. Clear out the enemies and collect Blazing Darkfire Charcoal, Skilled Healer’s Memory, and the Memory Flower.
Thread-Binding Sect Disciple’s Memory Flower (1/4)
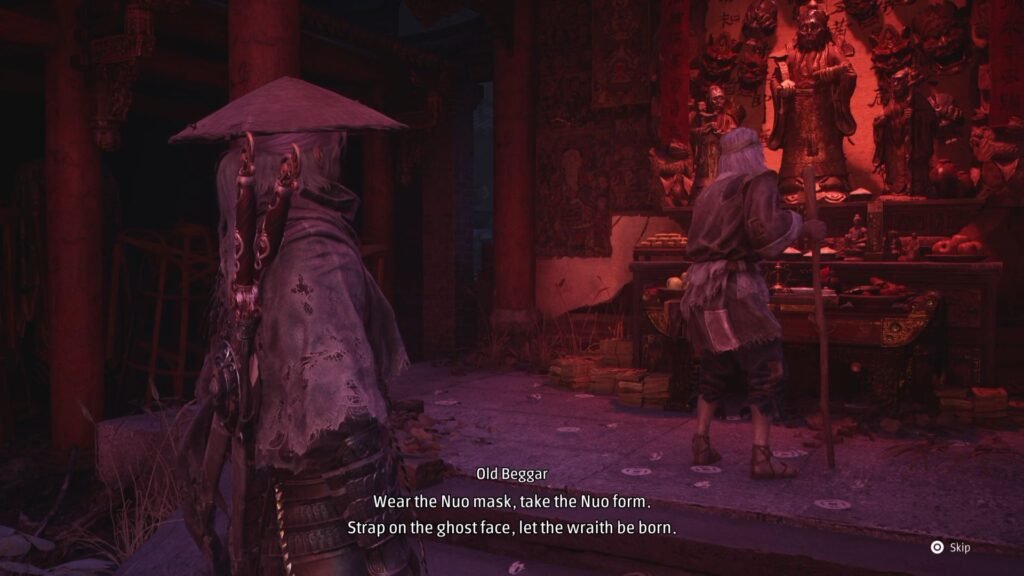
With that exit the compound, to have a set of steps leading up on the right, and a path straight ahead. Take the latter, first – for another Memory Flower, and a chest with upgrade materials. Continue up the stairs to ring the Nuo Mask Altar bell, and find the Old Beggar who looks to have made his way here as well, speaking in his usual cryptic riddles.
Blackstone Shard #9
Collect the Traversal Talisman from the right, retrace your steps to the courtyard, and now, go straight ahead, to formally begin The Way Forward main chapter in Phantom Blade Zero.
Go to the right, do not take the rope yet. At the other end, there will be a passage that leads up. Continue on that path, defeating the screaming masks, and take the grapple to the top floor of the building. Predictably, there is an ambush. Defeat the enemies, and open the chest for Blackstone Shard.
Take the rope to slide down across. Collect the Forged Otherworldly Copper, and you will be back at the same place. Now, you can take the rope to go down, and then the ladder at the other end to go a level down. Down the steps is the Below the Fire Tower bell.
Feather Fan Plume
Open the door to the building, to collect the Feather Fan Plume accessory. Collect Ying Mechanical Gear, exit the building, and use the rope next to the bell to swing across. Defeat the puppet, collect the loot from the chest, open the gate, and ring the Back Hill bell.
Continue past the bell, defeating the screaming masks, picking up the Weapon Reforge Talisman on the way. From the point where the enemy ambushes you:
- First, go straight with the puppet with a cannon, and one with a spear + shield attack you. Collect the Ying Mechanical Gear, and straight ahead from there, loot the chest with upgrade materials.
- Now, retrace your steps to go right, collecting the Illusory Incense Ash from the altar, as you arrive to a building with a corpse lying on the right of the entrance.
Amber Shard #9
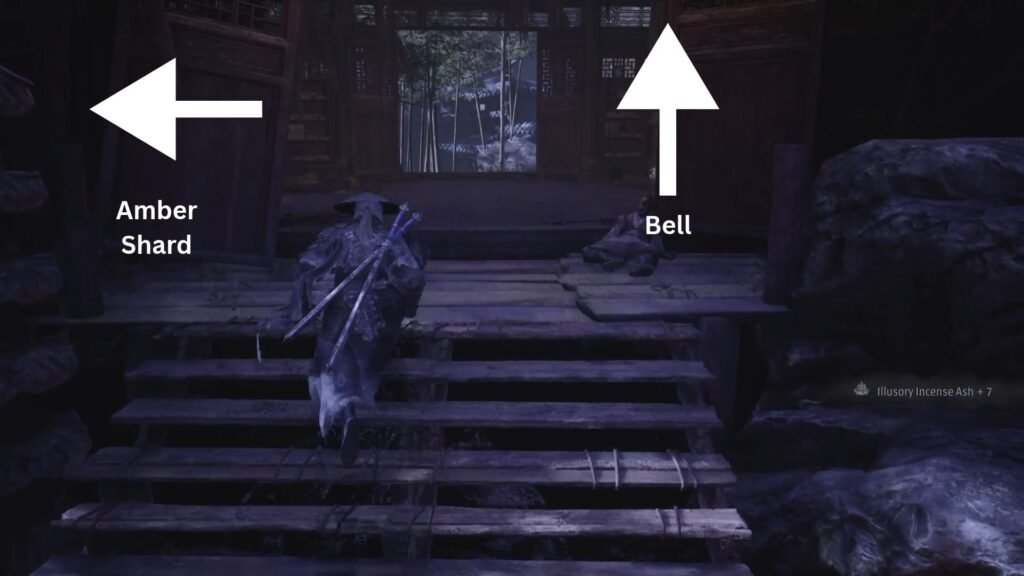
From here inside the building, the path straight ahead leads to steps that lead you to the Shaded Path bell, and the path on the left leads to a corridor with wooden planks that lead you to the Nuo Mask Fragment: Sorrow, Amber Shard, and Ying Mechanical Gear.
Thread-Binding Sect Disciple’s Memory Flower (2/4)
Jump down from the bell into what is clearly an enemy group attack area. Once cleared out, on the left is a Memory Flower, and straight ahead from where you jumped is a chest with upgrade materials. Now, go to your right, collect Universal Solvent, Traversal Talisman, and follow the corridor with all the red lanterns. The building that this opens up into has Skilled Healer’s Memory on the left, and stairs on the right. These lead to a chest with upgrade materials.
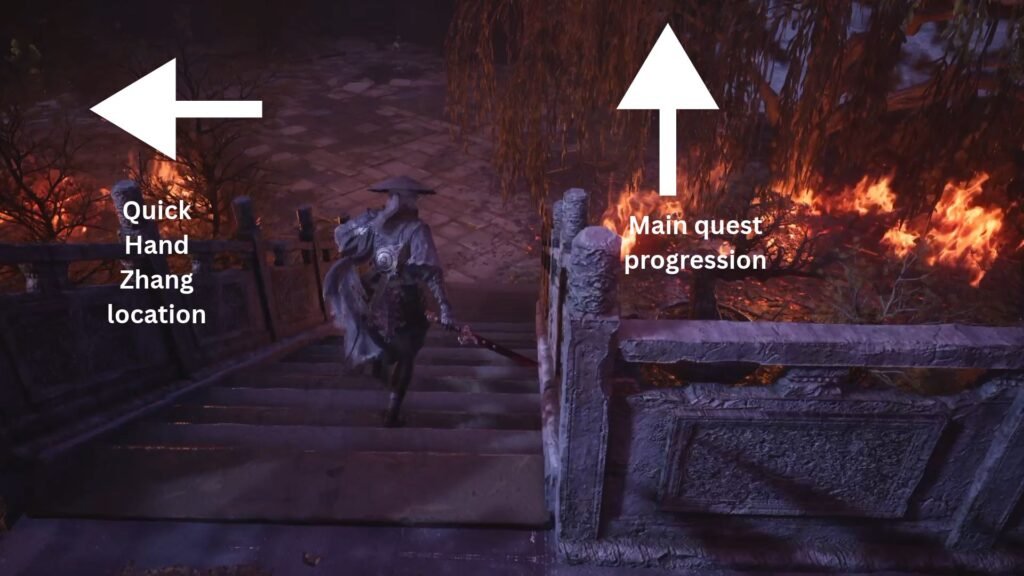
Exit the building into the open area, to defeat the lightning-based puppet enemy, and from here, the left path leads to Zhang’s Hideout (Mirage Estate) bell (a chest on the right just before the steps has upgrade materials), and on the right of the bell is Forbidden Camphor Timber. Interact with him to get the treasure item list for this section, and Maintenance Oil Soul Tempering Material for the Goldblaze. Ensure that you get the chest just behind him. With that done, head back the other path, and open the gate.
You will find yourself in a pond with a bell to the right – the Opera House bell. Collect Universal Solvent from the left side of the bell, and Searing Darkfire Charcoal from the right. Defeat the enemy here.
Exploring To Find The Opera Ticket
Now here, there are 3 gates (not counting the one you entered through). One, across the pond with a mask on it, and requires an ‘Opera Ticket’ to enter. The second, on the right side of the bell, which cannot be opened from this side. Take the only one that is currently open, collected Flawless Twinned Metal on the way.
Amber Shard #10
Collect the upgrade materials from the chest on the left, and take the steps ahead. Defeat the two enemies, and collect loot from the chest in front of the Red Threads.
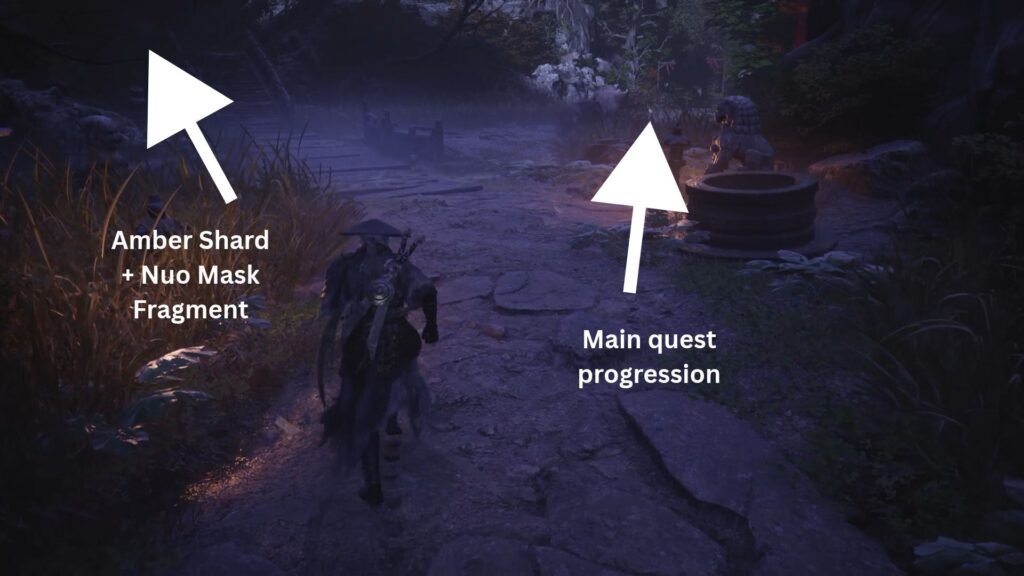
Now, there are 2 paths here – steps up straight from where you came, and a path on the right. Take the steps up, and they will eventually lead you to an enemy ambush, and a chest with Amber Shard, and Nuo Mask Fragment: Wrath. With that done, take the path on the right.
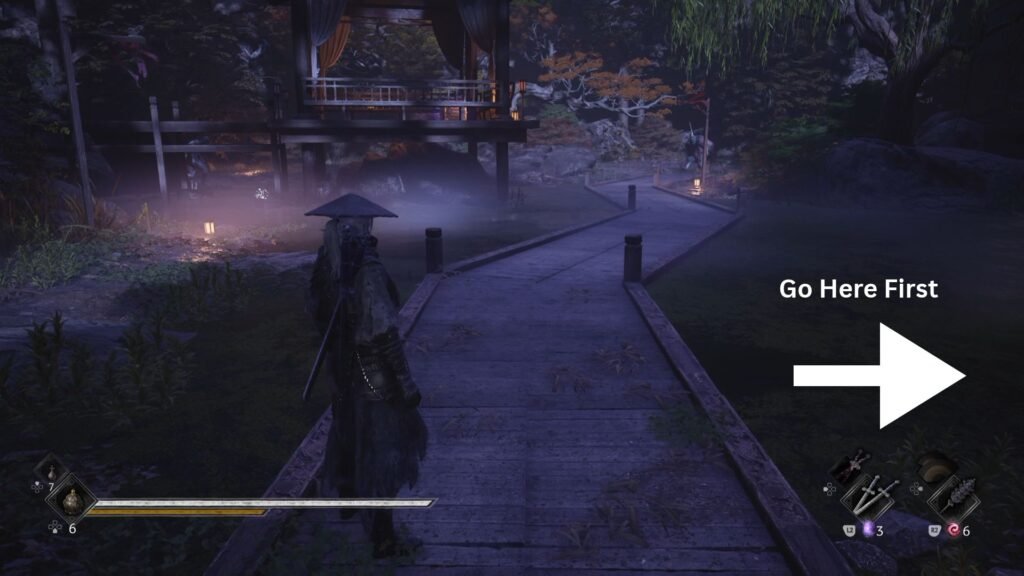
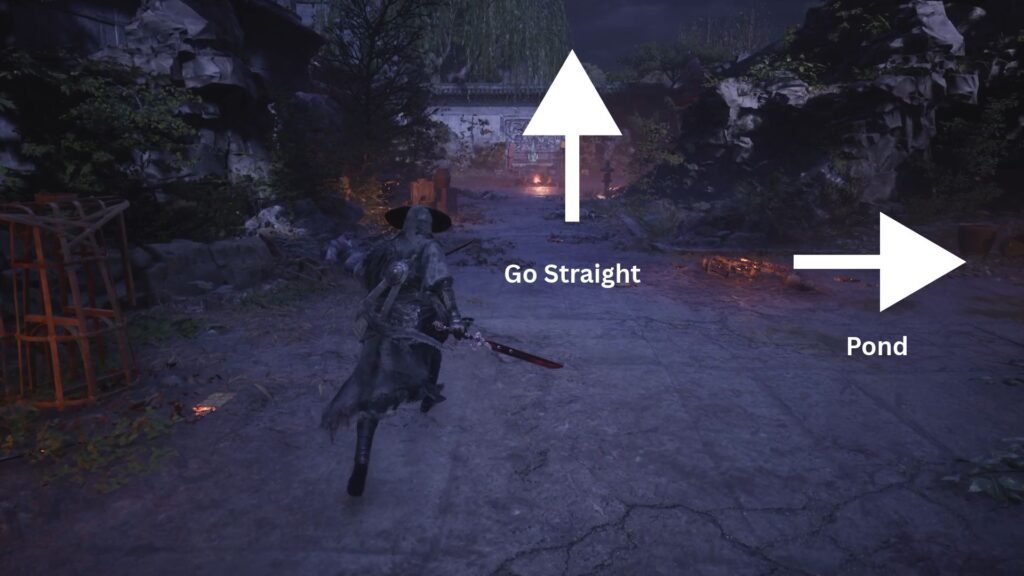
Taking the path on the right, you will arrive to an area as shown above. Before going straight, look to your right, for a path that overlooks a stream on your left below.
Ritual Wine | Executioner’s Headscarf
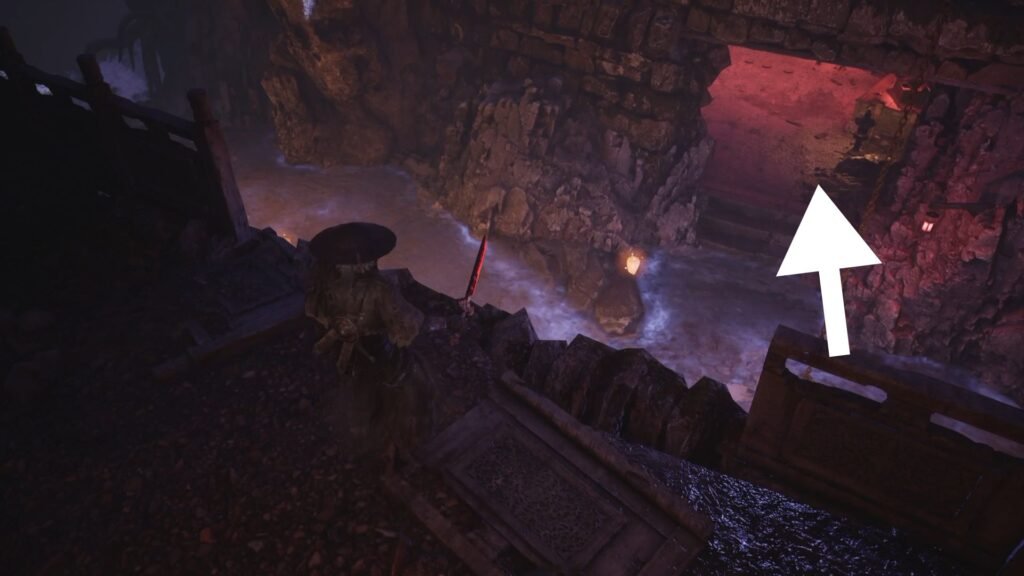
Jump down, loot the chest on the left, and enter the passage to collect Ritual Wine Medicine. Take the ladder on your left up, and you will emerge out to an open area with a new puppet enemy type – again, at this stage, honestly – these should not trouble you at all.
Defeat it and open the chest to get the Executioner’s Headscarf accessory. Take the Skilled Healer’s Memory from the right, and now use the iron chain to swing across back to the place from where you jumped down.
Blackstone Shard #10
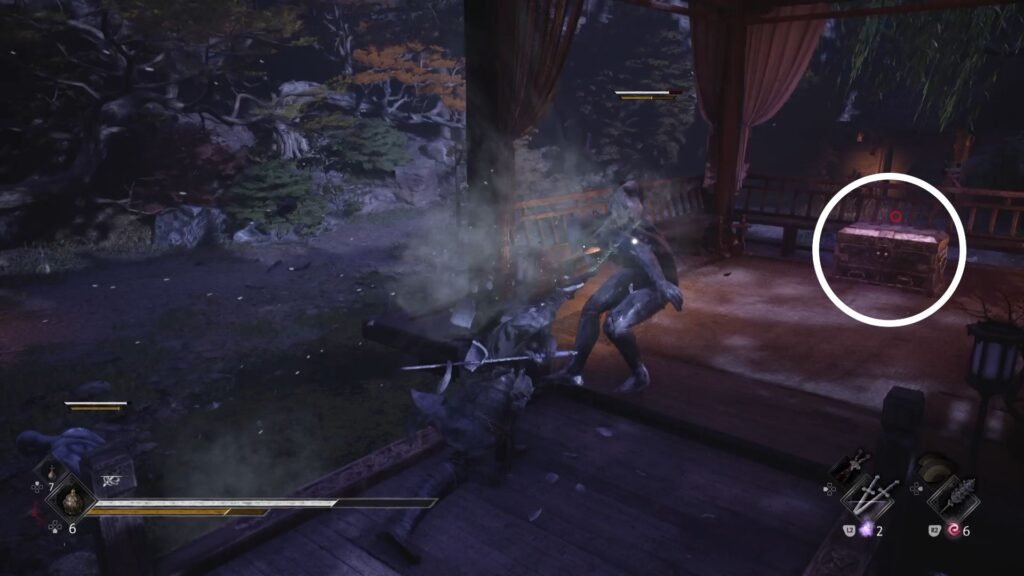
With this part of the area done, go back to the area with the small path through the water. Defeat the enemies and get Blackstone Shard from the chest. Continue ahead and exit this area from the circular open exit, to be treated to a panoramic view of the Training Grounds – from where you will need to ‘earn’ your Opera Ticket.
From here, it is a straight linear run to the Training Grounds bell. Enter the area, and begin your fight against enemy waves:
- 2 puppets armed with a (shield and spear), and (shield and sword).
- 2 dual sword wielding enemies introduced in this region.
- 3 puppets – two with hand cannons, and one with the lightning based attacks
- 4 puppets linked to another wielding the umbrella with saw-like blades
Defeating them gets you … a boss fight! Yes, so you will have to go through a boss as well before being able to reach the ticket.
Yuding No. 12, Crescent Blade Puppet
Almost a throwback to the Lies of P weapon, the Yuding No. 12 wields the 2-handed Crescent Blade, and like any such sword – it’s attacks hit slow, but hard.
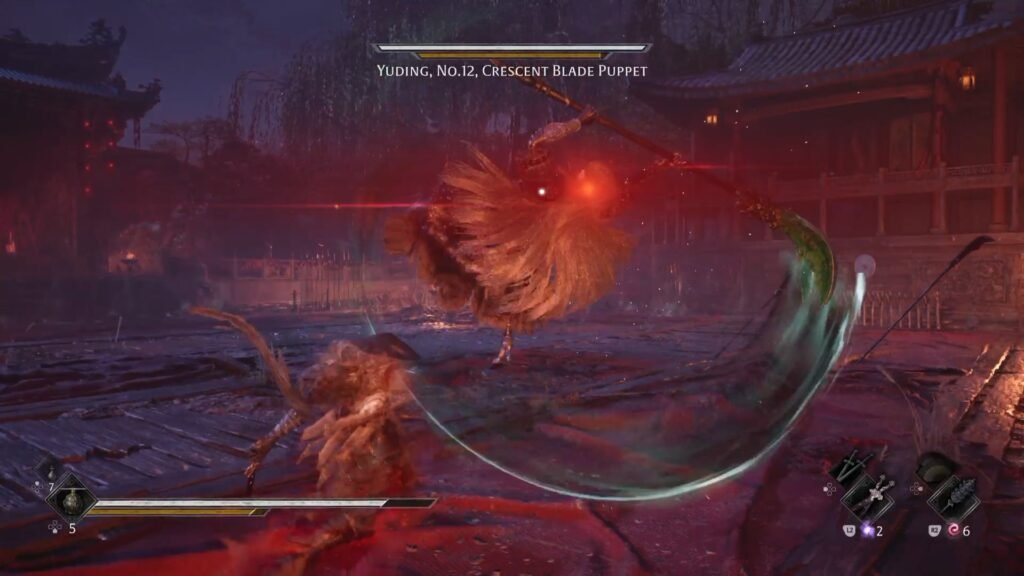
There is one particular moveset where it will swing the weapon horizontally 3-4 times which you can parry, with one final overhead swing which will be a red glowing attack for you to dodge and get your damage in.
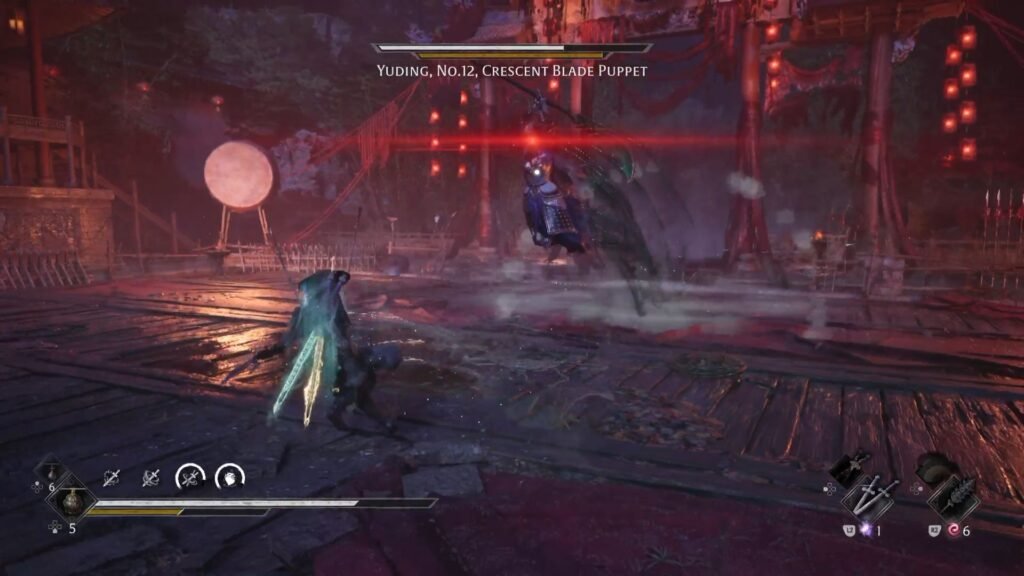
The other one is where she will call in a small storm around her, and then grip the weapon with 2-hands, launching herself at you in a red glowing attack.
The last attack to be mindful of is when she swings the blade vertically 3-4 times, she will then end with a horizontal swipe, which sometimes ends in a red glowing attack.
Other than these, you should be ok – it is best, though, to ensure that your health is atleast at 60%-70%+ at all times, so that if you get caught in one of her attack chains, or in a red glowing attack, you still remain in the fight.
Crescent Blade | Memory Flower Of The Three-Faced Puppet (1/3)
Defeating her gets you the Crescent Blade, and also a Golden trophy / achievement if you have defeated the other 3 puppet boss fights (Yuzan in the Village of Lu, Yubi in Mandate Encampment, and Yucong in frozen Crimson Forest).
Now, finally, you can collect the Opera Ticket. Take the steps on the left to loot a chest with upgrade materials and the Memory Flower.
Quick Hand Zhang Treasure Item #1
Now, go right from where you collected the Opera Ticket for a set of steps that lead you to another open area. Here, collect Incense Ash for the Lady from the left, and enter the building straight ahead. Here, on the right, is General Bronze’s Mirror – Quick Hand Zhang’s Treasure Item #1.
Amber Shard #11 | Patron Gao’s Memory Flower (2/3) | Yu’er’s Memory Flower (3/3)
Take the steps up to the first floor, collect upgrade materials from the chest, and cross the corridor to collect the Memory Flower. Next to this, is a ladder that leads down, and an exit with steps going up. Take the ladder first, collect Tainted Crystal Shard, The Pillars of Kunlun Note, Universal Solvent from outside, and Blazing Darkfire Charcoal.
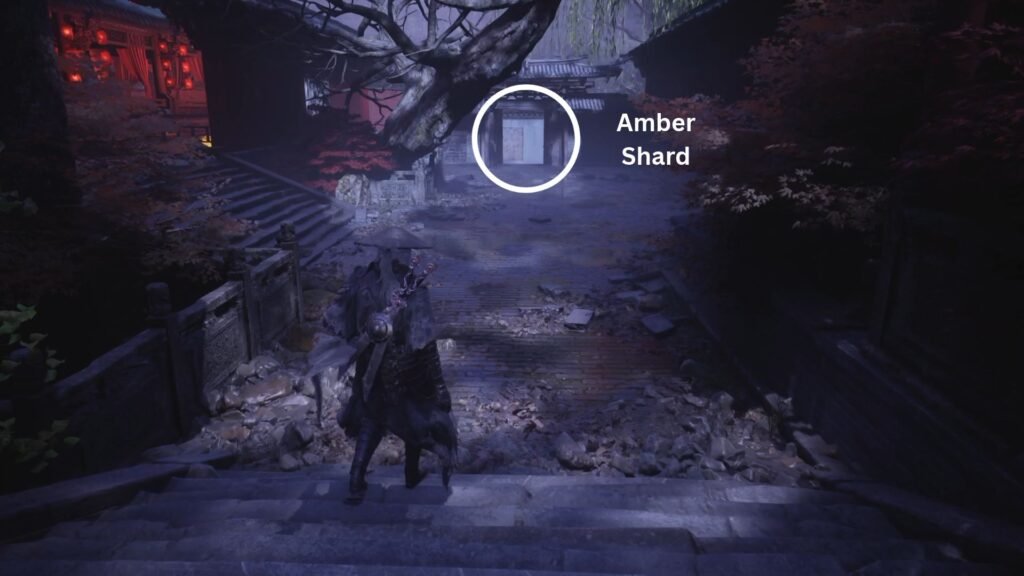
Now, exit out straight to find a chest with Amber Shard. With that done, take the steps on the left that you see in the above image. They will lead you to another open area.
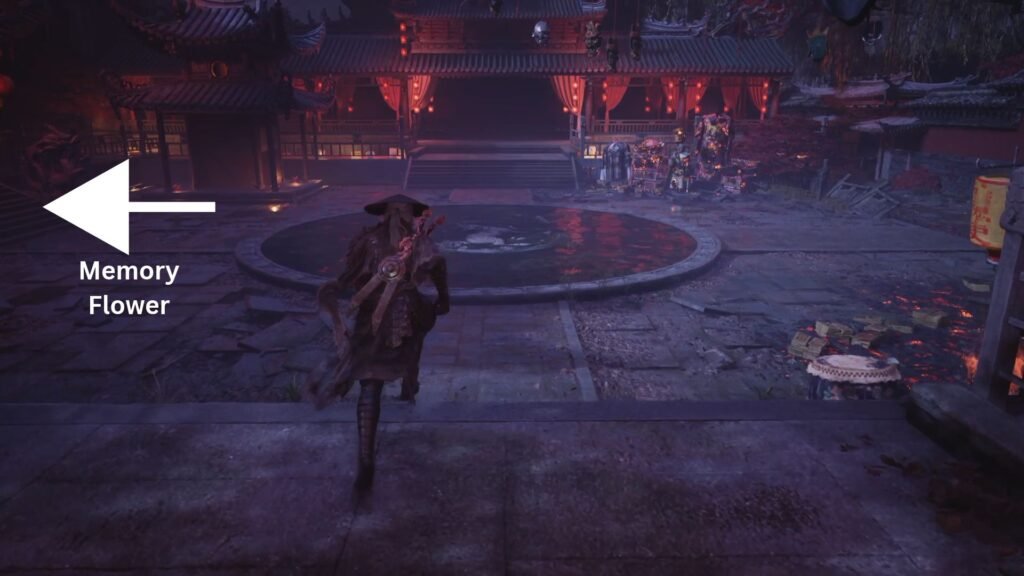
On the left of it is a building with Precision Mechanical Gear, Flawless Broadplate Metal on the ground floor, and a Memory Flower on the balcony of the first floor. The corridor here leads back to the building where you had taken the ladder to go down.
So, with that done, now take the exit with the steps leading up, which unbolts and opens the gate back into the pond area with the Opera House, that was locked from the other side.
Entering The Opera House
From here, approach the locked gate with the mask on it. If you are interested in the lore and the story, then ensure that you do this next part with time on your hands, as it is a good ~20 minute sequence.
Quick Hand Zhang Treasure Item # 2 – Gold-and-Silver Sachet
Enter the building, collect the Star Chart Note, and the second item on Quick Hand Zhang’s Treasure List – the Gold-and-Silver Sachet.
Once the sequence starts, in between, ensure that you collect the Jade Mask Soul Tempering Item for Seamless Death. When you exit, collect the Soulrend Mountain Gazetteer Note, and ring the Mourning Hall bell. Get the chest on the left, and one on the right after the first set of steps.
With that, enter the main hall to start a boss fight.
Qiu Feng, The Crimson Boneblade
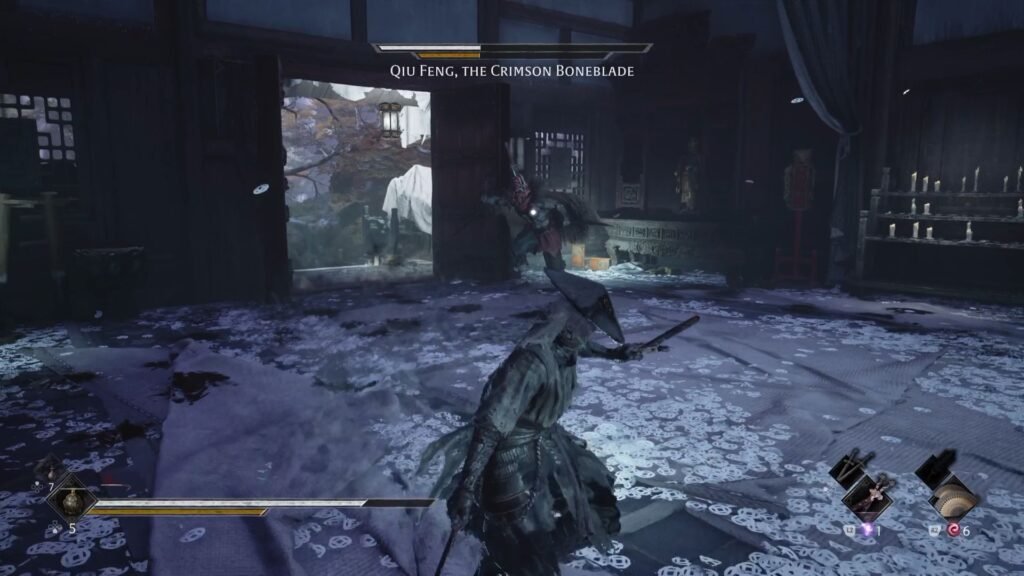
Most of the fight and the moveset for this boss in not very different to the typical enemies you have been facing in this region. Some of the moves that are different, thanks to the weapon that he wields are those that afflict the Bleed status on you.
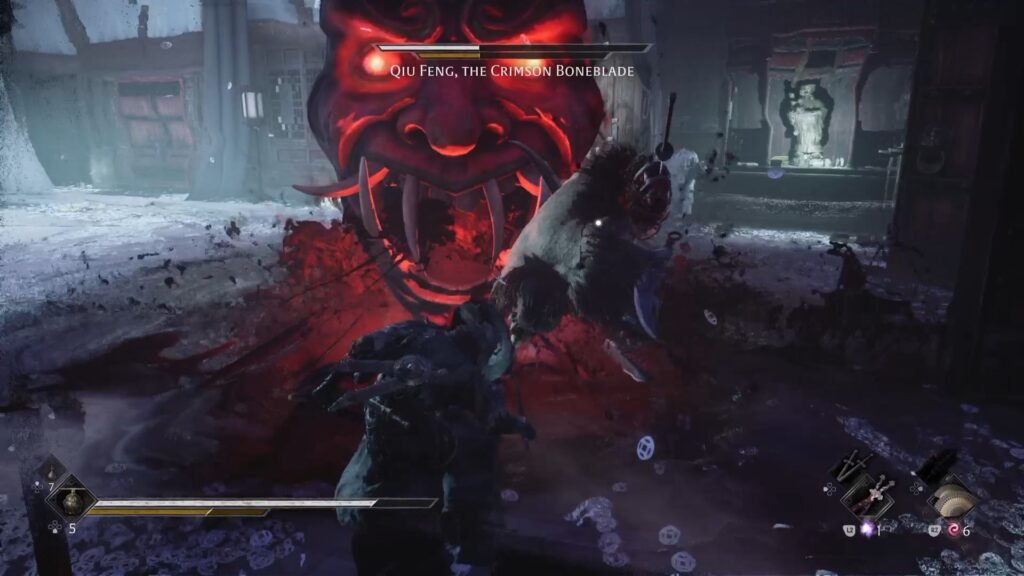
He will throw this whirling saws at you which you can parry, and mostly end this chain with a red glowing attack. Another attack is when he calls a big skull on the ground, which has an AoE effect that again rapidly increases Bleed buildup – but it’s pretty easy to avoid and stay away, and even if it does hit you, it will not cause massive damage.
Wraith Mask | Memory Flower of the Three-Faced Puppet (2/3)
On defeating the boss, you get the Wraith Mask accessory. Collect Incense Ash for the Lady from the pedestal ahead, and the Memory Flower. Now, there is a gate that you can open, plus an exit opposite of this gate.
Both of these lead to the same area, so go through the gate that we opened, defeat the enemy and get the Skilled Healer’s Memory from the right. Take the circular exit to lead into a pond. From here, exit such that the pond is to your right, and go straight.
Thread-Binding Sect Disciple’s Memory Flower (3/4)
Collect Incense Ash for the Lady. First enter the building on the left of this pedestal to get the Memory Flower, Skilled Healer’s Memory, and Flawless Forged Metal.
Now take the circular exit straight from here to lead to the Covered Corridor bell. Take the Weapon Reforge and Traversal Talismans from the pedestal on the left of the shrine, and the Universal Solvent just before the covered corridor.
Now, there are multiple paths which all lead to the same area, so – you can either take the actual covered corridor, or the one on the left of it. The corridor on the left has a puppet – to defeat it you need to sever the purple threads/connections to other puppets. So, might as well take the covered corridor first to do that.
Blackstone Shard #11
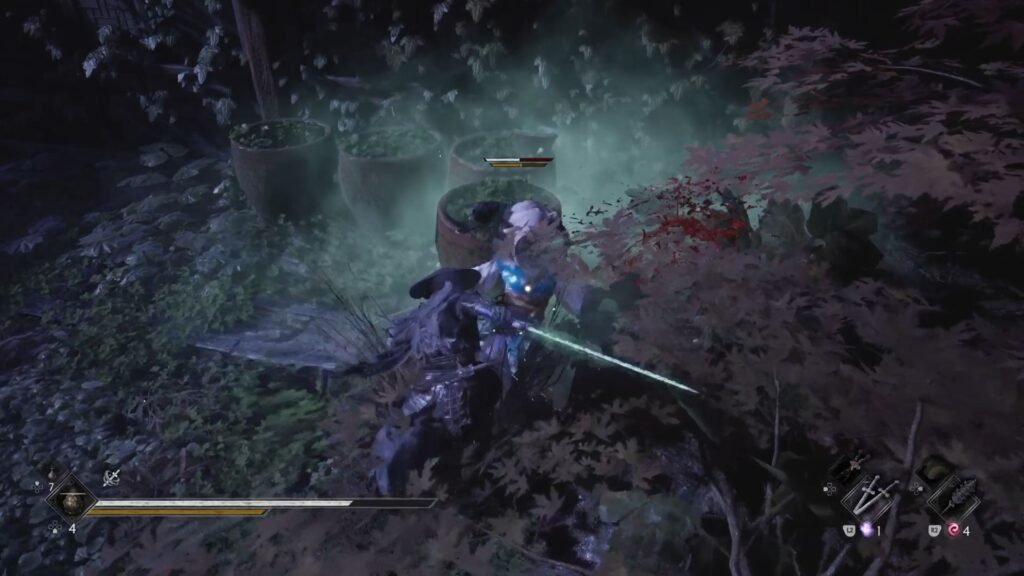
Once you have defeated all enemies, clear out this puppet, and from that area, collect Research Notes on Yucong, Fragment with Three Handwritings, and Blackstone Shard.
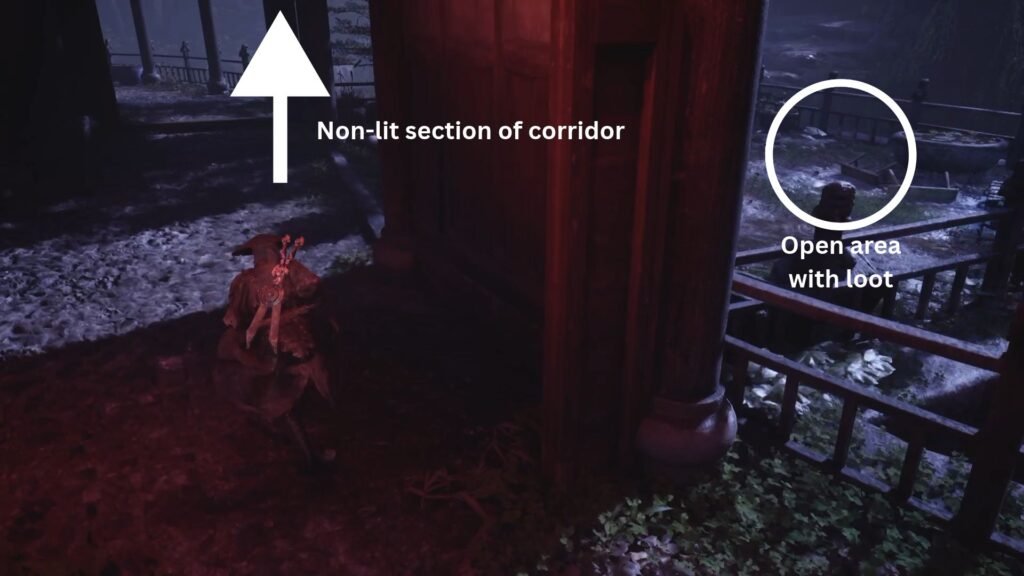
Now, just to get the direction right, start again from the very beginning of the Covered Corridor. From here, go through the Covered Corridor, till you come to a point where you have an open area on the right with loot, a non-lit corridor straight ahead, and the main lit corridor turning left. First, get the loot which will have a chest with upgrade materials, and Ying Mechanical Gear.
Next, take the non-lit corridor to come across a puppet with the hand cannon. Defeat it, collect the Flawless Twinned Metal, and you will see a grapple point to a wooden plank bridge. Take that, and follow the path to lead you to the Mirage Estate Long Pillar bell.
If you have been following this walkthrough, this will be the last one for the Bloodline Awakening purple quest. Watch the cutscene that does finally reveal the identity of the Man in Black, and get into the last fight with him. Defeat him to get the trophy, completion of this important quest for the Perfect Ending in Phantom Blade Zero, and the Bastion of Mo Mask Soul Tempering Item for Sanguine.
Now, travel back to the Covered Corridor bell, and take the full lit path through the corridor, to lead you to the Willow Pavilion bell.
Continue down the path from the bell, collect Forbidden Camphor Timber and Searing Darkfire Charcoal. Cross the bridge, collect Universal Solvent from the right, alongwith the chest with upgrade materials. Just before the gate, you will get ambushed by a couple of screaming masks. Take them out, and from the left path, collect Forbidden Camphor Timber. Also loot the chest just before the gate on the right.
Amber Shard # 12 | Thread-Binding Sect Disciple’s Memory Flower (4/4) | Yu’er’s Memory Flower (2/3)
Now, enter through the gate to enter into the courtyard of a building. To it’s right is an enemy ambush and a Memory Flower. Enter the building to get Ying Mechanical Gear from the right, Nuo Mask Fragment: Joy from the left.
Now, enter the main open area, watch the short cutscene, and defeat the enemy group that spawns to get the Eye of Insight Tempering Material for the One-Eyed Bow. Collect Refined Indigo Crystal from the central shrine, Phantom Reforge Talisman from its’ right, and Memory Flower from behind it. Right at the end of this is the chest with an Amber Shard.
Leng-Tu’s Study & Closing The Region
Nuo Mask accessory | Patron Gao’s Memory Flower (3/3)
Open the gate on the left (facing the courtyard from where you entered) and ring Leng Tu’s Study bell.
From here, make your way to the Nuo Mask Altar bell, and speak to the Old Man to get the Nuo Mask accessory. Now, return back to Leng Tu’s Study bell and lets continue ahead.
Collect the Image of the Lady’s True Form Note, Illusory Incense Ash, the chest with upgrade materials, and the Memory Flower from the right side. From the left, get the Traversal Talisman, and take the steps up to get Master Healer’s Memory, Incense Ash for the Lady, and Report from Leng Tu’s Trusted Agent.
Blackstone Shard #12 | Memory Flower of the Three-Faced Puppet (3/3)
Interact with the painted scroll to be asked to search around, and then approach the pedestal to reveal the secret entrance. Collect the Memory Flower. Continue on and defeat the three puppet enemies to then collect Primordial Chaos Vessel to Soul Temper Freezing Chaos, Blazing Darkfire Charcoal, Blackstone Shard, Alloyed Steel to Soul Temper Armybreaker. Ring the Perfect Vessel Estate bell.
Quick Hand Zhang Treasure Item # 3 | Thundermoon
Also collect Quick Hand Zhang Treasure Item #3 – Golden Cloud-Moon Hairpin from the chest behind the central structure. Return to Zhang’s Hideout (Mirage Estate), and hand over the items to him to get the Thundermoon Lantern accessory. Return to Leng Tu’s Study, continue ahead, loot the chests on both sides, and ring the Perfect Vessel Pond bell. Prepare for a cutscene that, predictably- leads to a fight with Leng Tu.
Lei Dang Boss Fight
This is a 2 phase fight, and the 1st phase is not difficult at all. He has a red glowing attack which is easy to detect. The bigger problem here is that the cannons he shoots leave behind smoke that makes it difficult to see what he is planning to do next.
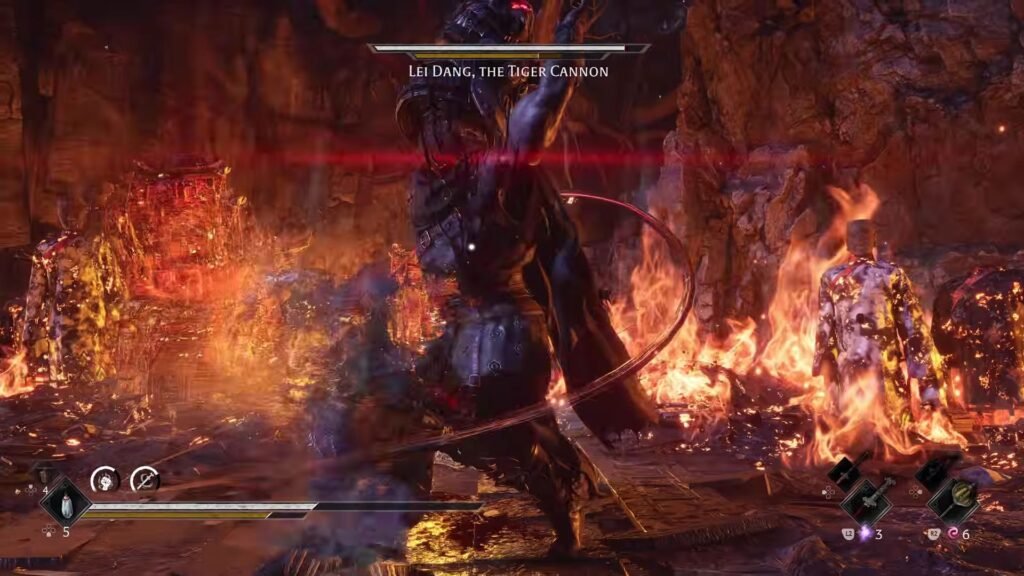
He takes a long time to charge up the cannons – you can easily get out of the way and get a few hits of yours in. His Sha-Chi bar also depletes pretty quickly with your Sha-Chi combos or just plain parrying his attacks. He will have a leap attack, which on landing has an AoE as well.
At the last sliver of health, he will jump back and launch the cannon – take care to avoid this attack specifically. In phase 2, he takes out the cannon out of the equation and fights with his bare hands. He will slam the ground and call in rock spikes that do damage if you are caught – the slam also staggers you to then not be able to move out in time for the rock spikes.
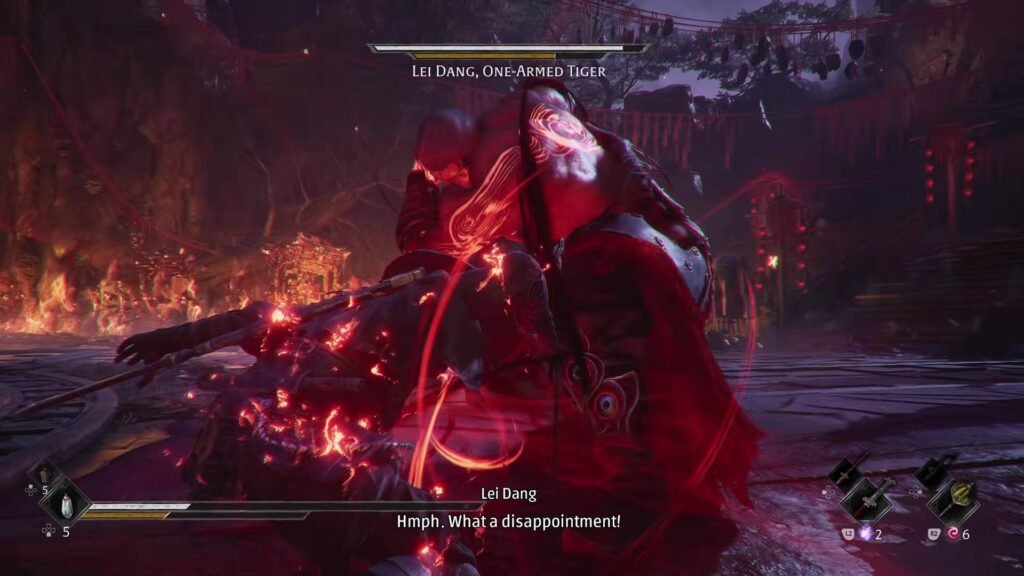
Missing his red glowing attacks in this phase lead to he punching out a lot of health, so best to stay at 80%+ health all the time with this fight.
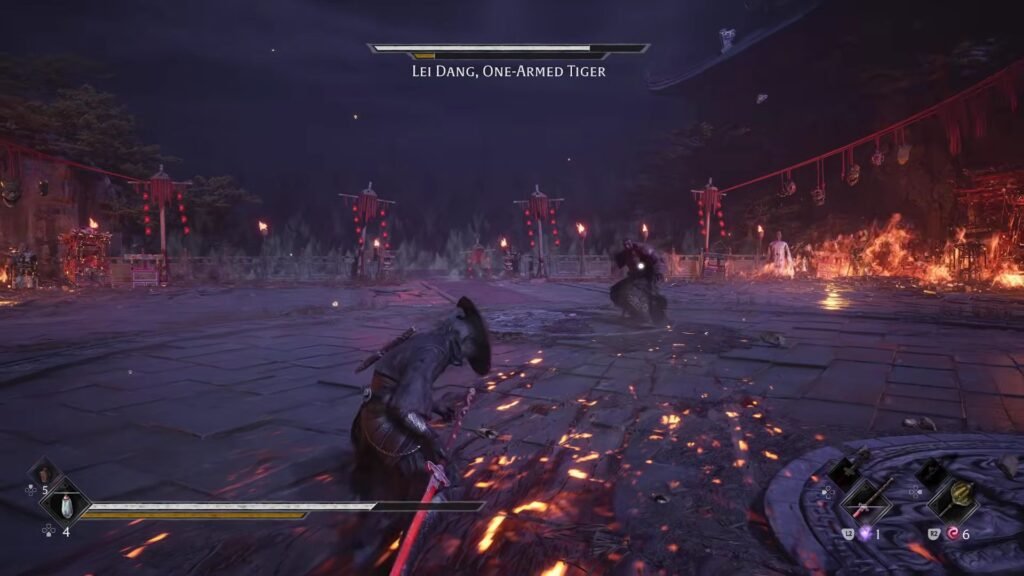
When he is at a distance, his slams will also lead to a AoE that projects forward in a cone, so stay away when you see him do that.
Tiger Cannon | Leng Tu’s Memory Flowers (5/6 & 6/6)
Defeating him gets you the Tiger Cannon Phantom Edge. Take the Memory Flower as well that spawns on the right, and interact with Yu’er to get the second Memory Flower. Open the door straight ahead, that leads you to the Mourning Hall bell on your left.
Before proceeding ahead, with the Tiger Cannon Exploration Ability, visit the following areas:
- Weeping Creek Valley Long Pillar – Flawless Broadplate Metal, Polished Twinned Metal, and a chest with Pigeon Feed Soul Tempering Material for Bashpole.
- Cliffside Lodge in Crimson Forest – Song of Parting to Soul Temper Parting Hooks, and chest with upgrade materials.
- Hidden Passage to Pangzhen in Village of Lu – Polished Broadplate Metal, Border Poems to Soul Temper Wolfjaw, and Flawless Forged Metal.
- Village of Lu Shallows Dock in Meigu Lake – Golden Ammunition to Soul Temper Tiger Cannon.
With that, we are done with the exploration. Travel back to the Mourning Hall bell, and use the Tiger Cannon to end The Way Forward main chapter, and enter Soulrend Mountain in Phantom Blade Zero.
