
As you play the Illusory Pipa off the coast of the Weeping Mistgate island in Meigu Lake, you get transported to the Mountain of Imprisonment region, where you perform a couple of QTEs to get back on your feet to then start, and progress the Treason and Confinement main chapter.
The Mountain of Imprisonment, like the Village of Lu, is a self-contained one – in that, you can get everything needed for 100% completion in one go, without requiring revisits or some inaccessible area to open up later.
We will be completing the entire region in this one, single – slightly long article, and end with 100% completion for Mountain of Imprisonment in Phantom Blade Zero.
On This Page
Early Mountain of Imprisonment Area
Baishan Writ (Accessory #1)
Go ahead and ring The Lady’s Path bell. Go down the right, and collect Flawless Twinned Metal. Speak to the Gravely Wounded Heroine, and complete the interaction. A moment later, come back to collect the Baishan Writ accessory. Collect Flawless Broadplate Metal, and take the climbable ledge on the right to collect Ying Mechanical Gear. Enter the gate, and take the steps to come across the first set of enemies here. Get Li Yaomei’s Prayer Note, and Concentrated Solvent from the left.
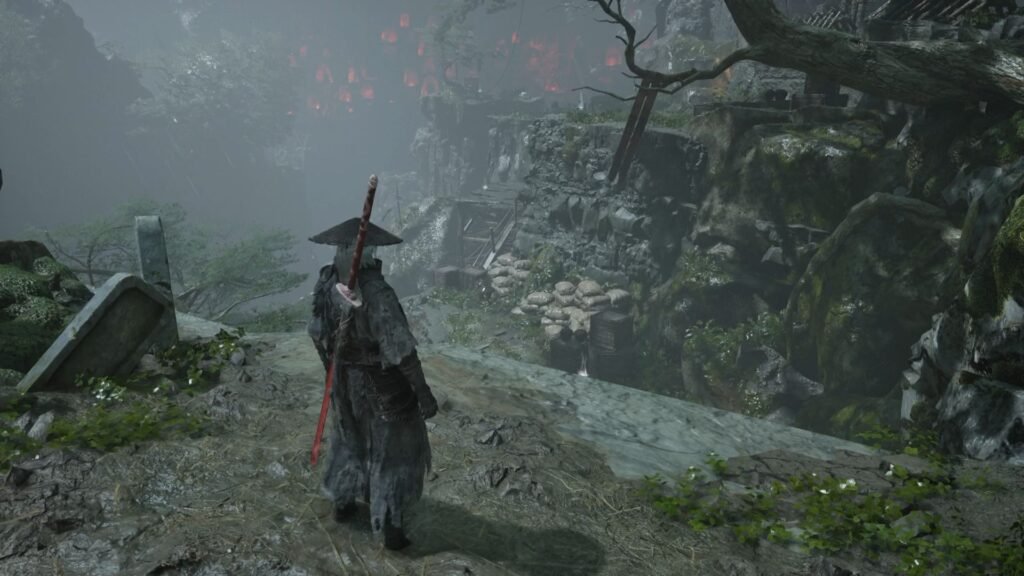
From here, jump down, and then another one to your left to join in a fight. Be wary here, the large enemy with dual axes, and the blade wielding enemy can be a dangerous combination if you take the fight too lightly. Take the steps now up, collect Forbidden Camphor Timber, and then the ladder up the watchtower to backstab the ranger.
Jump down and clear out the area – be patient and don’t hurry, save your heals, as immediately after you wipe out the last enemy, a boss fight begins.
Iron Butcher, The Frenzied Brute
The boss fight in itself is not that difficult – essentially a beefier version of similar enemies that you have faced. His most irritating, and damaging move is the Chaos Fireballs that he keeps throwing on short notice (and he does this quite a lot), which interrupt your melee combos in addition to causing damage.
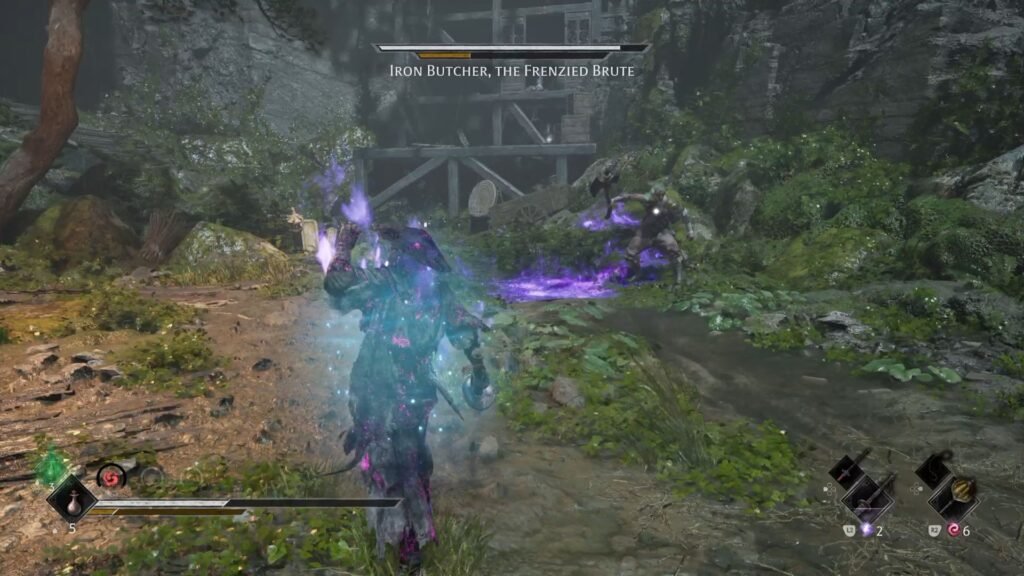
In terms of movesets, he will do a 4 attack combo, with the last 2 being lunges, and the last one out of those being a red glowing attack most of the times. Then, there is a three-hit combo where he wields the axe with one hand, and the last one being a blue glowing attack.
Blackstone Shard #1 | Memory Flower on Huangxing (1/6) & (2/6)
Defeat him to get the Iron Butcher Mask – Weapon Tempering Material for Jagged Steel. Ring the Iron Butcher’s Camp bell, collect Otherworldly Forged Copper, and Blackstone Shard #1 from the chest on the left.
Take the ladder on the left of the chest, and then the horizontal wall running section to get to the other side to the Memory Flower.
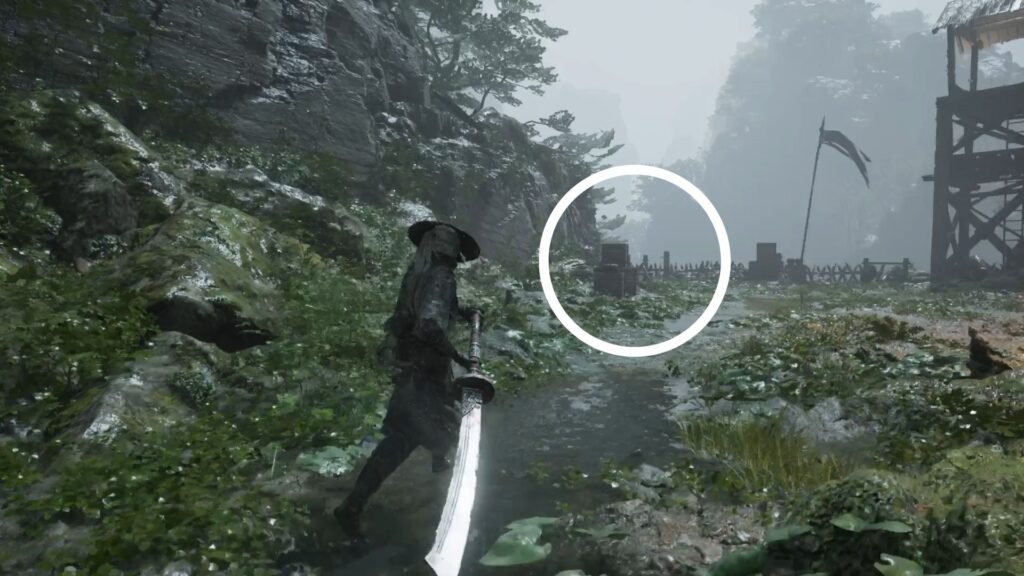
Now, look to the left of the flag for a box of crates. Next to them is another climbable surface. Use that, and go up to collect loot.
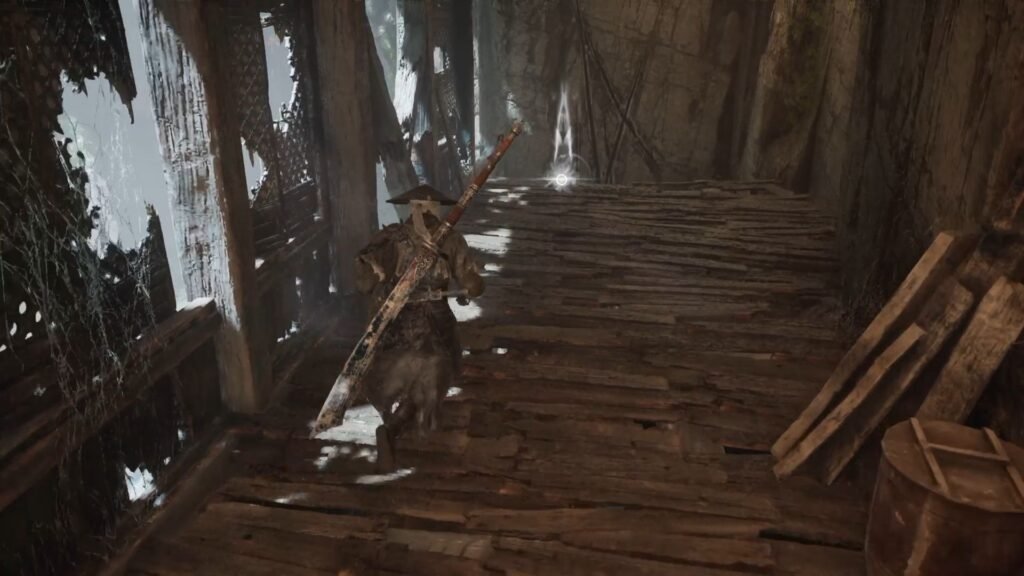
Now, from this location shown in the image above, do not use the prompt to slide down that appears when you approach the wall. Instead, jump down from the edge, to be able to land on the platform with the Memory Flower.
We can now take the steps on the left. Get the Zhou Chuan’s Prayer and The Unworthy Lu Sanqian’s Prayer Notes in front of the shrine, and Flawless Broadplate Metal.
Talisman of Despair (Accessory #2)
Ignore the dogs and go up to the right to defeat the enemy who spawns them. Now, take care of the remaining enemies. Open the cage and speak to Lu to progress the Cui side quest we picked up in the Village of Lu. Collect Ying Mechanical Gear, and then below, burn the Vines. Slide down the path, watch the cutscene, release the iron chain on the left, collect Polished Twinned Metal, and open the cage to speak to Panicked Mandate Disciple to get the Talisman of Despair accessory.
Don’t use the chain yet, go to the right and drop down to collect Nameless Prayer Note and Universal Solvent. Use the wall running section and take out the enemies on the other side. Collect Weapon Reforge Talisman, and go up using the climbable ledges. Go ahead and defeat the lone enemy, get the Searing Darkfire Charcoal, and then trigger a short cutscene with the Distant Cliff Maskwalker.
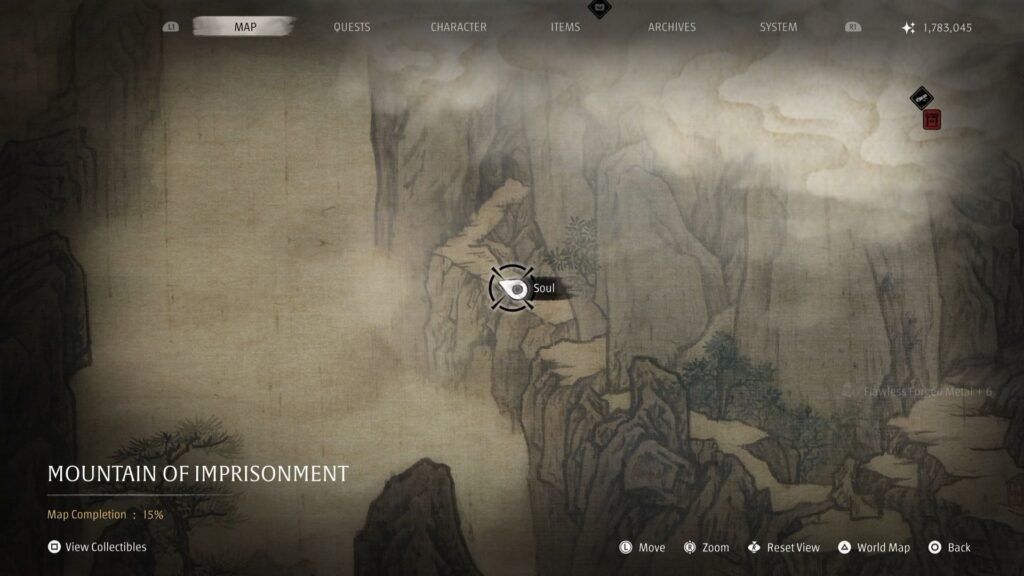
After that, collect Flawless Forged Metal, and at this point, you should be at the location in the map above. Collect Forbidden Camphor Timber, and ring the Hanging Cage Cavern bell.
Collect Diary with Delicate Handwriting Note, and next, fall down the wall climbing section to explore that section. be ready for 2 Powderkegs. Collect Forged Otherwordly Copper, Scrawled Diary Note, Flawless Twinned Metal, Apprentice Healer’s Memory, and speak to the Dying Powderkeg. He will explode in the end, leaving behind Searing Darkfire Charcoal. Take a left and continue on the linear path and defeat the next group of enemies. .
Blackstone Shard #2
This is where you would have been if we had taken the wall running section fully without dropping down. Get Wang Yiren’s Prayer Note, note the locked door on the right. Crouch through the next section to arrive into an open area with an ongoing fight. Clear out the area (including rangers above) to get Blackstone Shard #2.
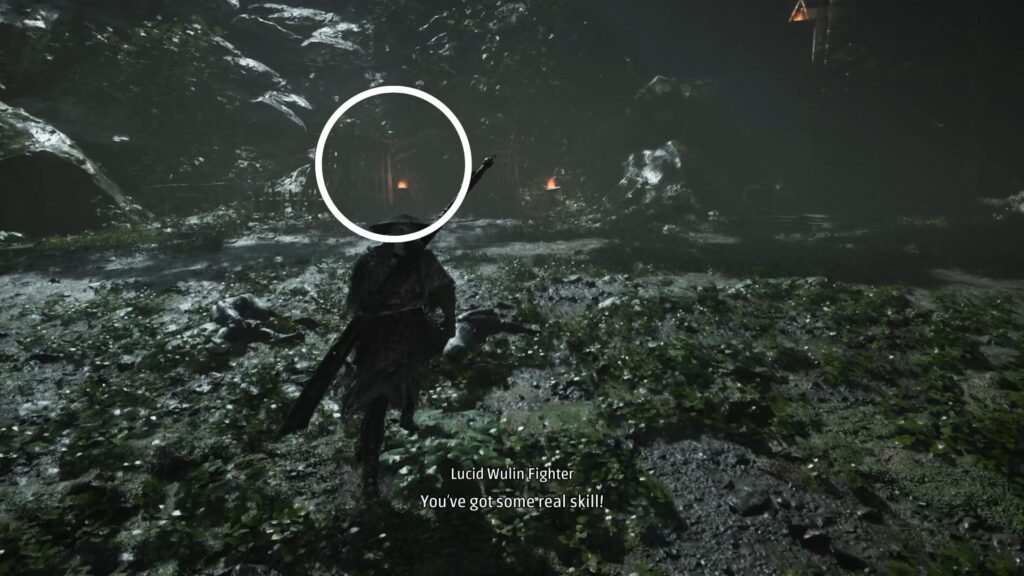
Here, you will get called upon by a Lucid Wulin Fighter, who can be pretty difficult to spot. Look for cages with a couple of lit fires next to them. When you approach this part, the option to unlock the cage and speak to him will appear. Do that and start The Broad Saber quest.
Take the steps and ring the Cavern Passage bell. Collect the Statement of Faith and Urgent Dispatch Notes, pull the lever on right of the cage to bring it down, and speak to Liu Yi to start the Hero’s Lament quest. Now, on the left, jump down to the roof and ready for a boss fight.
Bi Feng, Giant Saber Commander
He will jump in the air and slam down with his sword – this will be a red glowing attack. He also tends to get staggered for a longer period than other bosses, giving you a good window to land your heavy hits. Parrying his attacks quickly depletes his Sha-Chi bar, but at the same time, his sword hits like a truck – so missing those can do the same to your Sha-Chi bar and health as well.
He will also do a flurry of two-handed slashes that ends with a blue glowing attack. The other attack to dodge is when he does an upward slash – this can drain your complete Sha-Chi bar, so if it does hit, quickly switch your weapon.
Juggernaut Weapon
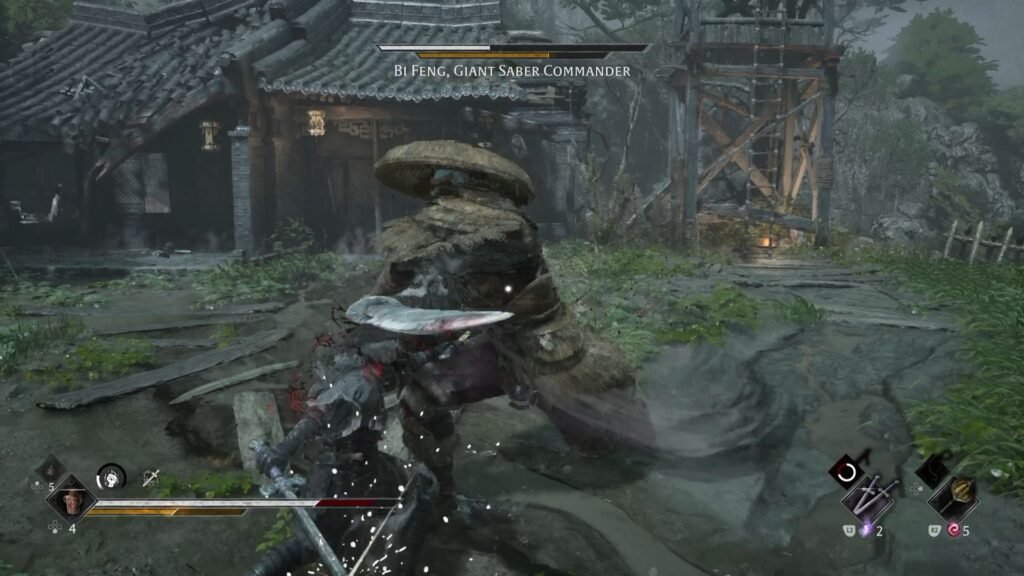
His attack patterns and moveset remain the same throughout the fight. There is a QTE that you have to pull off at the end of the fight, and once you have defeated him, you get the Juggernaut weapon. Ring the Commander’s Platform bell. and collect Master Healer’s Memory from the watchtower using the ladder. From the watchtower, jump down on your left to get the Detached Cage Lever and the chest with upgrade materials from the building next to the watchtower.
Memory Flower on Huangxing (3/6)
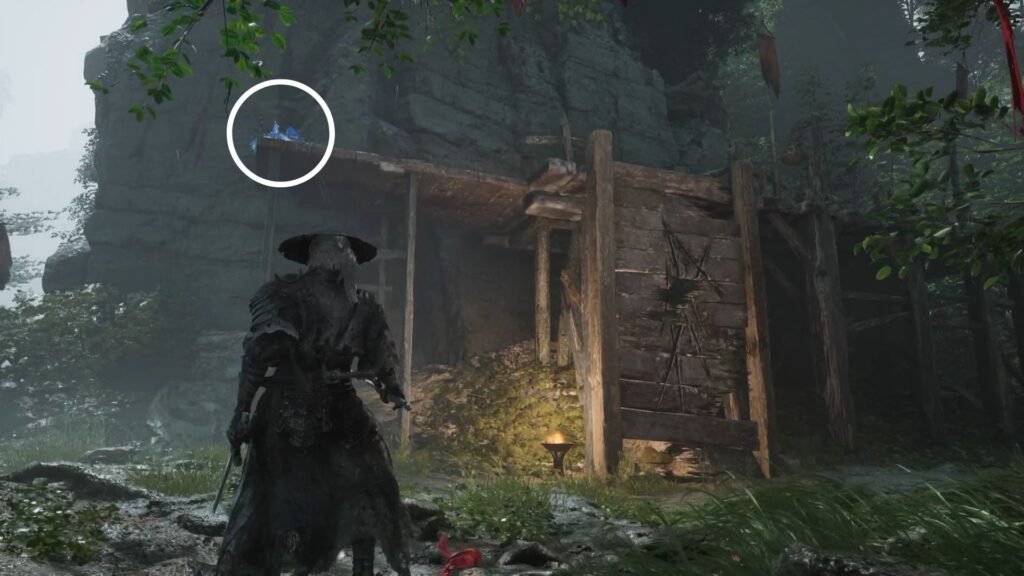
Collect the Call to Arms Note and Rootless Dew – required to progress the Cui quest. Open the gate and speak to Lu. Now, get the Sect of the Scarlet Knife’s Prayer Note from the shrine and Camphor Timber from behind it. Look to your right, and use the climbable wall to get to the Memory Flower.
With that done, take the path up, (opposite from the gate that you opened), collect the Skilled Healer’s Memory, and Flawless Twinned Metal on the way. As you start hearing a weeping voice, and the cutscene with the Distant Cliff Maskwalker, there will be a path going down, and set of steps going up.
Take the path going down first, and clear out the enemies. Speak with the Female Puppet, and Soul will push down the tree. Use the tree and cross over, and open the cage to speak to the Ailing Man. Loot all the material and the chest next to him, and unbolt the gate – the same one that we had noted as locked from the other side earlier.
Amber Shard #1
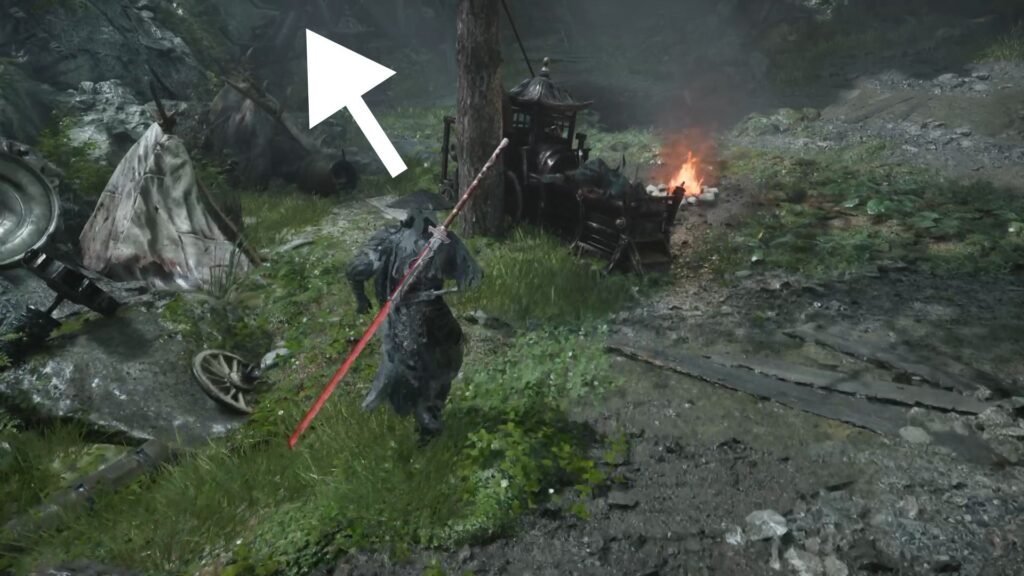
With this part done, cross the tree log, and go left, and watch out for the Powderkeg who ambushes you. This will take you through a narrow red-lit passage. Collect the Flawless Broadplate Metal, go up the ladder, backstab the ranger, collect the Forbidden Camphor Timber, and go up to arrive into an open area with enemies.
Defeat them all, including the ranger up the watchtower, and open the chest next to him to get your Amber Shard. This is the same section that you would have come to you – if we had taken the steps going up – at the branching path.
Arriving at the Shrine Outer Gate
So, effectively, we have covered all the areas in between, hence, now, take the steps going up. Here, you will come across a puppet, looking up at the clouds and an Agonized Ironmask in front of her. Speak to the Ironmask couple of times to start the Ledger of Atonement side quest.
Memory Flower on Huangxing (4/6)
Now, take the left from where you arrived here, to cross a bridge with the sound of weeping once more. Go ahead, collect the Memory Flower, and ring the Shrine Outer Gate bell. Both gates are locked currently, so take the steps on the right, collect the Anonymous Note, and drop down for a boss fight.
Amber Shard #2 | Kui Yanyan, The Deranged
The one attack to watch out for is the jump + slam – it will drain your Sha-Chi bar bigtime, and her attacks will also take out big chunks from your health bar. It is best to stay topped up on health for this fight. Other than that, this fight should not cause any trouble – it is by far one of the more easier ones in Phantom Blade Zero.
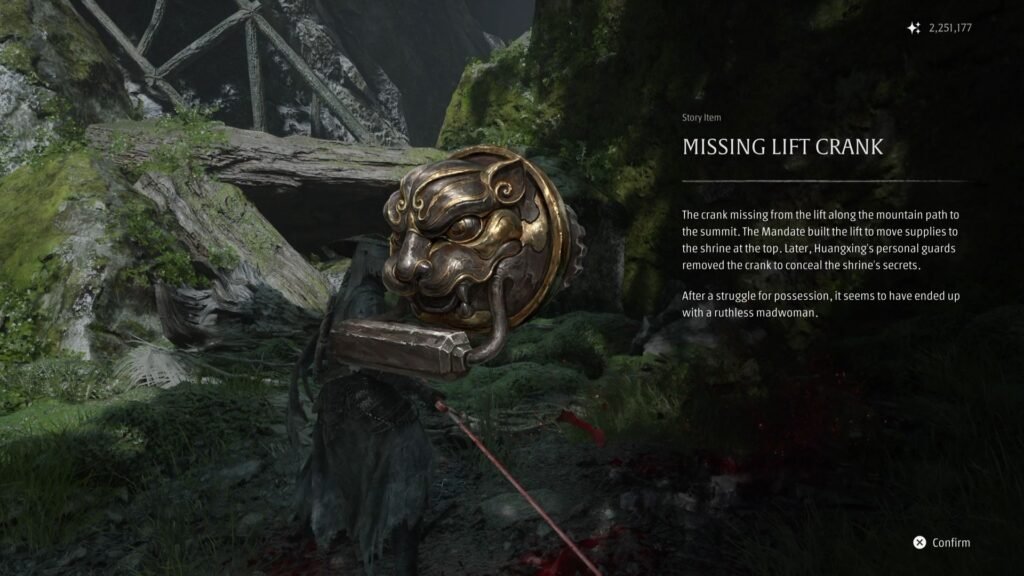
Once defeated, you will get the Missing Lift Crank, and an Amber Shard.
Blackstone Shard #3 | Memory Flower on Huangxing (5/6)
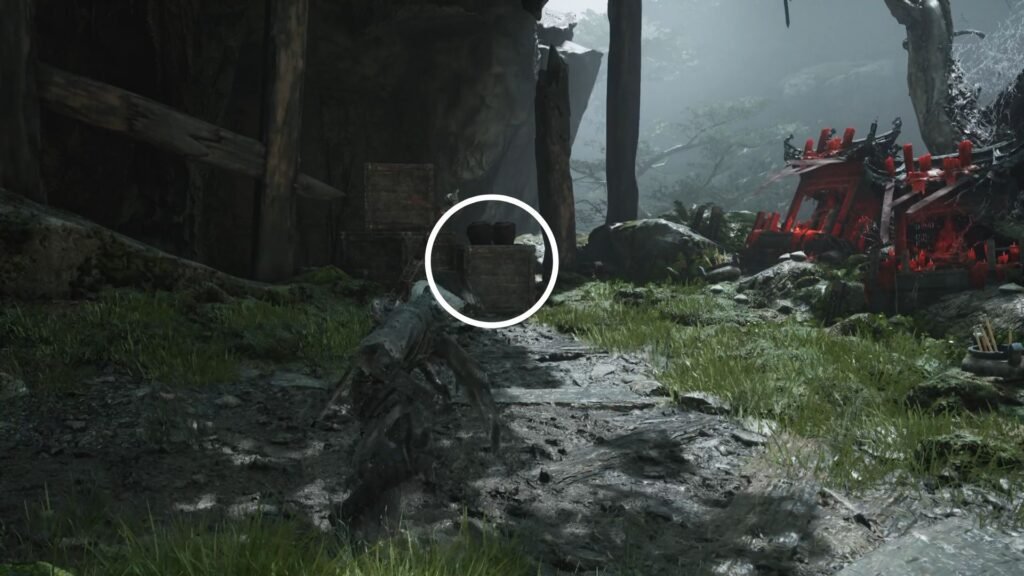
Before proceeding ahead, look behind to see a set of crates. These will be next to the altar with all the red candles. As is the established rule, destroy the crates, to reveal a climbable surface. Jump onto it, and slide down to collect the Memory Flower, and further up ahead, a Blackstone Shard.
Now, use the Traversal Talisman back to the bell, and let’s continue from the point that you defeated the boss.
Collect the Polished Broadplate Metal, and interact with the dead man on the left to get Letter to Yu Ling Note to update the Don’t Forget Me quest. Straight from there, collect the Bloodstained Diary Note. Take the two ladders down, with the Flawless Forged Metal to collect in between, to enter into a passage beneath the mountains.
Defeat the enemies here, go through the left path to collect Master Healer’s Memory and Ledger of Atonement Note, and then the right path. Here, you will see a lot of cages suspended, and Lu will be in one of them. He will plead you to rescue him, and it is time to put the Lever Handle that we had found to use.
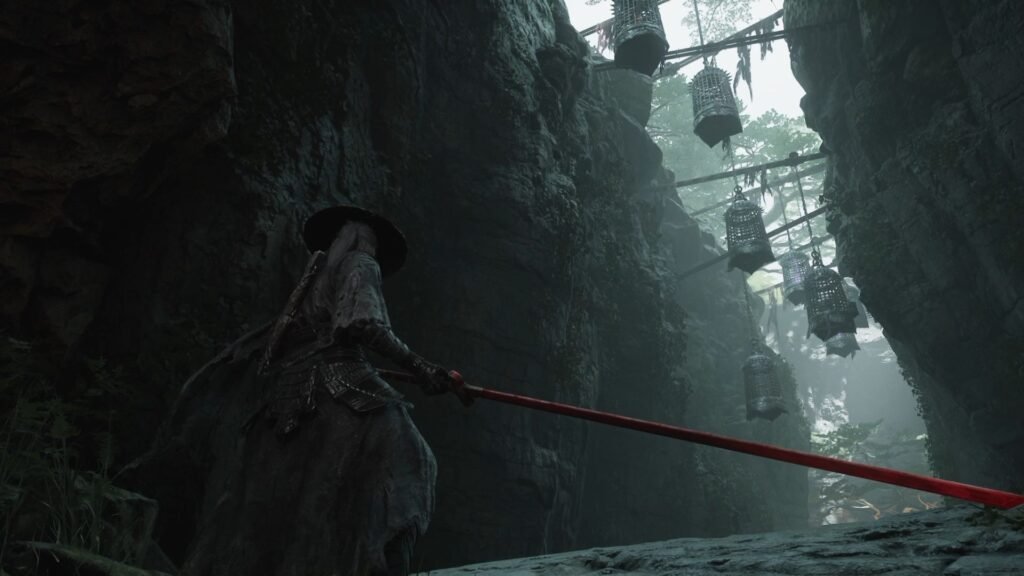
Jump down, defeat all enemies, to get the Shrine Gate Key. Now, take the ladder up, collect the Universal Solvent, and ensure that you bring 4 cages down. Now, collect the Phantom Reforge Talisman, Refined Indigo Crystal, and Moji’s Bloodstained Sword. Now, speak to Lu, and give him the Rootless Dew.
Ink Cut Phantom Edge | Amber Shard #3
From here, take the path on the left, and use the climbable wall to go down. Hand over Moji’s Bloodstained Sword to Liu Yi for a kickass cutscene, and the Ink Cut Phantom Edge.
Go further up ahead of Liu Yi, and use the Crank to call in the elevator. Take it up, collect the Amber Shard. Open the gate to be back at the Outer Shrine Gate bell.
Banyan Tree Heart Challenge
We can now open the Outer Shrine Gate. Cross the bridges to arrive into an area with the last Banyan Tree to complete in the middle. Collect Ying Mechanical Gear, and interact with the Tree to start the challenge with these enemy waves:
- 5 enemies – 2 with spiked shields and clubs, 1 throwing Chaos Fireballs
- 5 enemies – 1 with the big bleed weapon, and 1 with dual axes
- Iron Butcher + Jagged Steel
Blackstone Shard #4
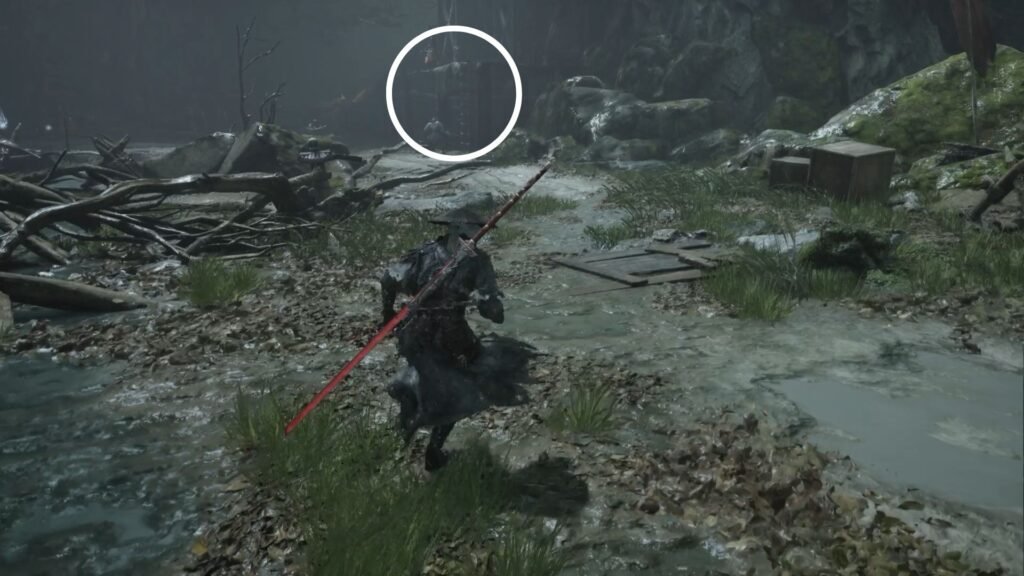
Now, defeat the enemy cluster to the right to get Blackstone Shard. Get the Skilled Healer’s Memory from going up the two ladders, Prayers of Sky-Thunder Sect Note and Flawless Twinned Metal in front of the shrine. Burn the vines on the north edge of the arena to get Forged Otherworldly Copper and a chest with upgrade materials.
Get the Forbidden Camphor Timber and Tainted Crystal Shard from up the steps with the ranger standing guard. Now, take the steps at the right edge of the arena to progress on the main path
Crude Ribbon Heart (Accessory #3)
Collect Flawless Broadplate Metal, and interact with Lu to get Lu Sanqian’s Final Letter, Cui’s Red Ribbon, and Crude Ribbon Heart accessory. Ring The Lady’s Shrine bell, and get ready for 2 boss fights. Before that, let’s close the Ledger of Atonement quest.
Amber Shard #4
Give the Note that we collected along with the Shrine Key back to the Ironmask, and select ‘This won’t absolve you of your sins’. This will trigger a fight with him. Once you take him out, you will get an Amber Shard, and the Backstreet Courtyard Key for Pangzhen. This finishes the Ledger of Atonement quest.
With him out of the way, you can now speak to the puppet, and she asks you to return the necklace to her actual self in Pangzhen, to begin the Bai Xue side quest.
End game Boss Rush and Completing Mountain of Imprisonment
Jade-Face boss | Seamless Death
So, the central crux of the fight is that you will fight 3 versions of the boss at the same time – two wielding swords, and one wielding a dual blade weapon that can also be thrown at a distance. They also vanish in between and suddenly appear around you with a blue glowing / normal attack. The 2 with swords have health bars that you can quickly go through, leaving you essentially fighting the 1 main … Jade-Face.
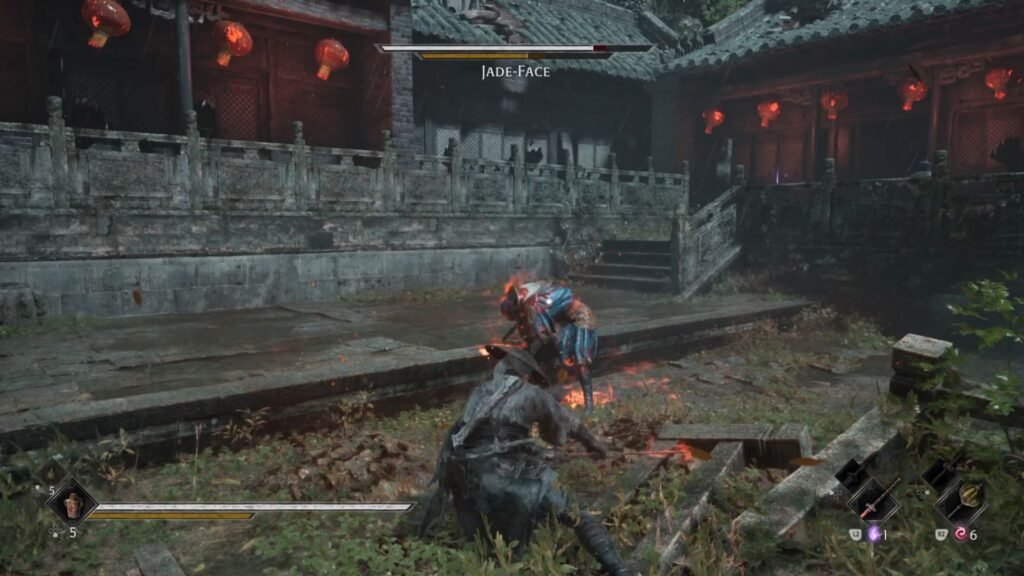
All said and done, this ranks among the easier of the boss fights that the game throws at you. Once you defeat him, you get the Seamless Death weapon that he was wielding.
Desperate Stand (Accessory #4) | Memory Flower on Huangxing (6/6)
Get Master Healer’s Memory, Incense Ash for the Lady from the left side halls, and Concentrated Solvent, Desperate Stand accessory, and the Memory Flower from the right side halls. Save, and be ready for the second boss fight.
Huangxing, The Kunlun Renegade
This boss fight has a significantly difficult first phase than the second one. Armed with an Outlaw Warblade, you can probably get through the second phase without even needing a heal, or with just 1 left.
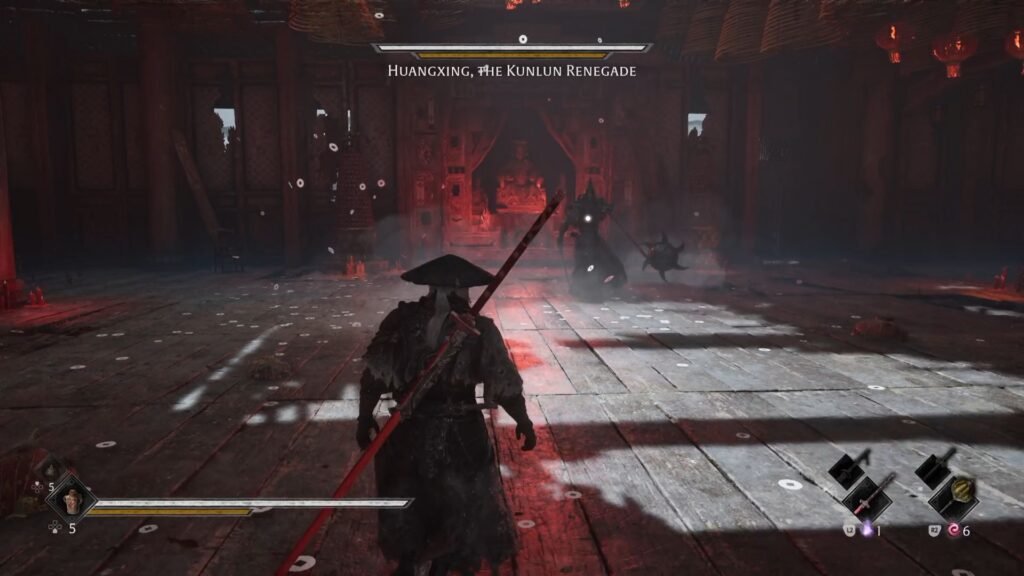
He will always start the fight rotating the guillotine, and then a red glowing attack. The trick here is to dodge just a fraction of a second later than what you would typically do for such attacks. This first attack, if it catches you, is instant death. The delay only applies to the initial attack, not the ones he does during the fight.
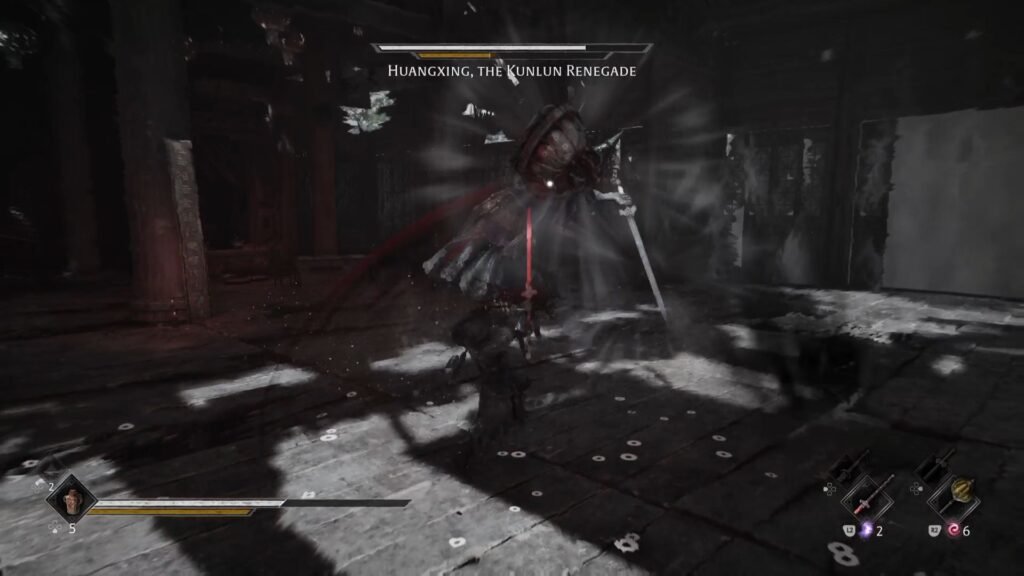
The boss also has a slam attack quickly followed by a blue glowing one – so dodge, and then parry to counter this attack in phase 1. He will also send his guillotine across, and that does some good damage to you. His health pool also takes some doing to get through, so make the most of the guard-broken phase.
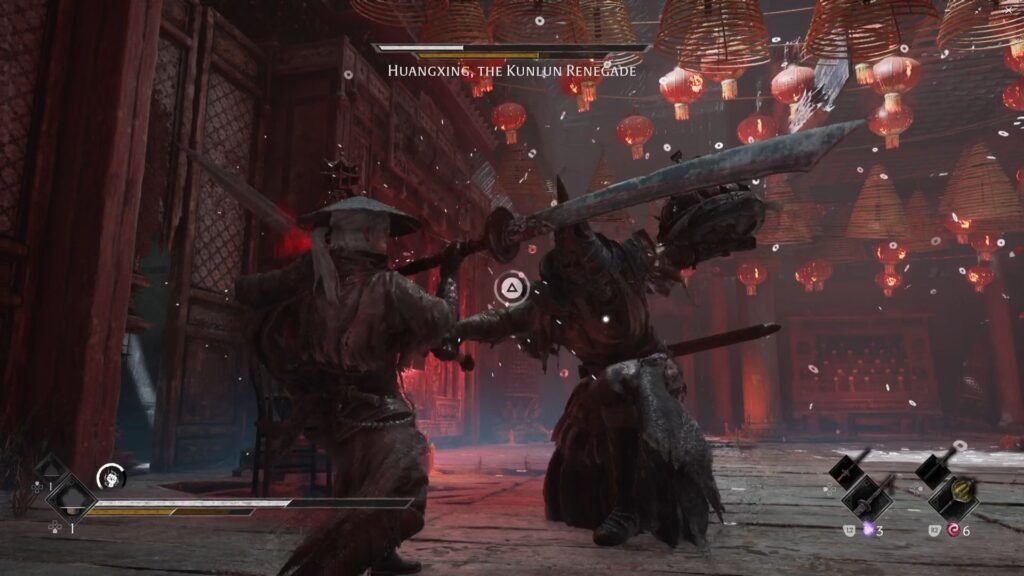
Accessories like Hunter’s Insight or Broken Vessel, or any such that increases your attack damage are good choices for the fight … you don’t want the first phase to last more than it has to.
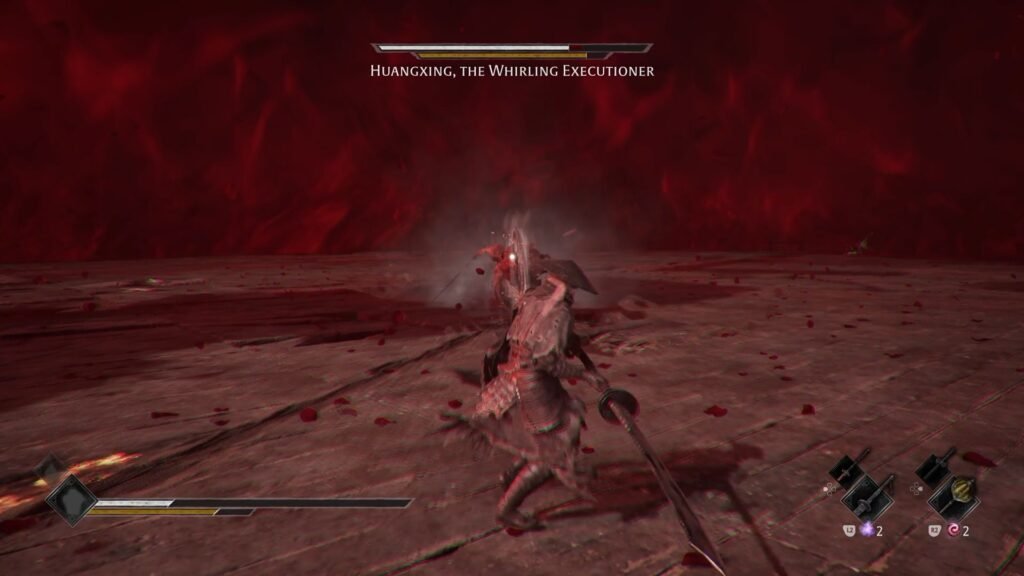
In Phase 2, the guillotine itself becomes the head. Thankfully, the attack that the boss has the most tendency to spam, is the one that is easiest to counter. He will charge at you three times, and the third one will always be a red glowing attack, which is very easy to dodge. That opens up a good window to do damage to the boss.
He will also slam the guillotine a couple of times, just stay away from the boss till this attack is over. The other red glowing attack is when he will turn and fall backwards, which is also easily avoidable.
The arena will also go dark, with the boss attacking suddenly in the darkness, but it is nothing that frantic dodging can’t take care of. This part will mostly always end with a slam, which is a blue attack.
Flying Guillotine
On defeating him, you get the Flying Guillotine Phantom Edge. Use it right away at the base of the statue to open up a path below. This completes the Pillars of Kunlun quest. Jump down below on the red strings platforms to complete Whence the Wheeping quest as well.
Inanis Radiant Fan
Complete the cutscene, and the interaction to receive the Inanis’ Radiant Fan. With everything done, speak to Inanis once more, and return back to ring the Puppet Cell bell, after collecting all the loot here.
With the Guillotine Phantom Edge,
- The Lady’s Path – the first bell, just follow the main path and use the Flying Guillotine to get the Ritual Cauldron Fragment 1
- the Cavern Passage and make your way to where you had spoken to the Lucid Wulin Fighter, and open the now-accessible barrier to get Ritual Cauldron Fragment 2.
This will get you the Restored Ritual Cauldron, which you can use to Soul Temper the Juggernaut.
Go ahead and enter the Illusion from the Puppet Cell bell, and that closes the Herald’s Illusion quest. The Three-Eyed Puppet will give you the Puppet’s Tongue to open up the door to the Crimson Manor, and the Yin’s Eye.
With that, everything to be done at the Mountain of Imprisonment is complete. With this, you should have collected 4 Amber Shards, 4 Blackstone Shards, 4 Accessories, 6 Memory Flowers, 5 (Weapons + Phantom Edges), 8 Bells, and 1 Challenge in this region at 100%.
