
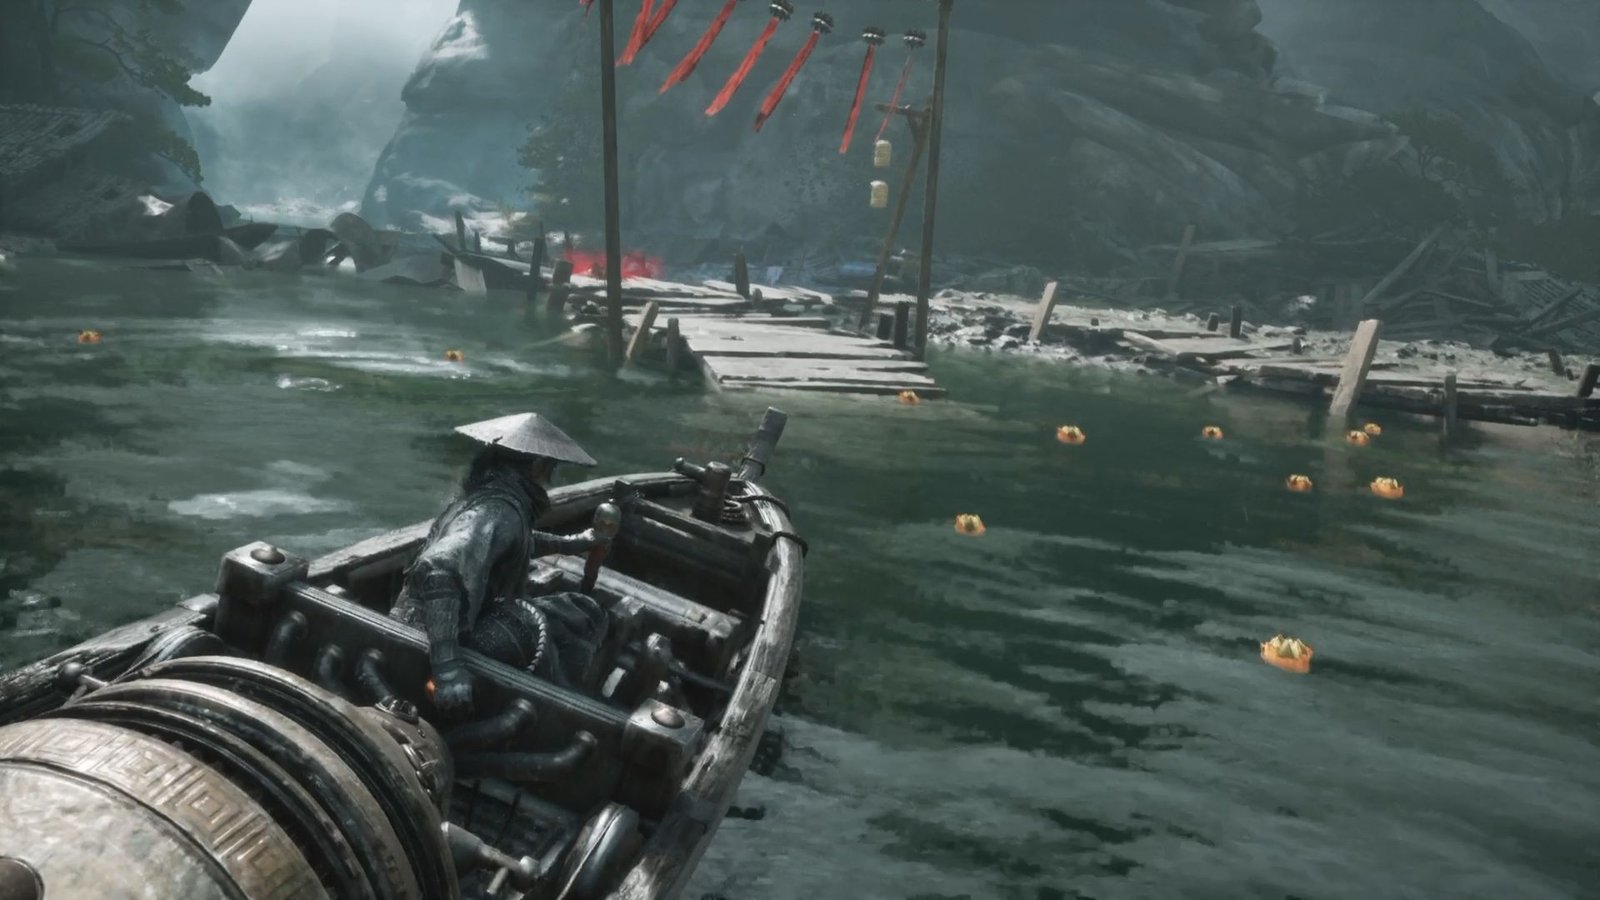
After covering the first set of islands in Meigu Lake, we continue our walkthrough here with the central parts of the lake – which cover Meigu Village (East and West) docks, right upto the north corner of the Lake. After that, we will progress the main quests, and end with the island that takes us to the next region (and chapter) in Phantom Blade Zero.
Like in all articles for regions that spill over into more than 1 guide, we have continued to maintain count for the region – so that, at the end, we can check our region completion %. Meigu Lake, like Pangzhen, will require a revisit once the main story has progressed sufficiently ahead to be able to fully complete this.
In this walkthrough, we will cover everything that can be covered in your first visit to this area, and then revisit the Lake later for completing the balance.
Table of Contents
Meigu Village East Dock
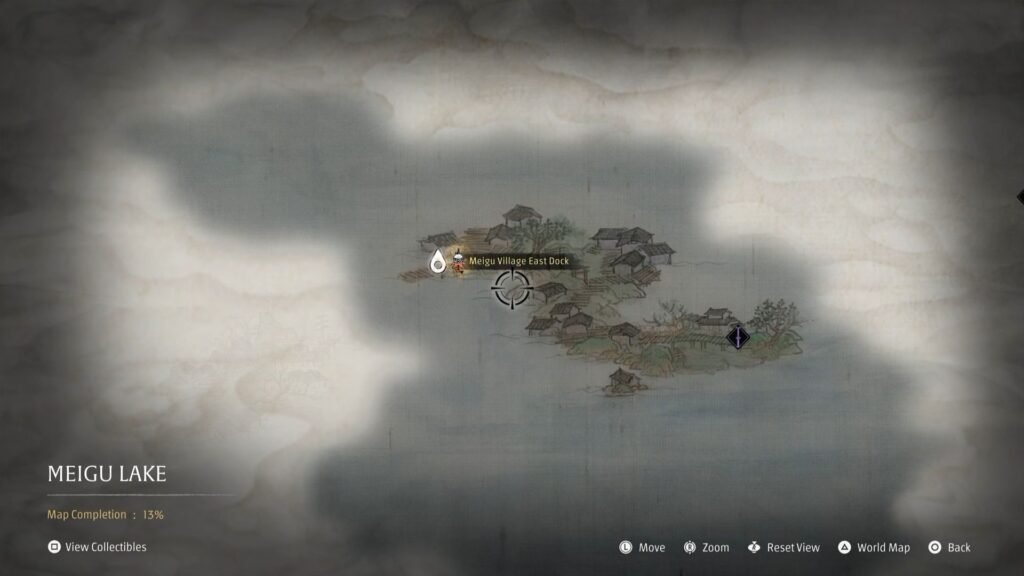
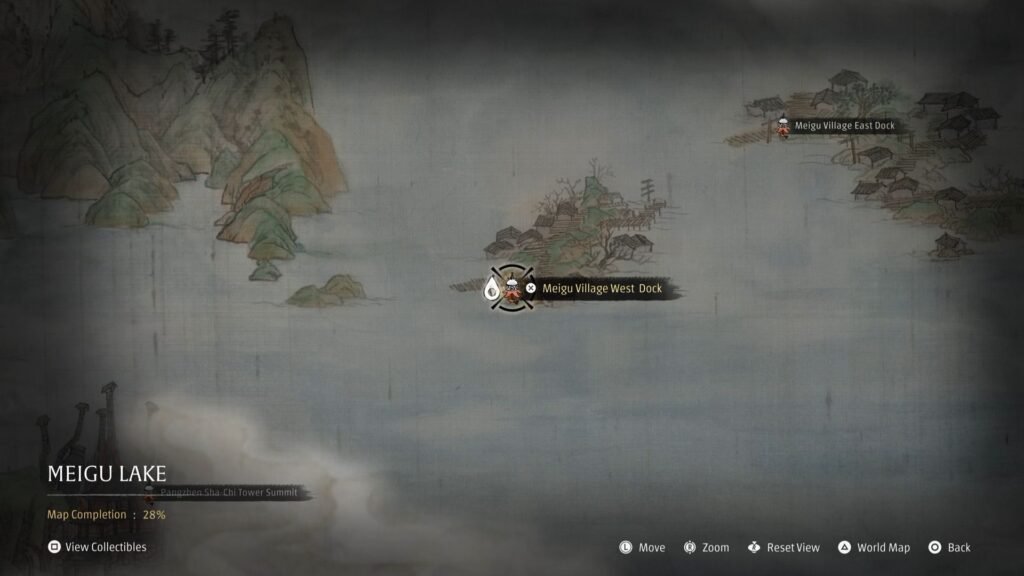
Go ahead and dock at the point shown above, and ring the Meigu Village East Dock bell. The village also has another dock – but you can only grab the Otherworldly Forged Copper from there. This one is the main docking point to explore the village fully.
Collect Blazing Darkfire Charcoal from the left and Universal Solvent from the right of the bell. Move ahead, and clear out the enemies including the ones at the higher level on the right. Get Flawless Twinned Metal, and Fragments of the Blackwater Crew Note. Make your way down, clearing out the enemies, towards the area on the map with the locked door requiring a key.
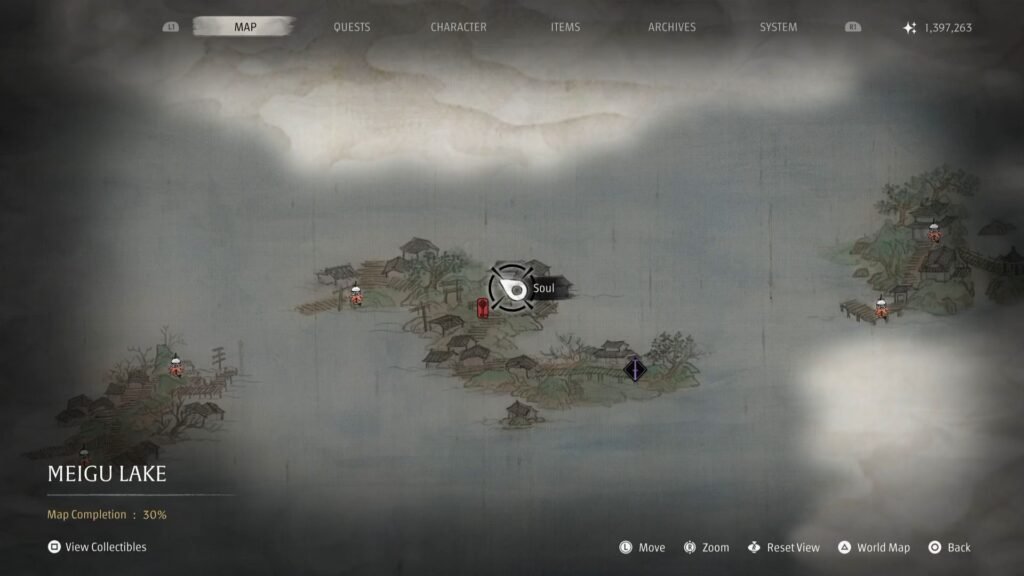
When you come across the above point, there will be a Mist wall that can be accessed using the Illusory Pipa. Open the chest behind it to get Rules of the Backwater Crew, for Soul Tempering the Loong Trident Phantom Edge.
Memory Flower: Bitter Kin (2/2) | Longevity Tonic Medicine
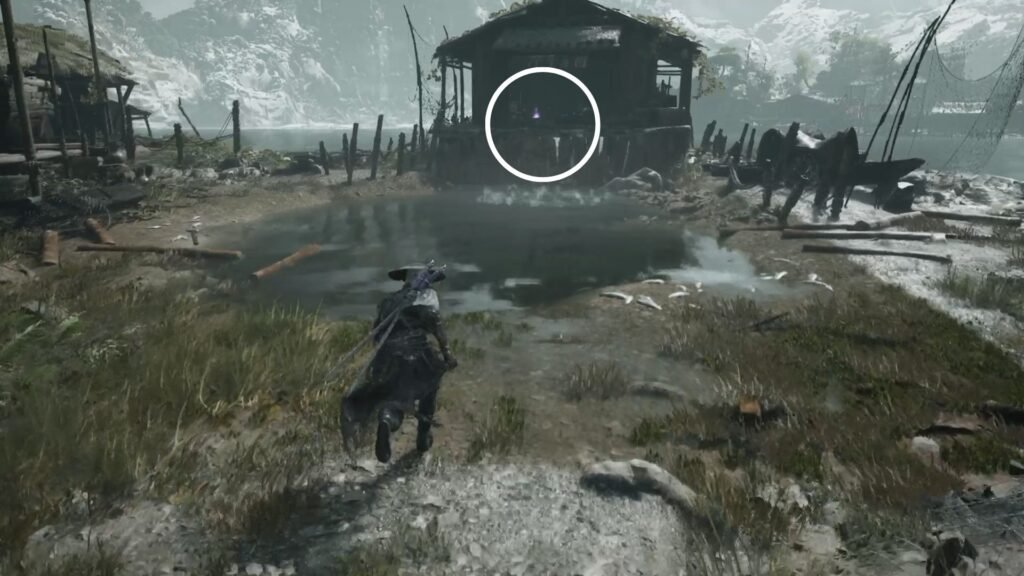
From here, go to the right, and there will be a building with a Memory Flower. Interacting with it also completes the Kin Against Kin side quest, and gets you the Longevity Tonic. Get the Skilled Healer’s Memory.
Amber Shard #2
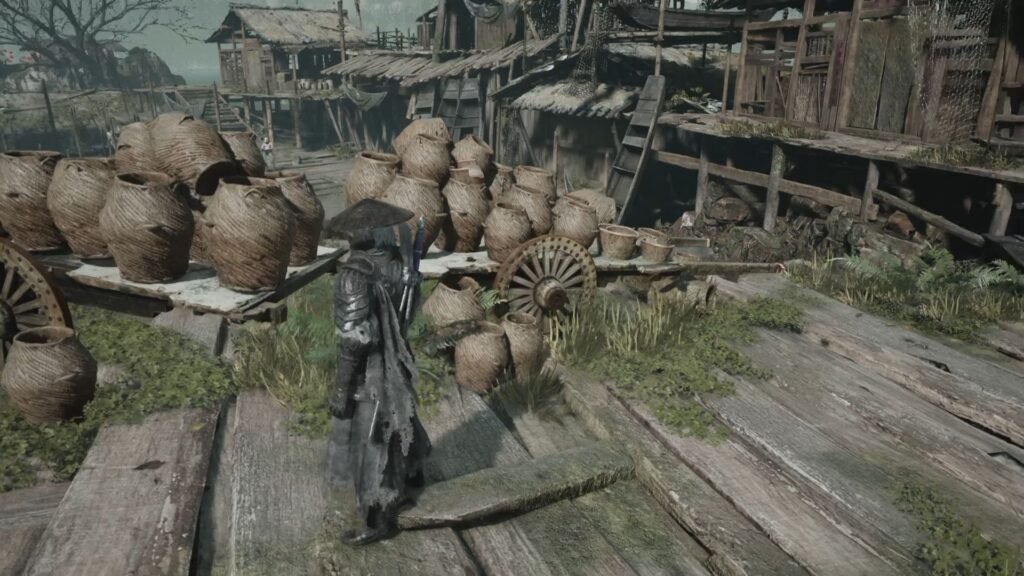
From here, jump down, and look for a climbable ledge that takes you to the area with the Red Key requirement. Look for an area with lot of pots kept, with enemies below. The house with the Red Key requirement will be to your left. Defeat all the enemies to get Amber Shard.
Blackstone Shard #3 | Red-Cloth Door Key Location
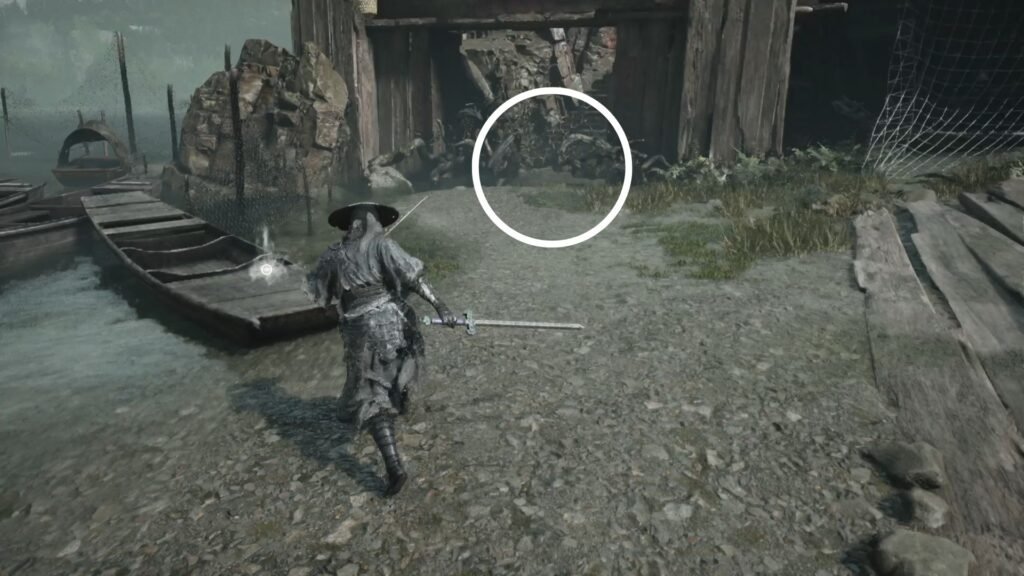
Now, exactly opposite the locked house, across the area where you defeated the enemies, will be another house with a faded plaque outside. On it’s right, there will be a Fragments of a Travel Journal Note. Go behind that house to find the Red-Cloth Door Key.
With that, open the door to get Stranded Paper Boat Note, Searing Darkfire Charcoal, and Blackstone Shard #2. Break the crates to get Apprentice Healer’s Memory.
Now, we have just 1 more thing pending here, and make your way towards the edge of the area with the purple icon for the Secrets At the Heart of the Lake quest.
Deathlock | Blackwater Crew’s Memory Flower (1/4)
Here, look to your right, and there will be vines that you can burn through using Flaming Mane. Select the option to ‘Place in the Preservation Jar’, to get the Deathlock accessory. From here, take the wooden planks going up on the left, collect the Flawless Forged Metal from inside the building, and the Memory Flower from outside on the right.
Retrace your steps towards the Challenge location. Collect the Flawless Twinned Metal, and Skilled Healer’s Memory; and Incense Ash for the Lady from the other end of the scarecrow. With that, we are ready for the final thing to close on this island.
Challenge : Acolyte Guhe Boss Fight
Now, this fight can either be painfully irritating, or a walk in the park – and it all depends on your setup. First things first – upgrade the Preservation Jar that helps resist poison damage to as much as you can – ideally 80% damage reduction. Secondly, remember that you can hit any of the copies that the boss summons – damaging them will damage the boss Sha-Chi bar as well. Finally, use AoE Phantom Edges like the Bashpole to hit all the copies. If you are not particularly attached to a weapon, go with an upgraded Outlaw Warblade to get health back on every hit. You can go around the line of attack of the poison globes to attack the boss.
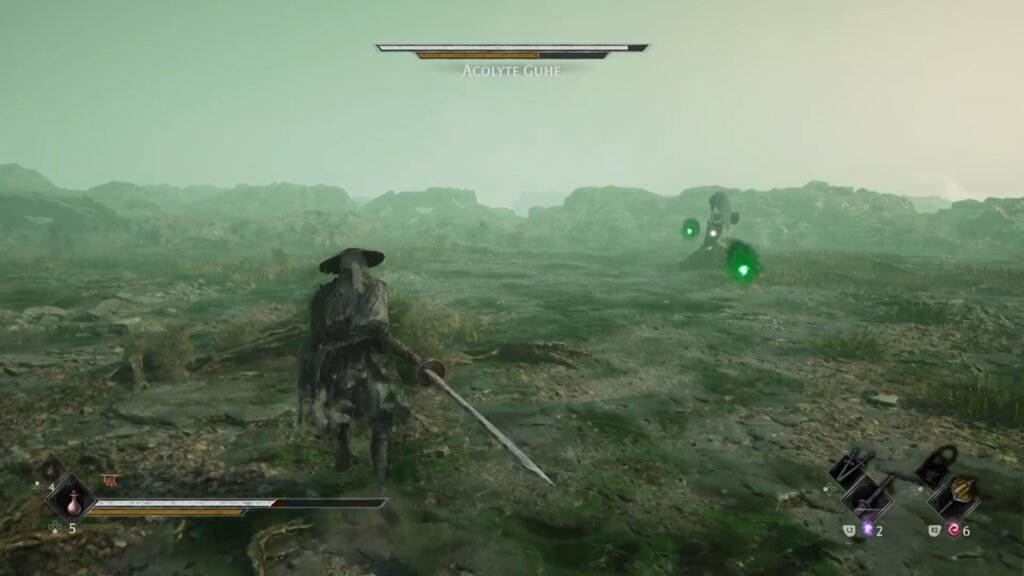
With this setup, the boss should not take much time to go down. You get Guhe’s Venom Mask on defeating him. Now, let’s move on to Meigu Village West Dock bell.
Meigu Village West Dock
Quick Hand Zhang Location | Blackwater Crew’s Memory Flower (2/4)
Defeat the enemies to be able to ring the Meigu Village West Dock bell. Clear out all enemies in this area, and the start left from the bell. Take the steps on the left, and then the ladder. Drop down through the opening here, to get Remnant Spark Cube Fragment: Mortise.
Use the rope to get to the roof with Flawless Forged Metal, Skilled Healer’s Memory, and Proclamation Against Enemies Note. Then, continue to the point with all the enemies fishing, get Apprentice Healer’s Memory, Flawless Broadplate Metal.
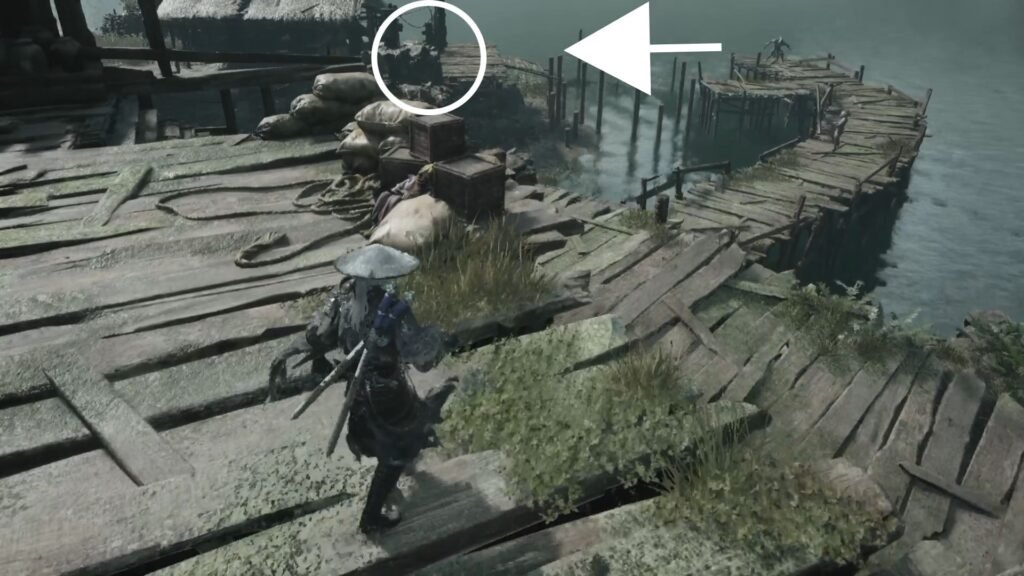
Right at the other end of where you docked, there is a jetty that goes out into the lake, with an enemy (and a chest with upgrade materials) at the end. From here, on the left, are a set of wooden poles that you can climb on to, and make way to the left to Quick Hand Zhang’s location for Meigu Lake. Interact with him to get the Treasure item list for Meigu Lake, and ring Zhang’s Hideout (Meigu Lake) bell.
Amber Shard #3
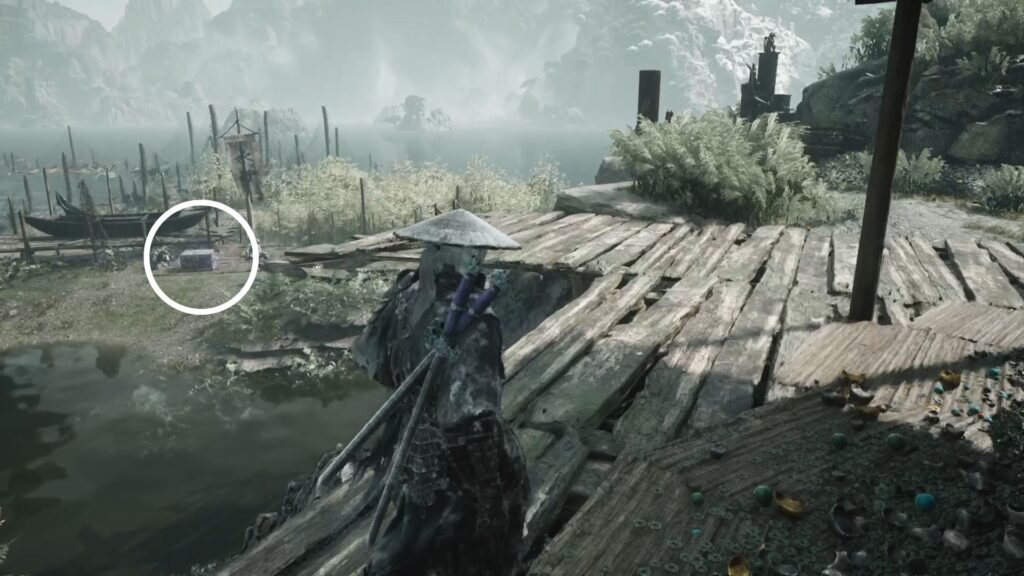
Behind his hideout, is the chest with Amber Shard #3
Make your way back now towards the bell, and collect the following: Illusory Incense Ash, Skilled Healer’s Memory, Flawless Twinned Metal, and finally the Memory Flower.
Lake Banyan Dock
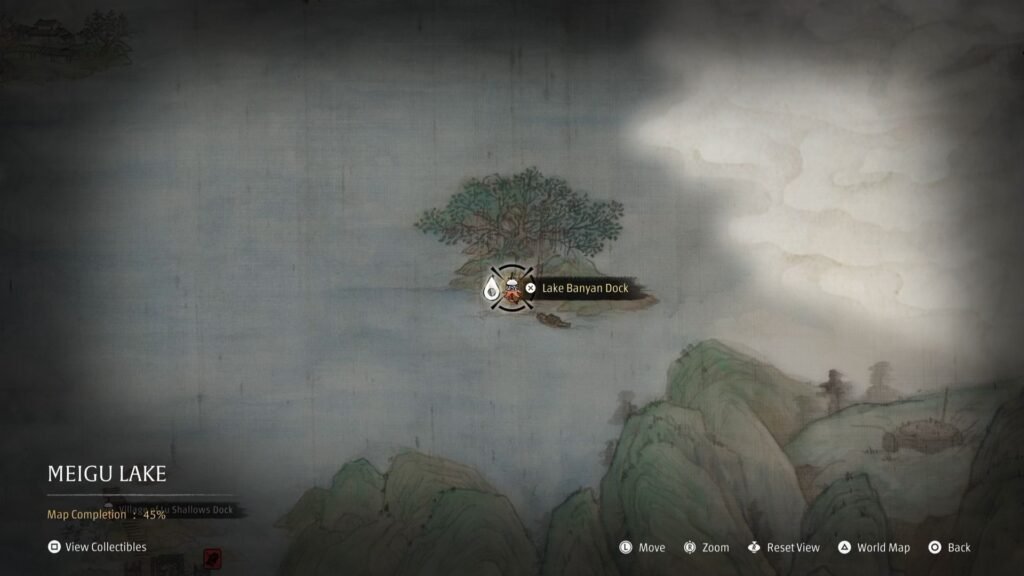
Make your way to the east end, to find the Lake Banyan Dock bell. As the name makes it pretty much clear, here, there is one objective – complete the challenge, and get the Banyan Heart.
Venom Pouch
However, there is some loot to take, and an accessory as well before we get into the Challenge. Collect Universal Solvent, Flawless Forged Metal, Incense Ash for the Lady, Flawless Broadplate Metal from around the area. Defeat the 2 Fat enemies with the Powderkegs to get the Venom Pouch accessory.
Banyan Tree Heart (Challenge 2/3)
With that, interact with the Banyan Tree, and this time, the 3 waves will have:
- 4 Maskwalkers – 1 with a rifle, and the other 3 with Twinblades
- 2 Red-robed Maskwalkers with Twinblades, 1 with the rapid bolt-firing gun, and 1 with a sword + gun
- Cavalrybane, and Soulclaimer Elite Shadow Wardens
Once you get through all 3 waves, you receive the Banyan Tree Heart.
Midlake Long Pillar Dock
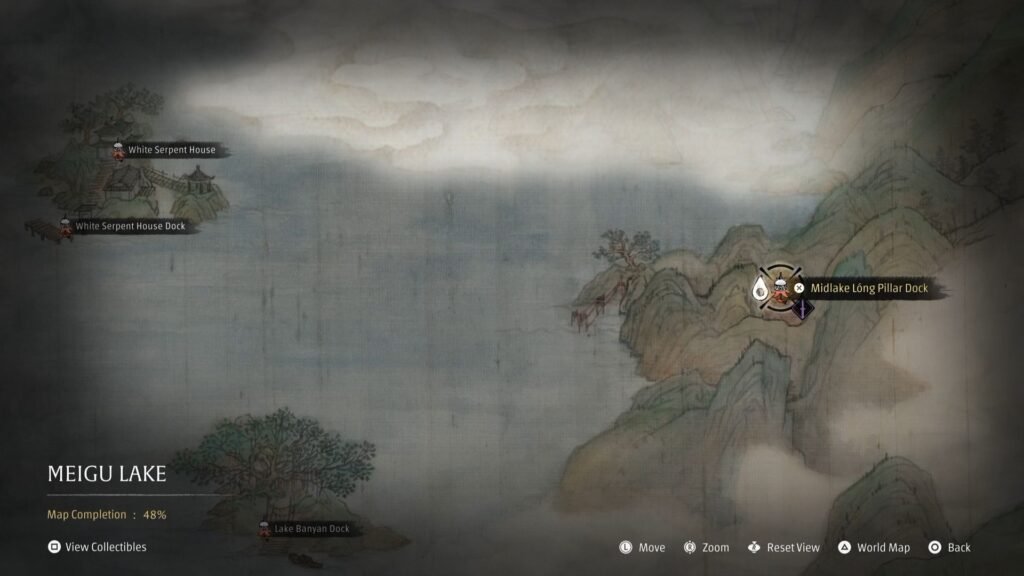
The next port of call is the Midlake Long Pillar Dock bell, just east of the White Serpent House Dock. As soon as you dock, there will be a set of enemies for you to clear. Predictably, there is a fight with the Man in Black here as well. This is a more aggressive fight, but with a lot of familiar movesets as well. On defeating him, you get the Flaming Grip Soul Tempering Material for the Sanguine Reach – which makes the weapon something else entirely – and one of the best ones to wield for end game.
With that done, there is nothing else on this little island, so let’s hop on our boat and go a short distance North
One-Eyed Isle Dock
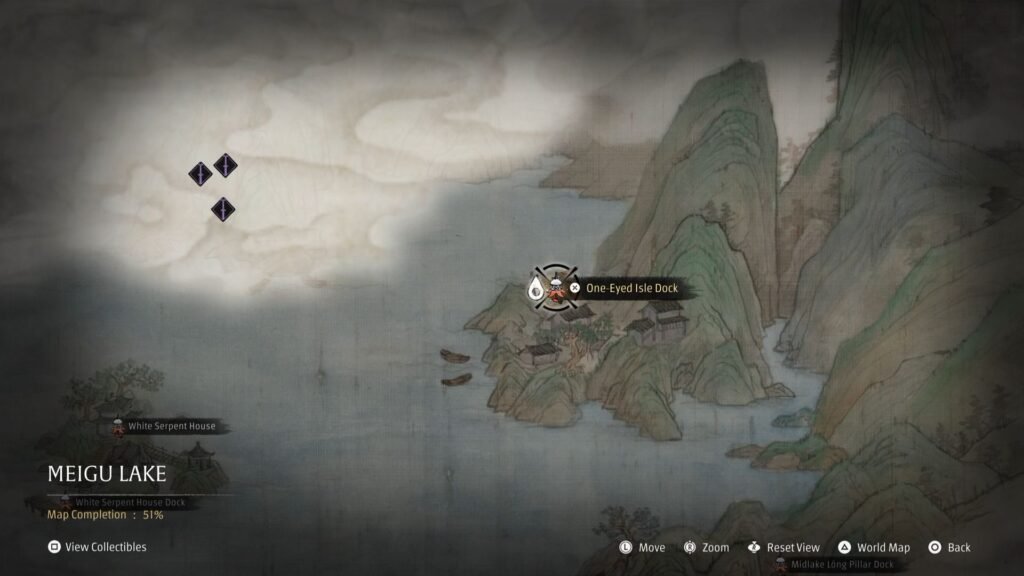
This is not really far at all from the last one, you can still see the White Serpent House island on the left when you defog the map after ringing the One-Eyed Isle Dock bell. Enjoy the cutscene and the entry of the next, and one of the more formidable bosses in the game – the One-Eyed Archer.
One-Eyed Archer Boss
He fires arrows at an extremely fast clip, and switches between melee to ranged attacks in a flash. Plus, his movesets have a mix of both, and especially his ranged shots that glow red can take a good bit of your Sha-Chi bar out.
The one combo that you can use is when he starts with a set of slashes with his sword, then ranged shots, and a final flourish with his sword again. After this, he pauses for a bit, and here you can go in heavy with your best Sha-Chi breaking attacks.
Also, don’t try to brute force yourself into getting near him to dish out your melee attacks, he will fire off a bunch of arrows at you to stagger you and cause health damage as well. The Bashpole works well to stagger him a bit for you to get your attacks in.
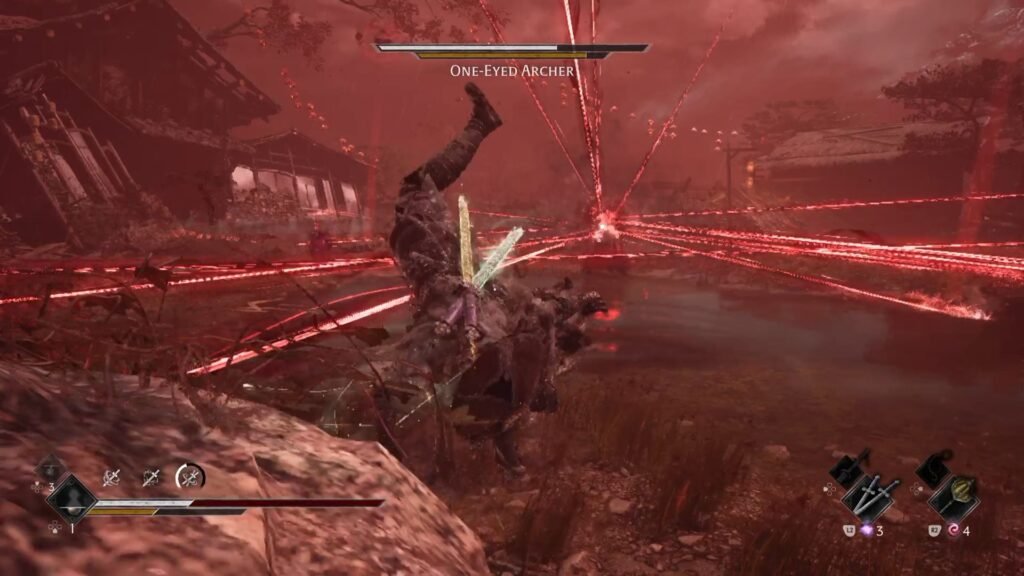
At about 60% health, he will call in a set of laser beams that cover most of the arena, living out narrow spaces in between for you to try and remain to avoid damage. It is incredibly difficult to not take any damage, so when you see him preparing for this – ensure your health is atleast 75%+.
One-Eyed Bow | Sharpshooter’s Eye
After this, his ranged shots will also sometimes have a follow-up shot from one of the eyes that spawns across the field (so much for being One-Eyed).
Defeating him gets you the One-Eyed Bow Phantom Edge. Collect Universal Solvent, Flawless Forged Metal, Flawless Twinned Metal, One-Eyed Archer’s Final Letter Note, chest with upgrade materials, and the Sharpshooter’s Eye accessory.
Blackwater Crew Dock
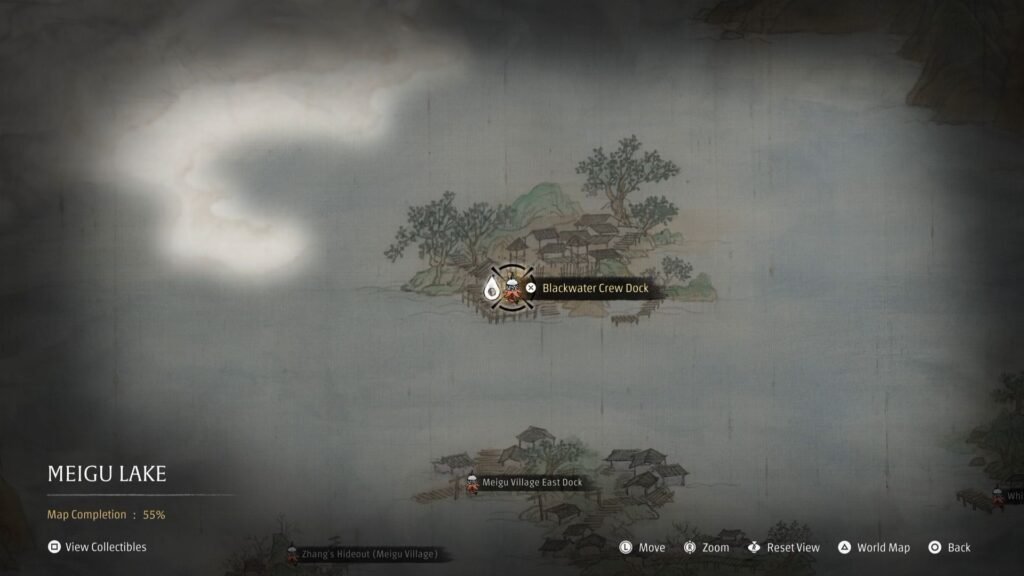
The next stop that we will be making is exactly to the north of Meigu Village East Dock. Ring the Blackwater Crew Dock bell.
Blackwater Crew’s Memory Flower (3/4)
First, go to the left, and take out the enemies fishing. Get the Apprentice Healer’s Memory, and the Memory Flower. Then, head right, collect the Flawless Twinned Metal, Forged Otherworldly Copper, and defeat the enemies here to get Remnant Spark Cube Fragment: Tenon. With this, The Cube side quest will get updated.
With that done, enter the gate now to get into a second fight with You Loong
You Loong, The Frenzied Blackwater Crew Leader
Yes, we did fight him, and we are now fighting an amped-up version of the same boss. His attack patterns, and movesets remain similar with a couple of new combinations added to the mix. They also hit harder than the previous one, but then – so do you.
His red glowing attacks are overhead slams that are easy to dodge and counterattack. When he disappears into the water, he comes out with one or two leaps – dodge those to prevent major Sha-Chi damage.
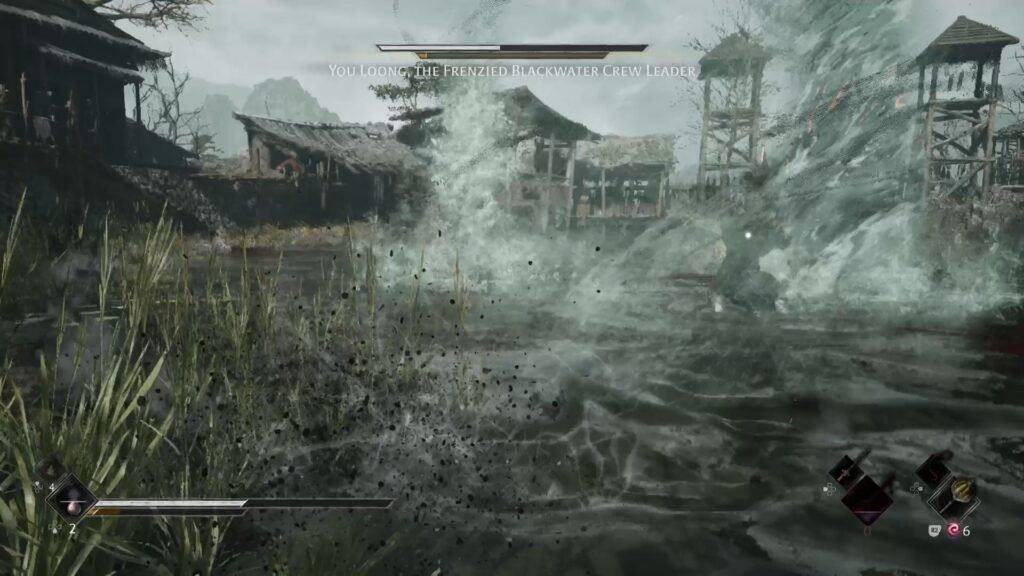
He will also call in whirlpools … just avoid that area till this attack plays out. Defeating him gets you the Loong Trident and the High-Power Pump to Soul Temper You Loong’s Deluge.
Blackstone Shard # 4 | Blackwater Crew’s Memory Flower (4/4)
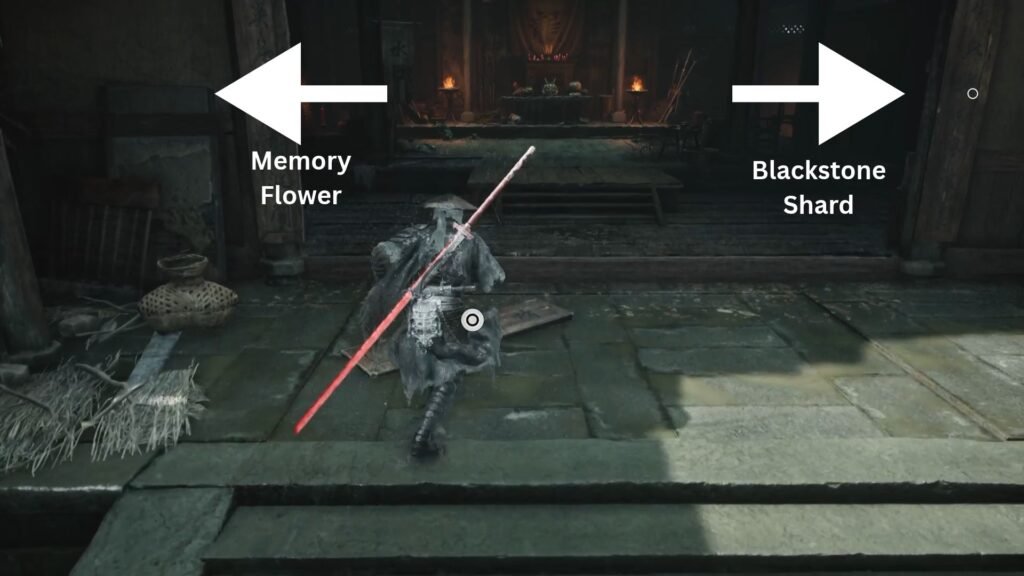
Take the steps on the right and collect the Apprentice Healer’s Memory. Enter the house, and destroy the crates in the room on the right. Collect the Blackwater Crew Ledger Note, and the Blackstone Shard #3.
From the left, collect Blackwater Crew Martial Invitation Note, and the Memory Flower. Continue to the left, and from the next cabin get Skilled Healer’s Memory, and Forbidden Camphor Timber. Further up ahead is an area that you can unlock with You Loong’s Deluge to get to a chest with upgrade materials. From here, retrace your steps, cross the building and go straight ahead to unlock the ladder shortcut along with Polished Twinned Metal, and Polished Forged Metal.
Quick Hand Zhang Treasure Item (1/3)
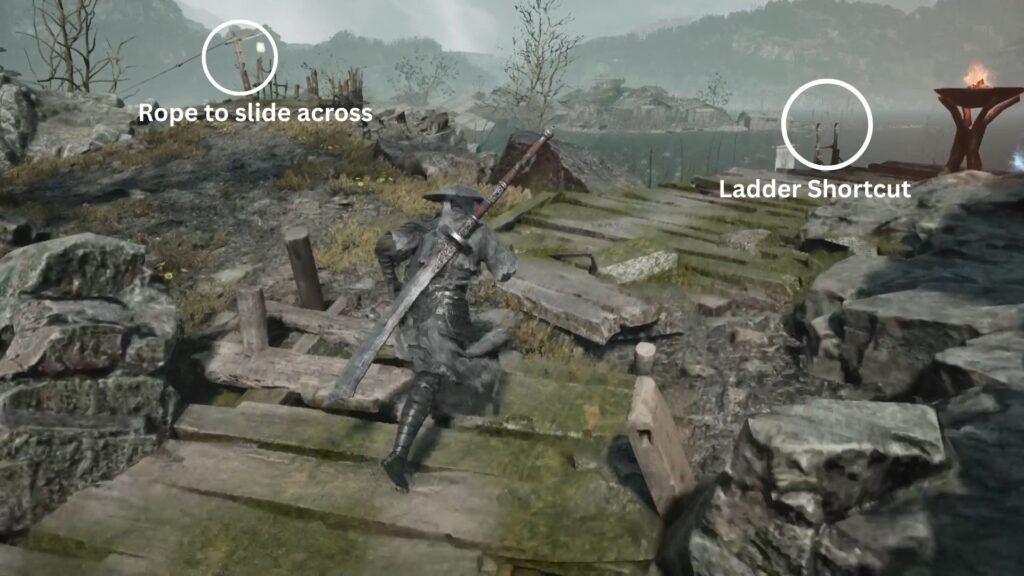
Look for a rope that you can slide across on the left. From here, go right to get a Quick Hand Zhang treasure item. Get the Flawless Forged Metal, and then the Blue Blossom Compass. With that done, go left, collect the Universal Solvent, and we are done with this area.
Frozen Lake Dock
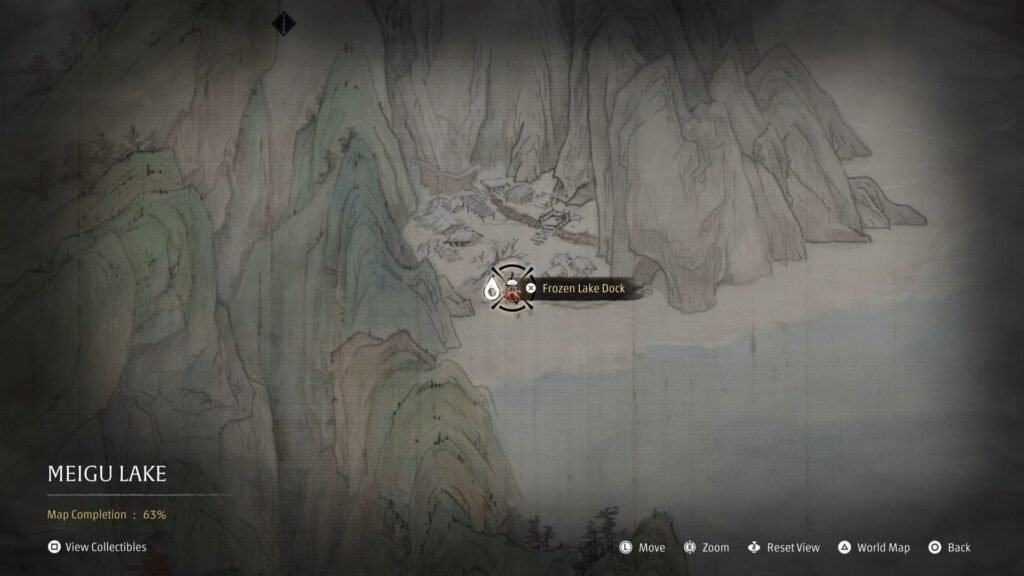
From here, go towards the north-west part of the map. Here, it is important that you complete Old Man Gen’s quest ‘The Journey Home’ in the Village of Lu before setting foot on this island.
War Wagon | Old Man Gen’s Memory Flower (1/1) | Memory Flower of the Intruder (1/2, 2/2)
You will be treated to a cutscene, and get a pretty out-there War Wagon Phantom Edge from the old man as soon as you land here.
Ring the Frozen Lake Dock bell, and you will find Old Man Gen’s Memory Flower, and Old Wooden Comb to Soul Temper the War Wagon Phantom Edge. Down the road is another Memory Flower. You will face a group of enemies, watch out for the enemy with the Pipa – he can inflict the Frost debuff, which slows you down, and when full will completely freeze you.
Once you are done with them, the big tree in the middle has another Memory Flower to interact with. Right on the opposite side of the tree is a chest with upgrade materials. Check the roofs and inside the buildings for a few materials, Traversal Talismans, and Remnant Dust.
Finally, make your way down the main path to arrive at the Four Guardian’s Mirror bell. There’s not much you can do here, so get on the boat and let’s now progress a main quest point.
White Serpent House
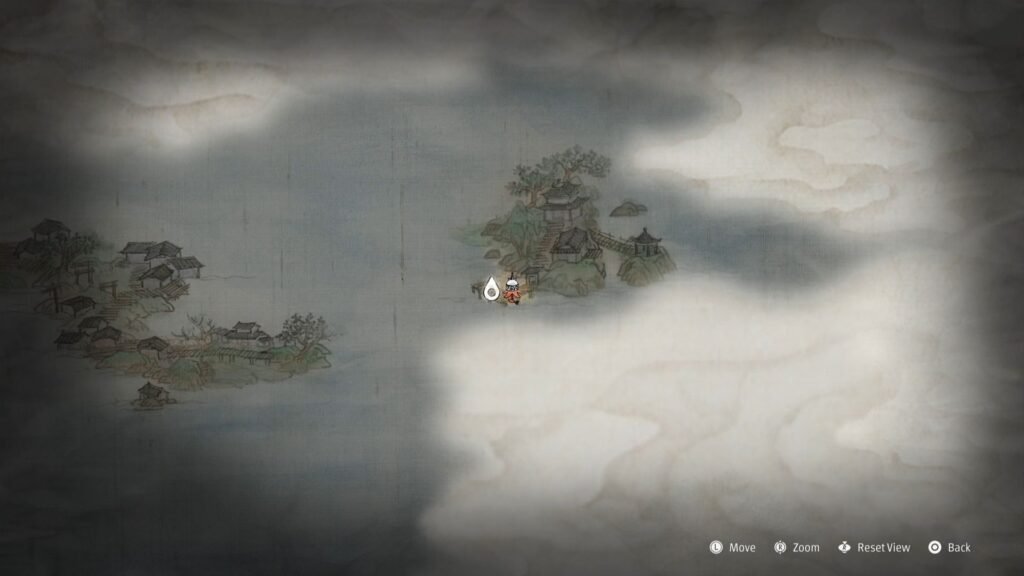
Let’s now complete a key main story part – getting the 4th Serpent House Item. Take the boat now to the White Serpent House Dock, and ring the bell.
Amber Shard #4 | Treasure Basin | Leng Tu’s Memory Flower (1/6), (2/6)
Enter the gate, and go right to get ambushed by two enemies. Take them out, open the door and the golden chest behind it to get Treasure Basin accessory, and the Notes on the Discordant Shard. Behind this building is a chest with Amber Shard
Exit the building, and take the steps on the right going up. Defeat the enemy in the next building and ring the White Serpent House bell. Get the Flawless Forged Metal, and the Memory Flower. On the right, there is a door that leads to a bridge. Cross the bridge, defeat the enemy, and get the other Memory Flower.
Heartpiercer, Elite Shadow Warden boss fight
Open the door straight ahead, for a boss fight with Heartpiercer, Elite Shadow Warden. He has dual axes that he can also throw at you at medium range for damage, and do very fast close range attacks. Dual Swords work best in this fight to parry his attacks and very quickly deplete his Sha-Chi. Once that has been done, you can bring out all the heavy hits.
Sundering Dual Axes | Leng Tu’s Memory Flower (3/6)
Once you defeat him, you get his weapon – the Sundering Dual Axes. Enter the building now to get Illustrated Guide to the Mirage Estate, Design for the Radiant Heart, and An Unsigned Letter Notes, Serpent Slough: White Tempering Material – which should complete the Serpent’s Memory for Soul Tempering White Serpent & Crimson Viper weapon. Next to collect is the Memory Flower, Green Serpent House Secret Passage Map Note, Flawless Broadplate Metal, and the White Serpent Eye.
Now for the final area to cover in Meigu Lake for now, and progress to the next region.
Weeping Mistgate
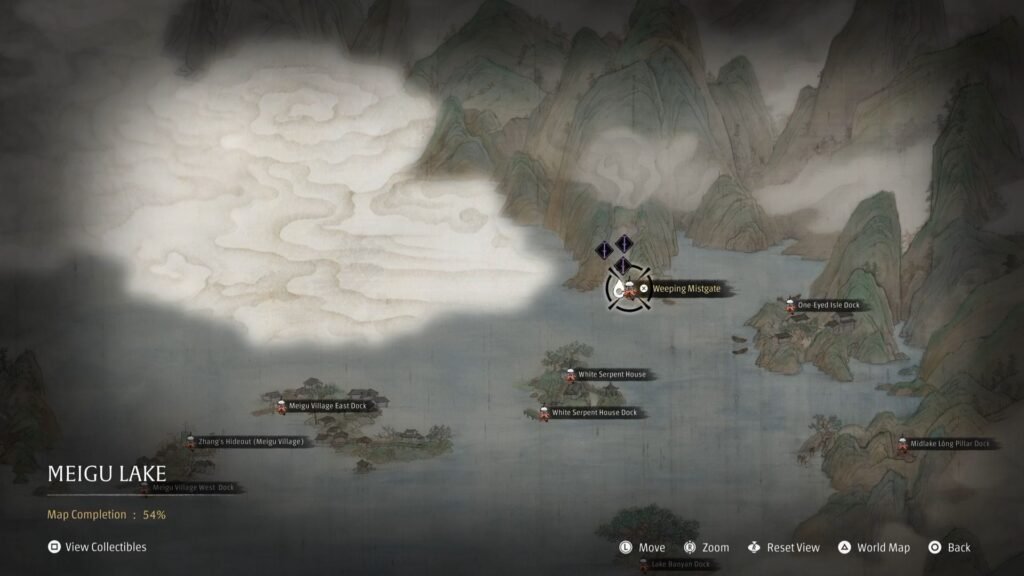
Saving this one for the last – and for good reason, since as you ring the Weeping Mistgate bell, and make your way ahead to use the Illusory Pipa, you get transported to the next region of the game – the Mountain of Imprisonment.
