
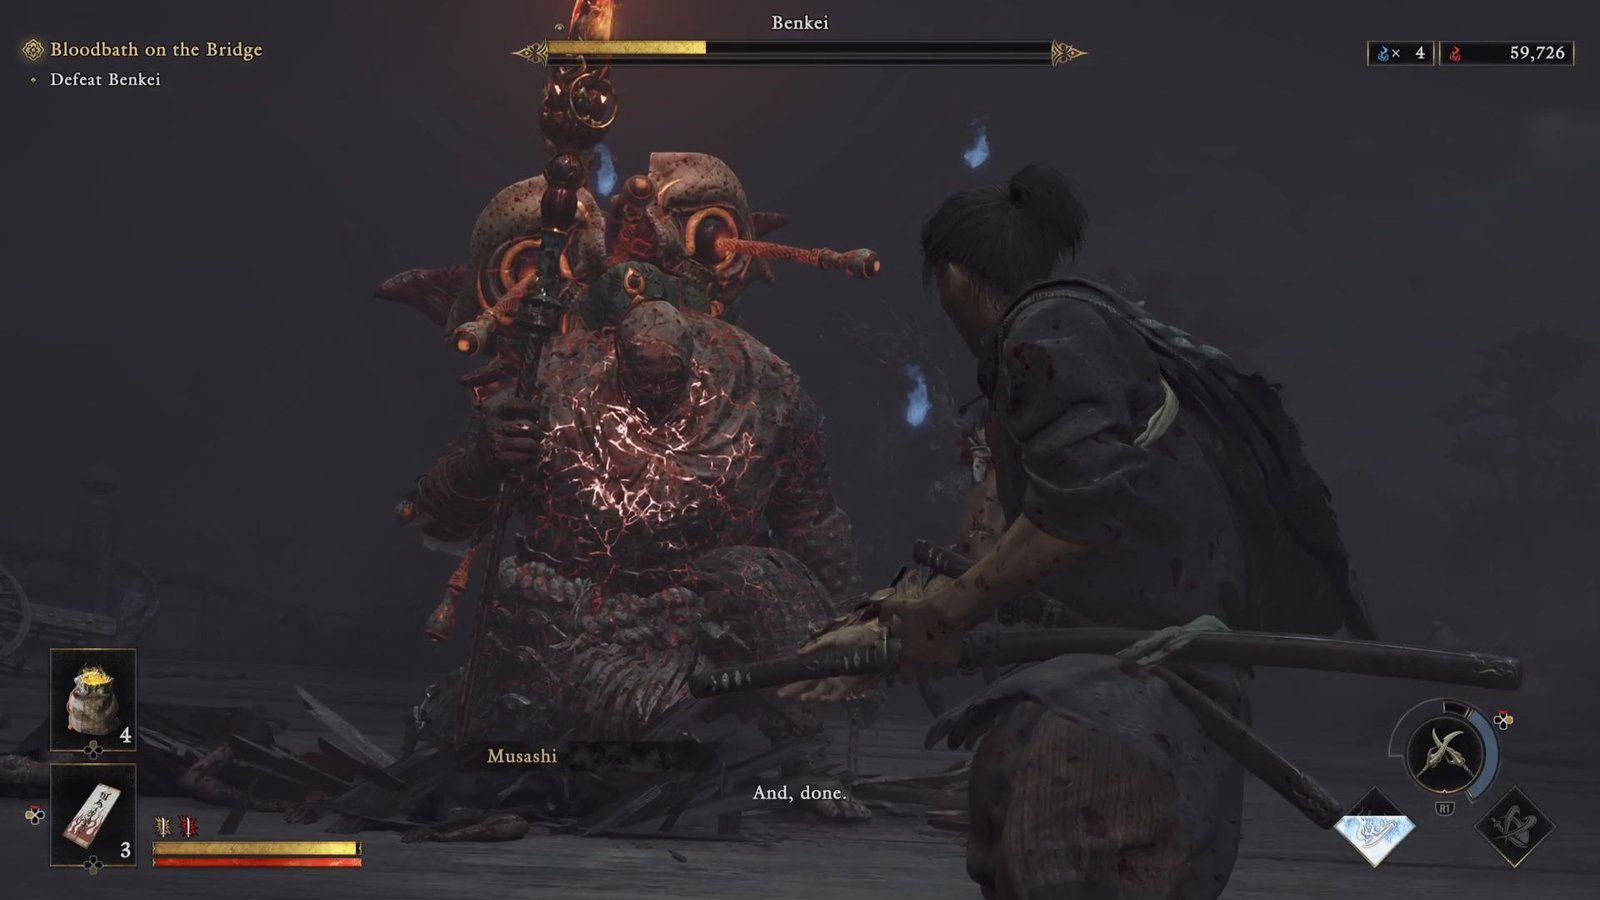
The final showdown in the main quest Bloodbath on the Bridge has you facing off against Benkei – an armored behemoth that wields massive Switchglaives. If you have just come off from defeating the Greater Nue, which has you surviving a staggering number of different attacks over a battle of attrition, then this fight will be the exact opposite – short, and brutal.
This is also, however, one of the most enjoyable boss fights in the game, and here is my strategy and guide to defeating Benkei in Onimusha Way of the Sword
Strategies & Tips to defeat Benkei
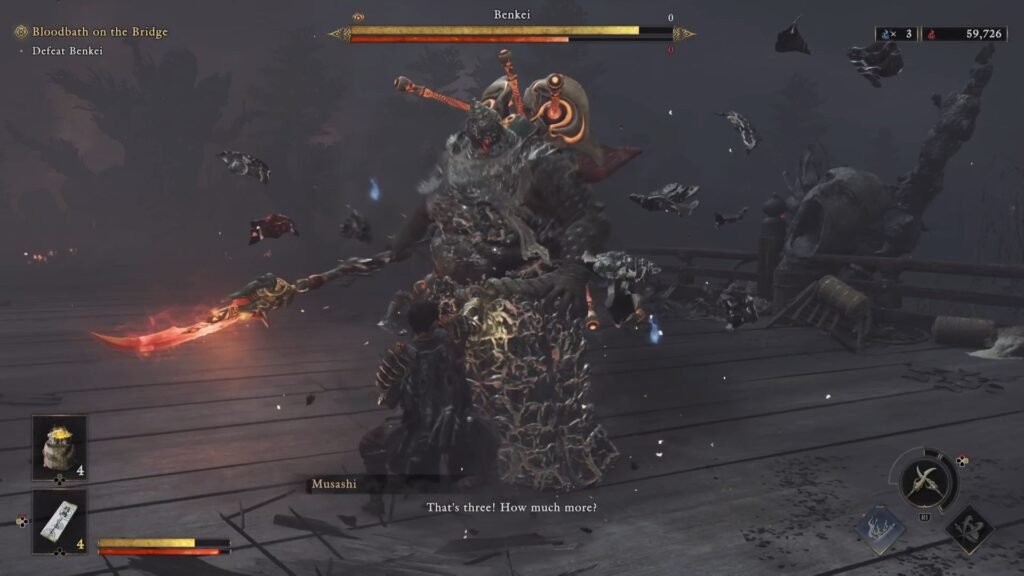
- You will need to deploy Armor Breaker (Oni Strength) 6 times to break Benkei’s armor and deal damage with your sword attacks. Musashi will helpfully keep count on this with verbal cues like ‘Four! Just a bit to go’ or ‘Only one left’. Issen and Break Issen automatically count as a hit for removing his armor, so that’s there as well.
- This is a battle that will be decided by how well you parry and deflect it’s attacks. It will not be won by sword attacks. These parries and deflects will keep taking out massive chunks of it’s stamina bar, setting it up for a Break Issen.
- The Earth Shakers can be pretty helpful to wipe out the balance stamina bar once you have depleted it down to 30-40% of the total. I would recommend here to deploy Earth Shakers as the Oni Armament, get the Break Issen, and then use the Purple hit to release Yellow Souls and fill in your health bar – rather than the Two Celestials directly for getting health back.
- Always, keep your health to atleast 80%+. Benkei hits like a truck, and even if the fight is going well, a couple of misses in parrying or deflecting can easily get you back to the Retry screen if your health was not fully topped up.
- Attack Talisman really helps here to amp up the stamina damage and get Benkei down to where you can deliver a Break Issen, so don’t hold back on consuming those in the second phase if you have got through the first one well.
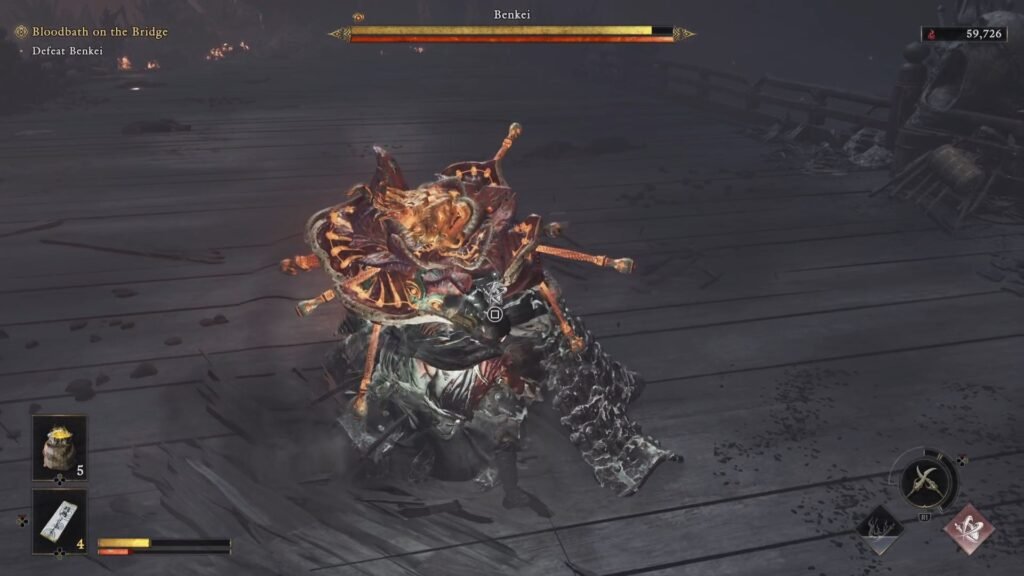
- Benkei has 2 very similar moves – the overhead slam with 2 Switchglaives – one of these is a Red move; the other one a normal one. The Red move is done without a jump, the normal one is done with a jump. Because of this , the one without a jump lands just a bit early – account for this when you deflect the move.
Key Attack Movesets for Benkei & How to Counter
| Move | Description | What To Do |
| Jump | Benkei jumps to land on you in a very telegraphed attack. | The most punishable of it’s moves and very easy to Issen, or Reflex Dodge and then do a Break Armor before it recovers for the next move. |
| Wide Swing + Red Hit Wide Swing + Red Hit 2 Switchglaives | Benkei will do 3 swings in a row – two one-handed and a final two-handed attack. | Deflect. Each of these massively depletes it’s Stamina bar. If you miss, though, highly likely that it will get Empowered. |
| 4 Swings while Charging at you + 1 Final Swing | Benkei is most likely to do this move when it is at a distance from you and Empowered. So, try and be close as possible to not bait him to do this attack. | Easily the most lethal of all attacks, especially when Empowered. Don’t get hassled, only parry when you see the swing close enough to you. |
| Kick | Will lift it’s hands wide, and then deliver a single Kick | Dodge, or Block. |
| Grab | Will lift it’s right hand and bring it down to try and get hold of you. In most cases, will do this attack immediately after the Kick. | Reflex Dodge, and then deliver hits if Armor is broken, or do an Armor Break. |
| Overhead Two-Handed Swing + 2 Switchglaives Together Hit | Again, the lining up for the overhead Swing will be enough time for you to prepare. | Both attacks can easily be deflected. In Phase 2, the second attack lands just a fraction of a second late, so account for this when deflecting. |
| Thrust + Red Hit Wide Swing + Red Hit 2 Switchglaives | Same as the first attack in this table, except that the first attack is a Thrust | You will easily see the Thrust line up, so parry/deflect all 3 moves. |
