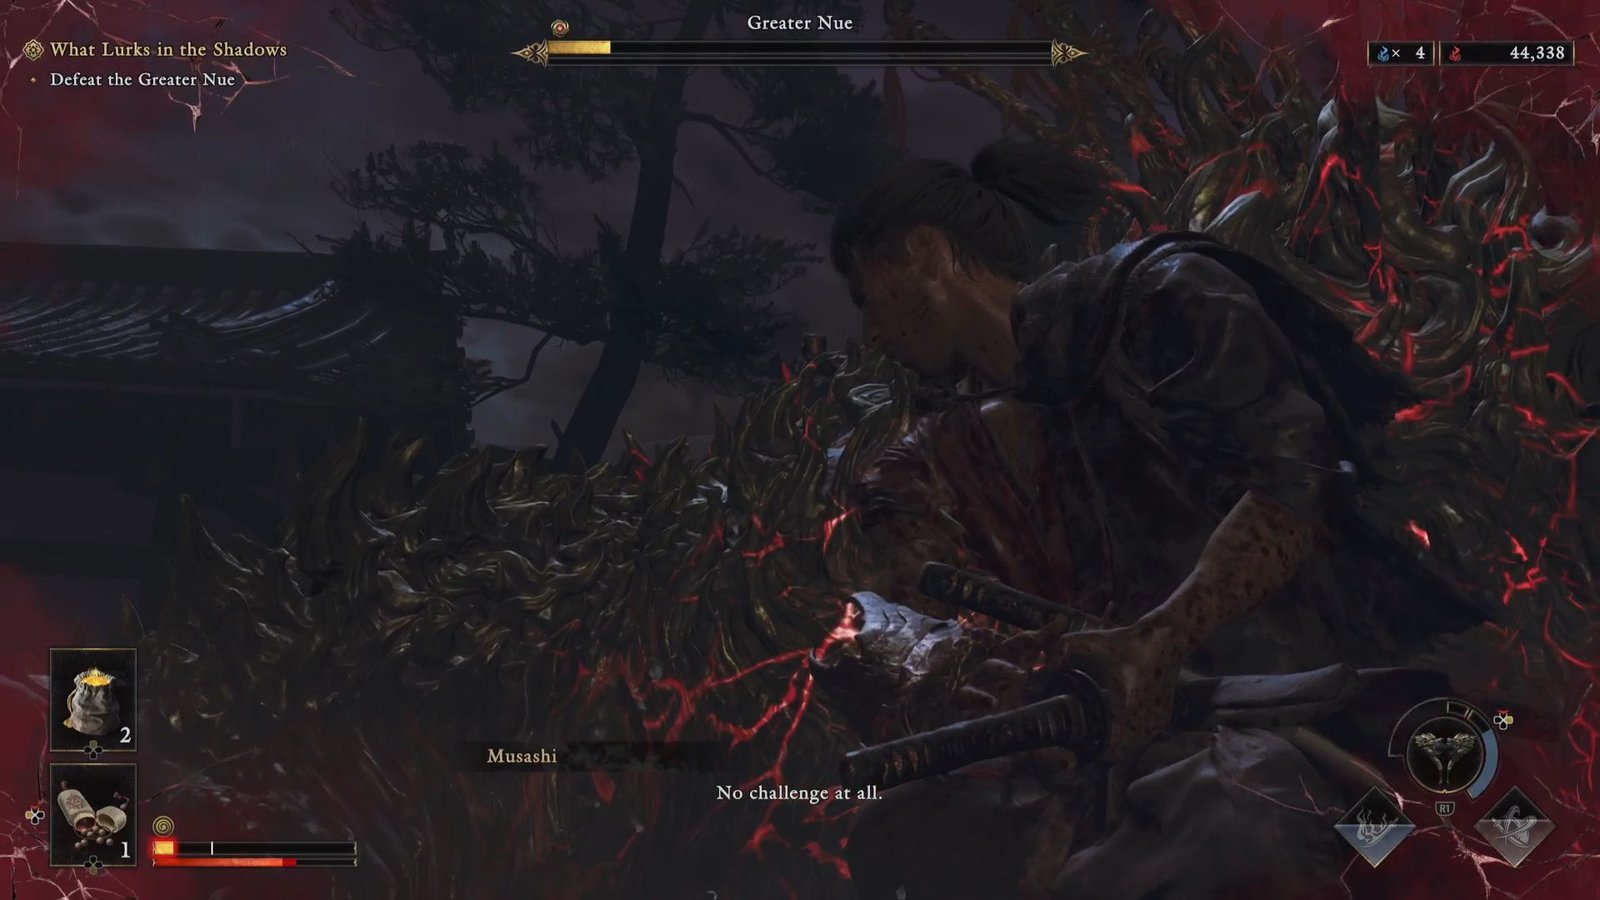
The Greater Nue is the toughest skill check in early game in Onimusha Way of the Sword, and appears at the end of a lengthy dungeon run as part of the quest ‘What Lurks in the Shadows’. You would have already defeated the Nue, and then two Nues together, and hence feeling confident that you would have somewhat got the measure of what would essentially just be a larger version of these boss fights.
This notion, though, quickly gets corrected as the Greater Nue unleashes its swipes, shoves, claws, charges, and of course, lightning. If all of this is getting overwhelming, don’t worry, there is a method to all this madness. In this article, I have put up moves for the Greater Nue that you can counter, ones to avoid and other general strategies to take down this boss in Onimusha Way of the Sword.
Strategy For Defeating The Greater Nue
This is a fight that I would advice patience. You can be on the attack in the first phase, but with the flurry of electricity charged moves in the second phase, I would recommend that you wait for a certain set of attacks that you can comfortably identify, and only use those to land in hits.
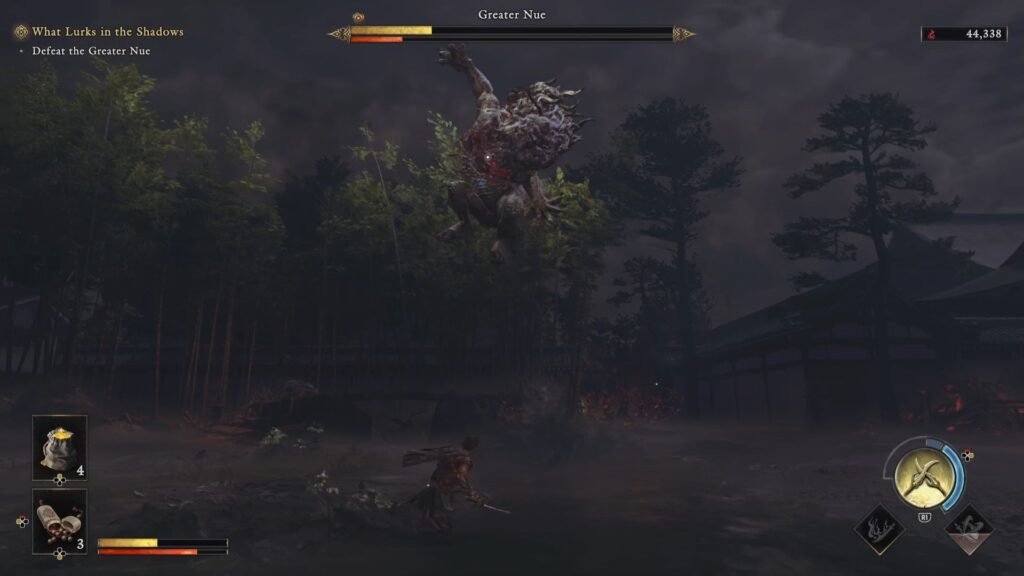
There are a few choice attacks that you should keep an eye out for and fully take advantage. One is a leap attack. The Greater Nue will do a short charge towards you and once it moves away, it will turn, jump high in the air and do a slam. Reflex Dodge, or Issen this attack to deal massive health and stamina damage.
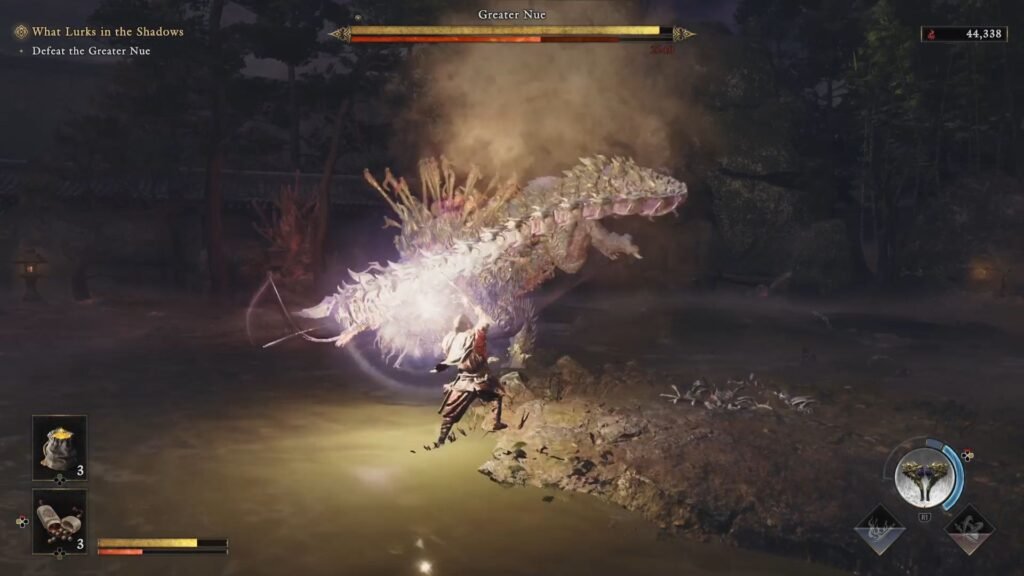
You get introduced here to red unblockable attacks in this fight. The one by Greater Nue is fairly telegraphed and gives you a good window to do a deflect – and deal stamina damage.
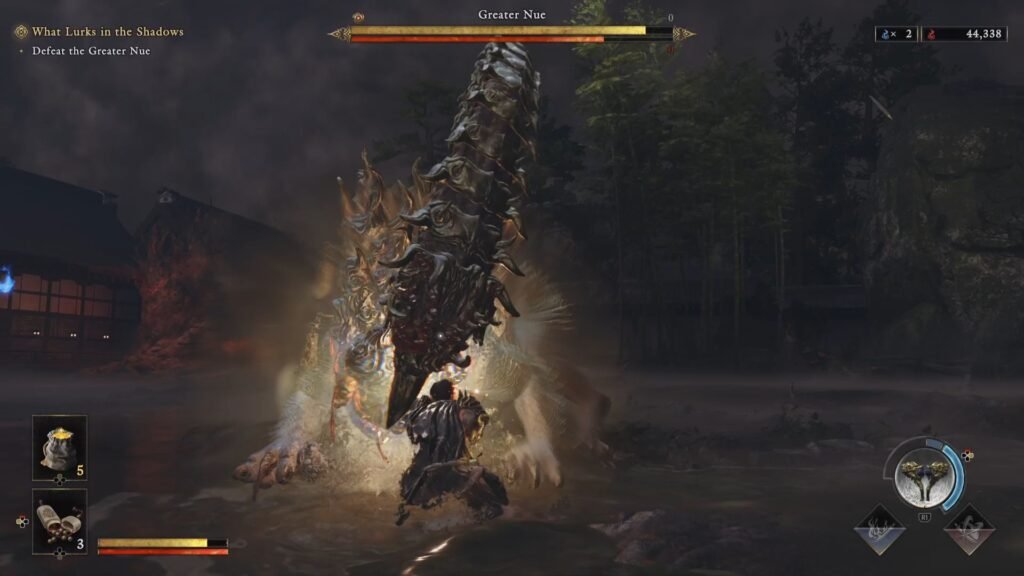
The third attack which you can really cash in on is when it holds the tail in front. Do the Armor Breaker charge with (Triangle + Circle on PS5), which staggers the Greater Nue and gives you a window to land in a few melee hits.
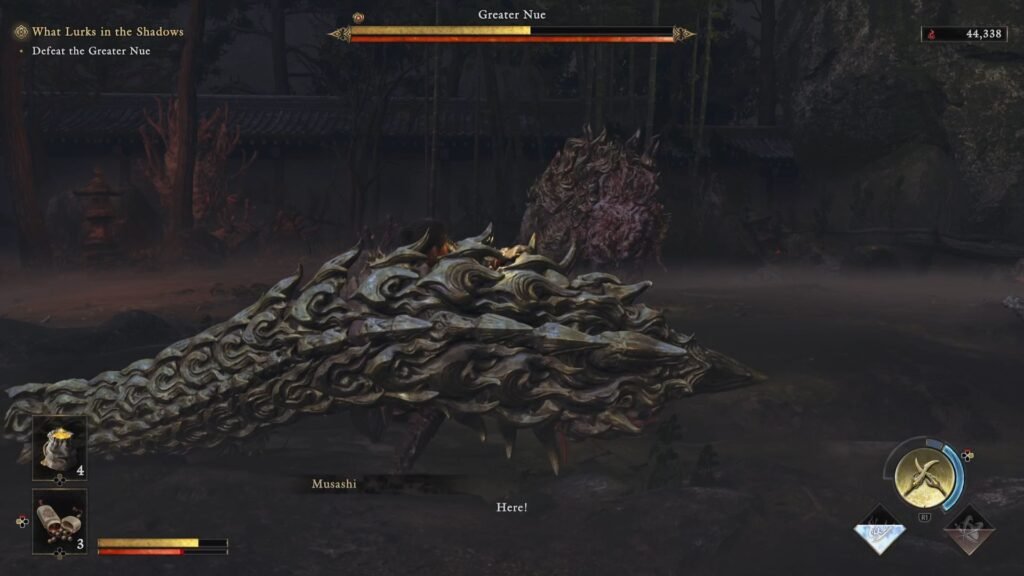
At the end of Phase 1, or whenever you have a Break Issen opportunity, you get three options. By now, you would have figured out when to take the Red One, and when to take the Purple One. In this fight, there is one more nuance, though – The Tail. If you select that , 1) you do damage as you would in a Break Issen; 2) the Tail becomes available to throw at The Greater Nue to deal additional damage; and 3) For a certain period of time after this, all Tail attacks stop till it grows a new one.
I would still, however, advice you to take the head and Red Souls as damage – In my testing, that Break Issen delivered 6600+ damage, while the Tail Break Issen + the throw dealt anywhere between 3300 – 4400 damage. Also, taking the tail out of the equation means that two of the most telegraphed attacks are unavailable to us for a certain period of time – the Red Swipe Attack and the Armor Breaker opportunity.
Attacks To Parry / Deflect
After you have delivered a Deflect on it’s Red Tail Swipe attack, in a majority of cases, the Greater Nue will start a Claw attack set, which will have a combination of left / right claw swipes; and with both. One attack in particular will have it scraping the claw along the ground and then attacking you with full force. This is the most difficult one to perfectly parry, if nothing, ensure that you atleast block this attack to prevent health damage.
Attacks to Avoid
The Charged Tail Swing, & Claw Swipes in Phase 2
The Greater Nue’s tail will glow with electricity, and it will bring it down in a diagonal swipe, followed by delayed electric bursts along the path of the tail swipe. Keep your distance as soon as you see the tail glow. Similarly with the claw swipes – these will be followed by delayed electric bursts
Bite Attack
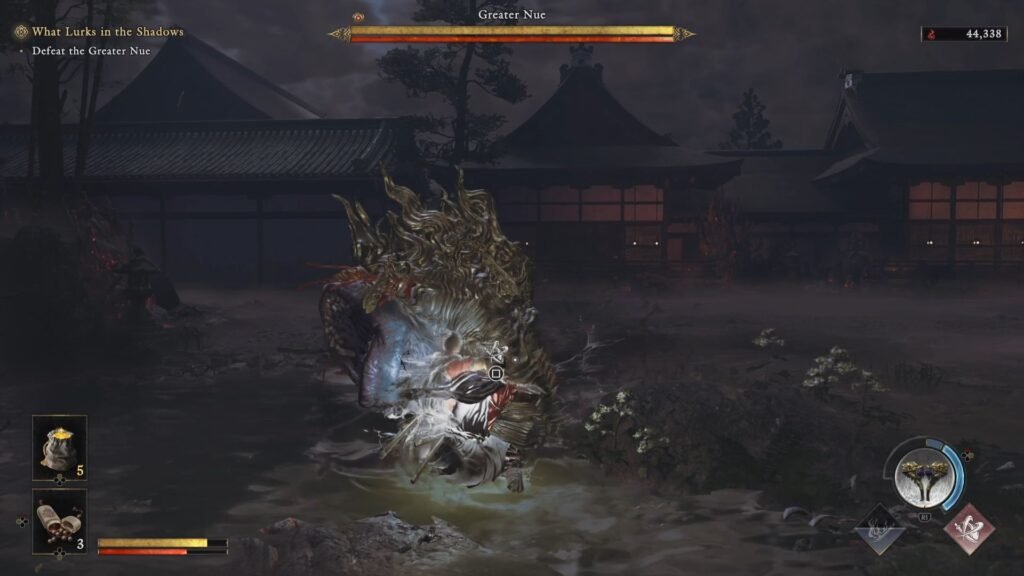
The most irritating attacks as they have virtually no tell, The Greater Nue will either take two bites with barely a break in between. This is difficult to dodge, and try remain on the sides to not bait this attack from the boss. Also try blocking to minimize health damage. The other Bite Attack is a single one, and this is a bit telegraphed as it sort of swivels it’s neck on one side to gain momentum – that’s how you know this is coming. The last attack here is not a bite, but a shove – so if you happen to be on the side and stay there, it is likely to shove you.
Charge
It will either do a short charge, or if it is at a distance, do a long charge. You can move away from the path if you see this coming, or hold Block to take some stamina damage. Do keep in mind, though, that very often, after completing either of these attacks, the Greater Nue will proceed to do the 2 quick bites attack – so be prepared accordingly.
In Phase 2, the Charge will be accompanied by an electric AoE in it’s wake, and a further delayed one once it turns around at the end of the charge move. As long as you have avoided the charge, you can stay away easily from the impacted area.
Grab Attack
This attack comes out with less frequency, the timing window remains the same – as soon as you see it glow, press the dodge button and the Greater Nue will take massive damage.
Once you defeat the Greater Nue, you are properly now into mid-game. Take your time to then explore side quests before taking on the next set of bosses and progressing the main story line.
