
The quest What Lurks in the Shadows in Onimusha Way of the Sword is a big one, as it significantly moves the story ahead, introduces Dokyo and her machinations, gives context and background to Okuni. This quest also takes players through a dungeon that is equal parts combat and figuring out where to go and what to do next – one of the few such dungeons in what is mostly a linear game.
After an opening set of objectives get done relatively easy as the route is not that confusing, you come across a locked door, and are tasked to finding a way to trigger the door’s mechanism. Here is how you get this done in Onimusha Way of the Sword
Find A Way To Trigger the Door’s Mechanism
Take the stairs on your left. and then the door on the left. In the corridor, the one on the right will be locked, so move straight ahead. Take the ladder, cross the corridor, and jump down for a fight. Take care of the pesky archer first, and unleash your Wind Whipper if you feel surrounded.
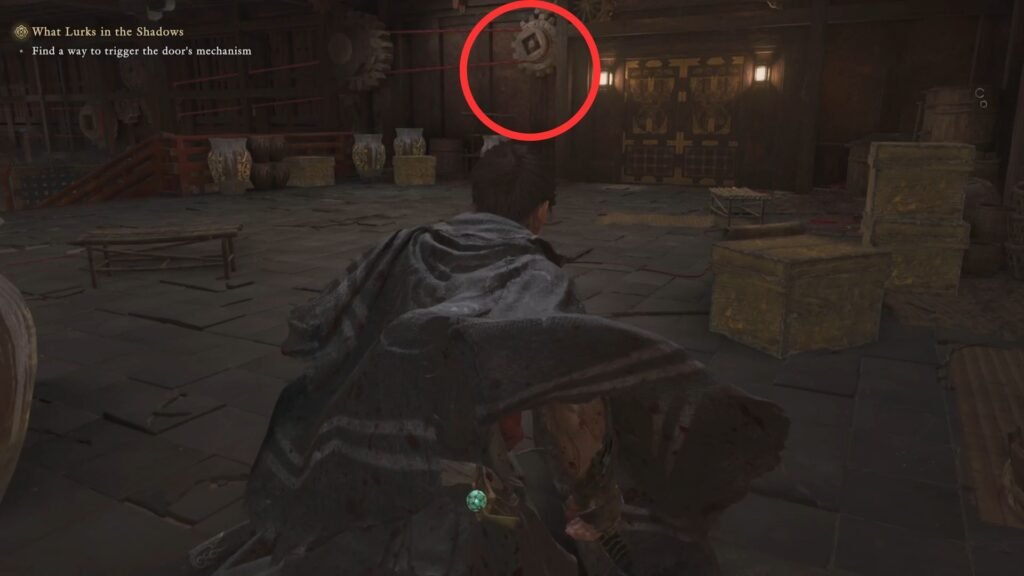
Continue ahead taking the passage on the right, and open the one door. Now, here you will see a bigger door that is locked, with a cog and red rope on it’s left. This will be a recurring theme in this level, you need to find the other end of the red rope and cut it off, to then unlock this door.
Now, the arena on your left has a few strategically placed explosives. Use them to deplete the Genma numbers as much as you can. Next, use the ample cover and shoot the archers to take them down. This will help, as at the end of the circular arena, you will face a relatively tough Genma. Make your way across the edges of the room, till you see a set of stairs on your left. Take those to see the cog and red rope mechanism.
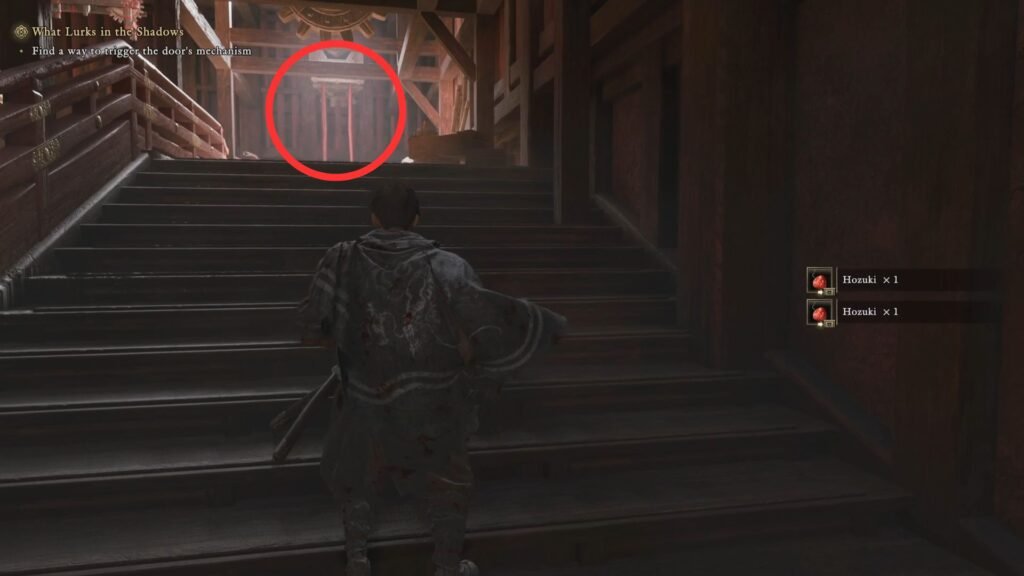
Slash it with your sword to open the previously locked door. Make your way back either the way you came, or through the central open area where you will have more enemies waiting for you. The door now leads you to a rarity in the game – a puzzle to solve
How to solve the Masks Puzzle in Onimusha Way of The Sword
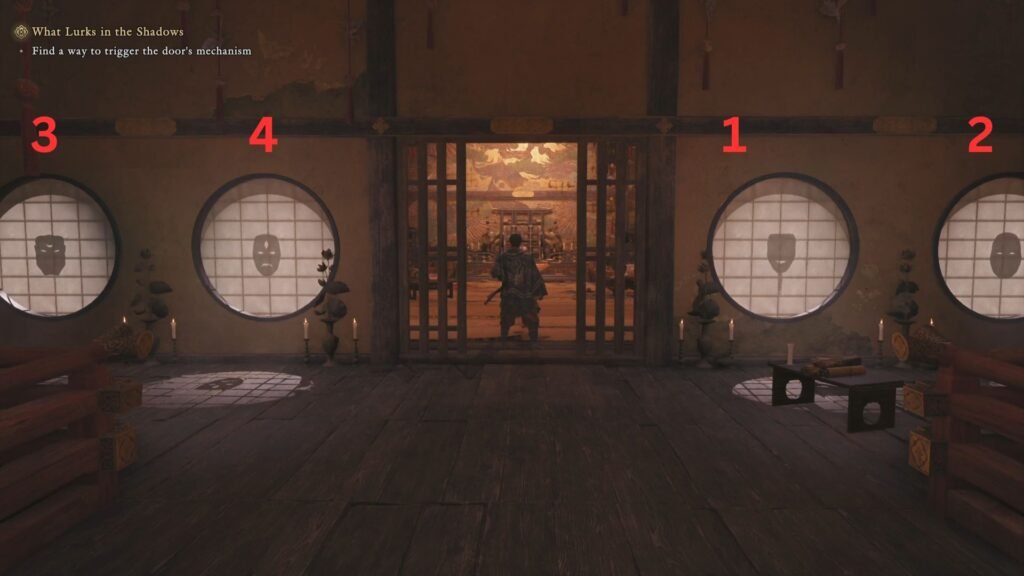
The four masks have a shadow, with holes in them. The number of holes in a mask gets you the sequence in which that mask needs to be shot. So, for example, in the image above, the masks on the right have one and two holes respectively; and the ones on the left have three and four. So, the order in which you need to shoot the masks here is
- the first mask on the right
- the second mask on the right
- the first mask on the left
- the second mask on the left
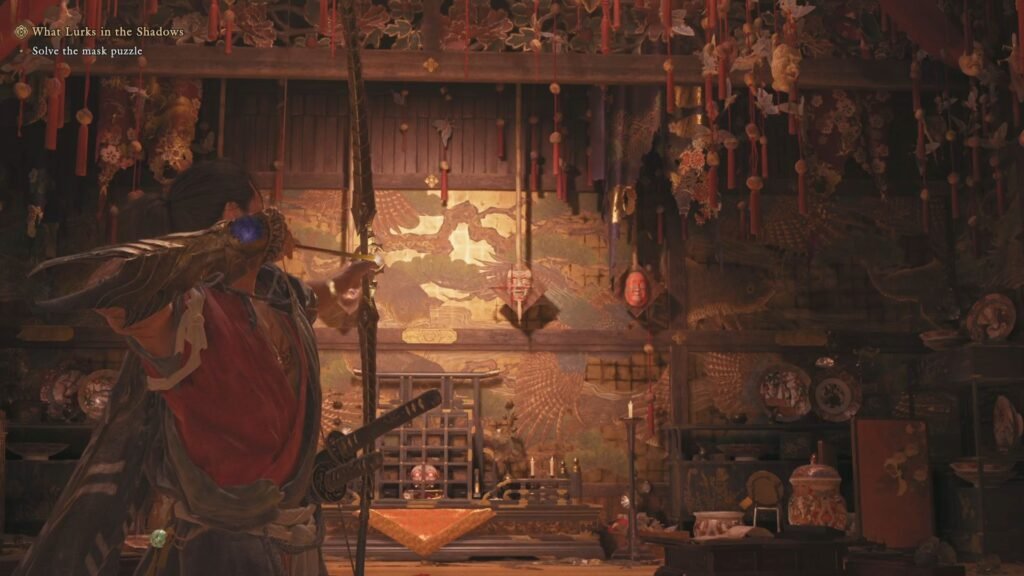
This then opens up the Unsettling Mask right in front of you. Take it, and open the door to the right (when facing the now empty mask pedestal). Take a left, shoot the padlock, and take the door on your left. This leads back to the Shrine Mirror, and the door where you can now use the mask.
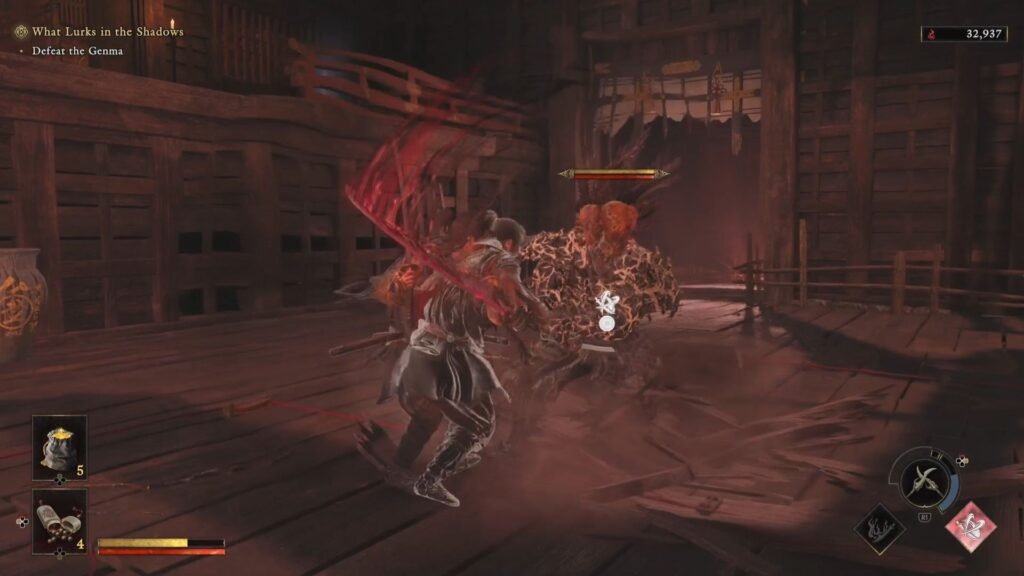
The objective now changes to ‘Stop the Contraption’. Take the open area to the right and pull the lever. A tanky Genma will burst through into the area. Watch out when it releases a cloud of Malice around it, that can sap your health. It has a jump attack that you can Reflex Dodge and counter, and a Grab attack that is pretty telegraphed, otherwise play safe as it can take out a massive chunk of your health if you are not careful or get too adventurous.
Once defeated, enter the area that it jumped from, grab the Fine Silk Cloth * 1 from the chest, and then pull the lever. Approach the mask, and pull the lever there to open the door on your right.
Get The Key
The objective changes back to Get the Key, and we are near the end of this quest chain. Take the stairs, and cross with the platform to enter into an area that has the central door locked. There are 2 red ropes and cogs mechanisms that we need to stop. First, head left – do not cross the red boards, take the door on your left to find a Genma Note: Chijiko collectible chest.
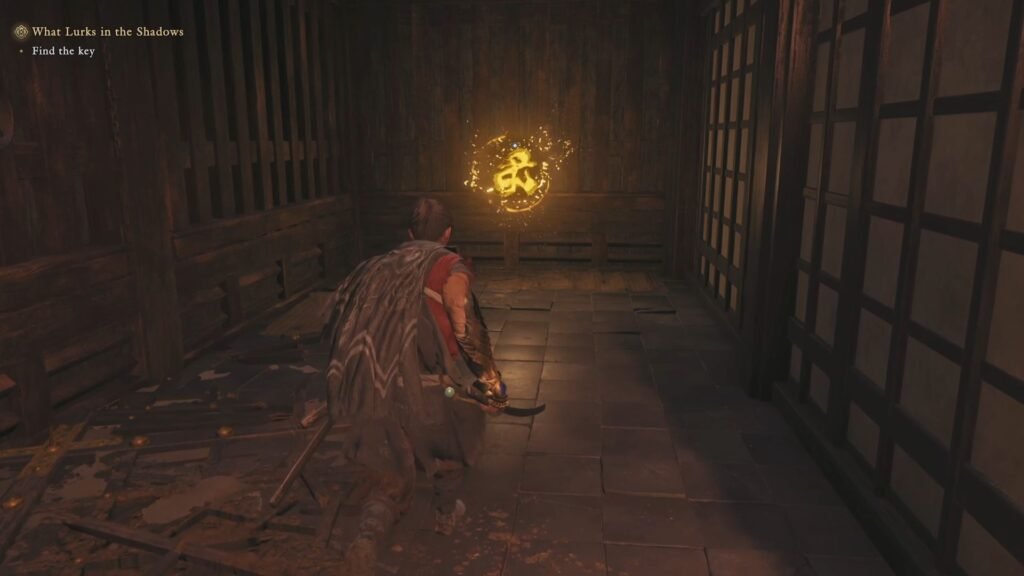
Now, jump over the red boards to see the first red rope that you need to cut… but as soon as you move towards that, the floor gives way, and you find yourself surrounded by a mini-horde of Genma enemies, and ominously, a Byakue at the back. Thankfully, it will not join the fight, so concentrate on clearing out the Genma mob. The Byakue here is actually optional – though if you do defeat it, you get Byakue’s Talisman that helps upgrade your Gauntlet.
Either way, once the area is cleared, use the lever to open the gate and take the stairs back up to the red rope mechanism. Slash it to get one mechanism out of the way. Now, go to the right this time, and get the other red rope slashed. With that, the main gate is open. Take the stairs, and yes, another Genma ambush to deal with.
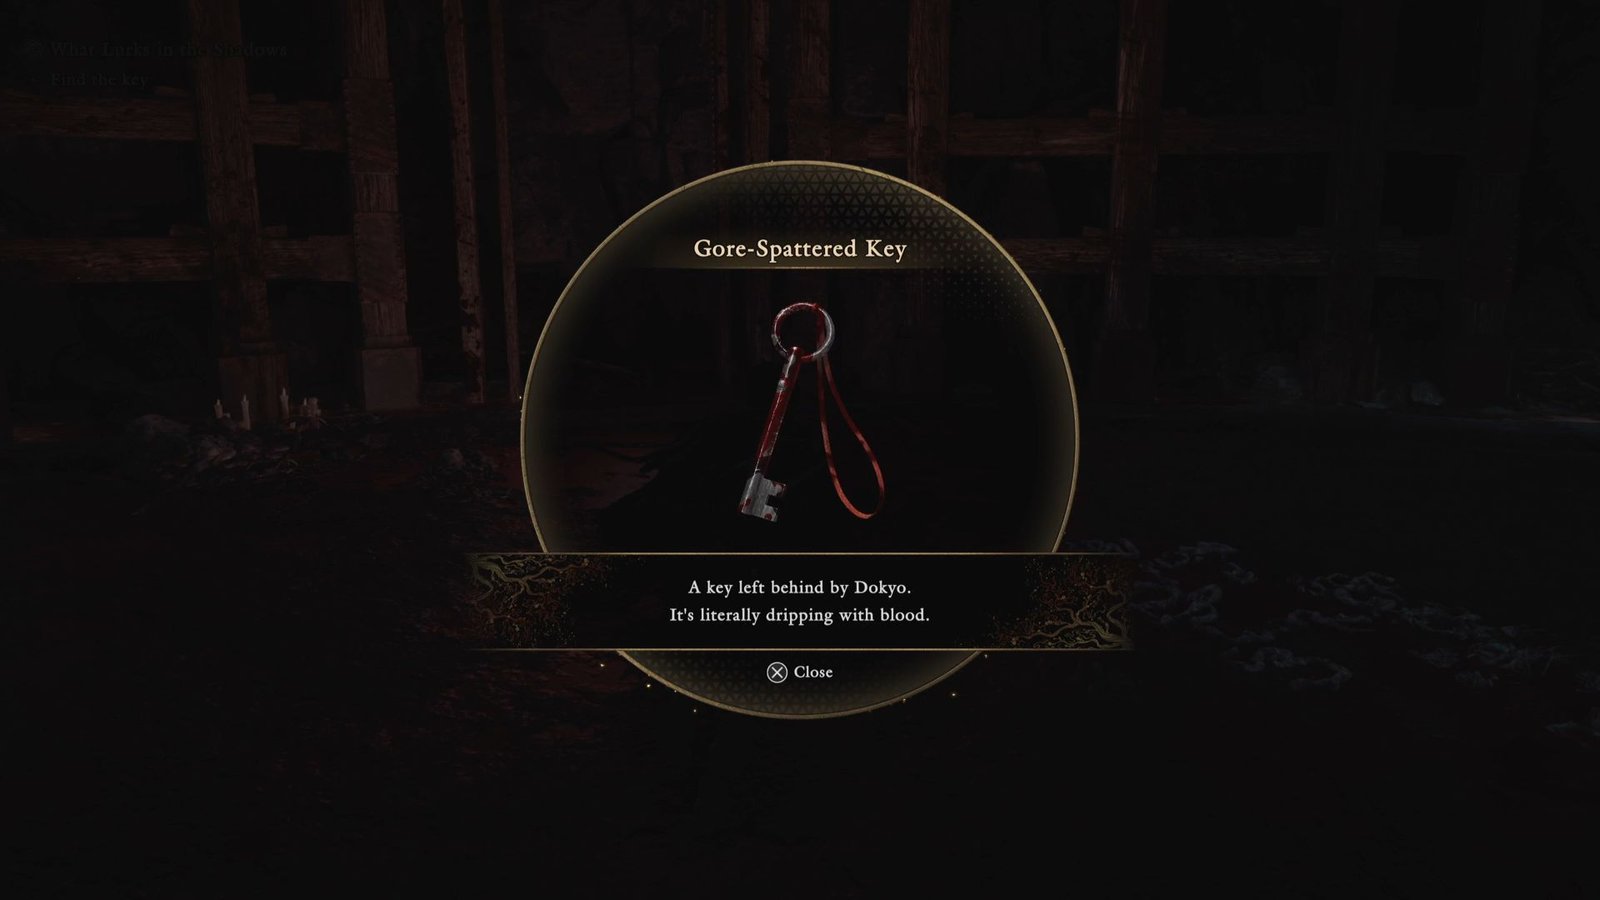
Open the door with the mask once those have been dealt with, and you will be treated to another cutscene that explains what happened with Hinagiku. Continue the linear path till you arrive into an open area with a fan hanging perilously above. Take the key, and as expected, the fan will start whirring and falling downwards.
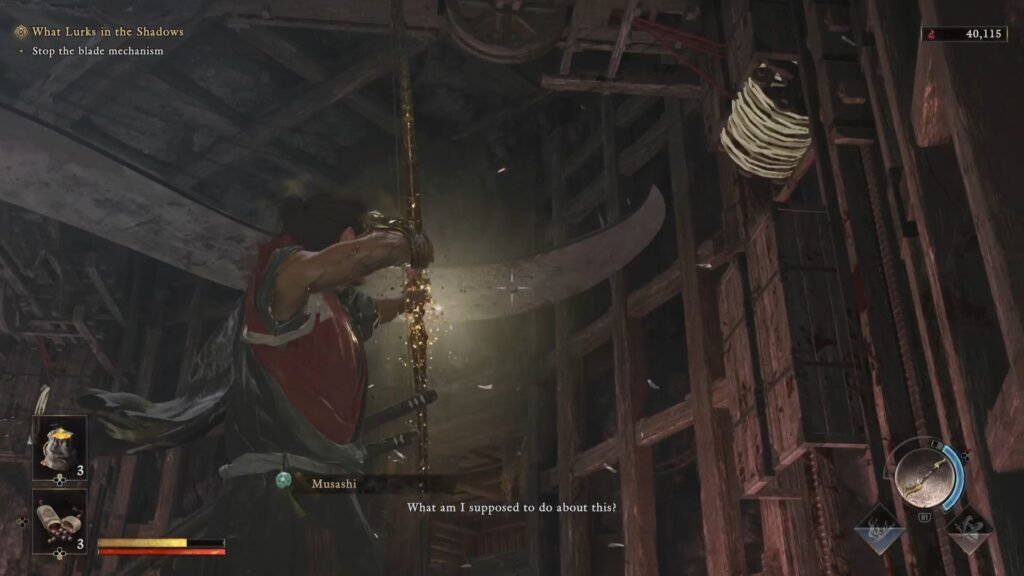
There are 4 ropesets to shoot, use your Oni Vision to highlight them. First, shoot the one behind you on your right (as you enter from the gate and face the arena), then the one on your left, then the one opposite it on the right, and the last one almost above you.
Once that is done, take the path using the now broken fan. This will take you to the Shrine Mirror, and the end of this dungeon. The next section is a short run in the Imperial Palace, that culminates into a skill check wall with one of the toughest bosses in early game in Onimusha: Way of the Sword.
