
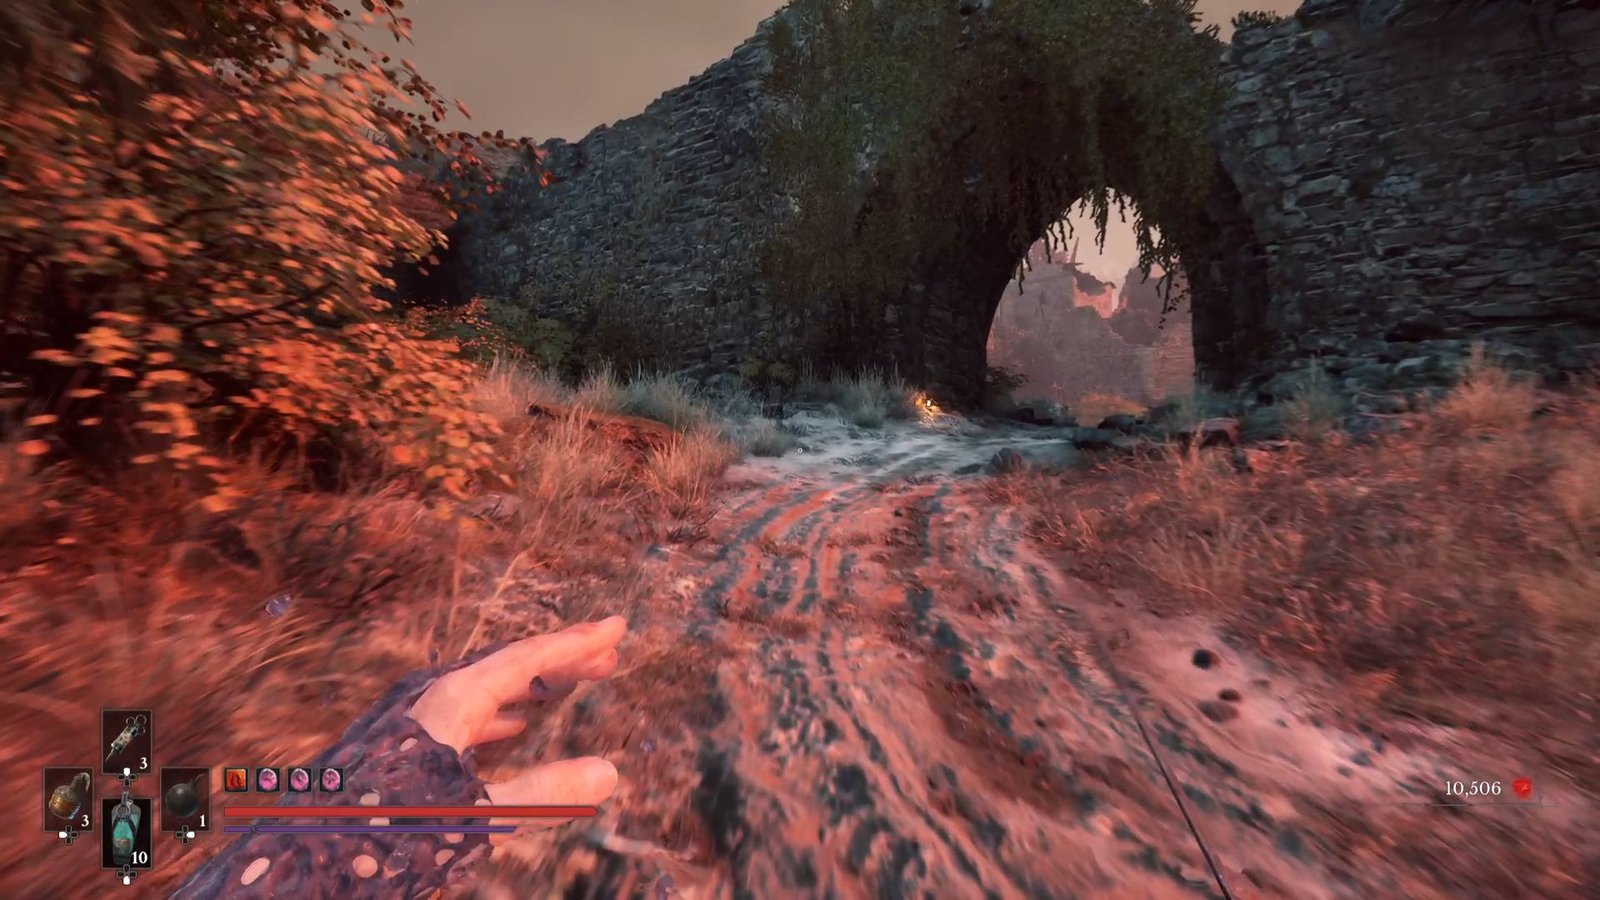
As we move to the business end of the main quest in Valor Mortis, Louis studies the notes that we handed over to him at the end of Chapter 8: Blasphemy. He tells us that the university notes were only half of the puzzle, and the McGuffin that we now need is a relic from the Castle Ruins.
In this Chapter, the progression becomes leaner, as we start focusing on the main quest. That does not mean, however, that the Fortress area is bereft of points of interest, collectibles, and upgrade items to make your arsenal stronger.
Here is the full walkthrough for Chapter 9: In Ruins, in Valor Mortis
Table of Contents
Beginning Chapter 9
Head out of the usual exit, take the first two rights that you come across to get transported to your next area for Chapter 9. You will have to wait awhile to hit your first Lantern, though, as the game gives you a Red Eye Iron Marshall to defeat first.
Fire Breathing Amber
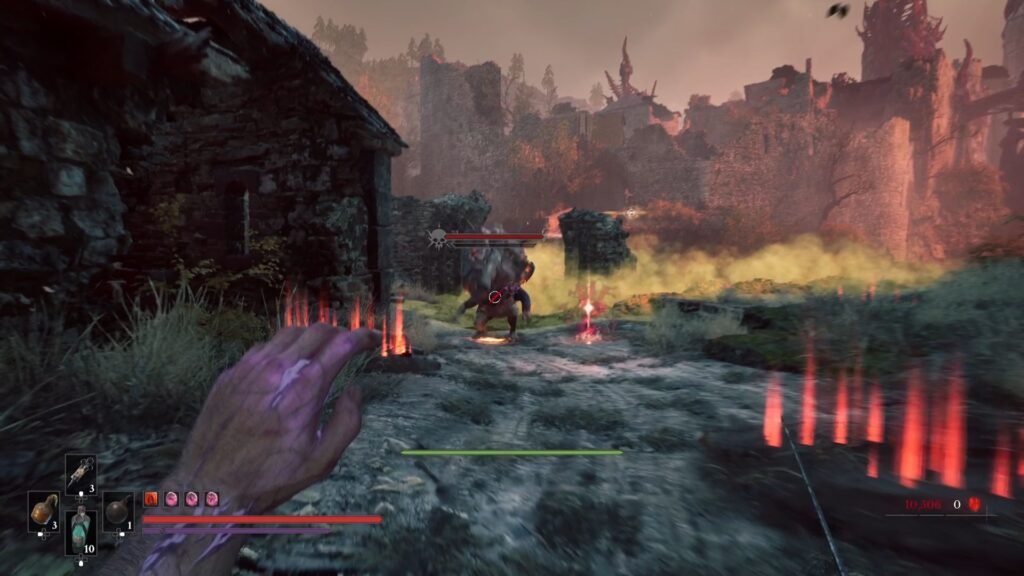
Before that, take the path on your right to get the Shrike’s Scout Report note and Legendary Catalyst Clot. Now, on the path ahead, you get the fight with the mini-boss. It plays exactly the same as others, except for the fact that it can pull out spikes from the ground. These come with enough indications, though, in the exact same manner as The Slaughtermill boss fight Phase 2. The Stasis Transmutation works best to make quick work of the boss, and get the Fire Breathing Amber.
Main Gate Lantern
With that done, make your way through the poison with your Shield Transmutation, to unlock the Main Gate Lantern for the Castle Ruins area.
Clear out the next area, avoiding the two Riflemen above. Shoot the Nephtoglobin, making sure to stay out of the way of the cart. This gets you the ladder to go above and take care of the enemies there. Note the locked door and the ladder shortcut above, we will get to it soon.
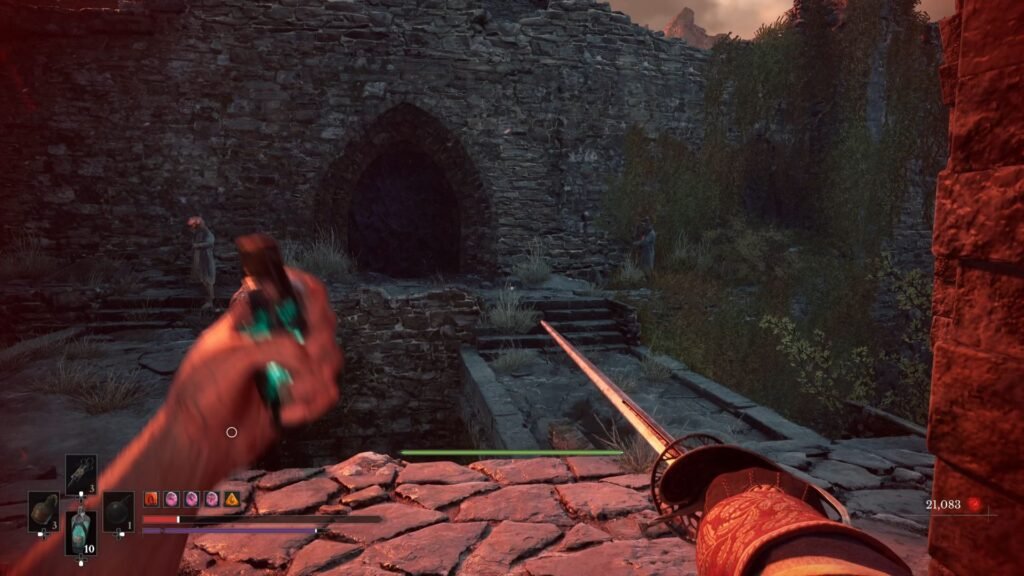
Get the Imperial Catalyst Clot, and continue your way down the path.
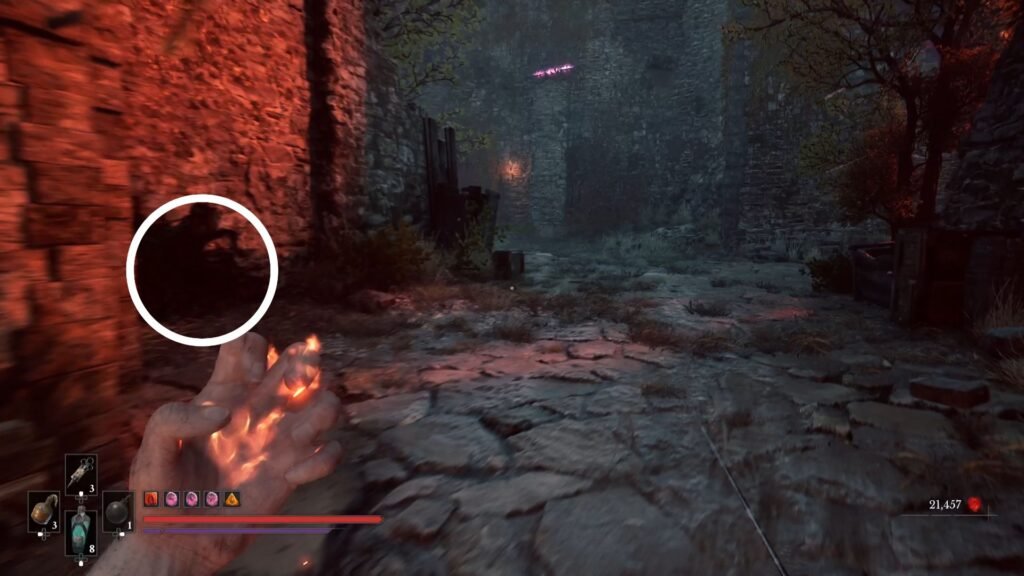
Look for a crawl space on your left, take that to emerge within site of the next Lantern! Go ahead and activate it, avoiding the Volunteer and the Eternal Guardian – since we will anyway be clearing these out for the next area.
Traverse Lantern
Now, the objective here is to unlock the castle gate straight ahead. For this, there are 2 towers that you have to climb and light the beacons, which apparently acts as a signal to do that. However, before moving ahead, we have one route to cover and get it out of the way. Ensure that you are at minimum Catalysts, as there is a high chance of losing them.
Indestructible Shell Amber
Take the route on its immediate right. This route has cannon fire in periodic intervals, requiring you to time your run in between those. The first safe spot is relatively easy to guess, as you see the 2 soldiers get blown away, and are able to assess the extent of the AOE. For the next spot, as soon as the cannon shot is done, race to the spot I have shown in the image below.
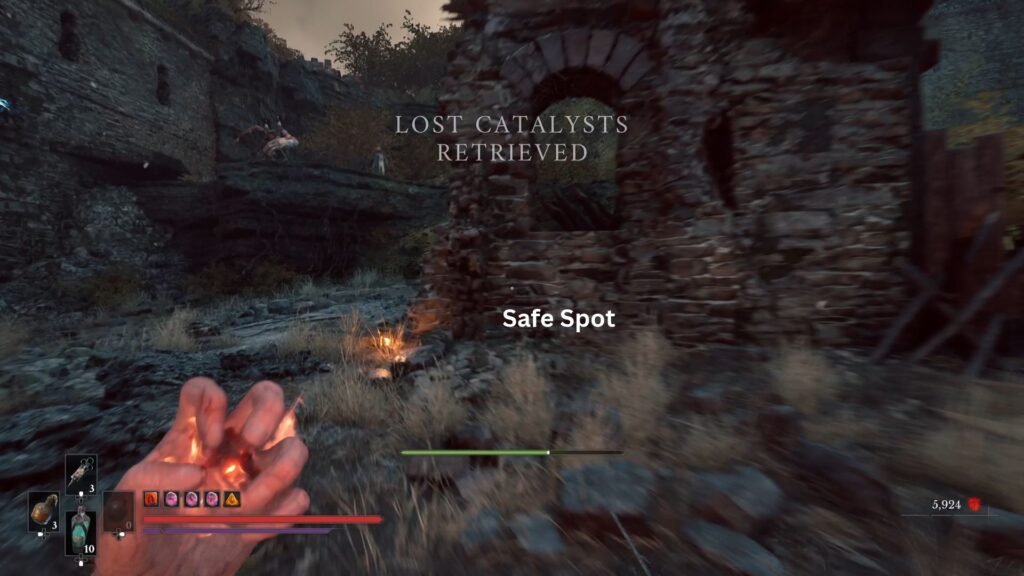
The Grenadier may come in to attack you, but will be taken out by the cannon fire. Your objective is a chest on the opposite side of the safe spot, that contains a chest with the Indestructible Shell Amber.
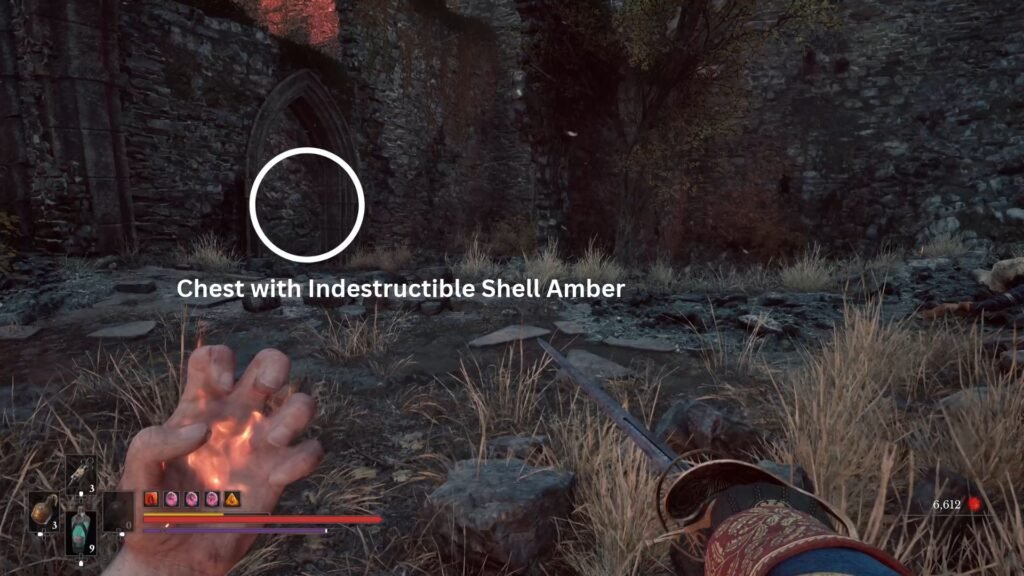
Once you are done taking the Amber, the next run is straight up the hill, just before the cells filled with poison. So go to the safe spot of the previous image, and as soon as the cannons are done firing, make the run. Be ready to take down enemies there which includes Howlers and a couple of others.
Chapel Lantern
This route leads us to the Chapel Lantern. I have put up a step by step guide to get there in this article on the Frenzied Flame Location in Valor Mortis.
From the Lantern, burn the Vines, and move ahead to arrive at an area that has a Carrion moving across the bridge. The level below the bridge is filled with poison, but it does hide a few goodies. So, clear out the area, including the Spewer, and get Stasis Clad Rounds and Nephtoglobin Vials from here, and a Stasis Whetstone + an Imperial Catalyst Clot from the level below.
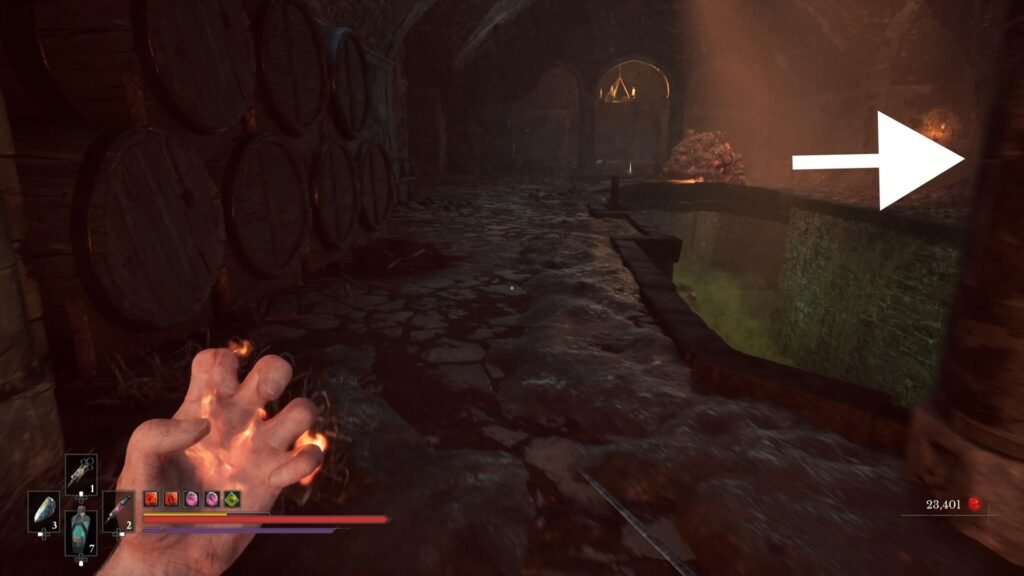
Once done, move to the right, and here, you will see different routes. The Nephtoglobin Formulation across the passage leads to an open door and the Frenzied Flame trophy unlock. If you have not done that, complete that part and retrace your steps.
Ramparts Lantern
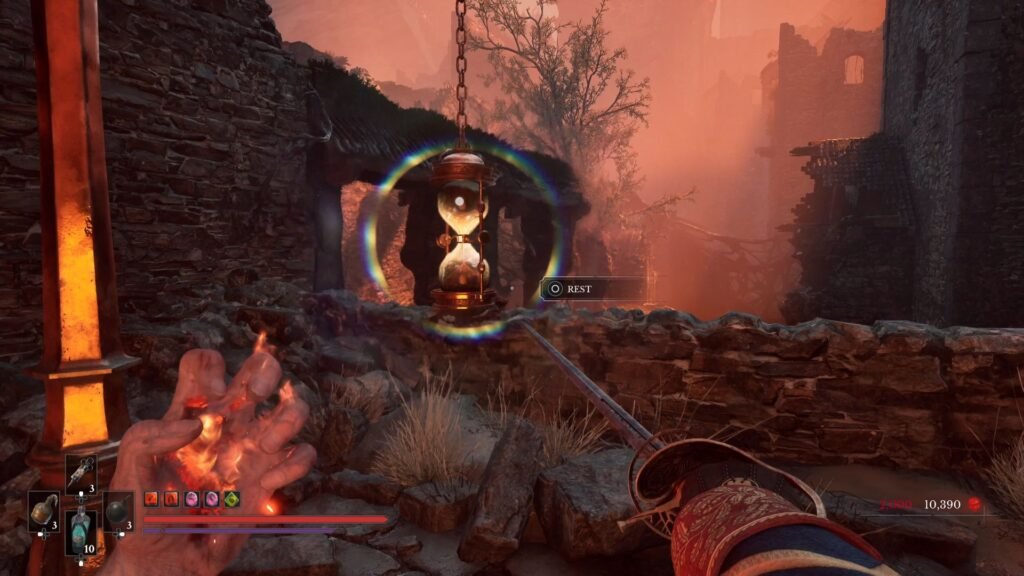
Now, take the steps and the ladder behind you to go up a level, and this will open up the path to the Ramparts Lantern.
Ferrofluid Flask Power Upgrade 1 of 2
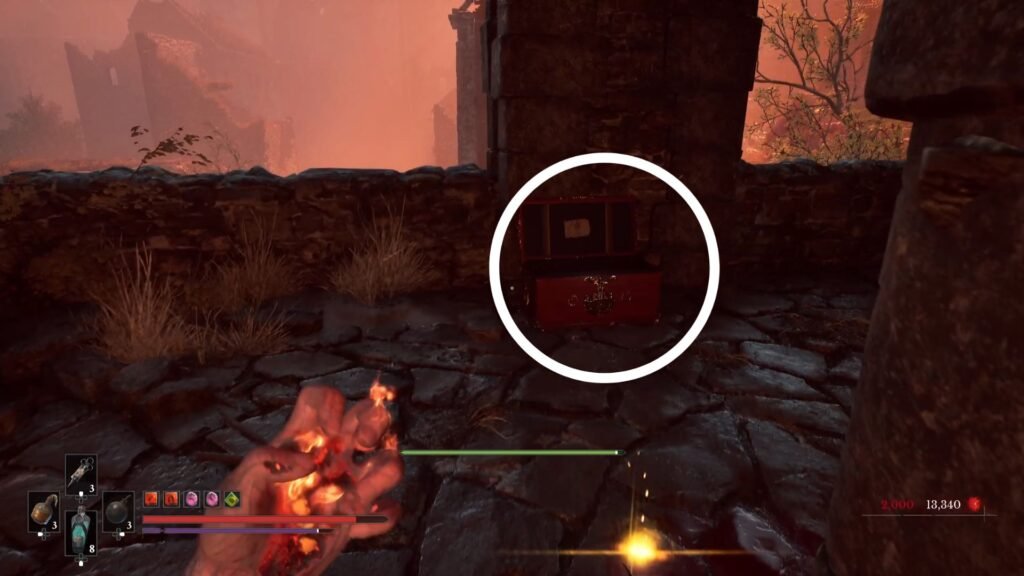
From here, go up the stairs on the right, defeat the 2 Iron Marshalls and the Grenadier. Then use the Grapple to land on the level above, on your right. Climb up, and you finally have access to those pesky cannons that were making life hell for you. Take the enemies out here one by one, and at the very end, on the right, is an exploding chest with the precious Ferrofluid Flask Power Upgrade.
Continuing ahead from the Traverse Lantern
With that, you can now make your way back to the Traverse Lantern to continue the main story progression.
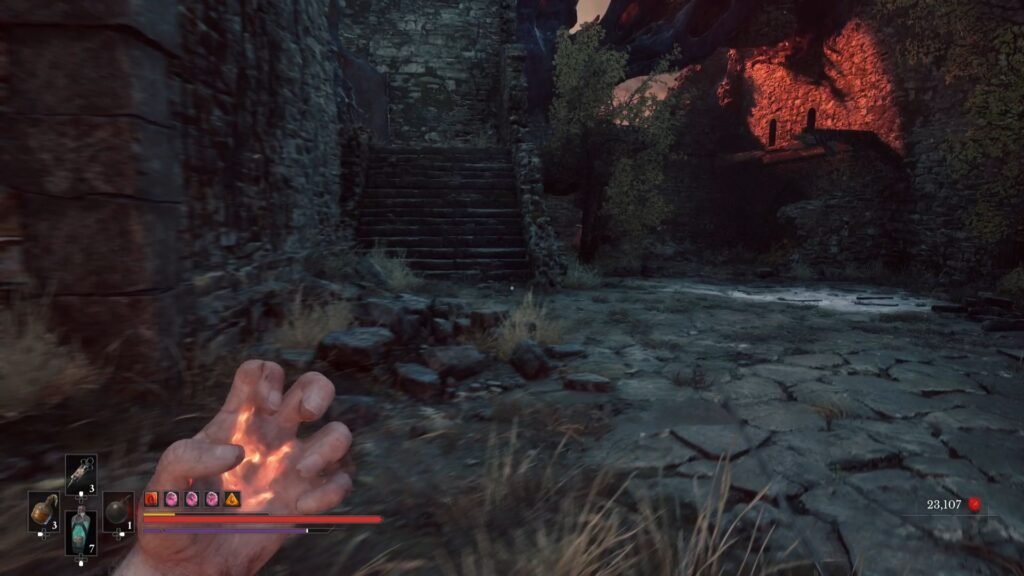
From the Lantern, face towards the path that you came from. Ahead, on the left, you will see a set of steps, which are also blocked. Continue down the road from the steps to get a backstab on the Guardian, and get him out.
On the exact opposite side where the Guardian was standing, there will be a crawl space that leads to a Distilled Blade Material. This covers everything on the left side. Now, retrace your steps, and continue straight, with the Lantern on your right now.
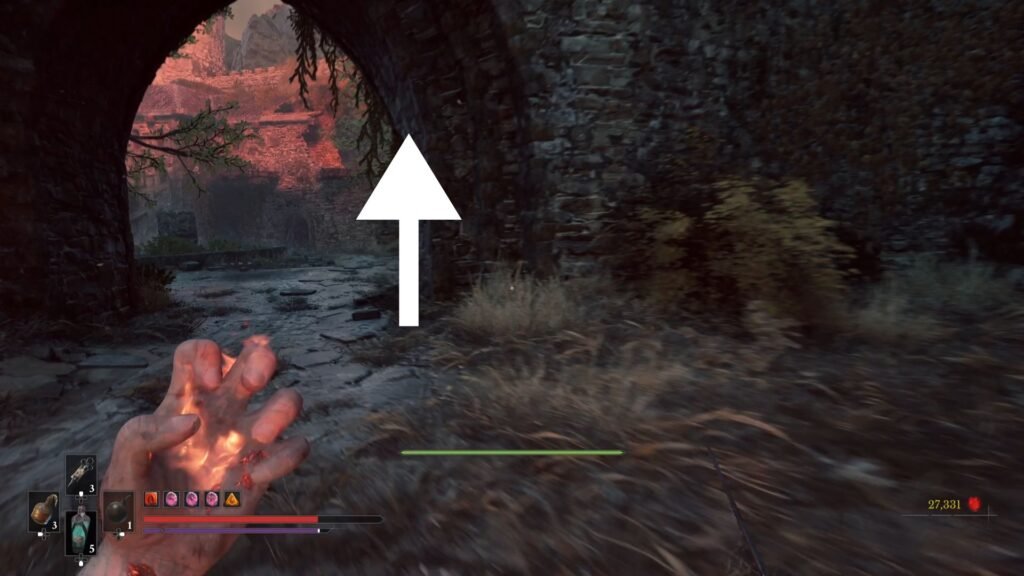
Now, as soon as you enter into this area, there will be a Volunteer with dual swords. Take him out.
Now, while there will be a painful Sniper who keeps shooting at you as you explore, taking him out falls on the path of the main quest, so you might as well explore the area before heading in this direction. Once you know his position, his shots are easy to avoid.
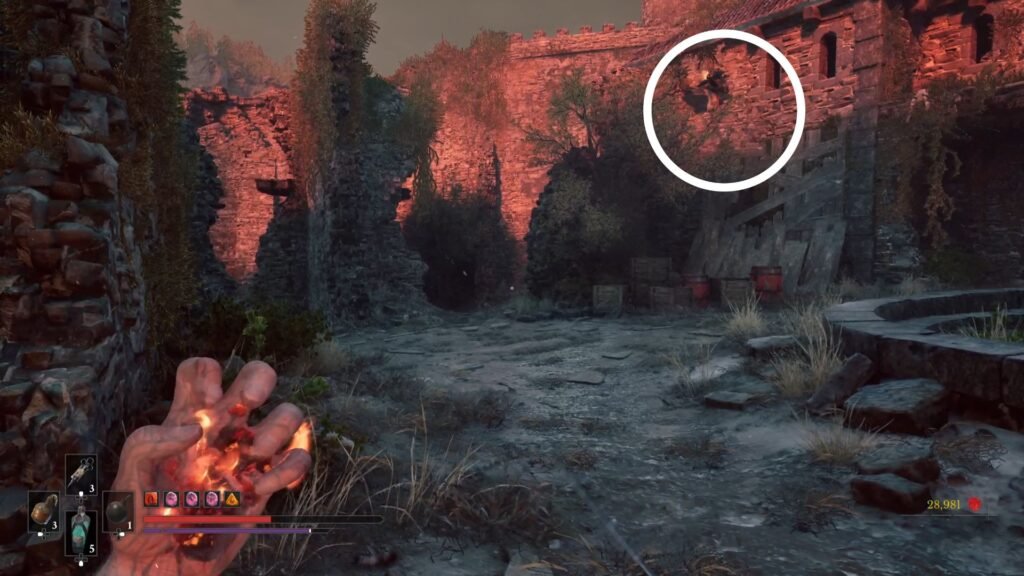
However, if you feel it is too much of a problem, head down to the section of the 1st Tower below, and complete the steps till eliminating him, and then carry on with the next part below.
Ferrofluid Flask Power Upgrade 2 of 2
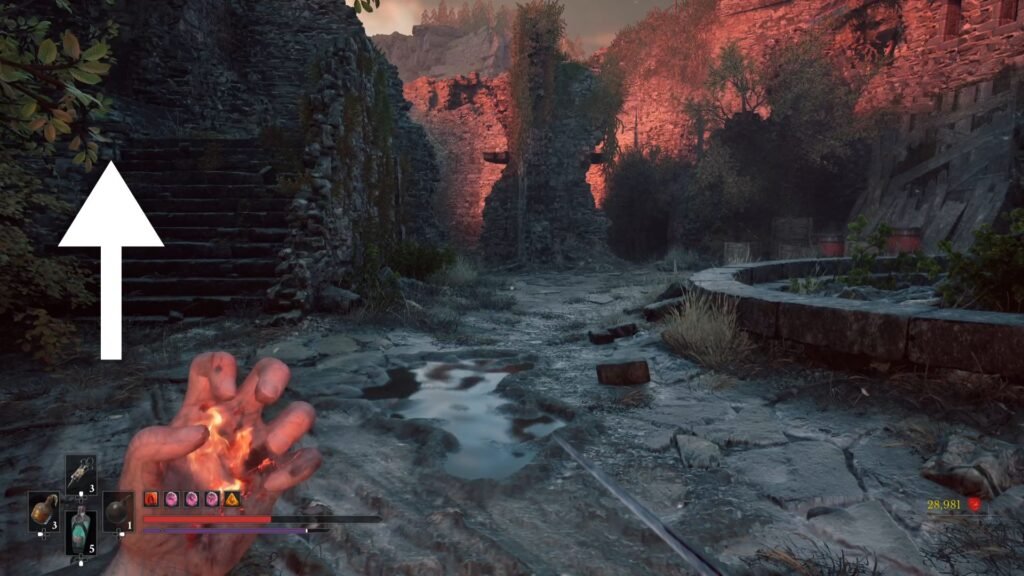
With him out of the way, lets get the Ferrofluid Flask Power Upgrade. Take the steps as shown in the image above on your left.
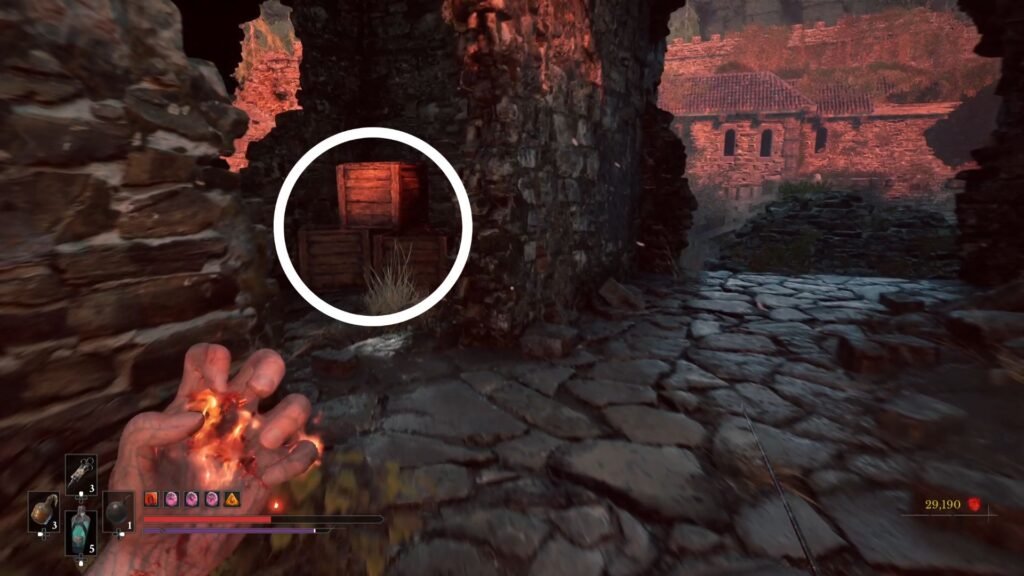
Take out the Howlers, and on this level, you will see a set of crates, as I have shown in the image above. Destroy them to reveal a chest with the Upgrade. On the exact opposite side of these crates is an iron gate that you can unbolt, to lead you into the opening area with the 2 snipers above that we had noted.
Lucky Shot Amber
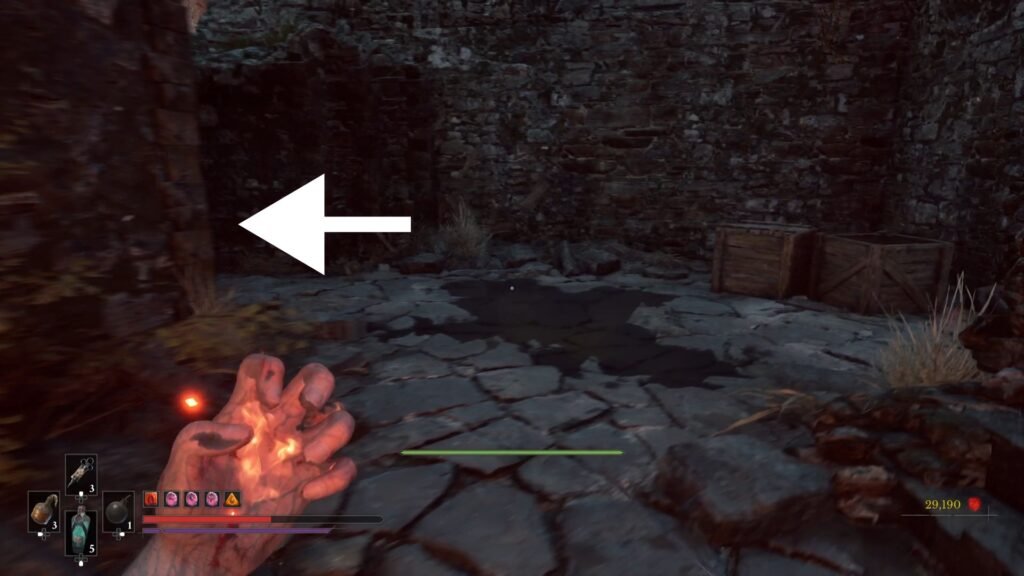
Now, return to the area, and continue to the left of the water that has accumulated on the floor. This will lead to a blocked area, but a narrow passageway on the right that you will be able to jump down to. Straight ahead is another well-hidden chest with the Lucky Shot Amber.
Life Diverted Amber
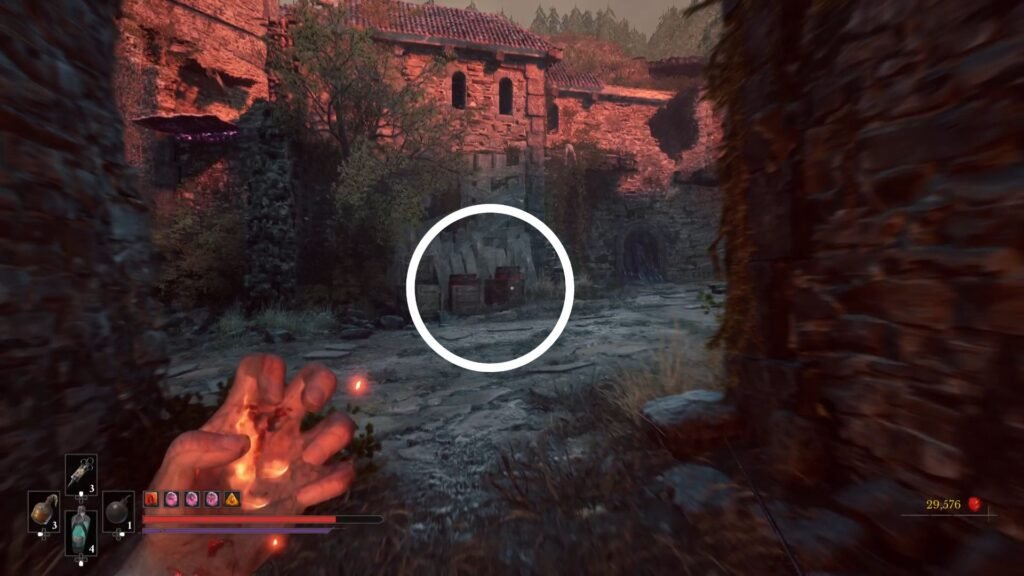
Now, go to the left end of the open area, with 2 Howlers, and a Pure Transmutation Material. Shoot the explosives below the sniper to open up the tower. On the right, burn the Vines. Take out the Experiment 83 enemy, to get the Life Diverted Amber and the Countess Elara’s Order Note. Take the Flaming Whetstone by destroying the crates in the middle of this area.
Tower 1
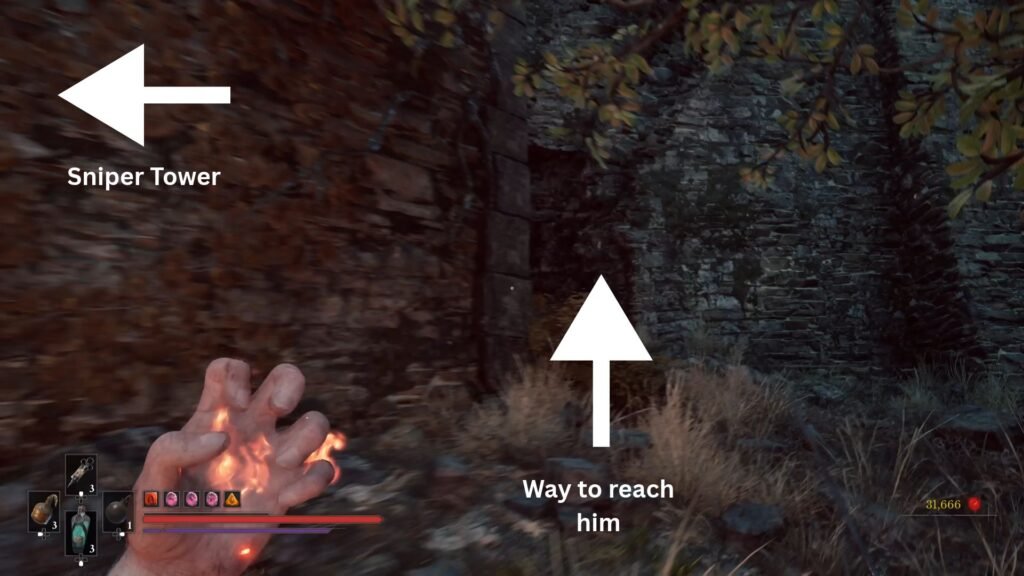
The way to the tower is carefully hidden. Walk from the Sniper Tower towards your right, hugging the Tower wall on your left. You will come across an opening, take that, and the set of ledges to climb will become visible.
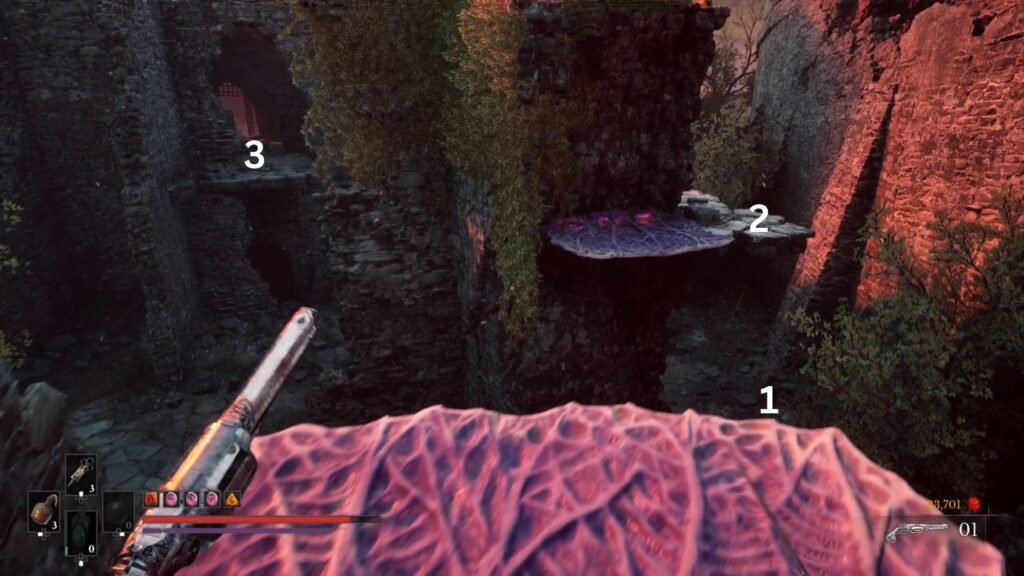
Take care of other enemies before taking on the Volunteer. Once done, get the Oil Grenades. From here, use the Formulations to get to the other side. This will take you to the exact same spot that we were at to pick up the Lucky Shot Amber.
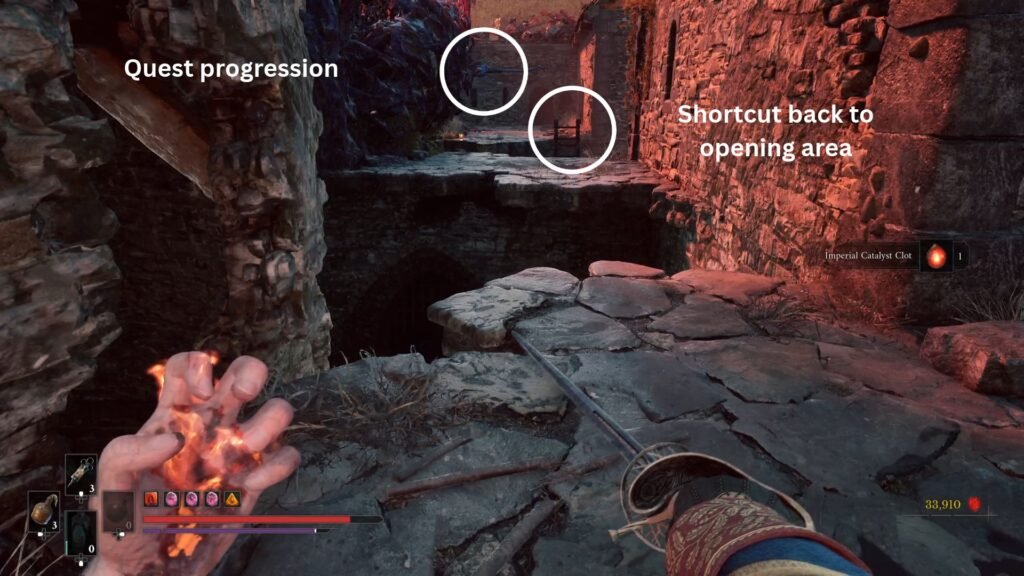
Take the steps above, defeat the Howler, and get the Imperial Catalyst Clot. Jump across the first ledge, and drop the ladder to lead to the second shortcut to the opening area with 2 Riflemen that we had noted way back.
Use the Formulation above and jump to the next ledge. On the right, there will be a shiny, but the path will give way, so jump over to the shiny rather than walking to it. Get the Pure Blade Material.
Now, it is time for a platforming section. Nothing very difficult. First, get on to the Wall, then activate the Formulation to swing across to the platform.
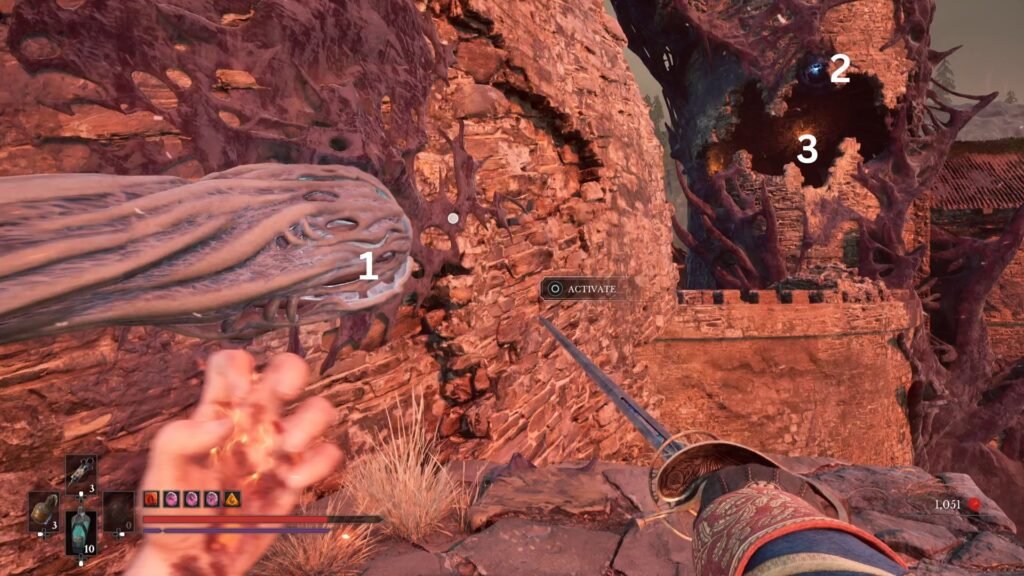
Jump across the next few, then a Wall and finally, a Grapple to get into the Tower. Climb up the narrow staircase, and light the first beacon. Then, use the Ladder at the place where you landed into the Tower to get down, and a short distance ahead on your left, is the Nephtoglobin that was preventing access to this area.
Get down, and on your right will be the Lantern, if you want to save before we take on the 2nd Tower.
Tower 2
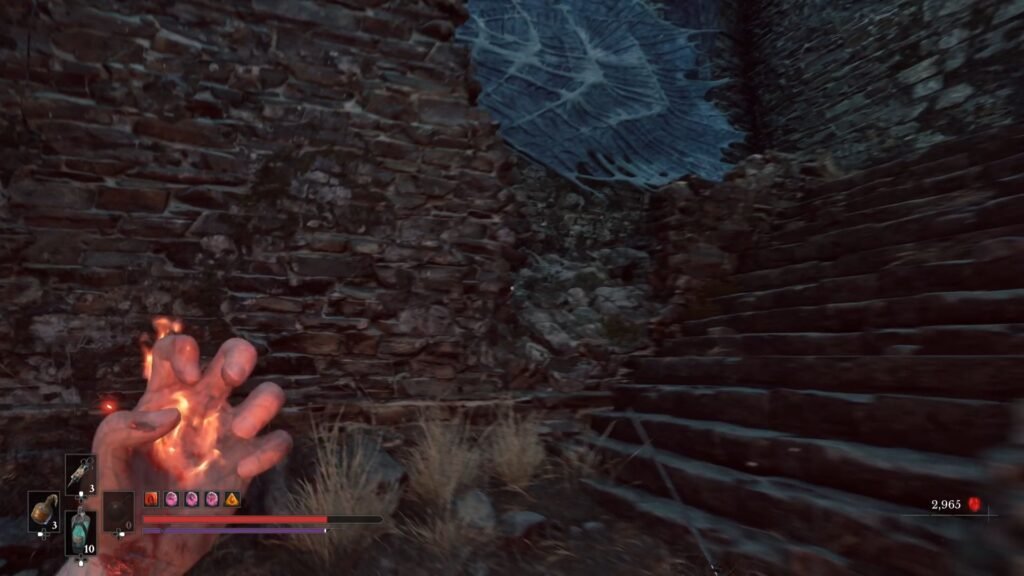
Before beginning this, if you have saved in between, remember that the Sniper on your left will respawn, and will make this next run rather difficult. This is because you will have to contend with him, plus another one shooting at you from straight ahead, and sometimes the one below as well. It is best that you make a quick run to him, take him out, and then start the next part.
Start from the Lantern, head left, take the stairs, and use the Nephtoglobin Wall.
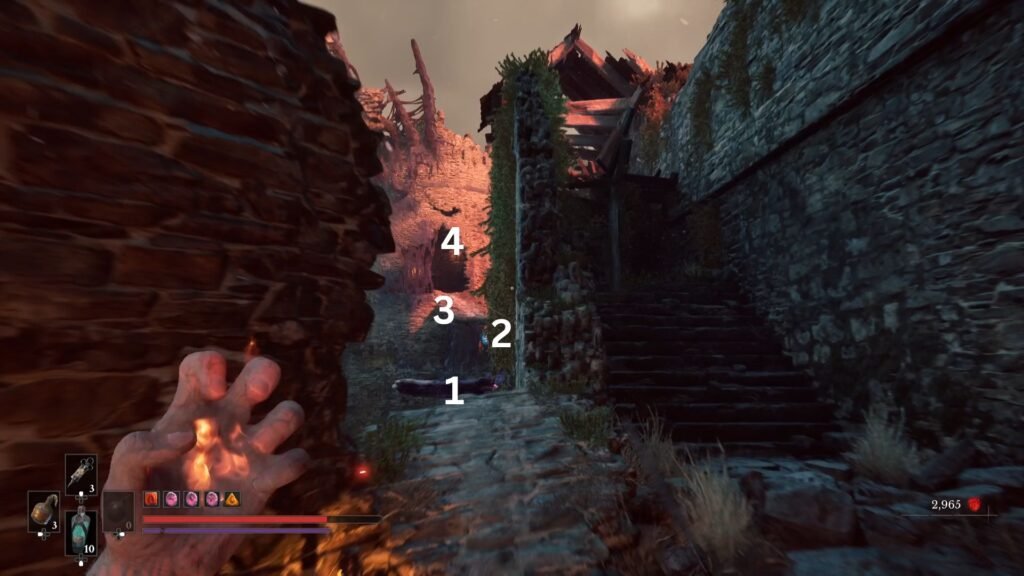
Get on to the first Formulation, Then as soon as you jump, press Activate to be able to swing from the 2nd one. You will get a breather in between when you land on solid ground. However, here, turn back, there will be a Riflemen devilishly positioned to shoot you, take him out and get the Pistol Cartridges.
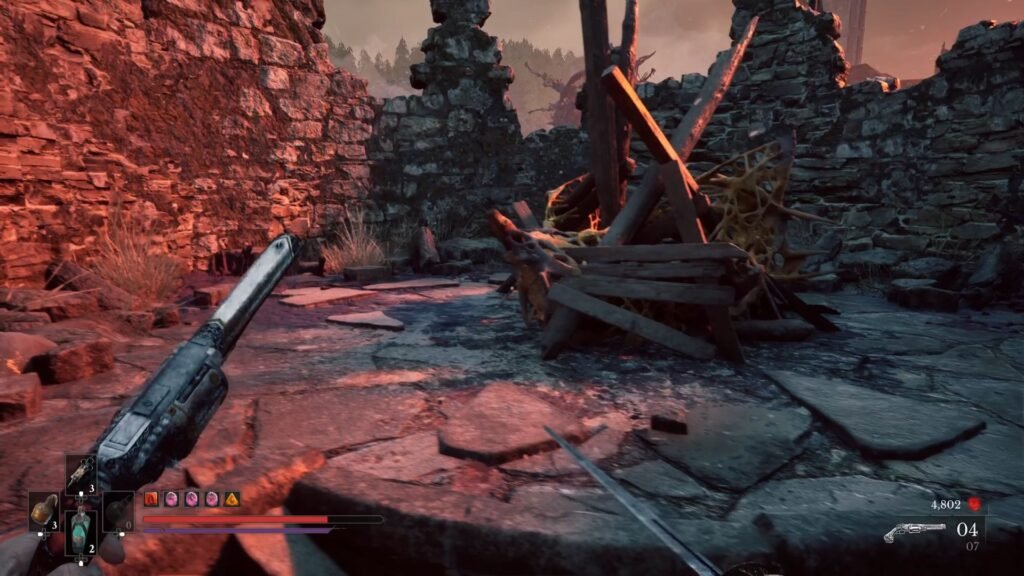
Then, activate the Wall, run across it and finally to safety. From here, taking out the Volunteer should not be difficult, as you would have done it quite a few times by now. Take the staircase and light up the second beacon.
A cutscene will follow, showing the gate to be open. Get to the Lantern save, and let’s move ahead.
Take the Eternal Catalyst Clot and the Quintessential Transmutation Material from the chest past the gate, and continue across the stone bridge for another platforming section with some combat thrown in.
First, get rid of the Swarm Mother straight ahead. Then, take the ledges on the left. Another Swarm Mother will attack you after the third ledge, so be prepared. Now, on the left will be a soldier with a cannon alongside. Take him out, as another enemy attacks you coming up from the stairs.
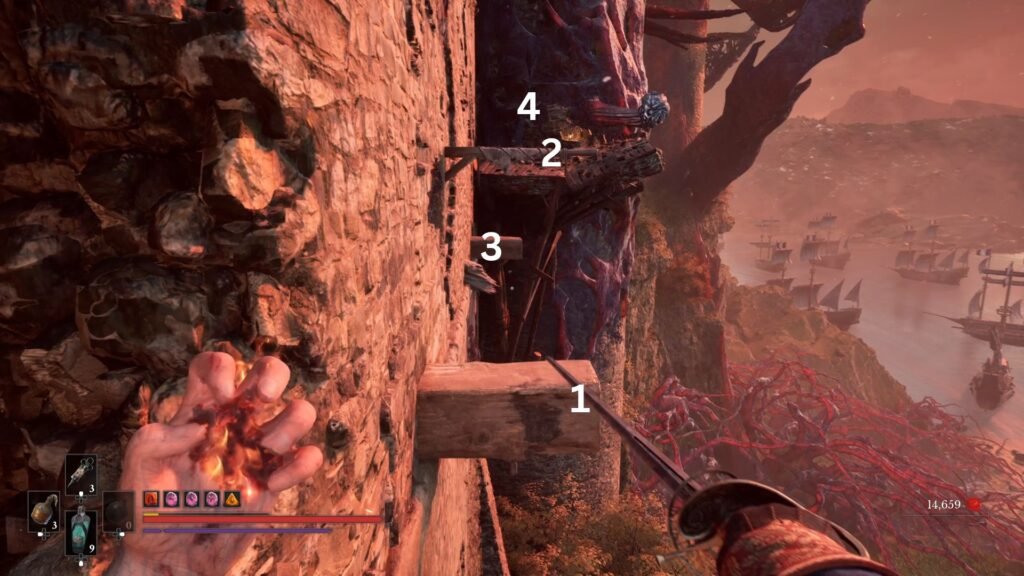
Now, jump to the ledge, and from there swing across to the next ledge. Jump onto the platform, and activate the Nephtoglobin Wall.
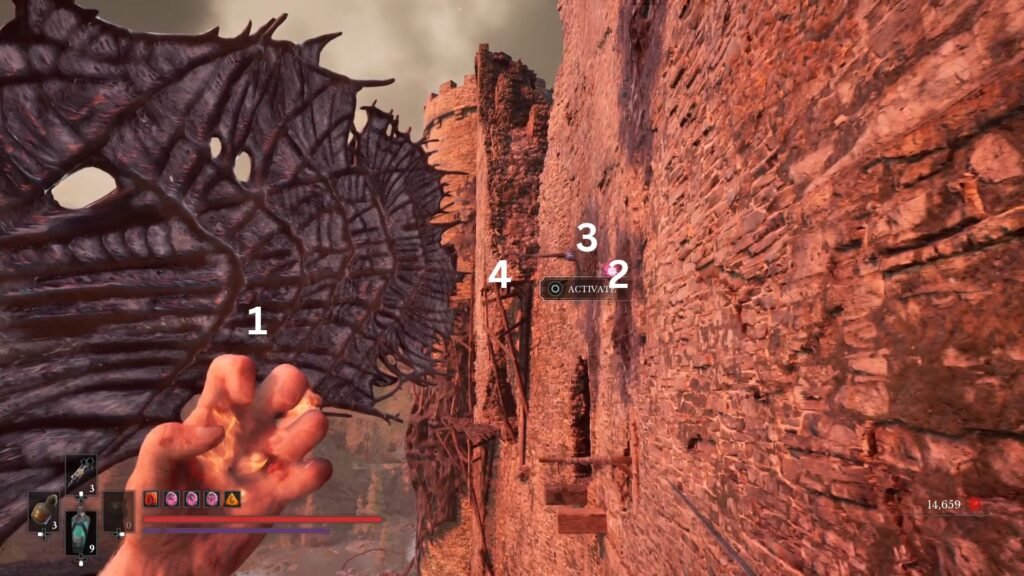
Now, get on to the Wall, and press to Activate the ledge 2 that I have shown in the image above. The trick here is, when you activate 2, the ledge 3 will de-activate since they are alternates of each other. Hence, after you finish swinging from ledge 2, you have to press activate again for ledge 3 to appear, and then swing over to land on 4.
This now sets you up for an ambush – with 3 Howlers, a Volunteer, and a Sapeur. Bait them to the platform and take them out separately. Take the Stasis Whetstone, and head up the stairs.
Courtyard Lantern
While you will face enemies, this is a much safer and spread out area, and a linear one in terms of places to go. Ahead, is the next Lantern – Chapel.
From here, go straight towards the lit gate with the torn flag above it, and on your left will be a Red Eye Eternal Guardian fight – as path of The Oathbound quest. Either take him out, or save him for later. From the other end, get the Imperial Catalyst Clot. Continue straight ahead, and take either of the staircases. Turn right, and start clearing out this level – there will be a Howler, a Volunteer and a couple of other enemies.
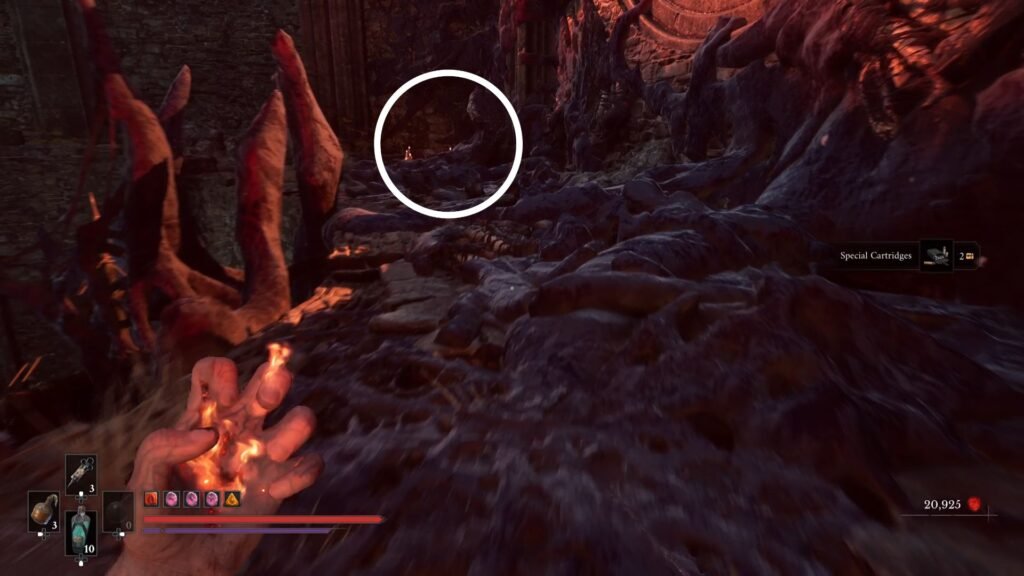
At the very end on the right, loot the chest at the very end of this area – containing Exquisite Firearm Parts. From this chest, turn left, and at it’s other end is a ladder that you can drop back to the Lantern.
Our objective here is to ascend to the top. So, look for a hanging ledge above you that you can jump onto.
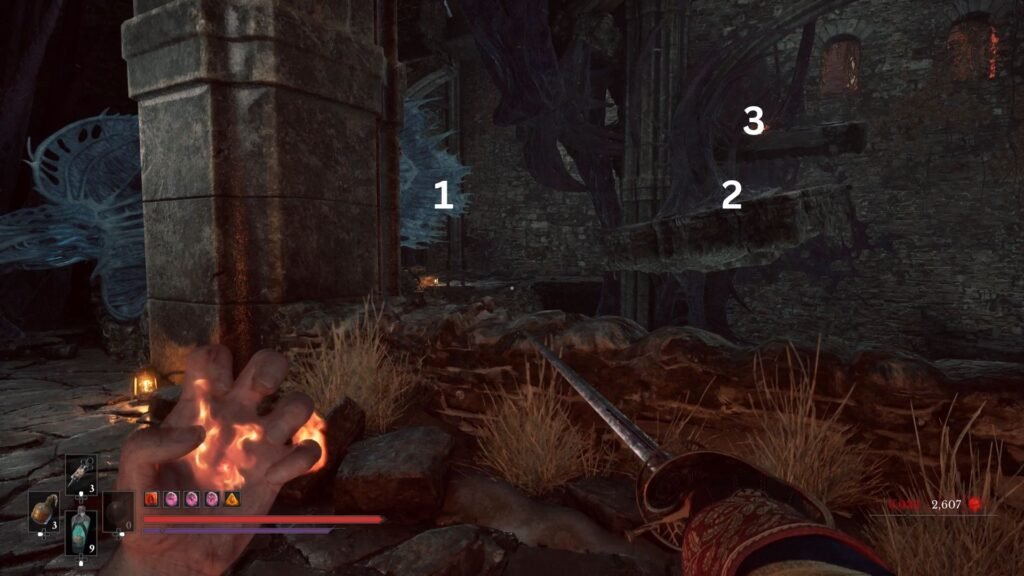
Make your way across as shown in the image above. When you land on 3, there will be another ledge on your left. Use that to climb over, and ready yourself for a walk across narrow beams, of course, with Snipers and Spewers lined up to get you off balance down to a swift death.
There is a Volunteer, and another enemy, both with Muskets standing straight ahead that you need to get rid of first. When you are climbing from the ladder shortcut to this part, I would suggest that you take down the enemy from here, to remove at least 1 threat, so that we can concentrate on the Volunteer once we are above.
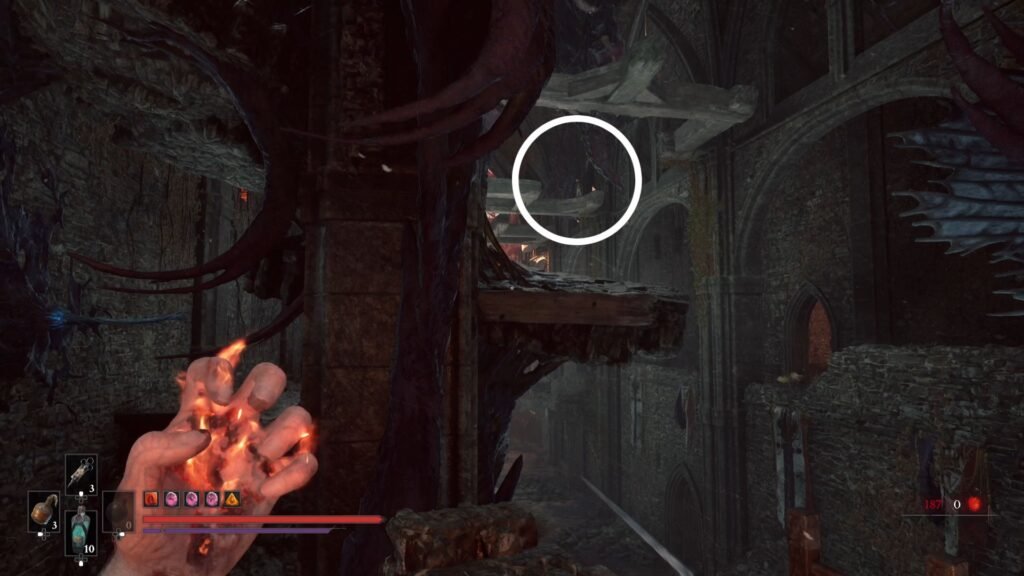
Once he is down, climb up, and quickly take shelter behind the blockage. A couple of well lined up shots from your Musket from here should take care of the Volunteer. Now, walk towards that, and on your left you will spot a Sapeur with the Vines behind him. There will also be a Spewer who will get activated the moment you jump on to the last left ledge.
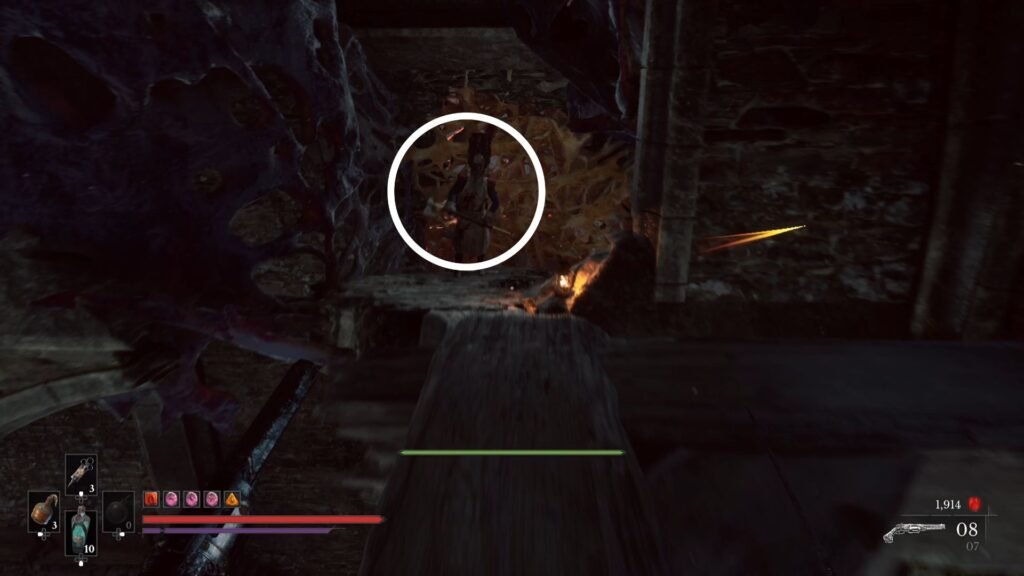
Here, quickly run up to, or past the Sapeur – your objective here should be to burn the Vines first, and drop down and continue ahead to drop down the ladder and unlock a shortcut back to the Lantern, so that you don’t have to repeat this portion. You can then go back and get rid of them if you so choose. There is a Distilled Blade Material at the very end of the narrow beams to collect.
With that done, the next is a brief platforming section
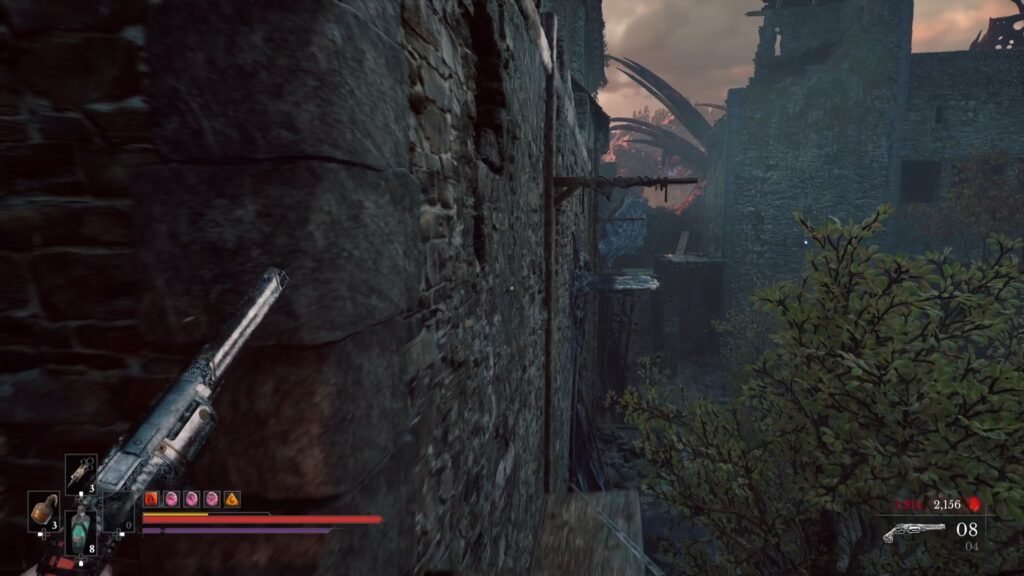
The end objective is getting across to the right side with the plank visible. In between, at the part where you land on the platform with the Nephtoglobin Wall, look right – there will be a ledge to activate and swing over, to loot a Whetstone. Do that and continue ahead. Once on the plank, there will be a Grapple to take you over the wall onto a platform.
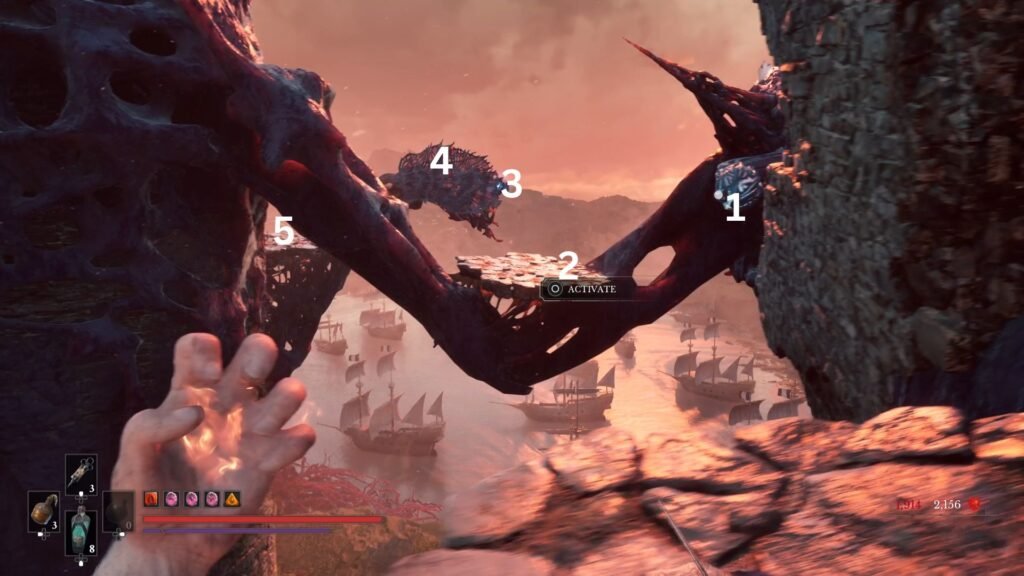
The platforming is simple, but what makes it complicated is the Nephtoglobin Wall 4 as I have put up in the image above gets attacked by a cannon, plus as soon as you land on the platform numbered 5 above, you will have a couple of Swarm Mothers attack you. The best thing to do is time your jump from platform 3, and then immediately make a run ahead – don’t wait to take out the enemies here.
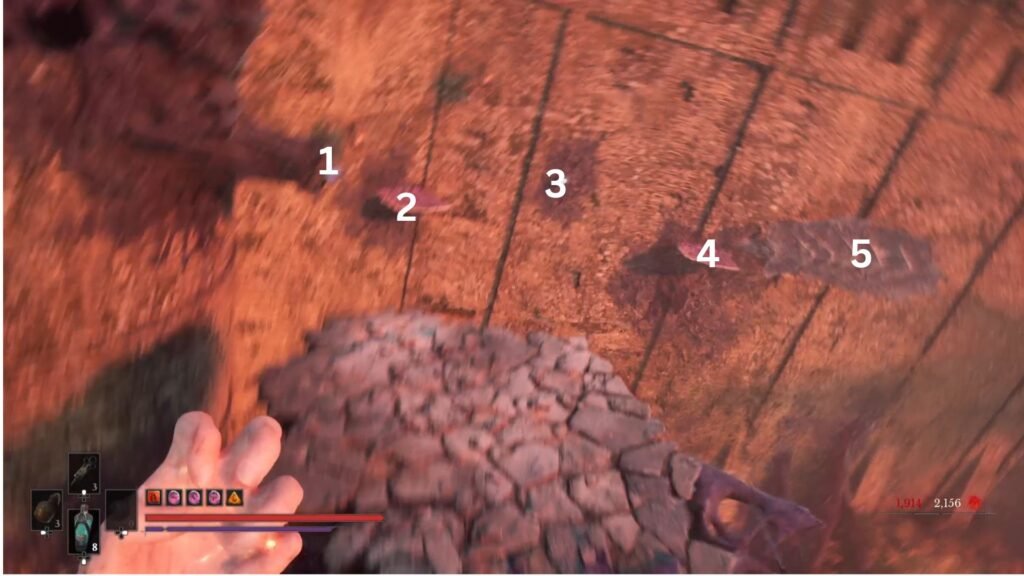
As soon as you land, use Formulation labelled 1, to swing on to 2. Now, going ahead, the trick here is similar to what you have seen in previous cases – Numbers 2, 3 and 4 are alternating ones – which means that once you activate 2, 3 disappears, and when you activate 3, 4 disappears.
High Tower Lantern
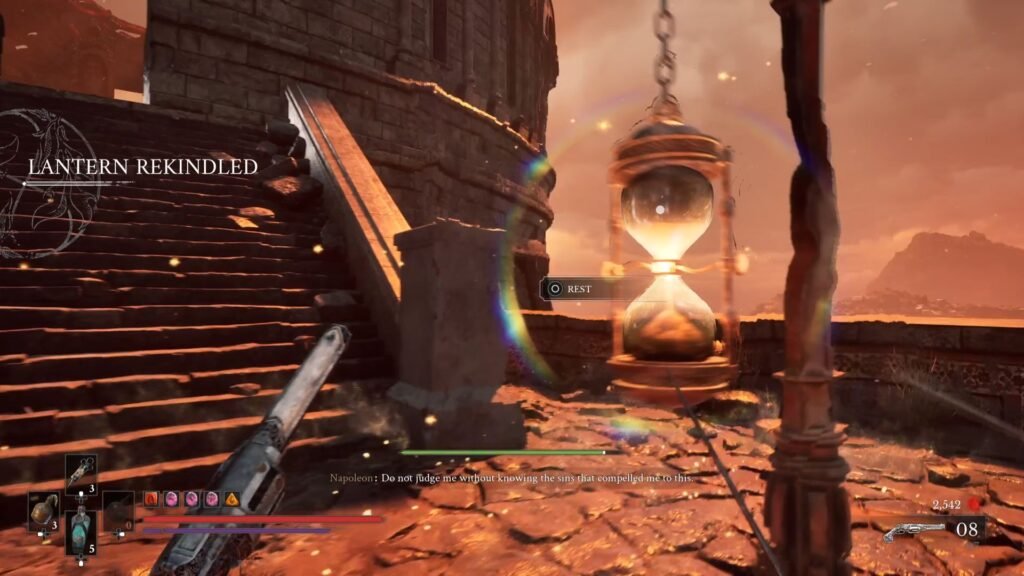
So, you have to time your Activate keys correctly to make it across this section. Once you make it to the Wall, after that it is a simple Grapple to take you to the next safe spot, from which an elevator leads you to the final Lantern of the area – High Tower.
From here, save your game, get all your upgrades in place, as one of the tougher boss fights in the game awaits.
Captain Raphael Boss Fight
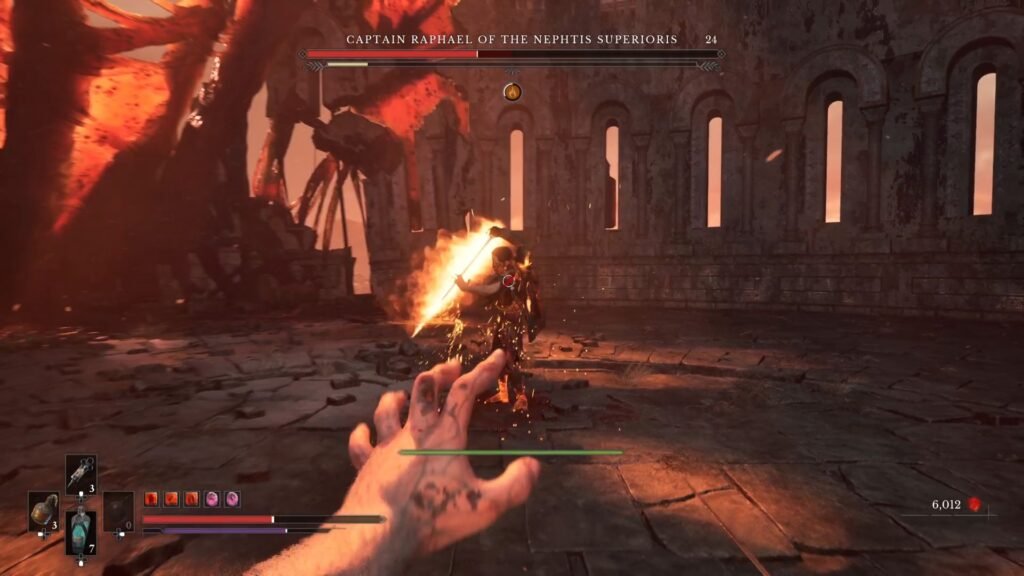
Captain Raphael is a one phase boss, however, he does get in new and devastating attacks once his health bar is depleted to 50%, so, to that extent, this can be considered as Phase 2. The boss is a nimble one, and his attack patterns are a mix of slashes and swipes. Like us, he can get out his shield, pistol and grenades.
Most irritatingly, he can also heal, and the heals are actually a pretty decent amount. So, interrupting this is your priority no. 1, although it is made difficult by the fact that he does that pretty quickly, so you have a narrow time window to do something about it.
Check our guide on the strategy, tips, and setup to defeat Captain Raphael in Chapter 9 of Valor Mortis.
Once defeated, you get 50,000 Catalysts, and Chapter 9: In Ruins is complete. Watch the cutscene and the … interesting developments that take place immediately after that, as Chapter 10 begins right away.
