
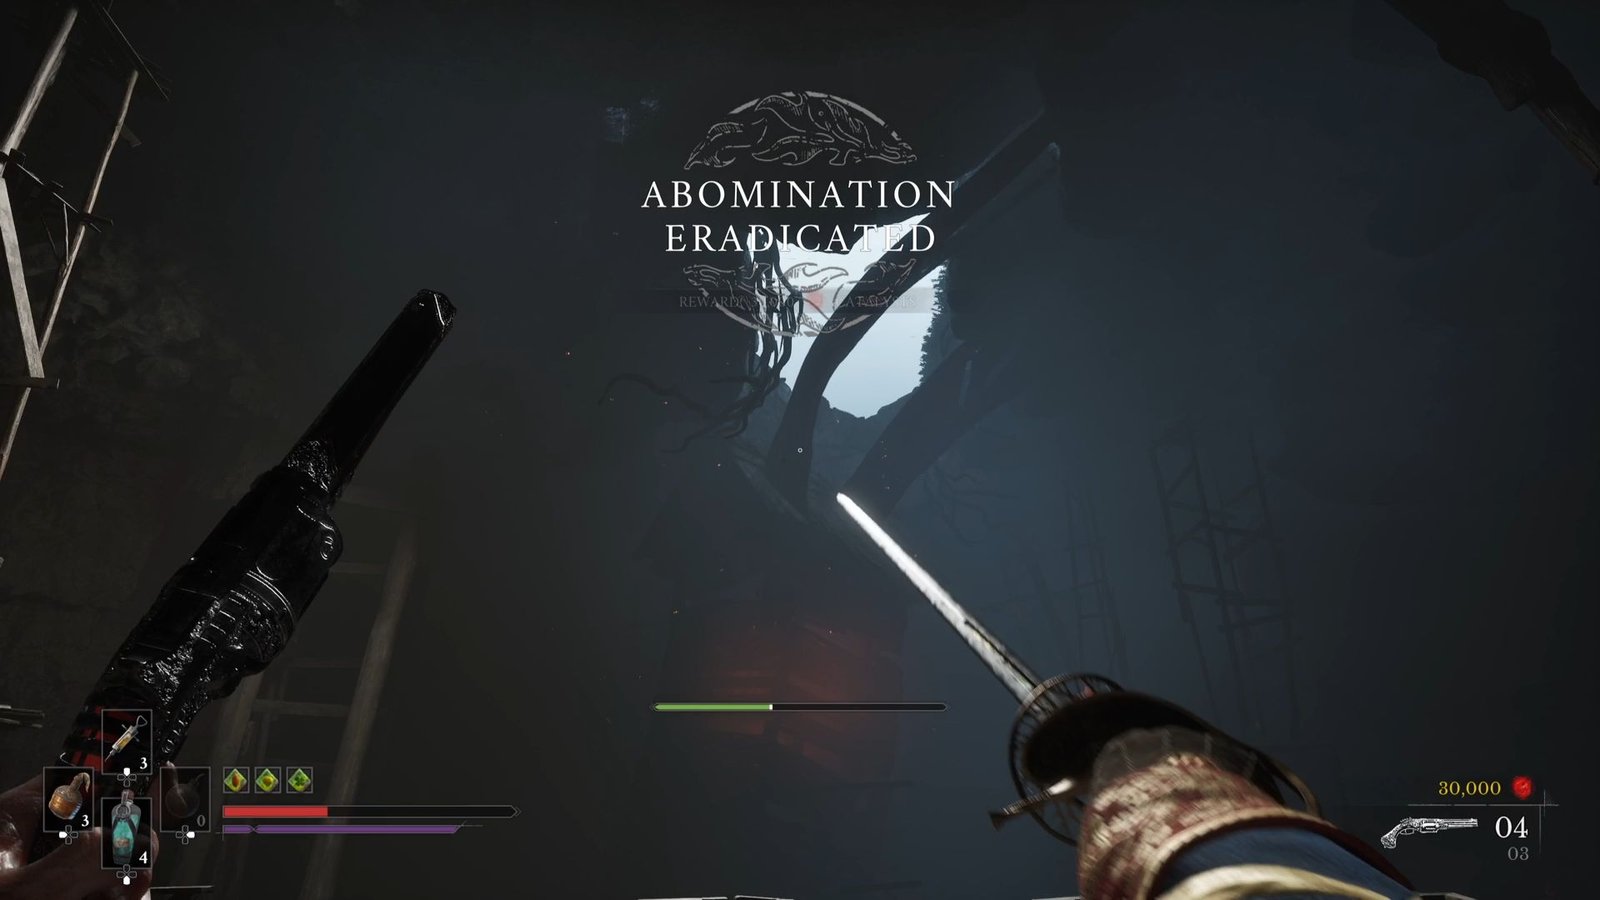
After resting at the Old Windmill Lantern, and having had a conversation with Shrike, you would expect a boss fight, and you would be right. But if you expect either a large, intimidating boss that has moves that hit you like a truck, or a fast-paced nimble one who can tear you down to shreds, you would be wrong. For the fight is against … well, against a building, essentially, and is more a test of your platforming, firing and dodging skills more than anything else.
Here is how to survive the 2-phase battle, and defeat The Slaughtermill at the end of Chapter 5 in Valor Mortis.
Table of Contents
Preparations for The Slaughtermill Fight
The biggest one – and I can’t stress enough how much of a difference this makes, is getting and equipping the Dilated Moment Amber. What this Amber does, is slow down time when you aim with L2, at the cost of reducing damage, and consuming Endurance. The latter part does not matter for us in this fight – we need something to give us time to aim, and this works perfectly for us.
If you have not got this, here is the short path to get it:
- Start from The Ship Graveyard Lantern
- Go left and Grapple back towards the open area with lot of enemies
- Stick to the left, and continue along the last bridge
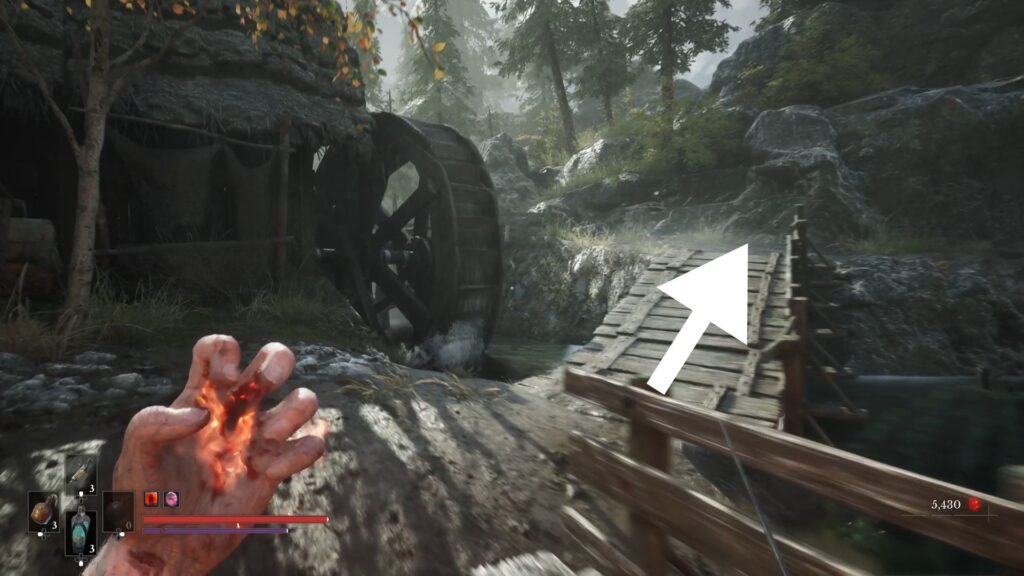
- The Waterwheel should be to your left, and the stream to your right as you cross this bridge.
- You will come across an enemy wielding a sword
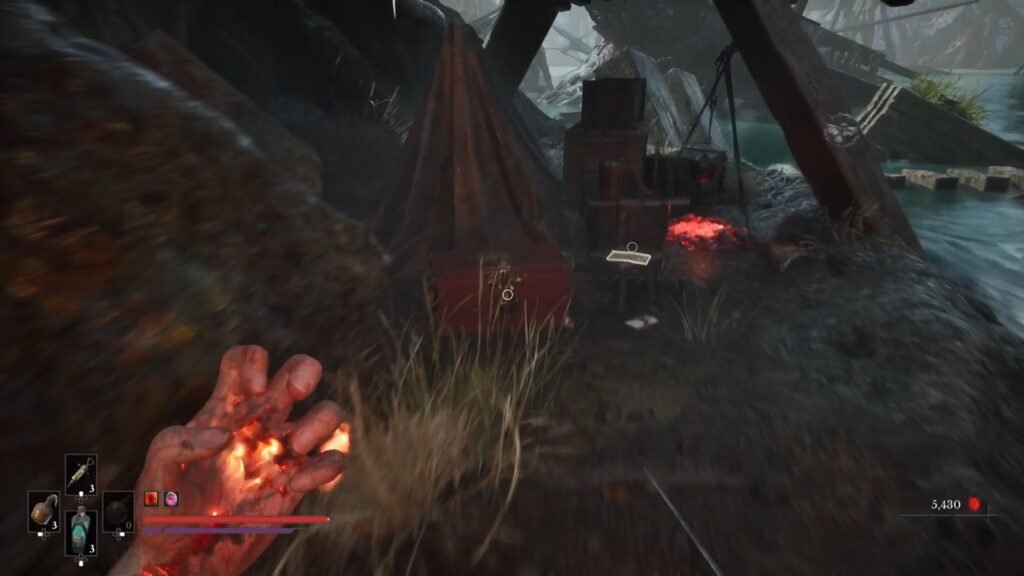
- Continue straight, and at the very end of this path will be the chest with the Dilated Moment Amber.
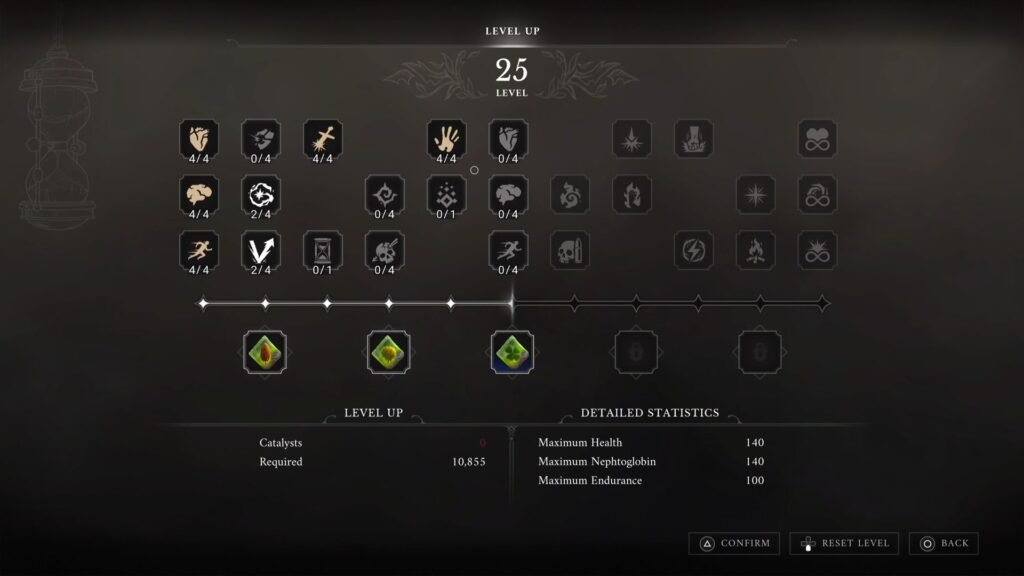
The other 2 Amber to equip are:
Sleight of Hand – reduces reload time and speeds up weapon switching
Lucky Shot – slight chance of not consuming ammo when firing
With this, you really don’t need anything else for the fight. If you are wondering why, let’s get into the fight details and I will explain.
The good thing is that, once you make it through Phase 1, if you were to die, the game begins from Phase 2 only; and not like certain fights we know (looking at you, Yoshitsune)
The Slaughtermill Phase 1
Now, the Phase 1 itself has 4 stages. Here is how they play out, and what you should be doing in each:
- Stage 1 – Shoot 4 Blisters, and avoiding damage from boss moves
- Stage 2 – Platforming to get into the Slaughtermill
- Stage 3 – Shoot 4 Blisters, and avoiding damage from boss moves
- Stage 4 – Advance using Nephtoglobin Formulations
Let’s look at each of these one by one.
Stage 1: Shoot 4 Blisters
The 4 Blisters are located at the following spots in Stage 1:
- The lower window on it’s left.
- The second is below the mill, visible when it raises itself for a slam.
- The third is the window on the right
- The final one is on the upper window on the left.
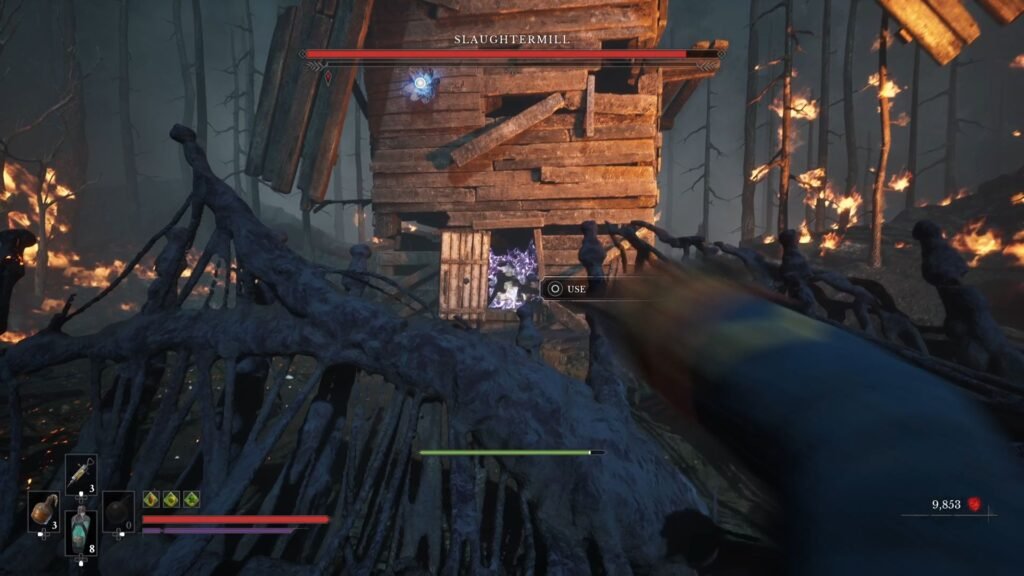
3 out of these are a matter of aiming and clearing. The last one is hidden behind a blue node, and you don’t get enough time to pull it open in between the moving blades. So, first, open the central window, apply Stasis on the gears so that the blades stop moving, and then open the blue node to expose the final blister and shoot it.
The blades remain in Stasis only for a certain duration, so ensure you don’t take too much time in getting this shot through.
Boss Moves Stage 1
Of course, all this time, the boss is trying its best to distract and damage you, so watch out for the following:
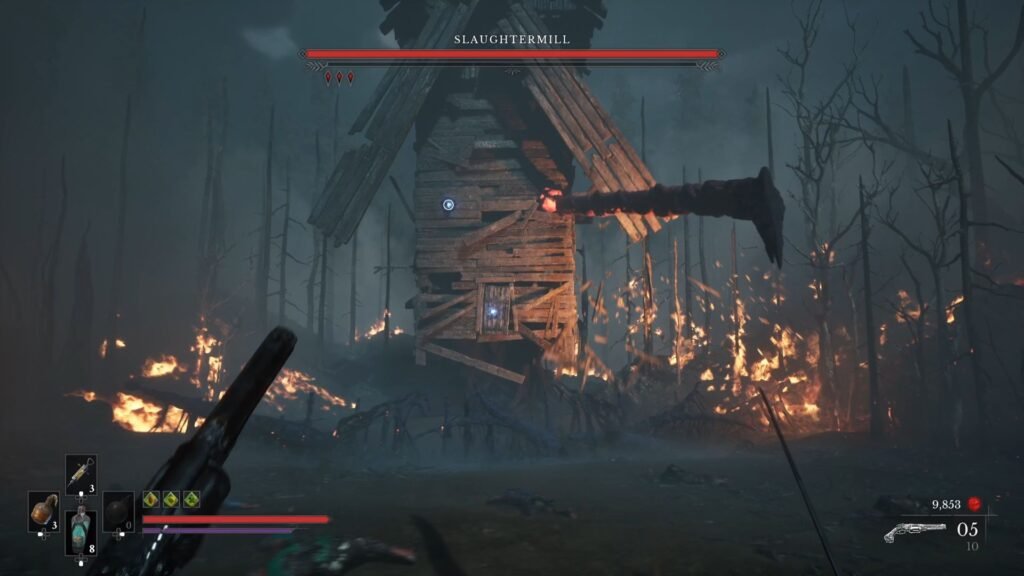
- Giant Tentacles that emerge from these blisters. Dodge them to prevent damage
- The boss slams down for a wave like AoE attack. Jump at the right time to prevent damage
- The boss throws out Carrion enemies. These are the ones susceptible to Fire, so use that to clear them out.
Common mistakes to avoid in this phase:
- Don’t get greedy and try to take down 2 Blisters in one go. You will inevitably take damage.
- Don’t ignore the Carrion – they will keep poking you and making you miss your shots, and do damage.
- Save the blue node and the Stasis puzzle for the last – that way you will fully concentrate on that Blister, and not get distracted by others. Remember, the Stasis only holds for a limited time.
Once you clear out all 4 Blisters, you move to Stage 2, as the boss does one final slam – avoid that by jumping at the right time.
Stage 2: Platforming
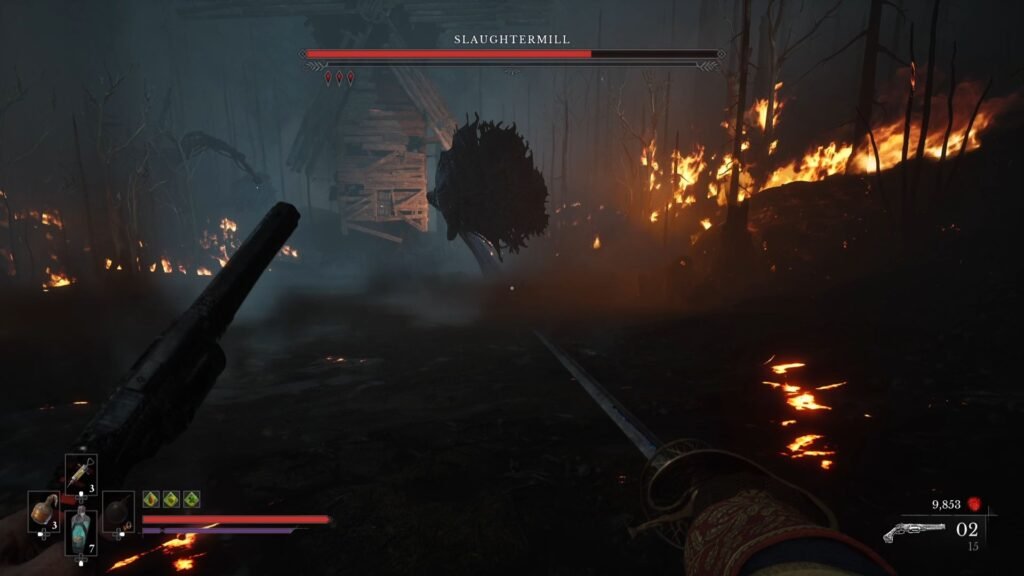
As this stage begins, you will get thrown back, and the boss will release an AoE wave. This will not hit you where you are standing. Only once this wave is over, start running for the Nephtoglobin Wall on the right, then a Grapple, and then another Nephtoglobin Wall on the left that takes you to a ledge. The boss will periodically Slam and release AoE waves. You cannot jump over them – you will take damage and get thrown back if you get caught in one of these.
What you have to do, is time your jump to the Nephtoglobin Wall on the right to prevent damage from the wave. Land, take a second, and then do: Grapple -> Nephtoglobin Wall -> Swing across the ledge -> Land on the narrow boards.
If you do this, you are now safe, and have essentially completed Stage 2. All that is left is to climb up, and use your Blunderbuss to shoot the inner mechanism of The Slaughtermill. You will get thrown out, to begin Stage 3.
Common mistakes to avoid in this phase:
- Don’t start running towards the right Nephtoglobin Wall before the first wave has passed. You will then use the Wall too early, and land just at the time the wave starts and take damage.
- The jump from the Nephtoglobin Wall on the left to the ledge requires you to press Jump twice.
Stage 3: Shoot 4 Blisters
Here, the aim again is to shoot 4 blisters, however, what changes is that the blisters are relatively well hidden, and the boss moves to distract you become more dangerous.
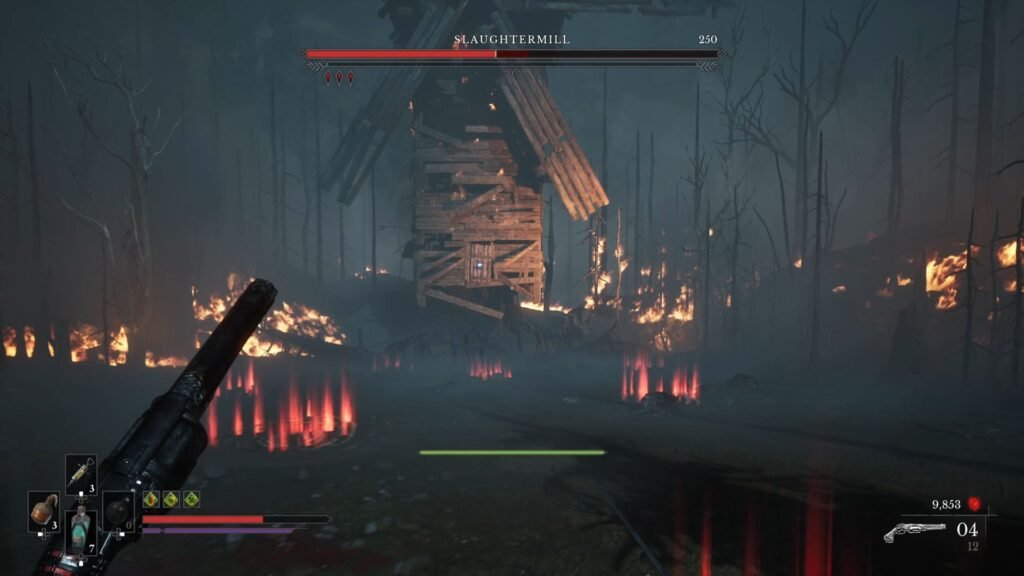
The boss will always open this with throwing out 7-8 corpses that explode on landing. Then, there will be fire spikes that burst forth from the ground – with enough indications of the exact places from which they shoot up.
The 4 blisters that you need to shoot are:
- 1 on the blades
- 1 below as before
- 1 on the right side
- 1 on the left side
Boss Moves Stage 3
The key here is to avoid boss attacks that are far more aggressive and damage dealing. These are
- There will be 4 consecutive Tentacle Attacks now instead of 2 – and they can easily wipe out your health.
- There will be ground AoE attacks that proceed in a single line – to be dodged
- There will be Carrion enemies that are resistant to fire, and explode on being killed, so again – move away from them to avoid taking damage.
Stage 4 – Advance using Nephtoglobin Formulations
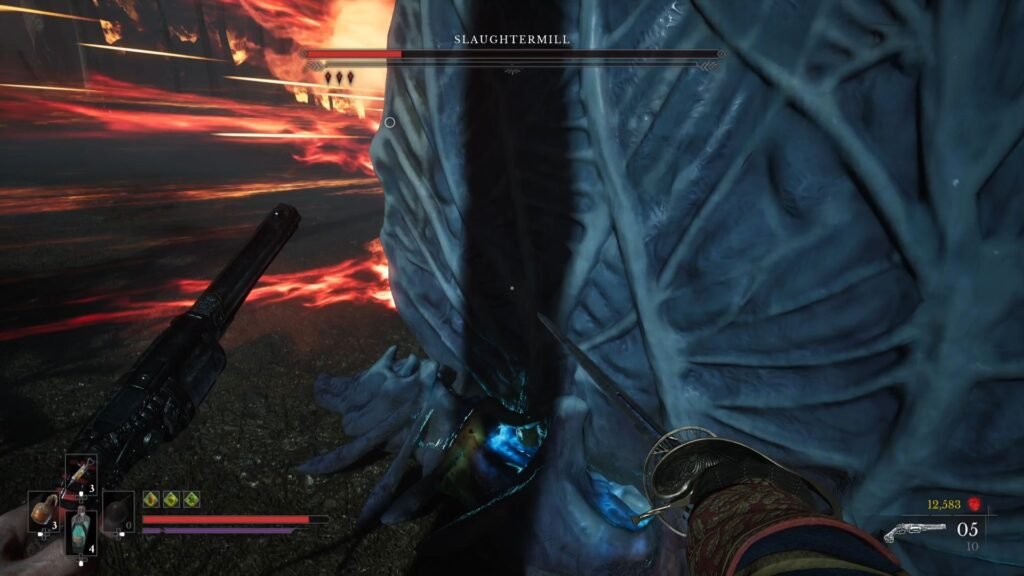
The gimmick here is to activate and advance to the Nephtoglobin Formulation in between flame attacks from the boss. This is made more complicated by the awkwardly placed Carrion enemies.
This stage is actually the easiest – it just requires patience. Don’t hurry, and bait the Carrion to come to you, attacking it from behind the safety of the Nephtoglobin Formulation. Also, remember – the final explosion of the Carrion can also push you outside the safety of the Formulation.
When you are at the last one on the right, press O on the blue node, and with that, Phase 1, the most difficult one of the Slaughtermill boss fight is over!
The Slaughtermill Phase 2
The 2nd phase is all about platforming, and timing the jumps to perfection. While most of the section here is intuitive, there are a few critical break points that, if you don’t do perfectly, can become a problem for you. So, watch out for these points in this platforming section.
Tentacles destroying the platforms
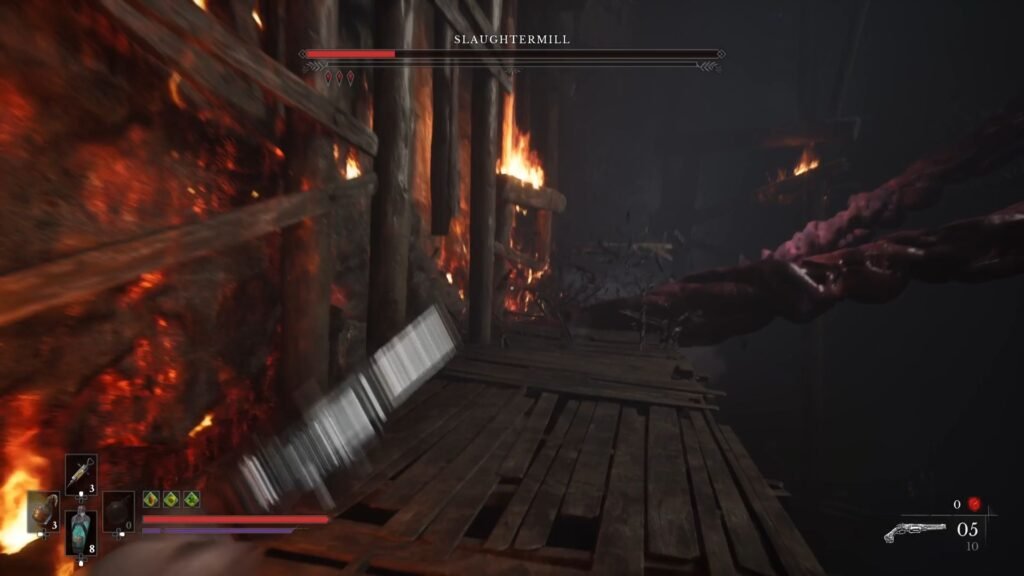
This is supposed to happen, it will reveal a ledge that you can swing on to. There are 2 swings, after which you will land on a Nephtoglobin Wall.
Corpses with Orange Blisters
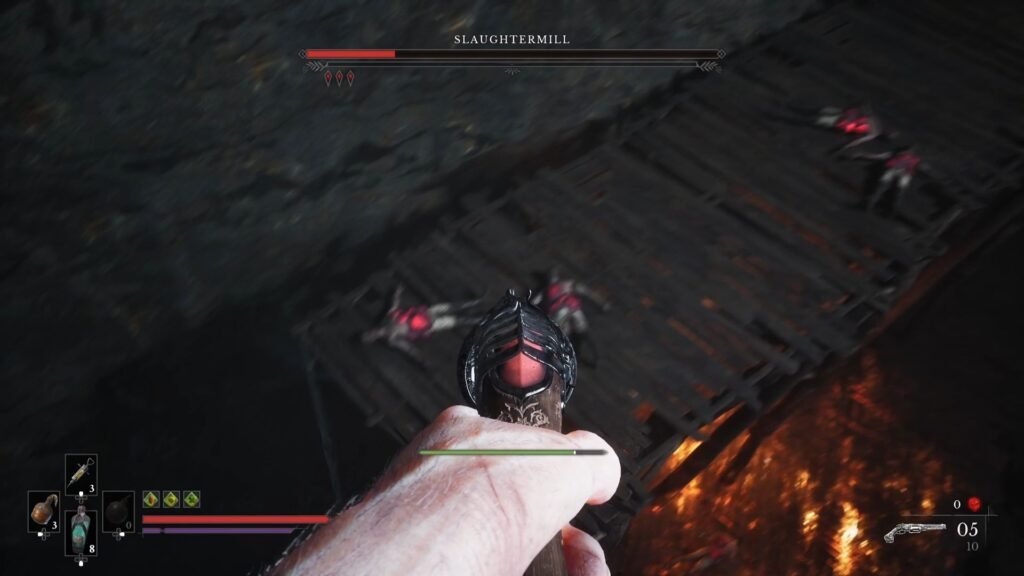
After using 3 Grapples in a row, you will be primed to land on a platform with corpses. Shoot any one of them to cause all to explode. If you don’t, you will be staring at the Game Over screen, since they will wipe out your full health when you land there.
This is again one of those occasions where the Dilated Moment Amber helps immensely.
Activate Nephtoglobin Formulation
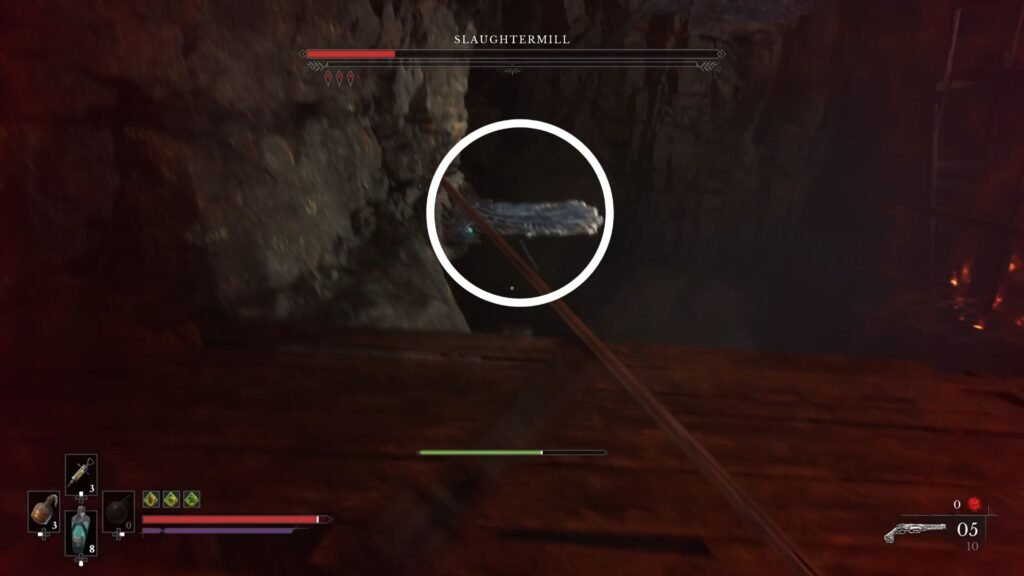
Here, you will have to activate the Nephtoglobin Formulation to be able to land on it and then continue ahead. You will have time, as you can pause here, activate it, and then proceed. The next one that comes is the trickier one, though.
Activate Nephtoglobin Formulation 2
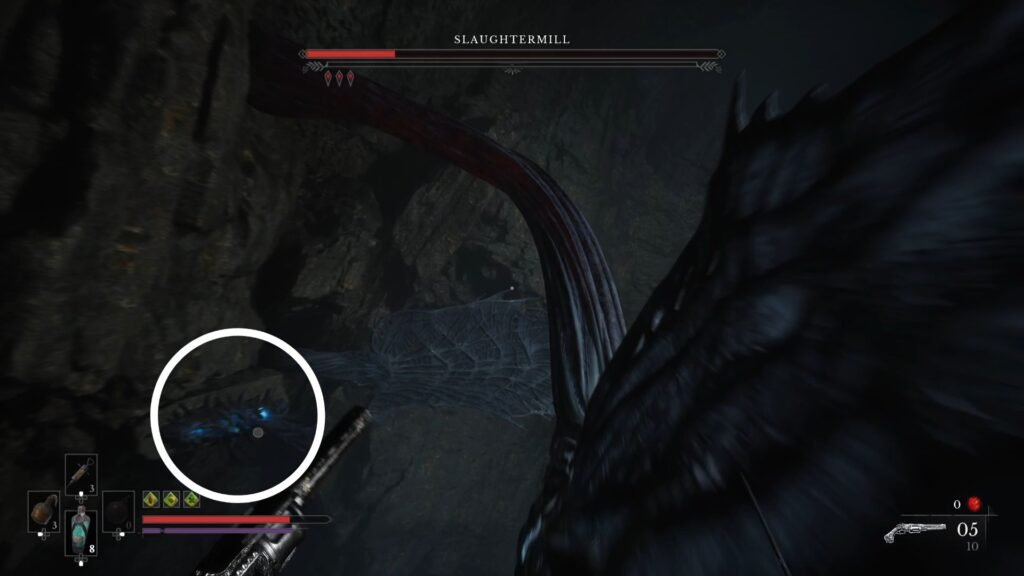
Saving the trickiest part for the last, here, you have to activate the next Nephtoglobin Formulation while you are traversing a Nephtoglobin Wall. The timing window is a very small one, you need to press O the moment you see Activate appear on screen, to then be able to land safely on the platform, and not have to restart.
There is one more after this where you have to shoot at the corpses before you land, but now that you have done it once, you should be able to pull through. Well done, you have reached the final platform where you can now take out the boss once and for all.
Shooting Orange Blisters & Completing the Boss Fight
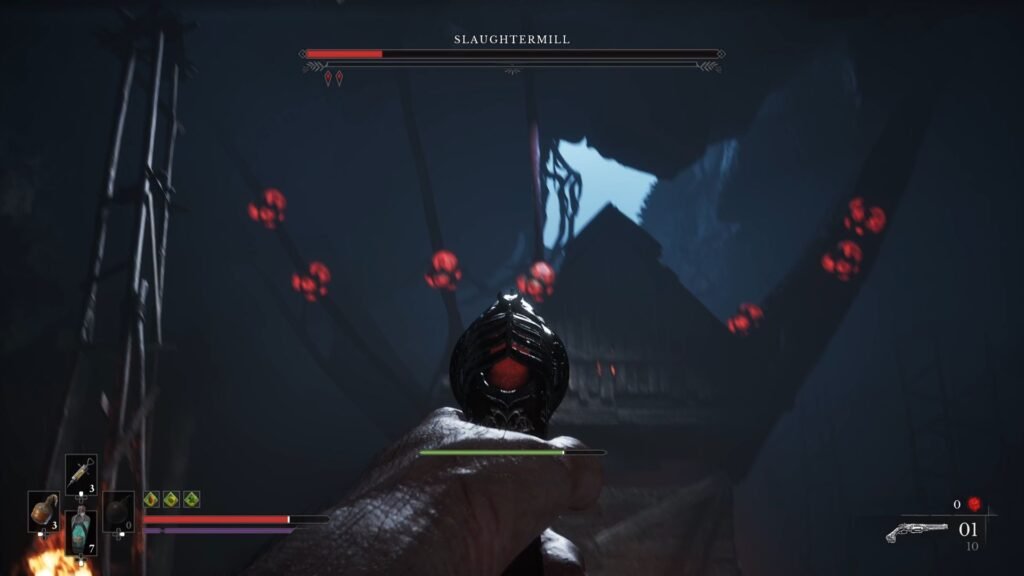
Here, we have to destroy the Orange Blisters, while avoiding the Tentacle attacks. There are 8 of these, after which the central eye will then reveal itself, take it down with a single shot. You should be able to get this out of the way without much problem. especially considering the difficulty level of the previous 2 phases, this one should be a cakewalk.
Defeating the boss nets you a neat sum of 30000 Catalysts, and a Trophy, as you progress to the next area and Chapter 6 in Valor Mortis.
