
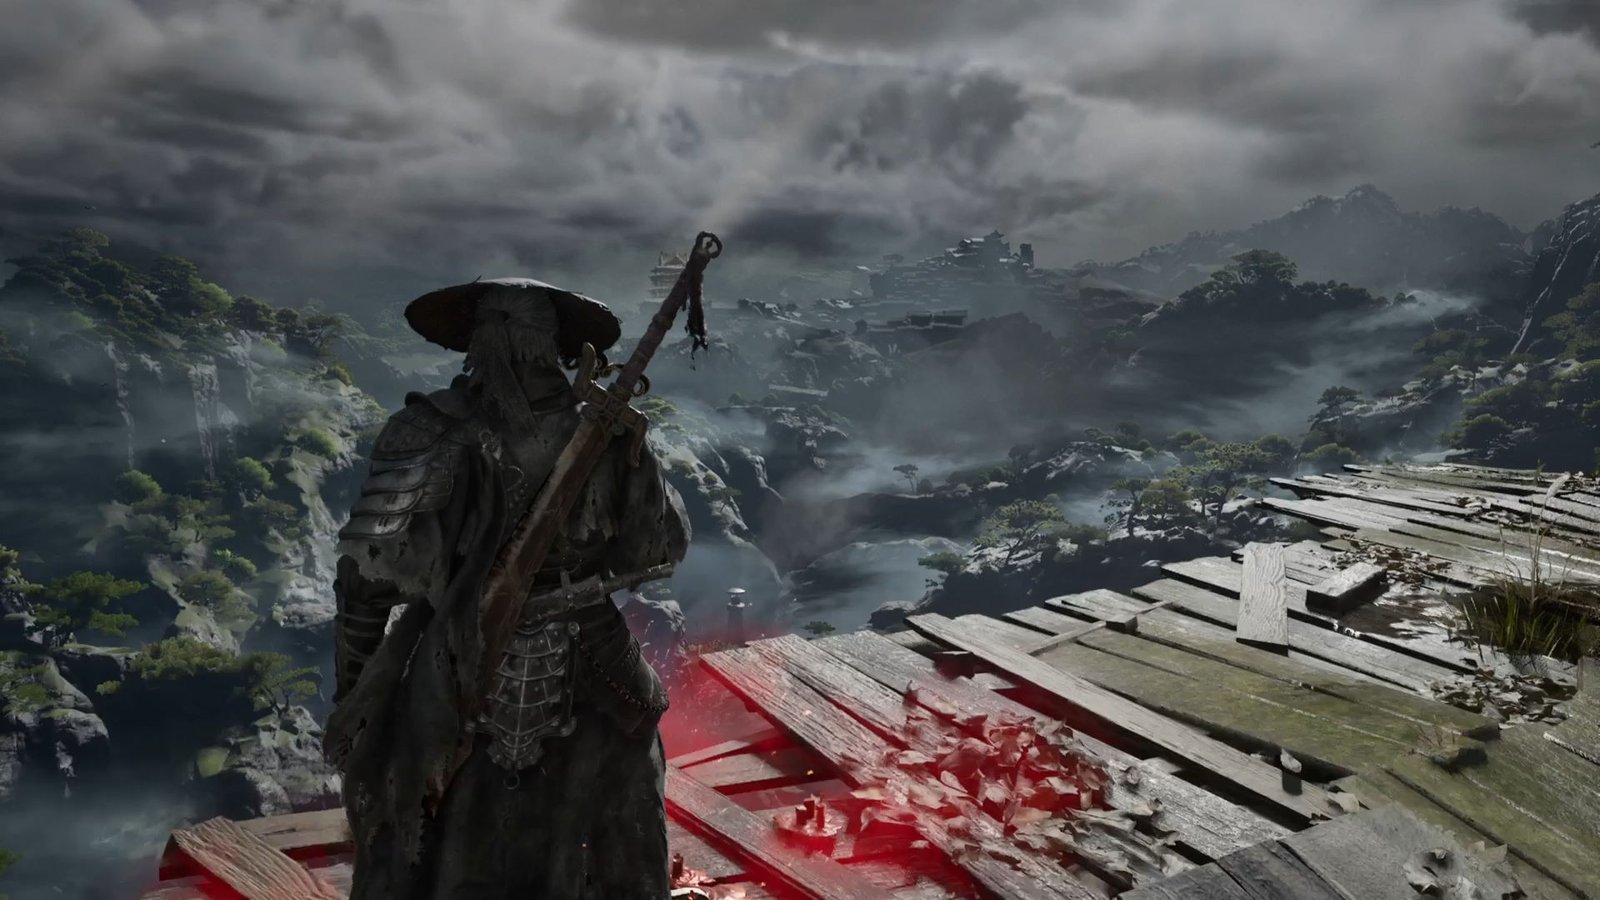
As the first main quest in Phantom Blade Zero – Against the Flow winds up, the second one starts off in the same region – the Weeping Creek Valley. This is a more combat heavy chapter, which also gives you a host of accessories and upgrade materials.
You also complete the Sha-Chi Amber and Blackstone Shards, and I have kept the count for these two in continuation to what you would have obtained in the first chapter. There are also side quests from the earlier chapter to complete, and new ones that will span other regions and chapters to begin.
This is a full 100% walkthrough for Steel & Steam, the second main mission in Phantom Blade Zero.
Table of Contents
Beginning Steel & Steam
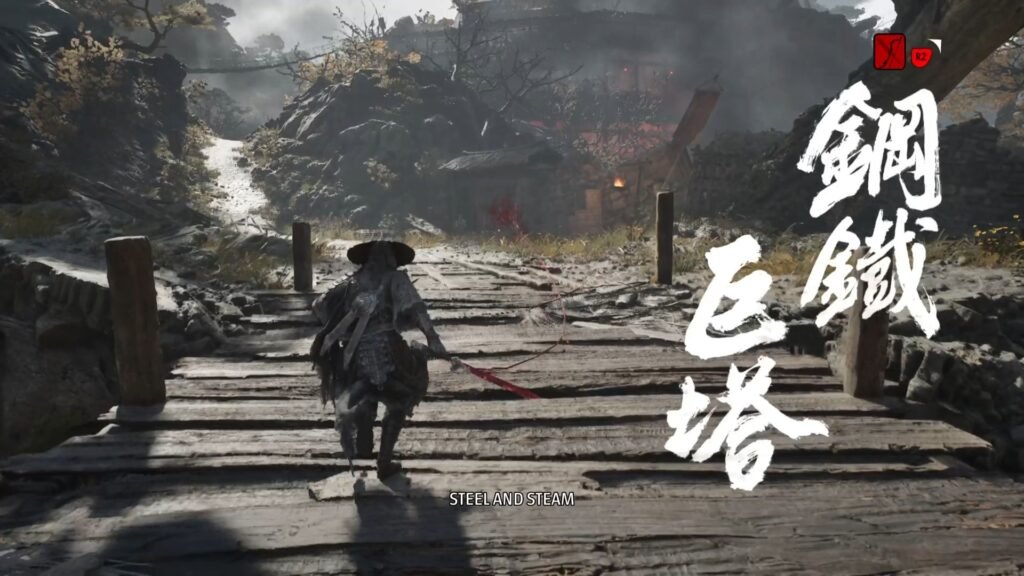
Collect the Phantom Reforge Talisman from the path on the right of the Dying Mandate Disciple. Crossing the bridge closes the first main quest for Phantom Blade Zero, and starts the second – Steel and Steam.
Picking up Deep in the Valley quest
Save at the next bell – Creek Valley Plains Entrance. We don’t have the key yet to open it. Speak to the Panicked Mandate Disciple, to start the Deep in the Valley quest.
The next area is combat heavy, so upgrade your weapons. As you enter, you will have an archer on each side, and four enemies with melee attacks to defeat. Once done, get the Darkfire Charcoal from next to the well, and proceed ahead.
On your left will be two ladders, both lead to the same place. The right most one, though, will help you take out the archers, and then move on to the melee attackers. Clear out that area, and then, take the path upwards.
Blackstone Shard #2 | Token of Pursuit accessory
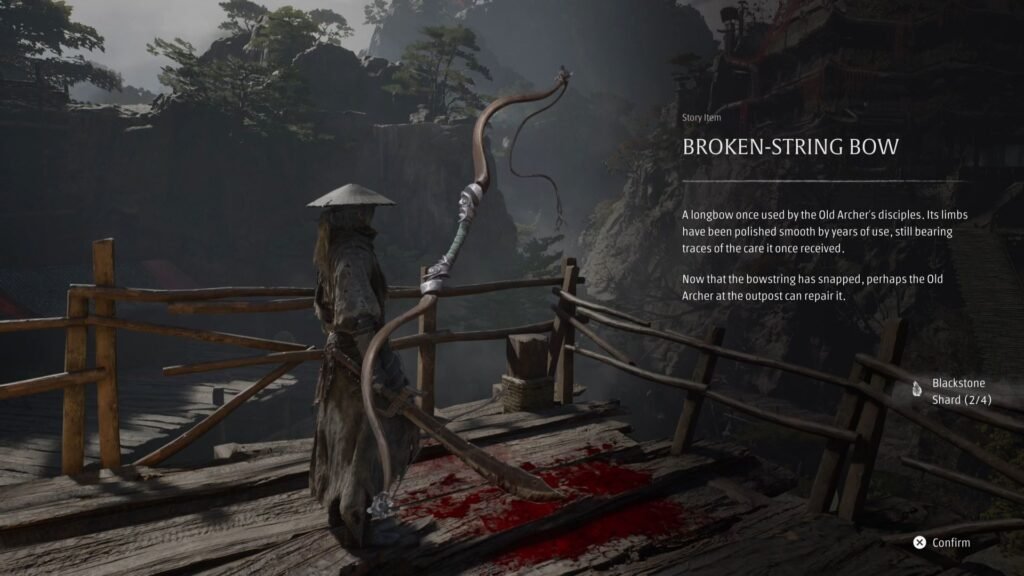
Here, defeating the archer gets you a Broken-String Bow that progresses the Purge the Sect side quest, Blackstone Shard # 2; and the golden chest next to it has the Token of Pursuit accessory – that does 7% damage to guard-broken enemies.
Get the Garrison Log, and ring the Ruthless Archer Camp Bell. Pick up the Phantom Reforge Talisman from the left.
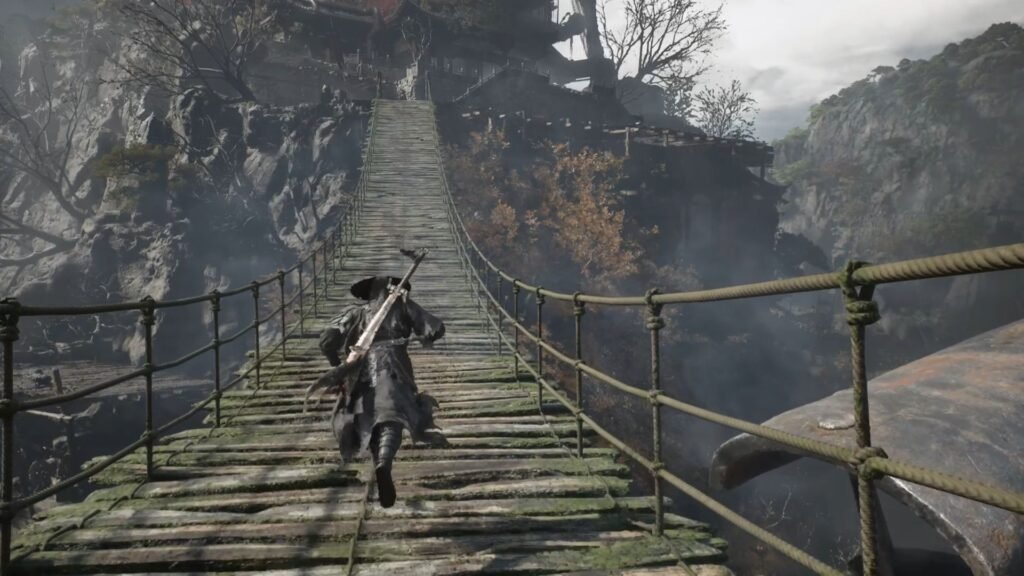
Now, run across the bridge, and take out the enemies on the right. We can’t open the gate yet, so pick the Broadplate Metal from the edge, and take the stairs to get ambushed by an enemy. Defeat it, and ring the Valley Sha-Chi Valley First Floor Bell.
Ascending to the top of the Sha-Chi Tower
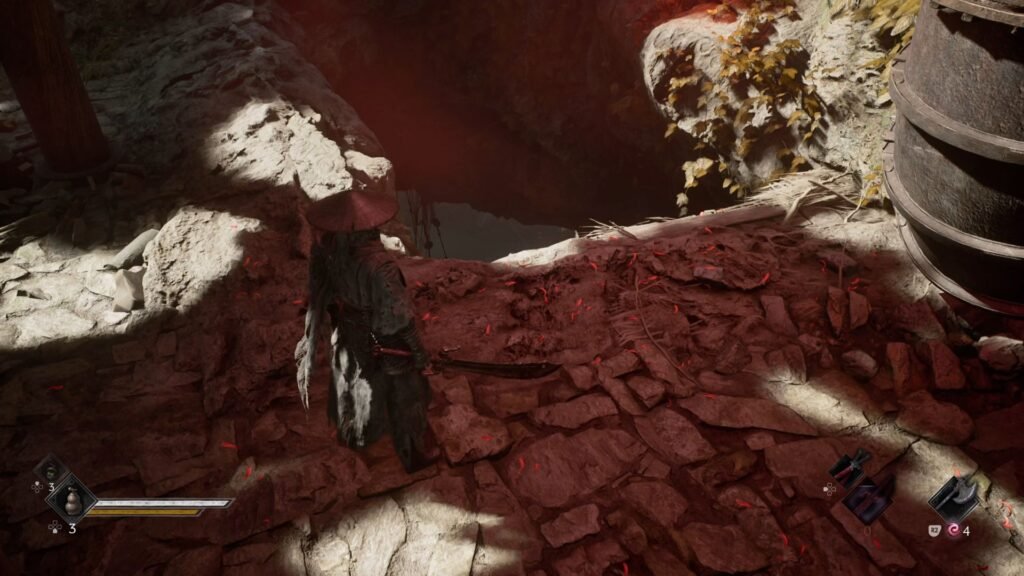
The next run is essentially a climb to the top of the tower, defeating enemies on the way. Start with the left, and to the left of Hua The Bride Book, note a gap in the floor. You can go through the gap, which slides you down into a fight.
Scarlet Wraithblade Weapon
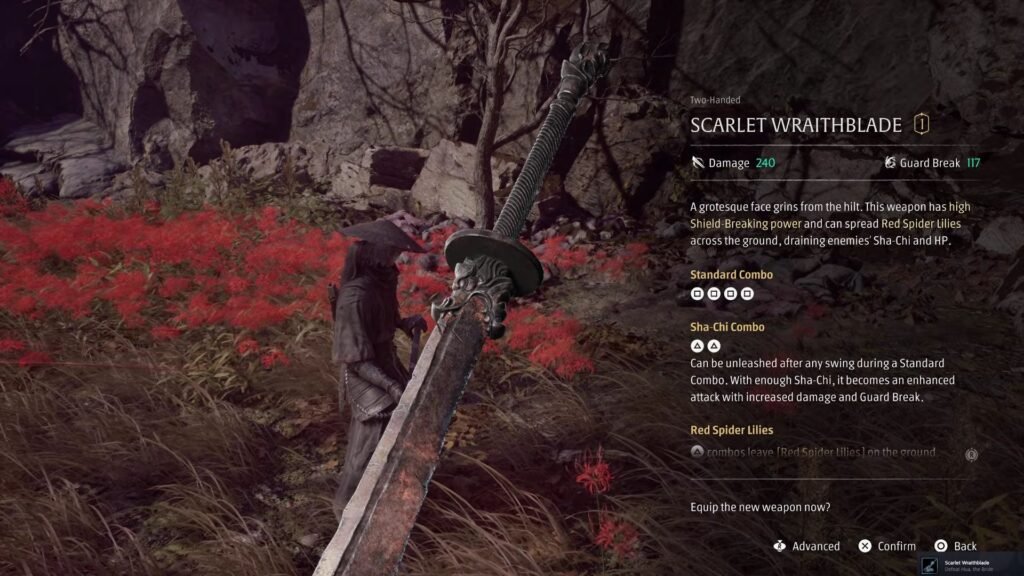
Moving ahead along the path leads you to a boss fight with Hua – a tough one, but, which gets you the Scarlet Wraithblade – one of the 7 weapons and Phantom Edges in the Weeping Creek Valley, on defeating her, as well as Flesh Lilies to progress Yu’er’s quest.
Enter the factory, and note the missing furnace inspection crank. Here, you will get a new enemy type – Monks that attacks with their palms, fists, and kicks.
Take the steps to the next level, watch out for this games’ version of the Borderlands Psychos, and keep a clear distance when it explodes – else, it will take you out for sure. Continue ascending, and here there will be more monks to deal with.
Beginning A Severed Mindseal Quest
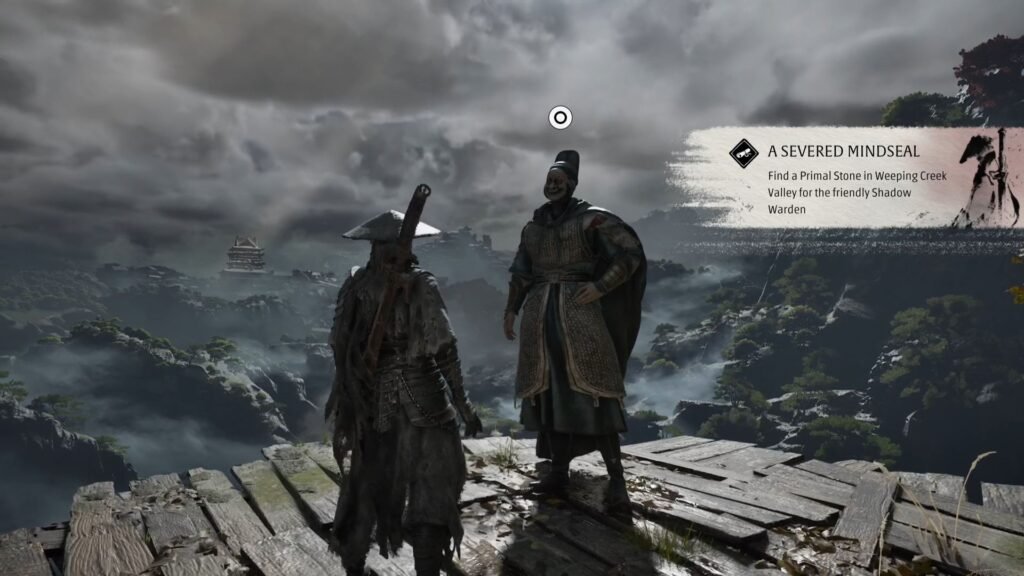
Once you reach the very top, ring the Valley Sha-Chi Tower Summit Bell, and speak to the Watchful Shadow Warden to begin A Severed Mindseal quest.
Picking up the Pillars of Kunlun quest
Climb up from his right, and then continue up the pipes. Note the orange collectible – which is the key, that we cannot reach yet. Take the left from there, and descend the ladder. Defeat the enemy to get the Sha-Chi Furnace Inspection Crank. Take the second ladder down, speak to the Collapsing Mandate Disciple to begin the Pillars of Kunlun quest. Continue down, past the Disciple, to unlock the Waterfall Bridge Bell.
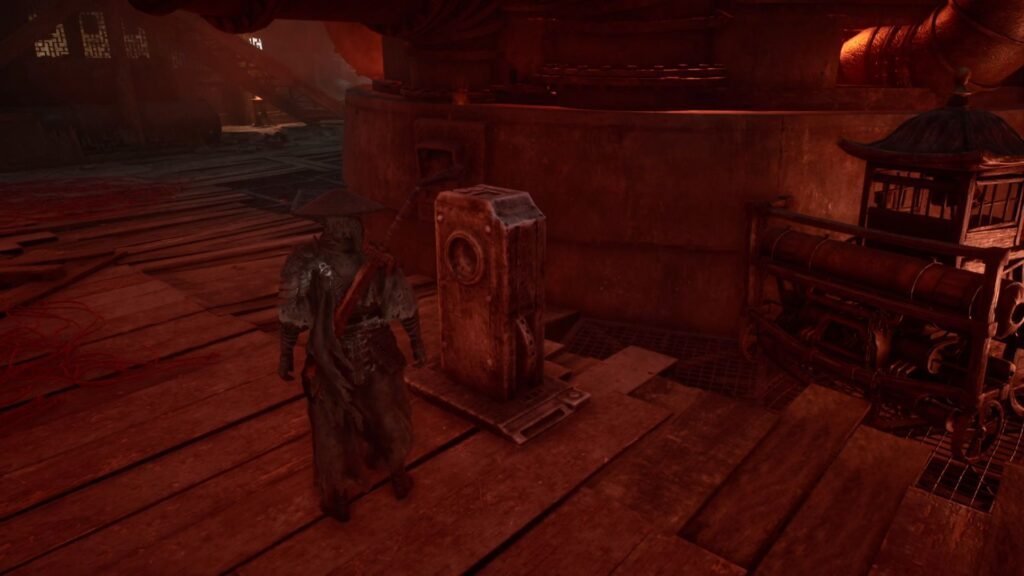
Return to the Sha-Chi Tower 1st Floor Bell and insert the Crank into the space that we had noted before. This opens up, on the left, a panel from which you can take out the Primal Stone. Return it to the Friendly Shadow Warden, to progress The Severed Mindseal quest.
Move ahead, and ring the Great Waterfall Bell. It is now time to take on The Hunt, who has been teasing us over the entire Weeping Creek Valley.
The Hunt, Hunter of the Order Boss Fight
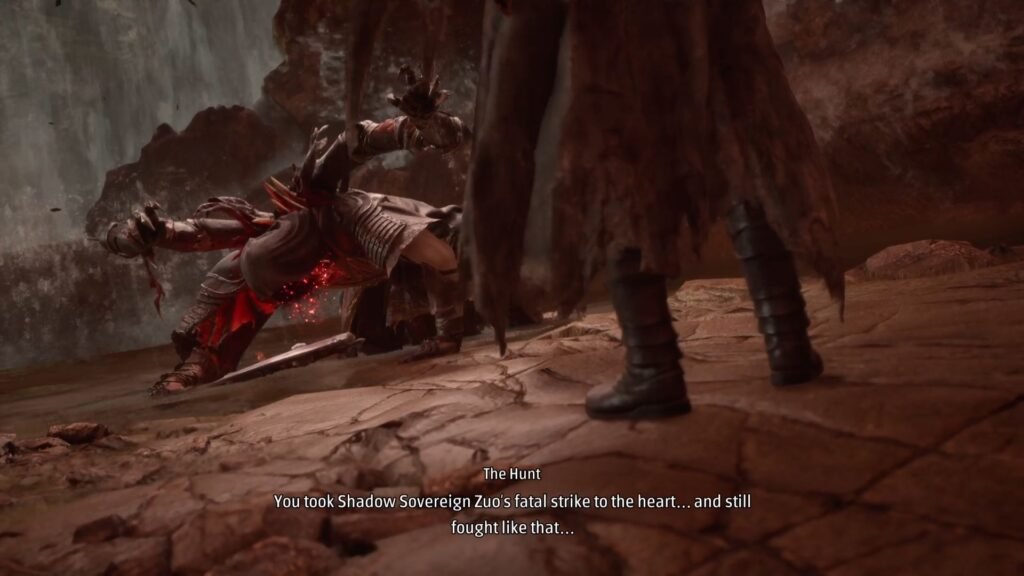
The Hunt is a 2 phase fight, but the game is forgiving in that if you die during the second phase, you don’t have to do the 1st phase again. The Jagged Steel with the bleed buildup helps – I would recommend upgrading both the weapons that you are planning to use for this fight to a Level 4, atleast.
His hook swings are easy to time on the parries, and with your upgraded swords, you should be able to deal good damage when his guard is broken. Keep out of the tornadoes that he sends your way, those remove good chunks from your health if you are not careful.
The boss arena is also big, so run away with some quick dodges in case you want to take up a health potion.
In the 2nd phase, things heat up with a more aggressive moveset, but, the time taken to break guard also is lesser here. In terms of specific moves to avoid, look out when he leaps away, and sends a host of iron chains on the ground. This is an AoE attack, so run away from the marked area, and also prepare for the boss to slam on you.
Once defeated, he will warn you of upcoming battles against old and new friends. You get the Hunter’s Chain Sickle Phantom Edge – which will now help us access those previously red-marked unreachable areas.
Going through the cave ahead will complete this chapter, but before that, we have quite a bit of exploration left in this area, so let’s do all of that first.
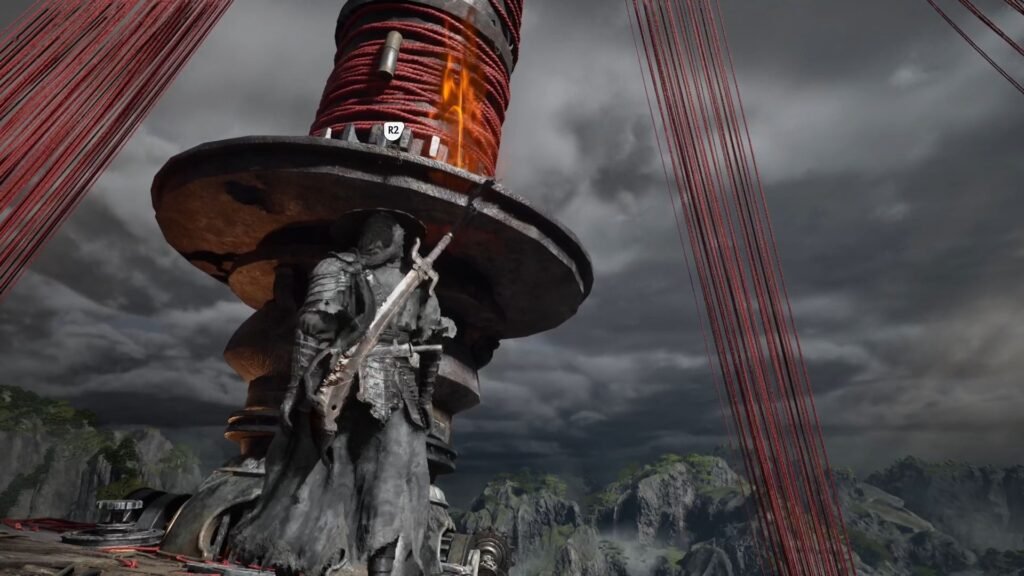
Go to the Valley Sha-Chi Tower Summit, and we can now get the Sha-Chi Base Tower Camp Key. With that, we can now open the locked door at the Creek Valley Plains Entrance.
Exploring the Creek Valley Plains
Here, there is a road going up, and another one down. The road going down does not have anything of interest. On the path going up, get the Weapon Reforge Talisman from the ledge that you can climb onto, and then move towards the red-hued structure.
Crimson Manor Entrance
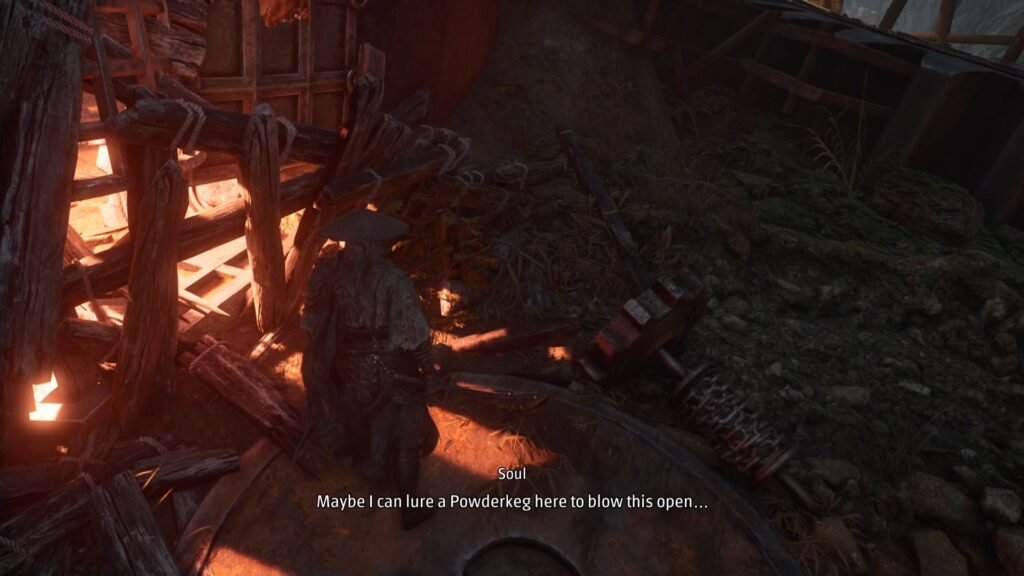
There will be a mini mob that attacks you, and it can quickly get overwhelming. Space out the fight and try to take them in groups of 2-3 to keep it manageable. Once defeated, go to the orange lit area with the big cogs. You will see a message pop up, to lure a Powderkeg to help blow the path open.
Ancient Armor Fragment
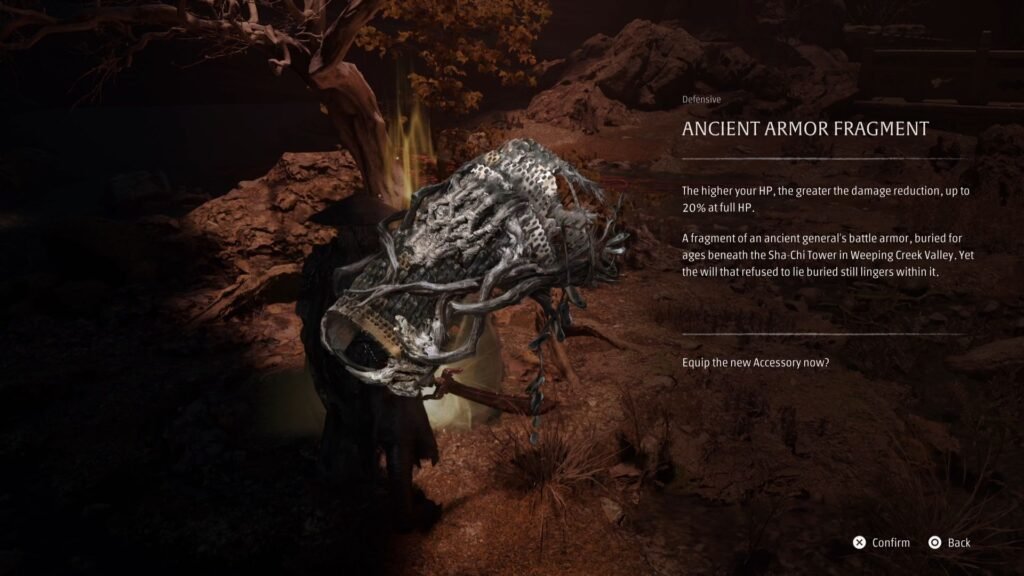
You have an infinite supply of these on your right, so lure one here. Once the path is opened up, take that to reveal an elevator. Take that, and you will get access now to the Crimson Manor Bell . Get the Ancient Armor Fragment accessory – that reduces damage done in proportion to max health.
Loong Pillar Key
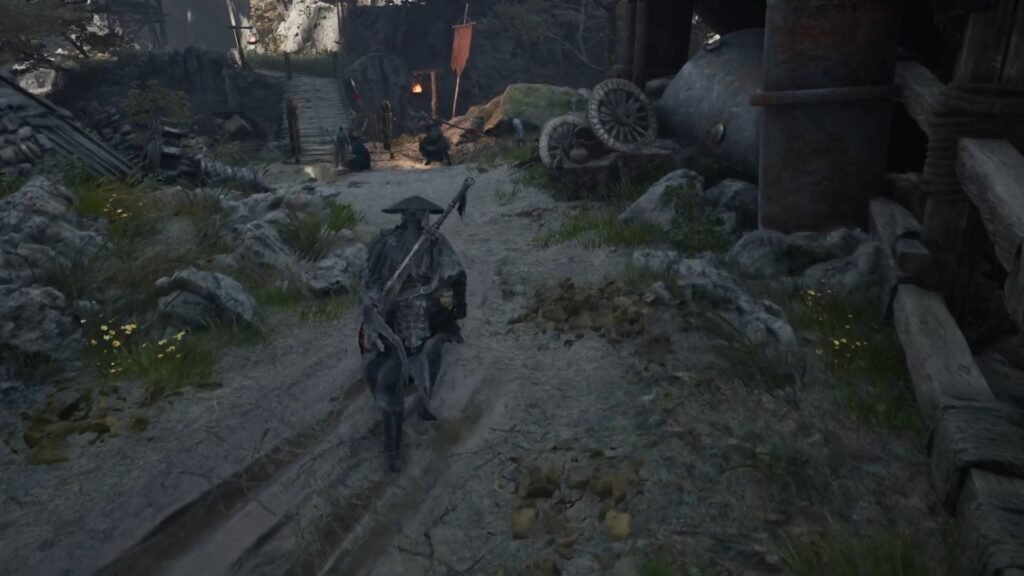
Return to the Creek Valley Plains Entrance, and this time, take the path to your right. You will come across a bridge with a fight going on. Join in, and clear the area, collect the Long Pillar note, get the Loong Pillar Key from the chest, and then ring the Long Pillar Overlook Crane Bell to trigger a cutscene.
Exploring the Left Side of the Long Pillar Overlook Area
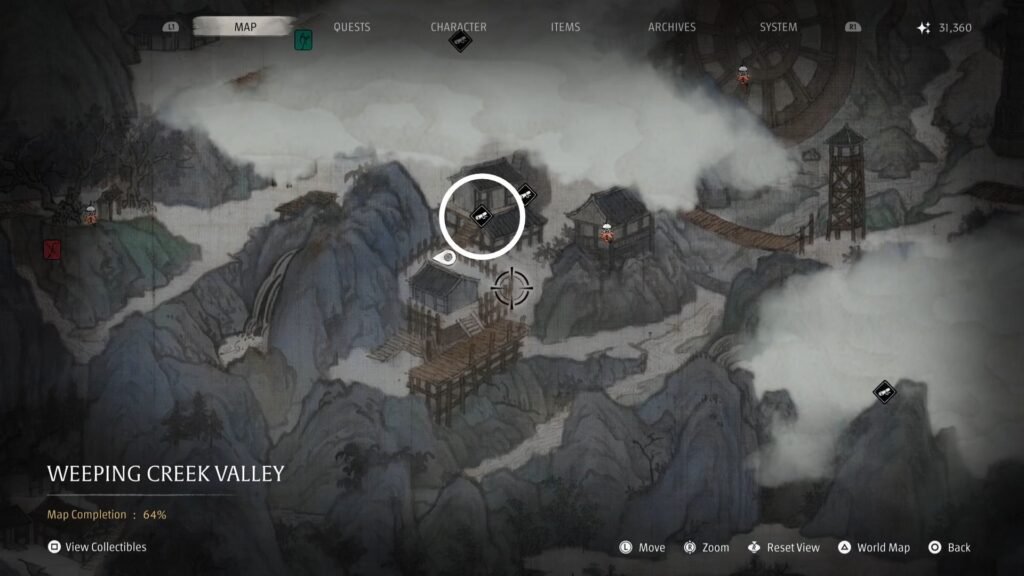
From here, when you open the map, there will be 2 regions covered by fog, on each side of this Crane Bell. We will first take the left side, and progress the Four Fierce Axes, and Festering Secret questline.
Grab the Mechanical Gear from the house to the left, and run across the pipe, and hand over the letter to the Blue-Robed Swordsman straight ahead. This progresses the Four Fierce Axes, and the Festering Secret questline.
Blackstone Shard #3
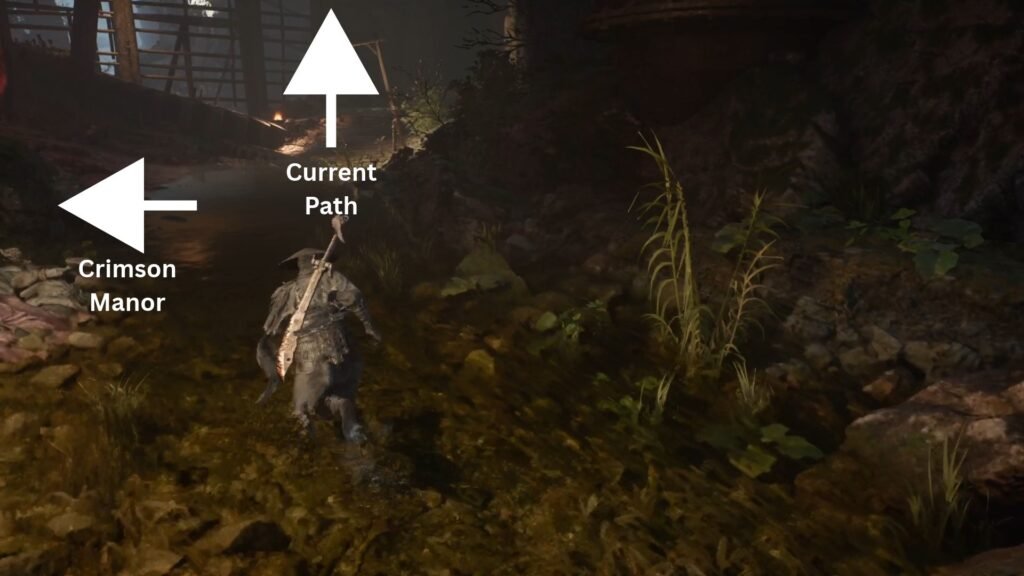
With this out of the way, return to the point where you had entered the Crimson Manor, but instead, go straight.
Go up the cog, and the plank. Defeat the enemy and take the steps ahead. You will now arrive in a factory with monks as the main enemies in the area. Defeating them gets you Blackstone Shard # 3 for the Weeping Creek Valley. Take the Four Axes Case File note from the table. Grab the Exotic Copper Ingot from the rightmost edge of this level, and ring the Valley Sha-Chi Tower Base bell.
Use the Furnace Inspection Crank to open the panel on the left, and get the Reflex Device accessory – which increases timing window for Parries and Perfect Dodges by 15%.
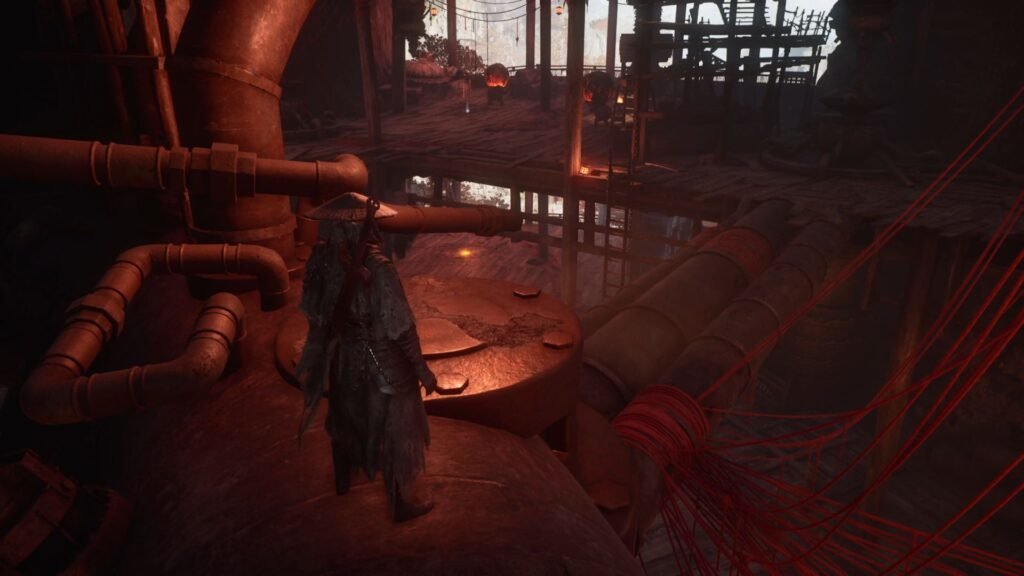
Continue climbing up, till you arrive at the point as shown in the image above. Drop the ladder ahead to create a shortcut to the Bell, and then proceed to the area with the Powderkegs. Take them out, and loot the chest to get Broadplate Metal, Twinned Metal, and Remnant Dust.
Vessel Restorative Medicine
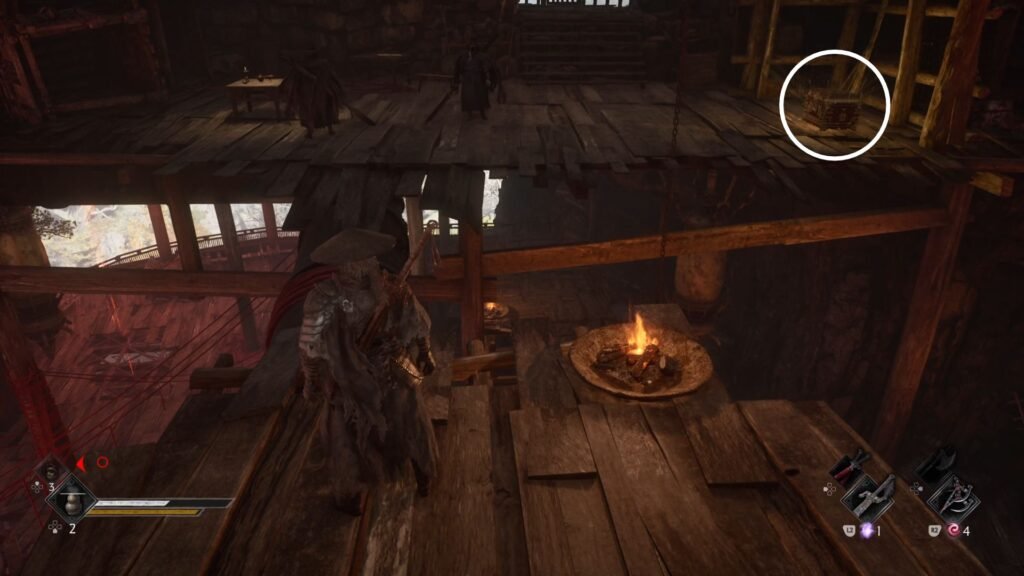
Continue climbing up, till you come across a space with 2 enemies and a golden chest containing the Vessel Restorative Medicine – restores 70% HP, and 50% Sha-Chi recovery speed for 5 seconds.
Open the gate on the left, which leads to the area that we had noted the locked gate at! Get back though, walk across the planks, take the ladder, and this time, take the route across the pipe and the steps straight ahead to get Ancient Timber. Collect Darkfire Charcoal from the right. Now, we are done with exploring the factory. Return to the bell, and let’s make our way to the Ruthless Archer Camp Bell.
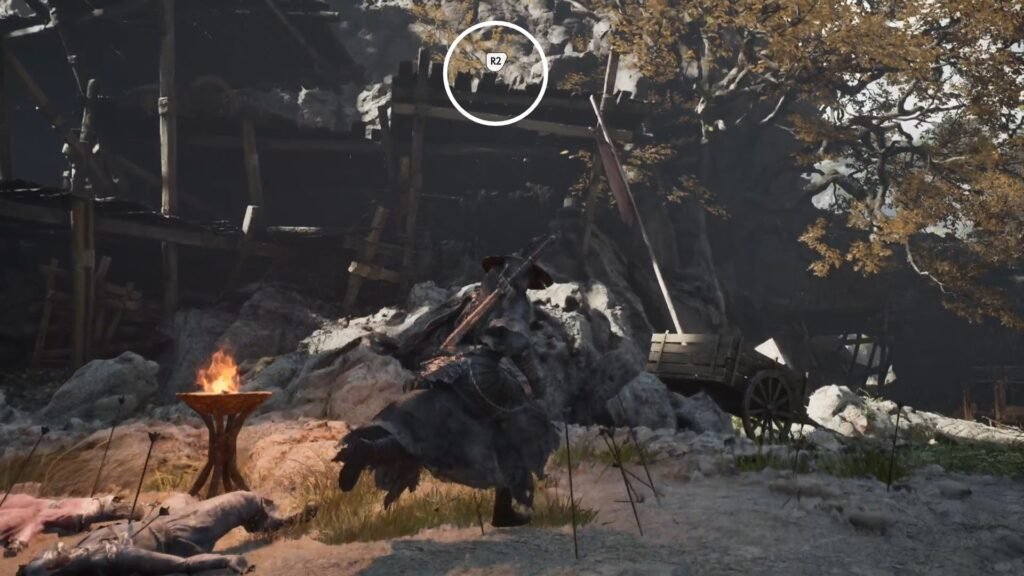
From here, make your way to any of the 2 ladders that we had used to climb to this bell in our run earlier, till you see this grapple point which we can now access, on our left. Loot the chest to get Exotic Copper Ingot, Forged Metal, and Twinned Metal.
With that part done, let’s make our way to the Outpost. Hand over the note to the Captain, and this completes the Festering Secret quest.
Exploring the Right Side of the Long Pillar Overlook area
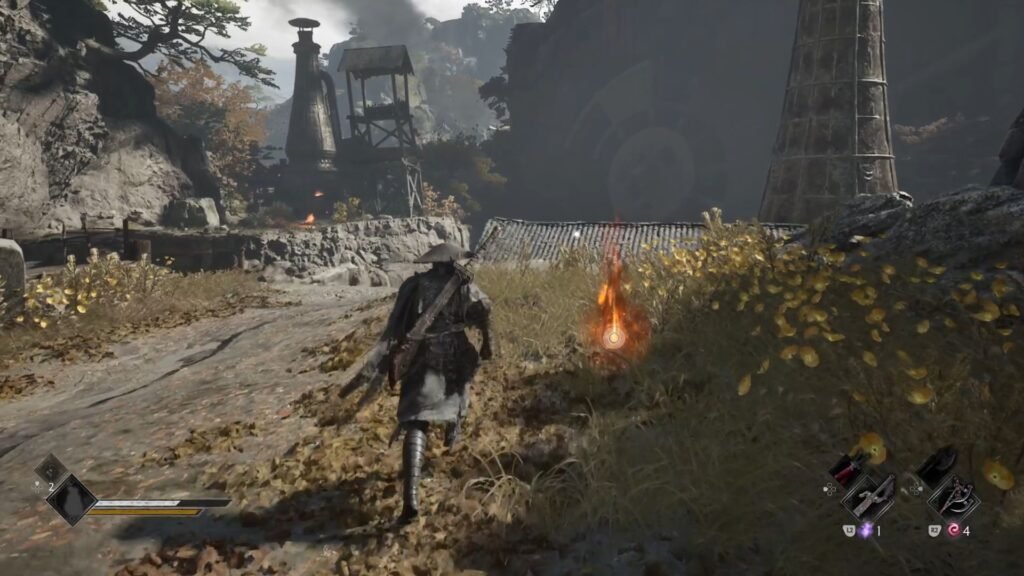
Next up is defogging the right side of the Long Pillar Overlook Bell area. Cross the bridge, defeat the enemies, and scale the wall to the other side to collect Congealeaf – the 2nd ingredient for the Apprentice Healer quest.
From here, there are two paths : to the right, and straight ahead to the waterfall.
Area 1: On the right of the Congealeaf – using the Rusted Loong Key
First, let’s cover the path on the right. After using the key, enter that area and defeat the enemies to get Sha-Chi Amber Shard #4 for the Weeping Creek Valley. This should get you the Sha-Chi Amber to permanently increase your Sha-Chi by 10%
Continue ahead. You will note a purple shiny that you can’t get to. Up ahead, behind a wall is a climbable section, which you can use to then jump into the middle of all the cages, and collect that shiny which turns out to be a Weapon Reforge Talisman. Ahead, use the Dread Axe to open up the path to the Weeping Creek Long Pillar Bell.
From here, continue past the dragon head and you will see the final ingredient for the Apprentice Healer quest to be collected straight ahead. Then, take the path on the right which goes upwards, defeat the enemies, collect the Darkfire Charcoal, and drop the ladder, which takes you back to the point where you crossed the bridge from the Long Pillar Overlook bell.
Picking up the Bloodline Awakening quest
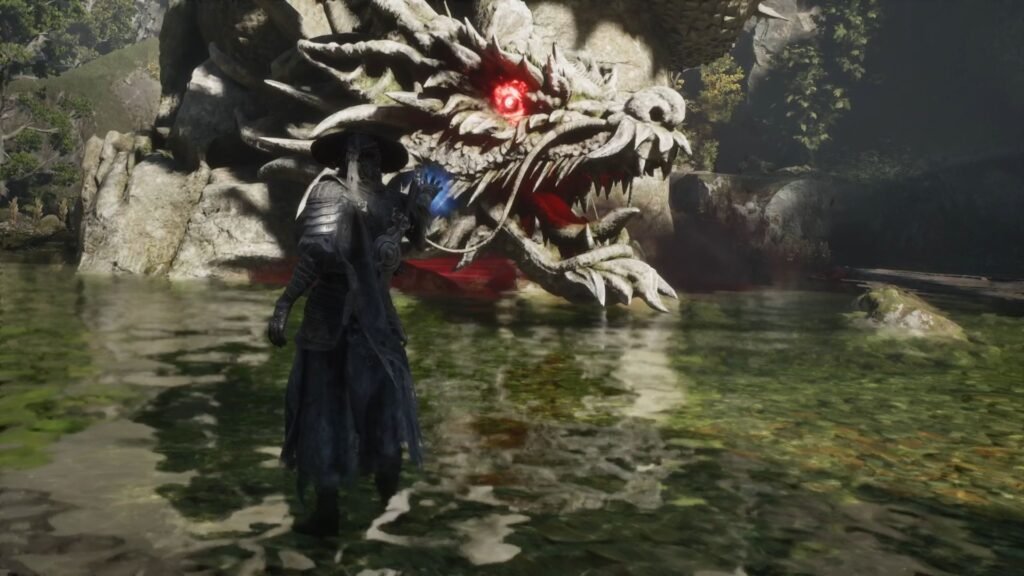
Finally, interact with the head of the Dragon Statue, to trigger a cutscene, and a fight that you will not win at this stage. But we need to do this to trigger the Bloodline Awakening quest.
With that, we are done exploring this side of the map.
Area 2: Straight Ahead from the Congealeaf
Straight ahead is also an area to explore and get some good loot. Defeat the enemies here and get the Traversal Talisman at this level. Then, jump down to the area where you got the Congealeaf and from there below, and get started on your path. Here, there will be a mini-mob, get rid of the flame slinger first, and then target the rest.
At the ground level, on your left will be an enemy and a Powderkeg. Get them out and loot the Mechanical Gear. From here, make your way right to the waterfall. Here, there will be a set of 5 enemies led by one who absorb health from others.
Blackstone Shard #4
You can now grapple across, first to the right to loot the chest with the Blackstone Shard #4. You should now have a Blackstone that permanently increases attack and guard break by 10%.
Now, grapple to the left. At this point, we are right below the Waterfall Bell. Take the path to the left of the ladder, defeat the 2 enemies, and loot the chest for Weapon Reforge Talisman, Forged Metal, and Broadplate Metal.
Now, take the ladder, defeat the enemies, get the Broadplate Metal from in between the cages, and when you make your way up the steps, this will lead you to the Waterfall Bridge Bell.
We are now ready to close this chapter, and the region, and move ahead to Crimson Forest. Go to the Great Waterfall bell up north. Take the path straight ahead through the waterfall. Collect the Exotic Copper Ingot, the Reply to a Request for Aid note, and the Discordance note next to the shrine. Next, pick up the Solvent to your left after climbing the wall, and the Phantom Reforge Talisman after the wall running section.
Use the iron chain to swing across and get the Traversal Talisman, and take the path up ahead to end the Steel and Steam main quest in Phantom Blade Zero.
