
After choosing the Tainted Heart, and the frantic fight on the carts, the opening tutorial + prologue in Phantom Blade Zero ends with our protagonist, Soul, in a lush green forest area with nothing much except a sword in hand – like all good action games of this type (looking at you – Black Myth Wukong / Wuchang Fallen Feathers).
This opens up the first full chapter for the game – Against The Flow in the Weeping Creek Valley, the first region of the game that spans over two chapters. In this guide, we will run through the full 1st chapter, with all collectibles, side quests and secrets that Phantom Blade Zero has to offer here.
On This Page
Beginning Against The Flow
As you begin the run after waking up, Soul will comment about hearing a weeping, and Whence the Wheeping will get added to your quest log. There is nothing you can do about it now, this one will take some doing. So ignore this for now.
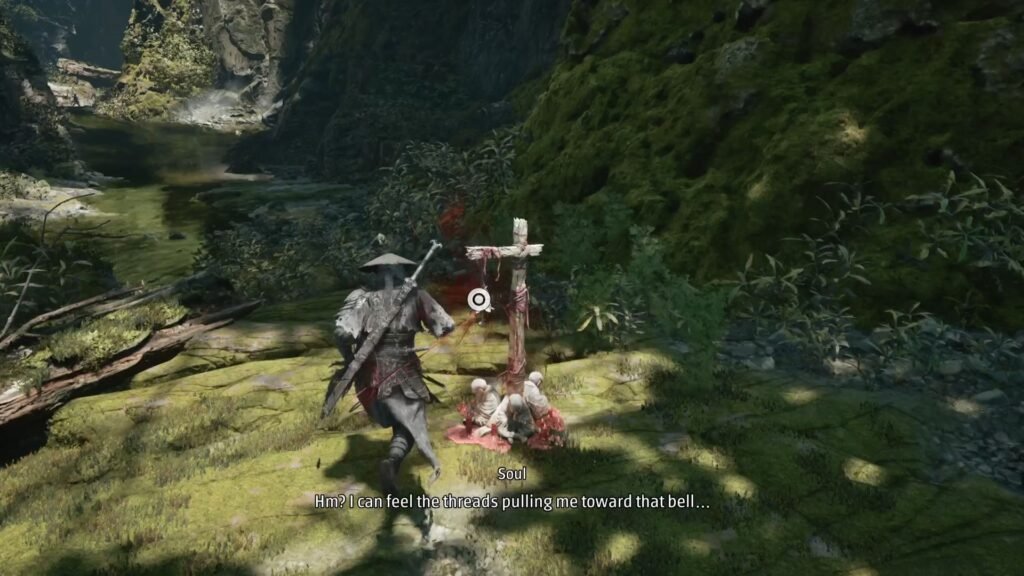
You can stop at the weapons, but you will not be able to get those. Climb X for Terrain Traversal Take care of the enemy mobs, and speak to the Dying Escapee who requests you to help his village. Climb up from his right to arrive at the first bell in Weeping Creek Valley: The Beginning. Bells in the game are the equivalent of Shrines where you can save, upgrade, level up. Saving at the Bell also defogs the adjacent areas on the map.
Continue up ahead, defeat the enemies. Read the Stone Carving – they add a nice bit of detail to the world around you. Now, defeat the enemy with a club – use this opportunity to practice parries on the blue attacks.
Use the fallen tree to get across, as the game gives you a brief view into the route you will be taking up the mountain face. Defeat the three enemies on your left, grab the Note, and take the ladder up.
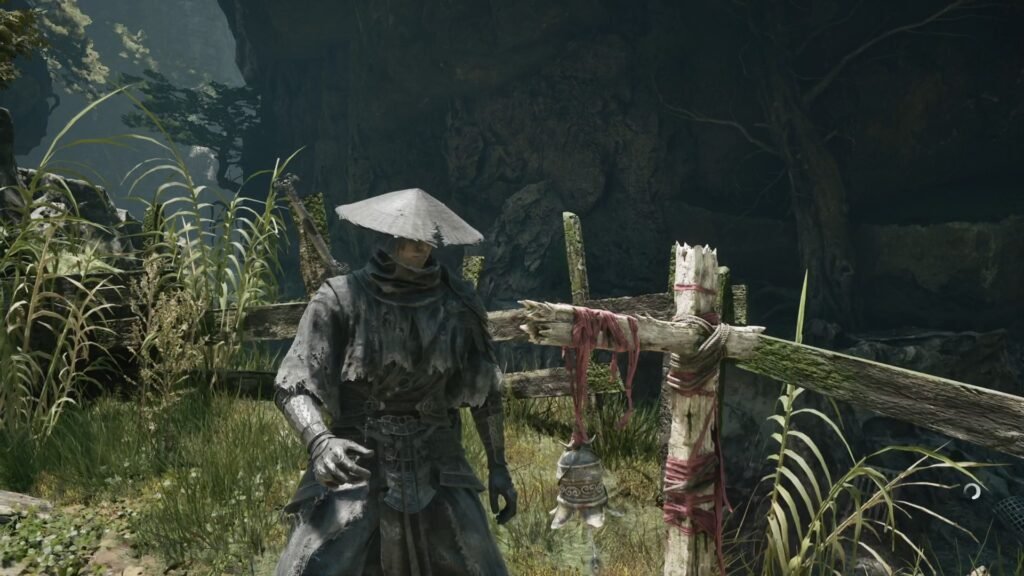
Assassinate the enemy, then wall run to leap across and backstab the enemy on the other side. Before moving ahead, take the ladder down to activate the second bell – Lady’s Rift in the Weeping Creek Valley.
Beginning the Triple Threat side quest
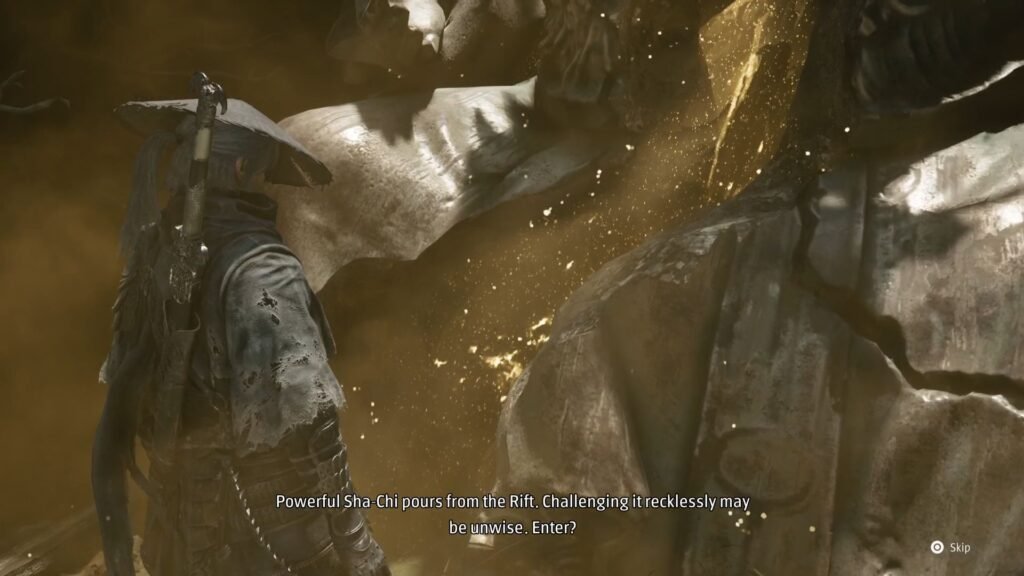
Right next to The Lady’s Rift Bell, is the first challenge of the game. This is a fight that you are absolutely not ready for now, but we will just enter it, die, and come back to start the Triple Threat side quest. Nothing else to do on this for now, so move ahead.
Now, let’s take the ladder up, and continue on the path to the right. Grab the Traversal Talisman – it helps you return to the last rung Bell. Then, jump across with the help of the iron chain on the right.
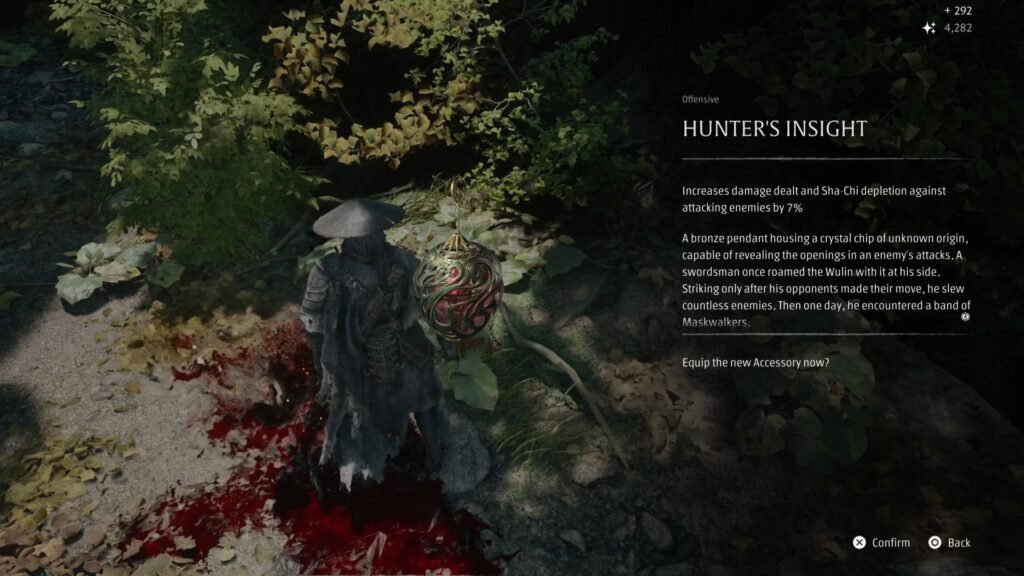
Defeat the twin-axe wielding enemy to get the Hunter’s Insight accessory – the first of the 7 accessories in Weeping Creek Valley. This increases damage and Sha-Chi depletion on attacking enemies.
Continue across the wooden planks bridge on the right, noting the Stone Carving. Now, do a Wall Run, and quickly use the Iron Chain to get on to the other side and take out the two rock / flame flinging enemies.
Meeting Yu’er | Picking up the Flesh Lily side quest
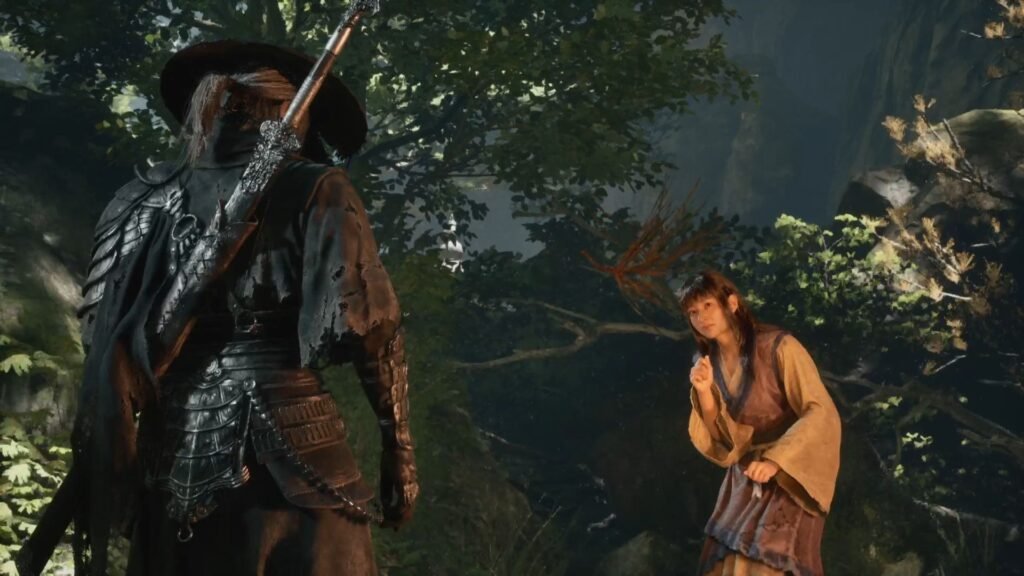
Then, take the rope and descend to come across our first NPC in the game – Yu’er. We will be seeing her on our travels across other places as well.
We learn that she and her father have run away from Pangzhen. You also learn that she has a medicinal recipe to cure her father – that requires something called a ‘Flesh Lily’. NPC asking for a herb – as clear an indication of a side quest as it can be. Once the initial conversation is over, select ‘Ask How to save her Father’, to get the Flesh Lily side quest added to your quest log.
Incidentally, if you ask her if she can hear a wheeping, she will say no. This also updates the Whence the Wheeping quest, with Soul remarking that it could possibly be a message from the Discordant that only he can hear.
Weapon # 1: Sanguine Twin
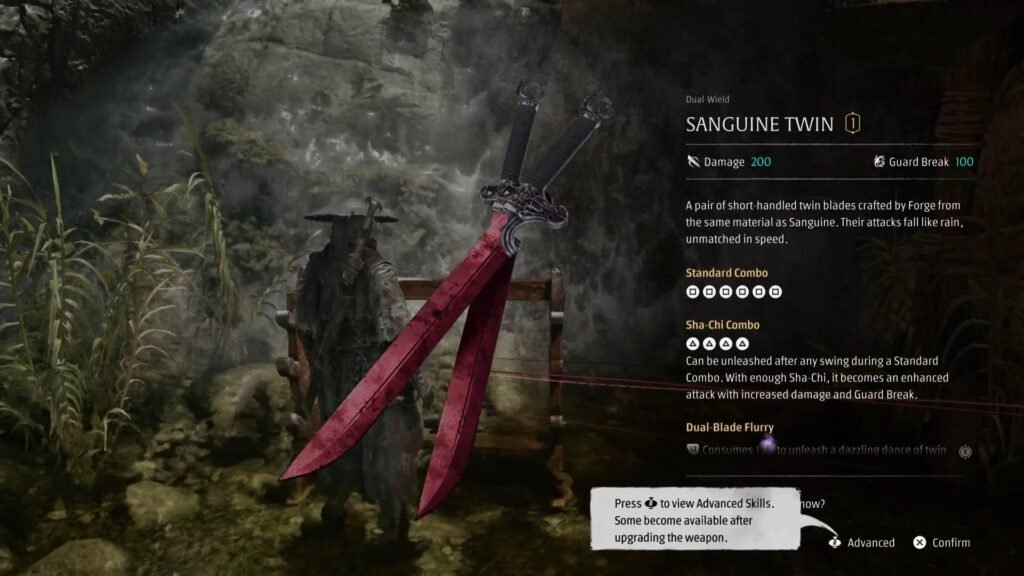
With that done, climb up, and continue on the path of the waterfall to get your first new weapon of the game – the Sanguine Twin. There are 7 such weapons and Phantom Edges in the Weeping Creek Valley for you to find and collect.
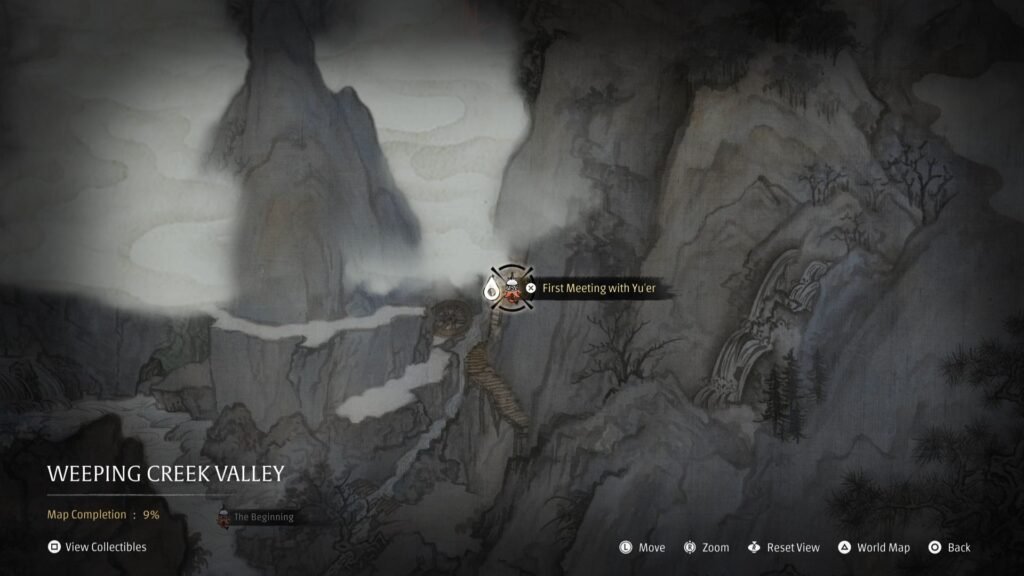
With this done, take the ladder on the right, and ring the Bell ‘First Meeting with Yu’er’
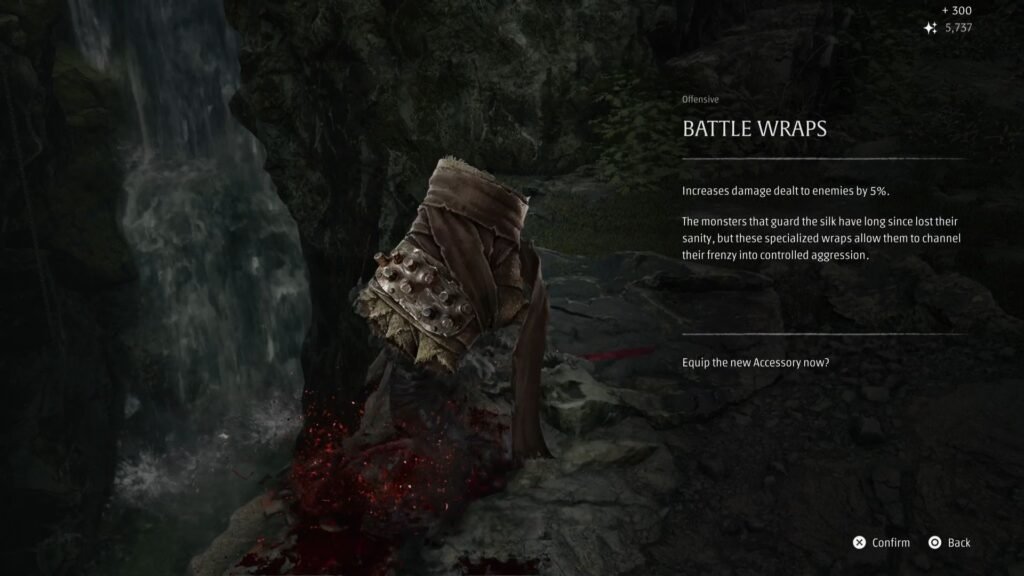
Take the path on the left, clear out the enemies ahead to get the Battle Wraps Accessory, that increases damage dealt by 5%.
Unblocking the Red Barrier
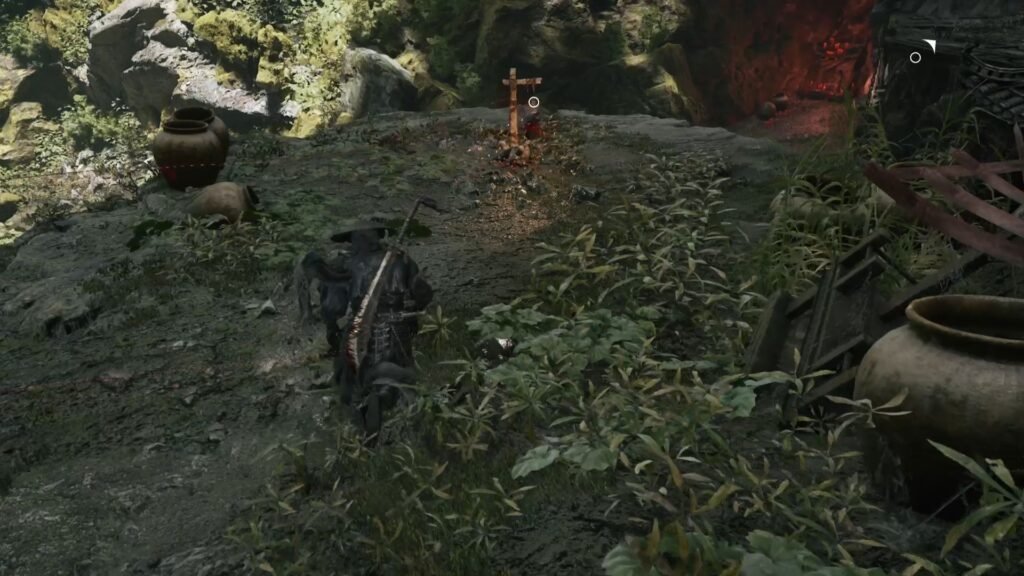
Save at the next Bell – Red Thread Barrier Bell, and note the Red Threads that block the entrance. Jump across and grab the Forged Metal. Climb up, following the Red Threads that lead down an area on the left. Continue on our path across the wooden planks on the right, clearing out enemies as we go. Take the ladder, collect the Note straight ahead, and then turn back. Here, the game then gets you to throw a boulder to take out an enemy.
Picking up the Four Fierce Axes Quest
The next section is a stealth section if you so choose. Take out the enemies either way, collect the Four Axes Case Files note near the lit candles to kick off the Four Fierce Axes side quest.
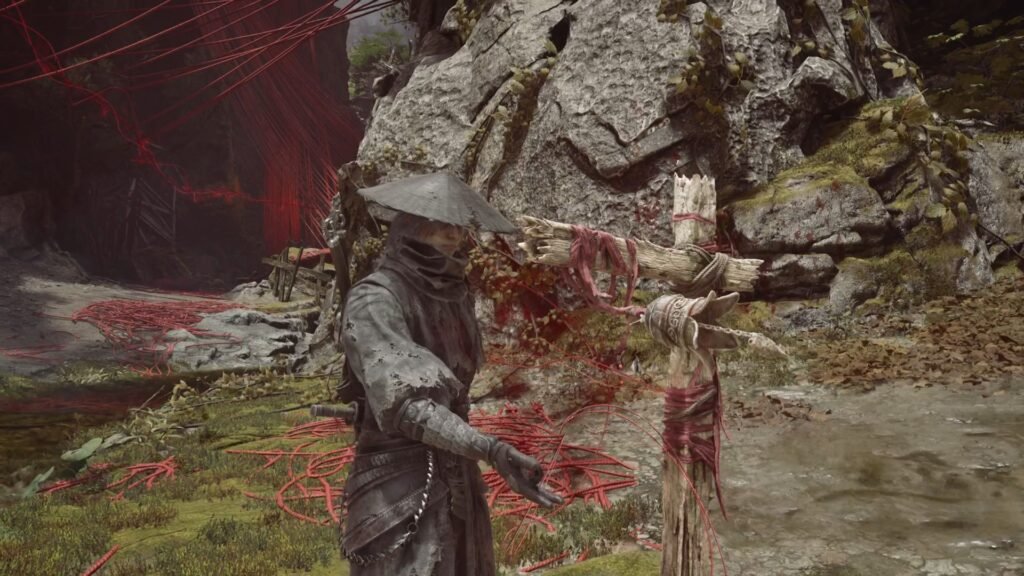
Now, ring the Broken Puppet Valley Bell. Go into the hut to collect the note for The Four Axes Case Files.
Sha-Chi Amber Shard #1
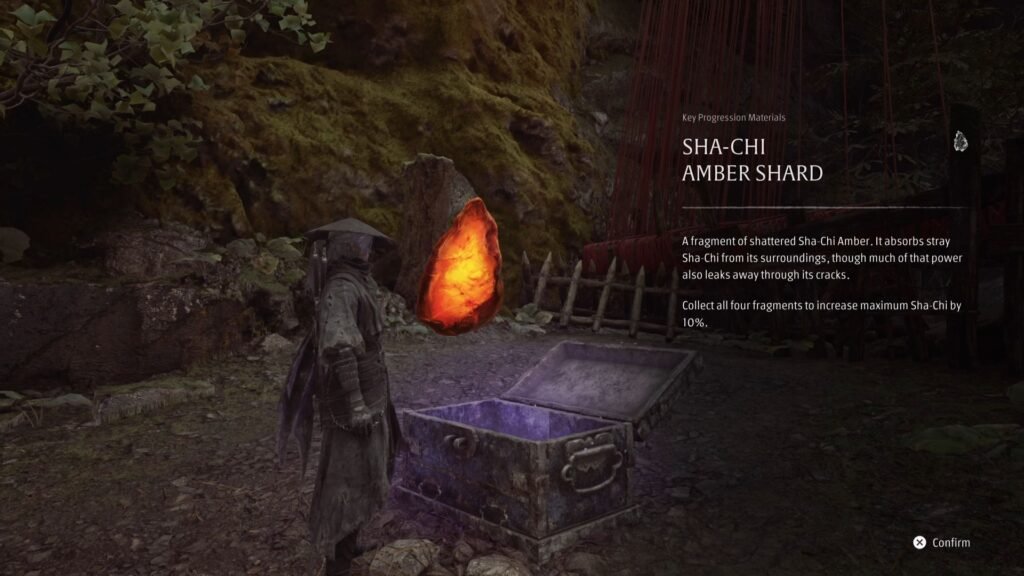
Take the path to the left to fight the club and shield enemy. This clears out the Red Threads, and we can now progress through the area that was previously blocked. Loot the chest to get your first Sha-Chi Amber Shard. This is the first of 4 Sha-Chi Amber Shards in the Weeping Creek Valley.
Travel back to, and walk towards the now unblocked entrance. You will get a cutscene of The Hunt who takes out enemies that were about to attack you. You will be fighting him soon enough. For now, take the path ahead. Grab Captain Chen Zhu’s Secret Letter, interact with the Dying Iron Mask, and get ready for a boss fight against Jagged Steel
Jagged Steel, The Frenzied Brute Boss Fight
The fight will be a fast one, and will be helped by the other 2 enemies also going at him – though, if you are within range, they will also have a go at you. Jagged Steel, as you have been warned, has attacks that cause bleeding.
He will throw slashes at you, with one in particular being a 5 slash combo that you can time your parry to build up his stun meter. The other is a 4 slash combo – 2 slashes, a thrust, and ending with a jump + overhead vertical slash. He sometimes follows this up with a red attack that you have to press R1 to then land a counterattack.
Weapon #2: Jagged Steel
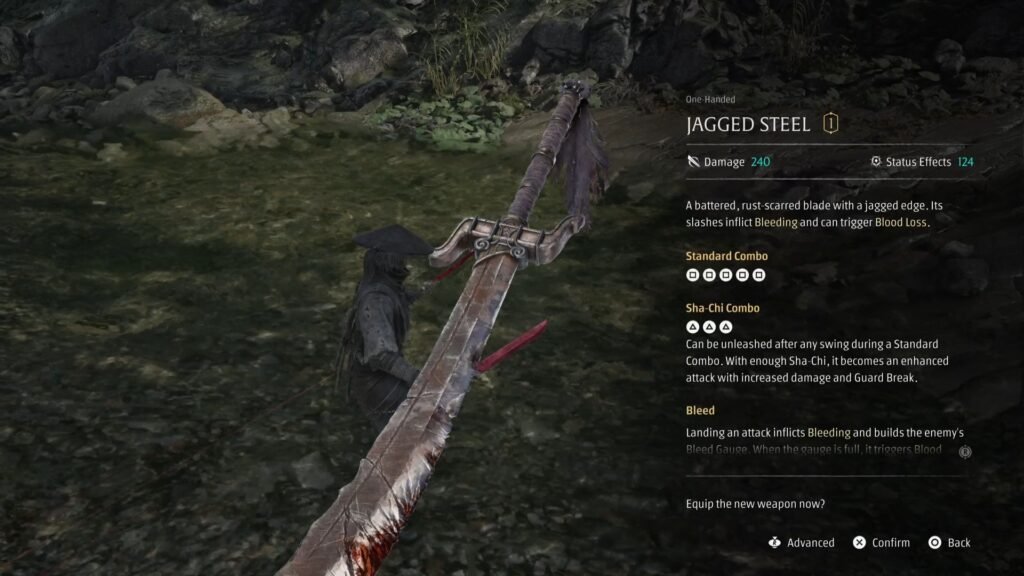
On defeating him, you get his weapon – Jagged Steel.
Ring the Rustblade Pavilion bell to save the game after the boss fight. Remember to unlock your abilities, as by now, you would have collected a good number of Remnants. Getting an additional medicine for healing, and the Steady Composure ability are good ones to unlock at this stage.
Sha-Chi Amber Shard #2
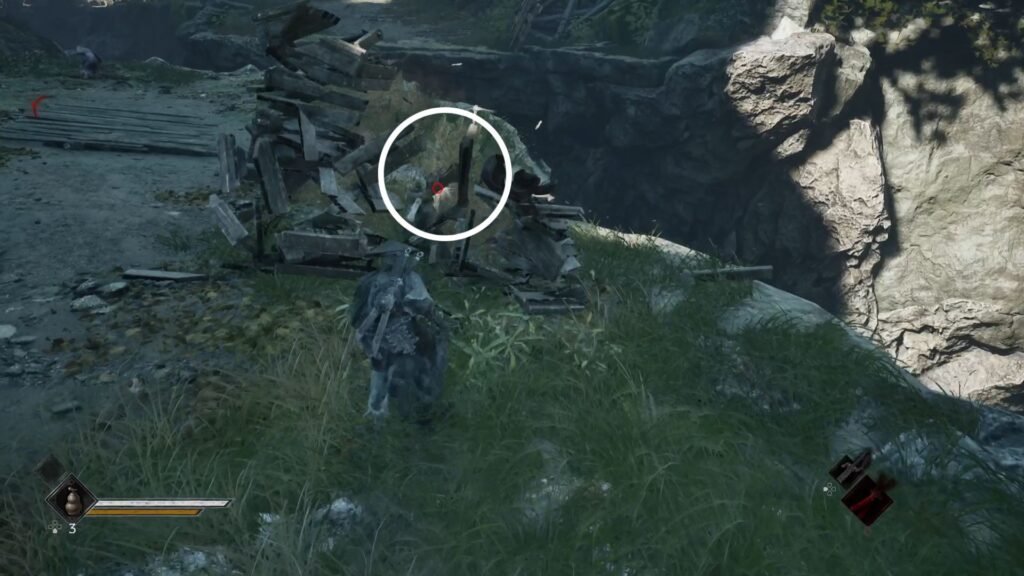
Grab the Forged Metal by crouching through the collapsed bridge, and note the Stone Carving on your left just before the steps, and the one after it as well. Grab the Reflections note from the table on your right. Climb up a couple of times, and clear out the 3 enemies, to get the second Sha-Chi Amber Shard of the Weeping Creek Valley.
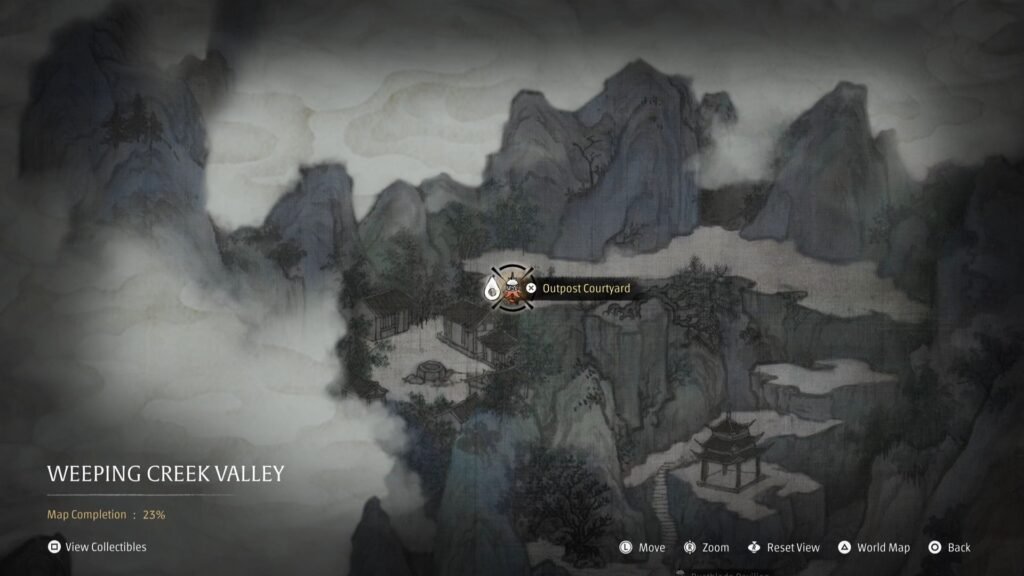
Loot the chest to get Twinned Metal. Jump over to the other side. Use the grass to assassinate enemies and clear out most of them. Progress ahead and ring the Outpost Courtyard Bell. Jump down, and clear the area of enemies, and get the Four Axes Rebellion: Confusion Notes. Next, jump down from the ledge, and you will be assisted by the guards to take down the enemies.
Getting to the first mini-hub for the Chapter
Note the locked door on your left, and then speak to the guard to get the main gate open. This is your first hub area, and there will be quite a few NPCs to speak up to, and side quests to pick up here. Speak to the monk on your left who requests you to search for his master in the Village of Lu. The Peddler is on his right. Then, Blacksmith after the next set of steps.
Weapon #3: Sanguine Reach
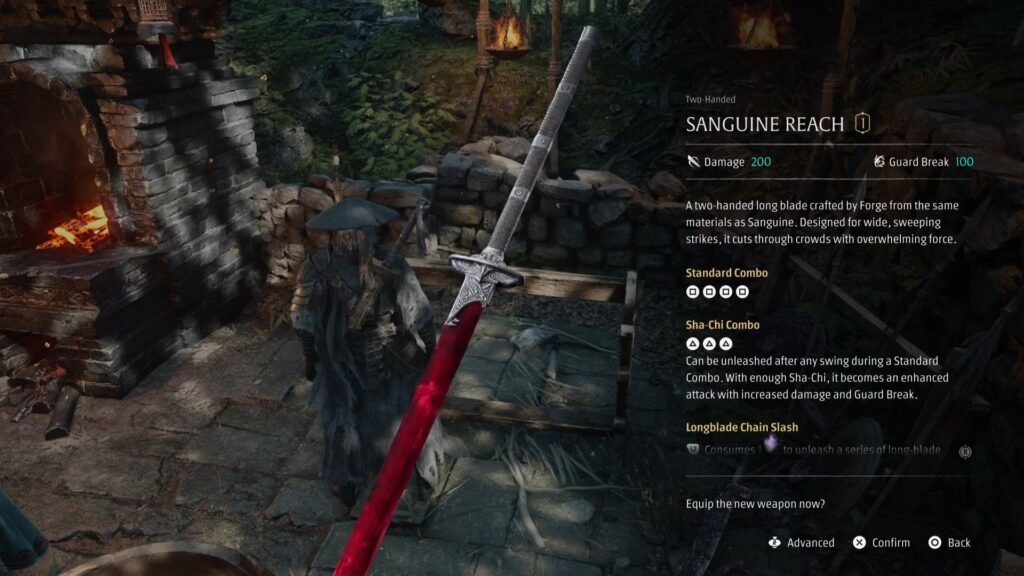
Get The Sanguine Reach two-handed weapon from her right. After completing your (long) interaction with the Blacksmith, and upgrading your weapons, you get your first two-handed weapon – the Sanguine Reach. You can pick it up from her right.
Picking up Purge the Sect quest
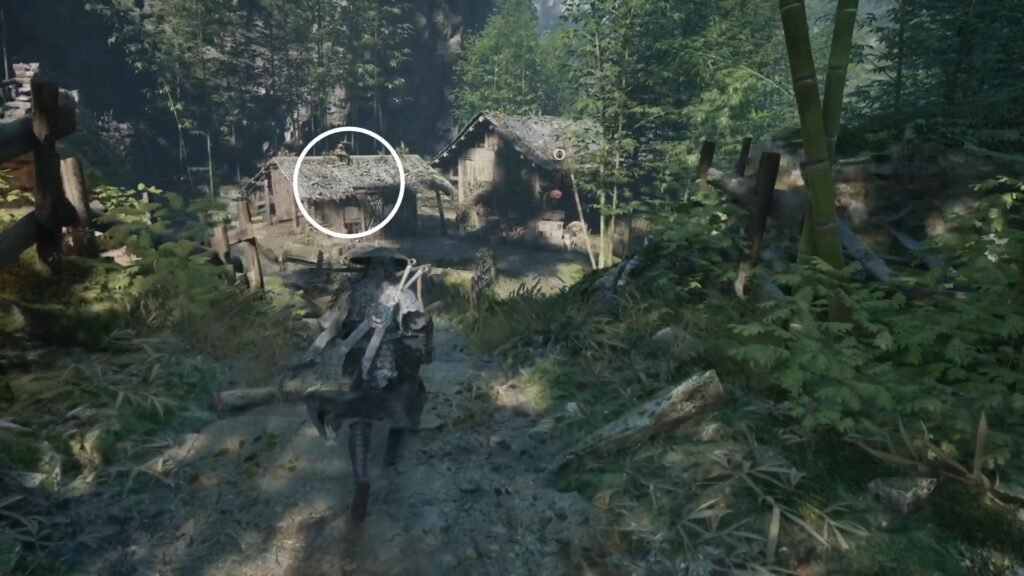
An easy to miss NPC, is The Brooding Old Archer, sitted on top of a roof. I have put the exact location in the above image. Speak to him to begin Purge the Sect side quest. This will eventually hand us the Feather Bow Phantom Edge.
Picking up the Festering Secret quest
Listen to the two guards on the right of the Blacksmith to start the Festering Secret quest.
Also, from the Old Beggar, look to the right to see a house. Enter it, and speak to the NPC to update the Four Fierce Axes quest, and will also help get us an accessory later.
Save at the Outpost Bell, and take the steps up on the right. From here, there will be 2 routes. The one straight ahead through the gate into a big open area, just past the red shrine is a boss area.
Cell Key Location
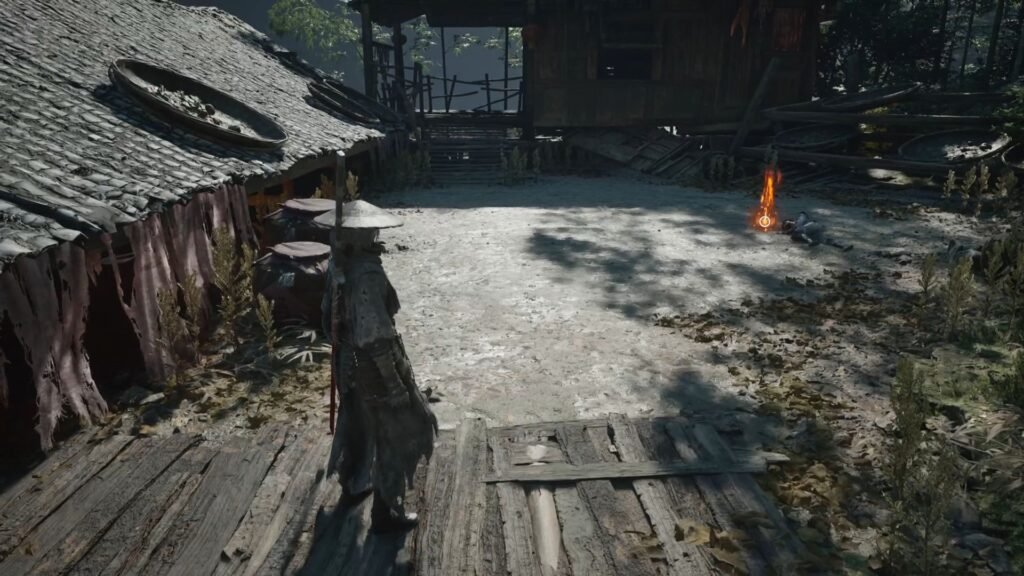
Before that, take the path on the right. Get the Exotic Copper Ingot from behind the crates on the left of the house. Grab the Forged Metal, and jump through the window to go up, and collect the Cell Key. We can now open the locked door that we had noted, just before entering the Outpost.
Blackstone Shard #1
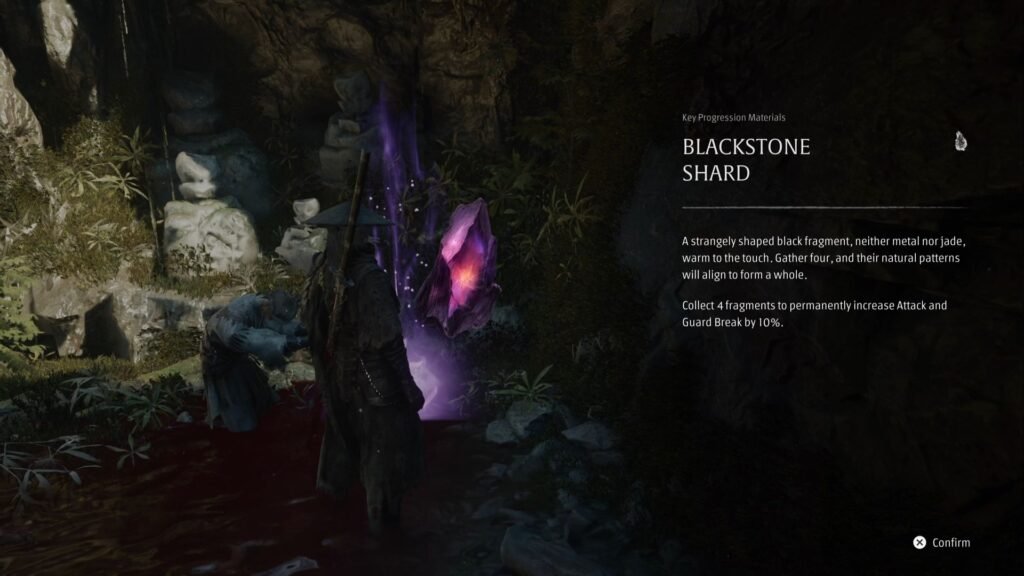
Use the Cell Key, and open the door to get your first Blackstone Shard. There are 4 Blackstone Shards in the Weeping Creek Valley for you to collect.
With that done, we are now ready to take on our first serious challenge in the game – a boss fight against Peng Meng
Peng Meng, The Axemaster Boss Fight
This is not going to be an easy one. My advice would be to keep the Dual Blades as Weapon 1, reduce the Stamina bar, and when it’s depleted, switch over to the Jagged Steel, and unleash your combos to rapidly build up Bleed.
His most common moveset is a slam with his leg, then a charge towards you, followed by a blue attack. His red attack is a grab, press R1 to avoid and get in a hit of your own. The other common attack will be a swipe with his hand, followed by the axe, and then a charged overhead slam. He will also rush at you and then slam his body – this attack is to be dodged.
Also, his charges and attack patterns will tend to push you to the edges of the arena, where it becomes difficult to see his moves. It is best to dodge rapidly in such a case and lead him back towards the middle.
This is a fight where swapping weapons to fill up your stamina bar will be critical, and timing these correctly will play a big role in defeating the boss.
Defeating him gets you the Dread Axe Phantom Blade. You also get The Axemaster’s Final Request, to progress the Four Fierce Axes side quest.
Now, approach the rather special looking Crane Bell – The Axemaster’s Fall, and ring it for a cutscene.
Sha-Chi Amber Shard # 3
We can now break the iron chain between the two guards on the right of the Outpost Bell. There will be a group of enemies. The guards will help you out in this fight. Once the area is cleared of enemies, you get your next Sha-Chi Amber Shard.
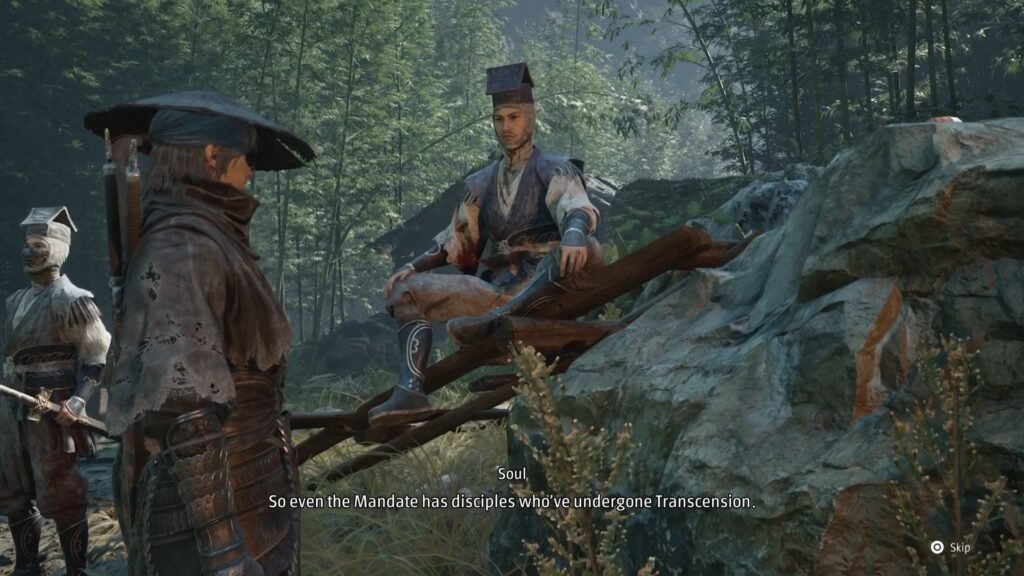
Take the steps up and loot the Darkfire Charcoal. The Festering Secret quest also updates to finding out how the Mandate became Maskwalkers – and we can speak to the Swordsman just at the entrance of the Outpost to get a part of this answer. The next part for this quest will have to wait a while.
Beginning the Apprentice Healer Side Quest
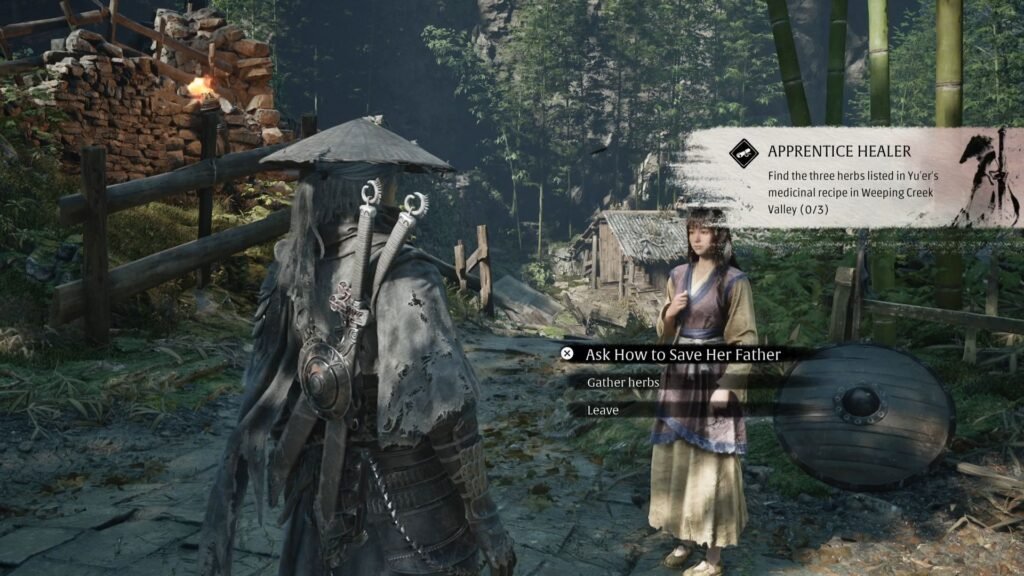
Next to the Blacksmith, you will now have a familiar face – Yu’er has turned up here, and in addition to the pending Flesh Lilies quest, adds a set of 3 herbs to be procured as part of a second side quest – Apprentice Healer.
We can now go back to where we defeated Peng Meng, destroy the Chain ahead with the Dread Axe, and progress. Take the left path that winds upwards, for The Hunt to taunt you once again and escape.
Grab Captain Wu’s Final Letter from the table for the Four Fierce Axes quest, Forged Metal and Weapon Reforge Talisman from the house on the left. Ring The Axemaster’s Holding Cell bell.
Progressing to the Sha-Chi Tower
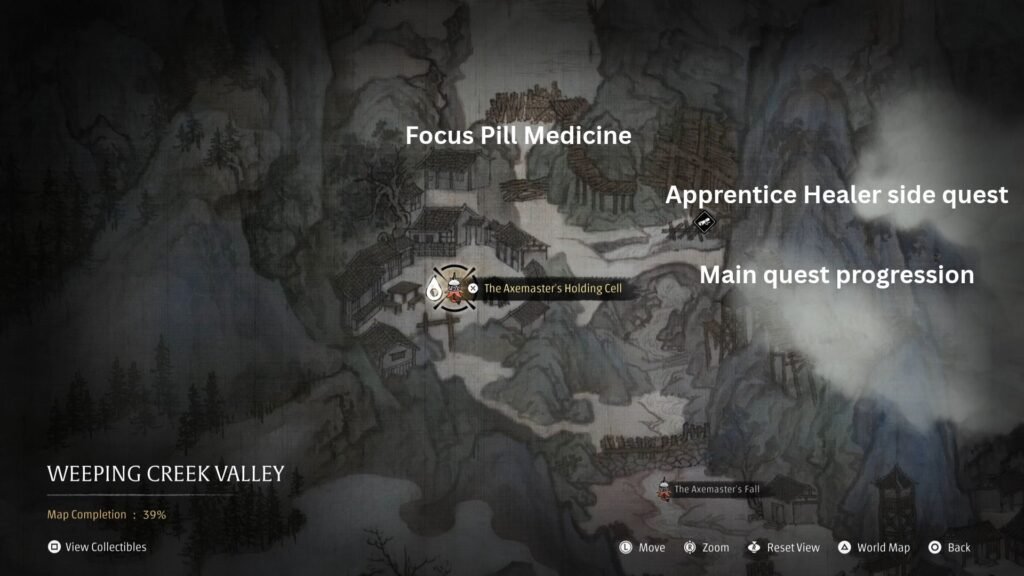
Now, there are 3 things to do here:
First, go straight as I have shown in the image above. You will come across a dead end, but not before getting the Battle Report Note, and the Focus Pill Medicine.
Second, we can progress the Apprentice Healer side quest by getting 1 of the 3 items here. There are 4 enemies here to defeat. Once done, go straight ahead to get Blood-Stopper Vine. At the other end of the stream is a chest with Broadplate Metal.
After completing both, we make our way East to progress the main quest. Use the Dread Axe to destroy the shields and take out the two enemies. Collect the Solvent after that, and move straight ahead. Get through the chains with the Dread Axe, to then get a view of the Sha-Chi Tower.
Returning to the Beginning
Once you have defeated The Hunt in the second main quest – Steel and Steam, return to The Beginning bell, and start retracting your steps right to where you started from. Here, you will see an area that you can now grapple to. Do exactly that, and loot the golden chest to get Lingran’s Pendant – which reduces Sha-Chi consumption from combos by 15%
