
The Demon on the Mount is the 10th main mission in Onimusha Way of the Sword; and unlike the previous two main missions; this one is a proper dungeon run, packed with enemies, collectibles, and a route that is not always clear. The area itself is broken down into several arenas with multiple objectives that will have you blowing up gates, getting to levers to open up paths, unlocking bridges among other things.
Here is a complete walkthrough of The Demon on the Mount main quest in Onimusha Way of the Sword.
On This Page
Investigate Mount Oe
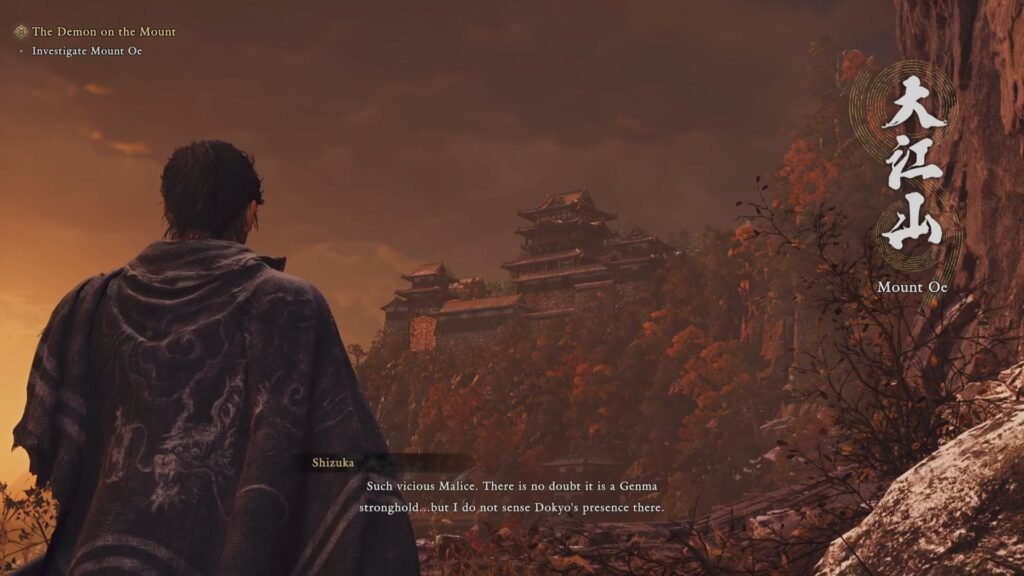
The first section is a linear, if long run that finally opens up into a vista with the castle up ahead in the distance.
Head for the Mountain Castle
Once you and Shizuka complete the conversation, the objective changes to head for the Mountain Castle. Make your way, thankfully the path is still linear, with a couple of wall runs and couple of ladders to climb – something that even Musashi comments on!
All this is about to change as you open up the first gate. Go to the right of the abandoned building first to get 1 * Iron. Then, enter the abandoned building. The door ahead will not open up – we will be coming back to this later. For now, take the stairs, and on the floor you get introduced to a new enemy type. These are pretty nimble, and you won’t be able to land more than 1 or 2 blows before they start dodging your attacks. The key is to parry them and get them into a blade barrage, or dodge their grab attacks correctly. When you do that, Musashi will take both of them down in an immensely satisfying way.
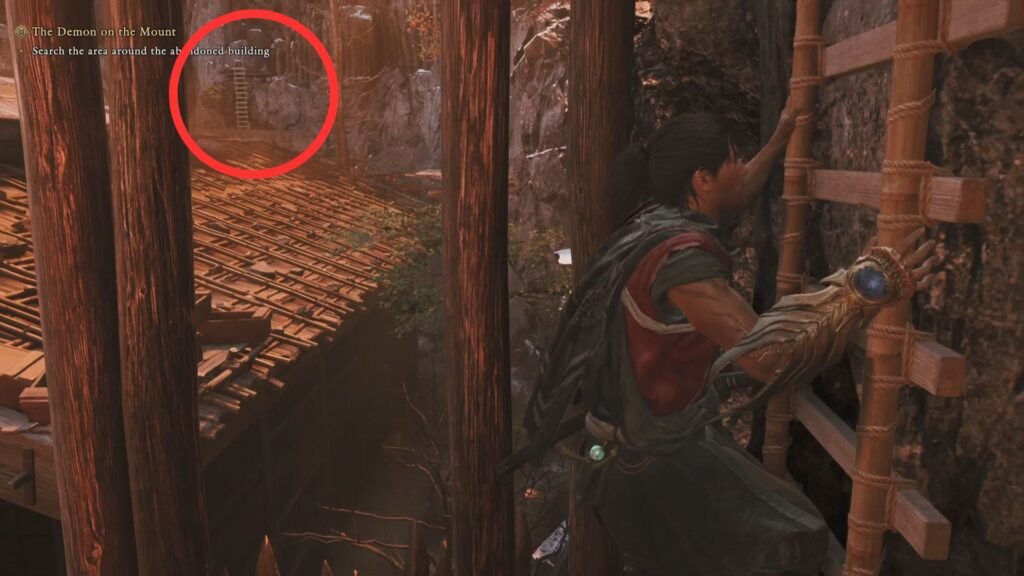
Once done, exit the building from the ramp, take the ladder, and if you see to your left, there will a set of stairs that lead down. We will be getting there in a while, just make note of it for now. Take care of the Genma in the open arena. The gate that opens up into the mountains is closed by the red ropes, so use your Oni Vision to trace them.
Sever the threads at their source
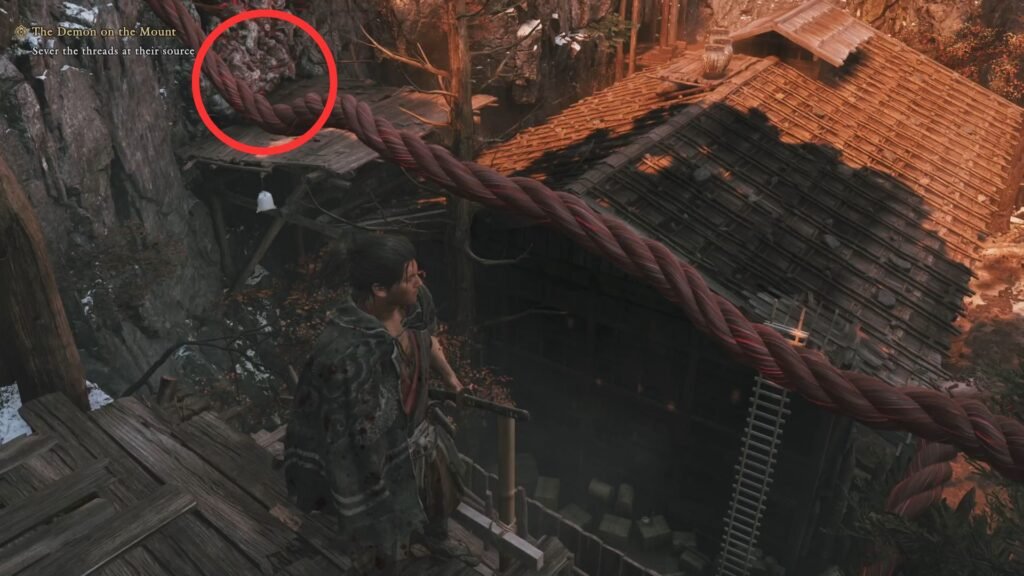
Go to your right, and take the ladder which we had noted when climbing up. Wall climb to the other platform. You will see a barrier on your left, we will get to it in a moment.
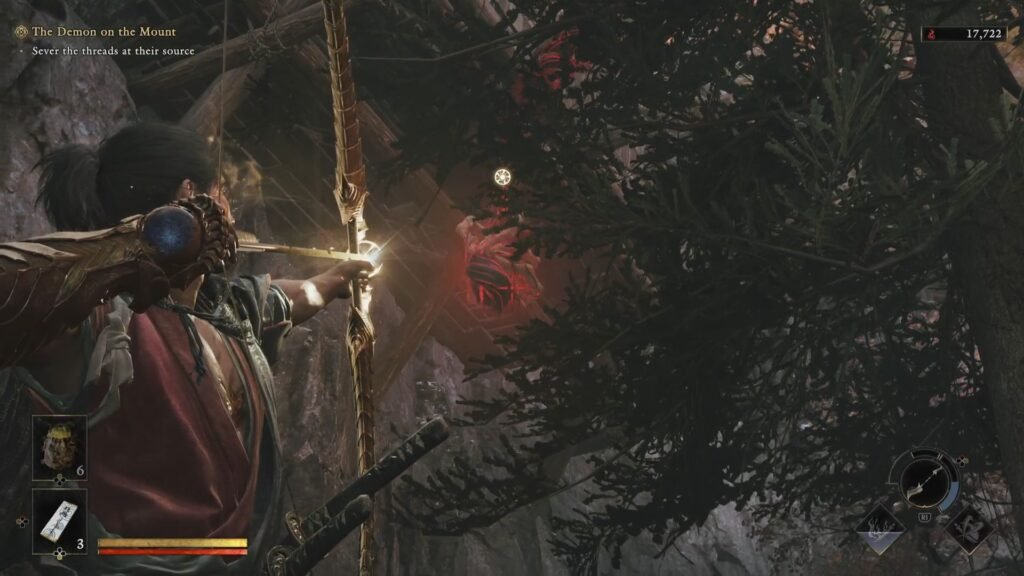
For now, get on to the roof, and take the ladder on the right. Here, you will have the first thread to shoot, as shown in the image above.
Now, be ready for a fight with another Byakue as you approach the building. Defeating it gets you 2 * Byakue Talisman. Before shooting the lock on the door and entering, loot the chest on your left for 1 * Cotton Cloth.
Now, go back to the platform that you used to get on to the roof, it is time to break open the Oni Barrier that I had indicated in the image, and destroy the second thread blocking the entrance. You can now open the gate in the arena where you fought off the Genma to progress the quest.
Attack the Genma Fort
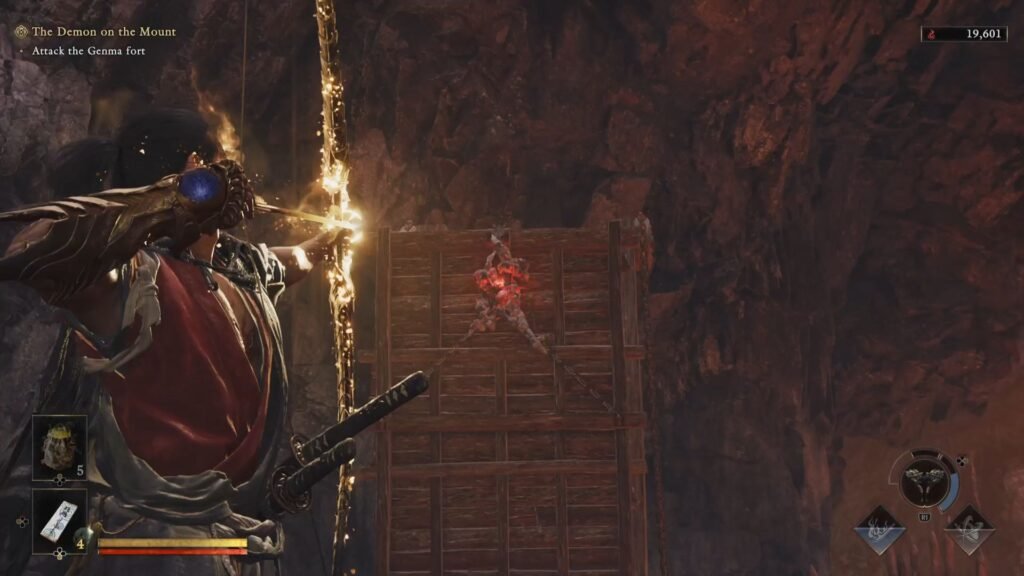
Take the path through the mountain to reach a Spirit Mirror. Moving ahead, you will see a bridge. Shoot the lock holding it in place, to then let you use the bridge. Continue ahead, and take care of the archers – there are 2 straight ahead, and 1 above on your left. You now need to find a way to unlock the bridge – the lock here is on the other side of the bridge.
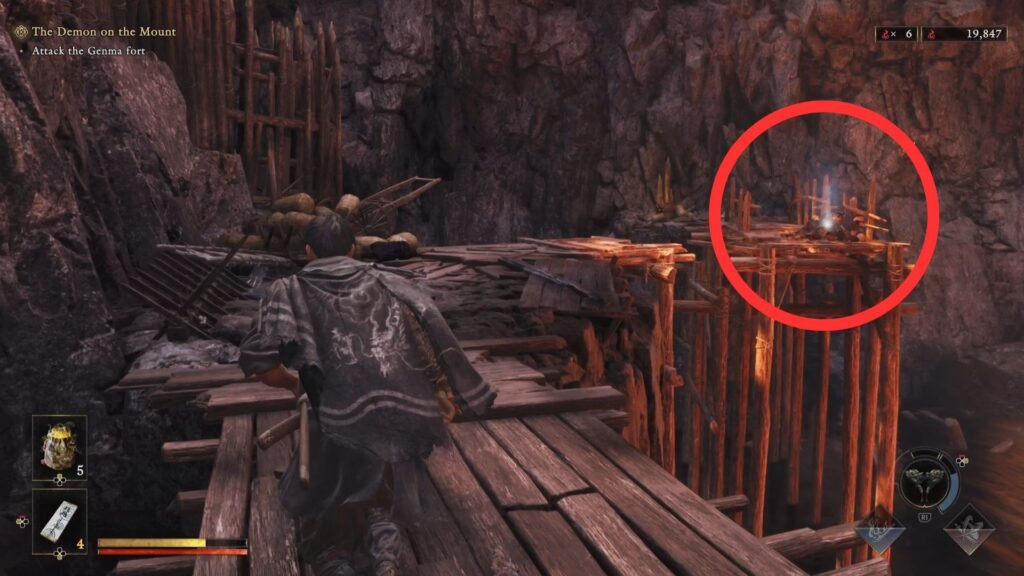
So, take the ladder on the left, over to the other side with the collectible, and from here, you should be able to line up a shot.
Before going back, though, turn around, use Wall Climbing, get on to the platform, and use Oni Vision to highlight a chest containing Genma Note: Oboro Garasu. Take care of the floating heads that pop up. Now, retrace your steps to the point where you the bridge was blocked, and make your way across the now unlocked bridge.
The gate ahead is locked, so make your way to the left of it through the cave, and be prepared to fight the Genma there.
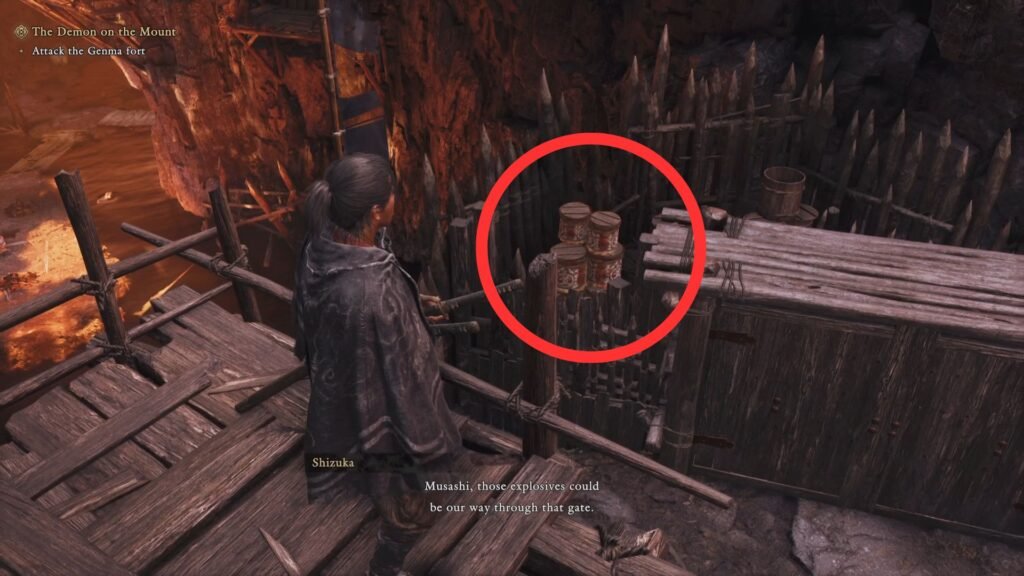
Continue ahead, and as you come out of the cave path into an open area, Shizuka will comment that you can use explosives to open up the gate. Look to your left, as shown in the image above, and shoot the explosives to destroy the gate.
Make your way down, and you will see a Genma mob in the distance. Don’t worry about them for now, as you step into the area, you will be attacked by those mermaid type Genma. Take care of them and take the passage on the right.
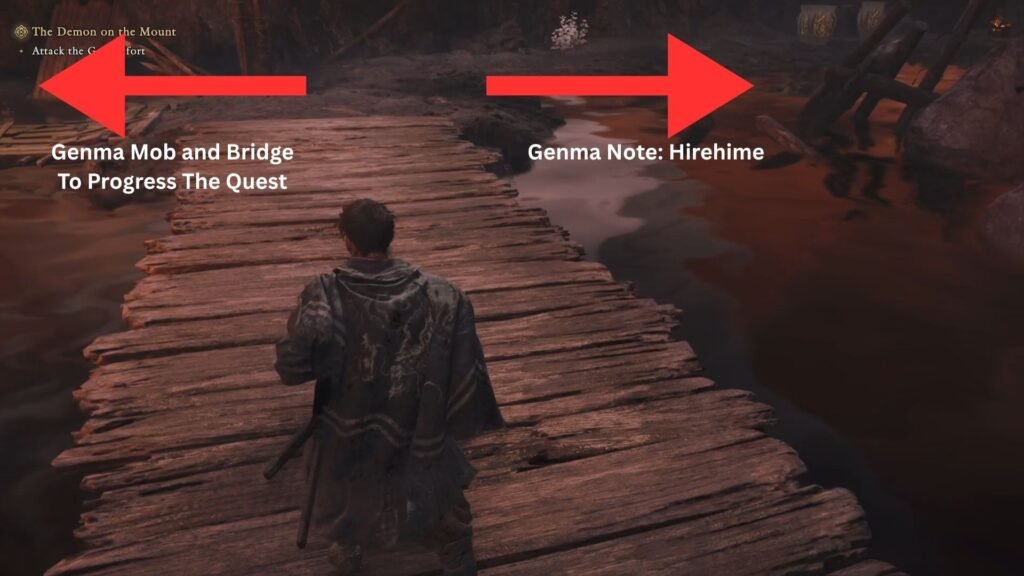
As you come out, before taking the path to your left, take the one on your right, and at the end, use your Oni Vision to highlight a chest containing Genma Note: Hirehime. Now, beyond the Genma, you will see another bridge that needs help unlocking. Do that, and you can disregard the Genma, and make your way across. Take the ladder, and you will come across a Spirit Mirror.
We now come to a tricky part of this quest. To summarize the next few steps, we essentially need to blow open another gate. However, for you to line the shot to the explosives hidden behind the gate, you need to align crates. Now for you to align these crates, you need to cross a bridge – and yes, to first cross the bridge, you need to unlock it – which has a mini-path of its own. So, yes, lets get started on this.
The Lever Puzzle in The Demon on the Mount Quest
- Use the crates to wall climb to the other side of the platform
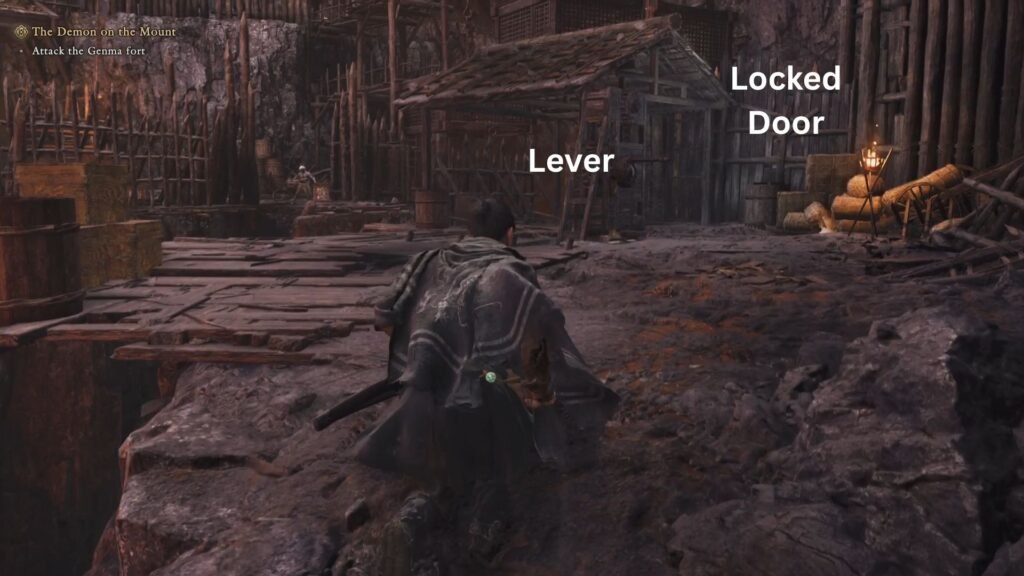
- Use the lever to align the crates
- Use the crates to climb over to the other side.
- Take care of Genma, and climb the ladder to enter the building. Here, there are three routes:
- 1) the ramp outside leads to bridge that is currently locked;
- 2) a ladder that leads to the floor above and a crawlspace there with some collectibles – nothing special; and
- 3) stairs leading to the lower floor – which is the path that you need to take.
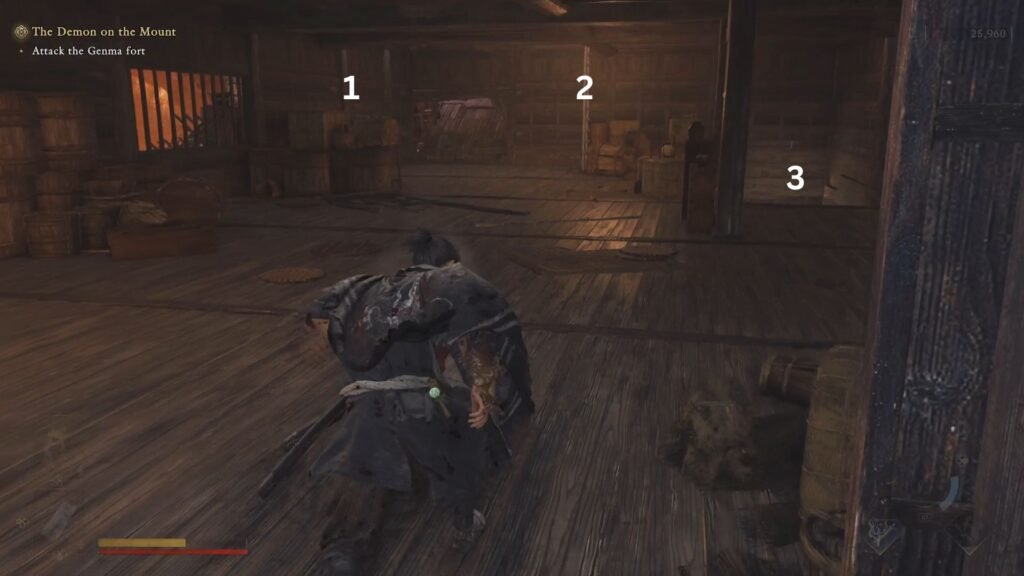
- In the lower floor, open the door, take the narrow opening on your right.
- Take the ladder, and from here, you will be able to line up the shot to unlock the bridge.
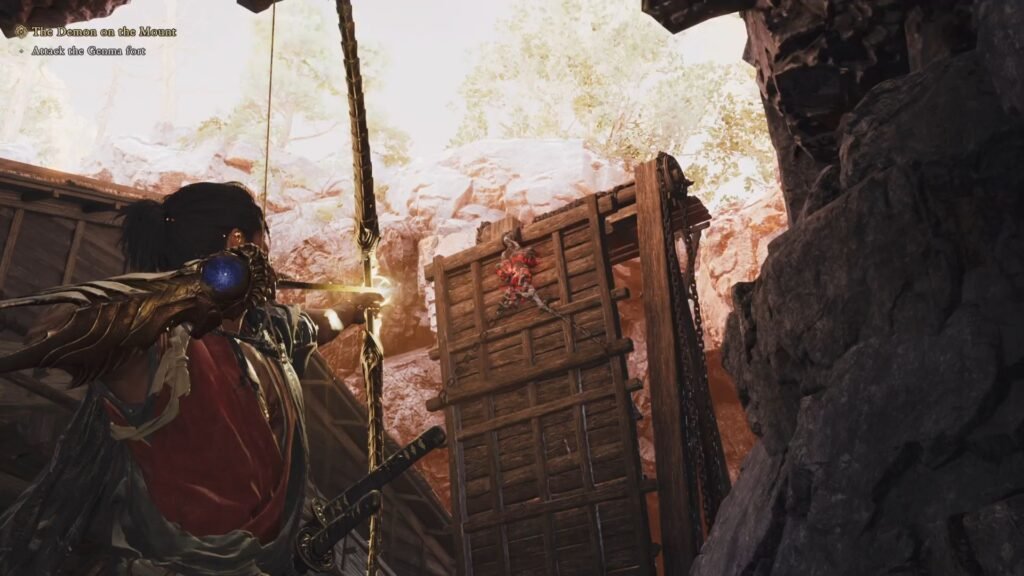
- Now, retrace your steps to the 1) path mentioned above.
- Cross the bridge, take the ladder that leads to the roof.
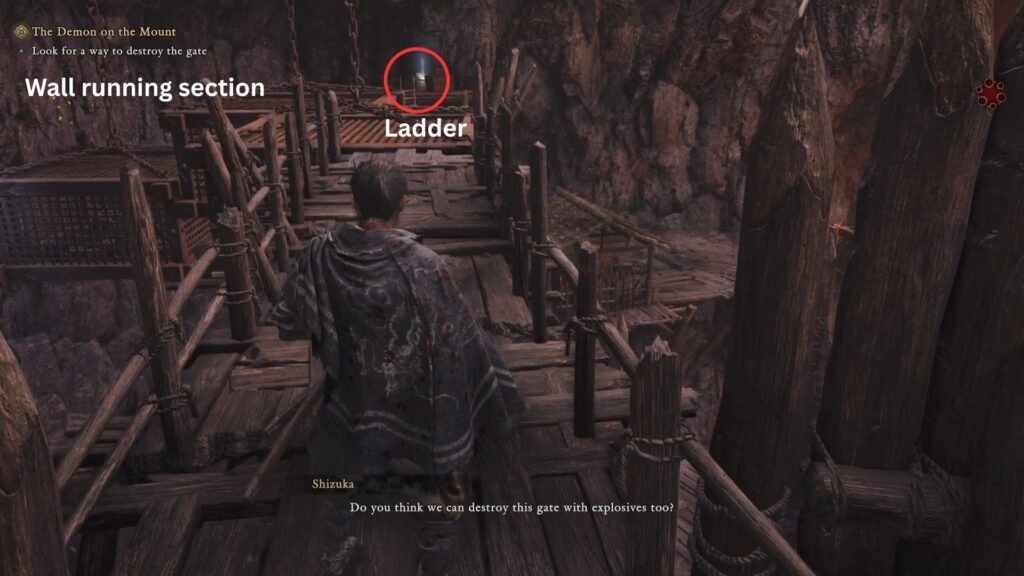
- Cross the roof and take the passage straight ahead. You will see the gate to your left, along with crates lined up ahead, and a wall running section on your left.
- Take that to the next platform with the ladder leading down.
- Shoot the lock on the door to open up to the area with the lever, which you had used to move crates at the very beginning of the section!
- Use the lever once again now to align the crates on your right.
- Take the ladder, and use the wall running section to get on to the crates.
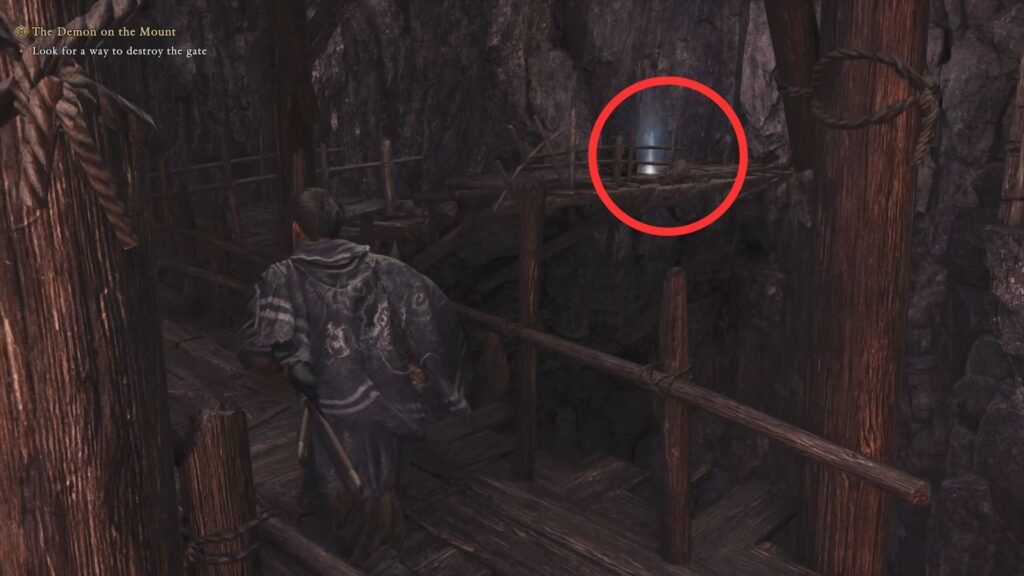
- Jump on to the platform with the corpse and the collectible, and from there ,you will be able to align the shot to destroy the gate.
- Retrace your steps now and take the wall running section to enter the area that was previously blocked by the now-destroyed gate
And with this, you are done with this section of ‘The Demon on the Mount’ main quest. The next couple of sections involve some quick platforming and enemy fights, but nothing as tricky as what we just covered!
Head for the mountain castle
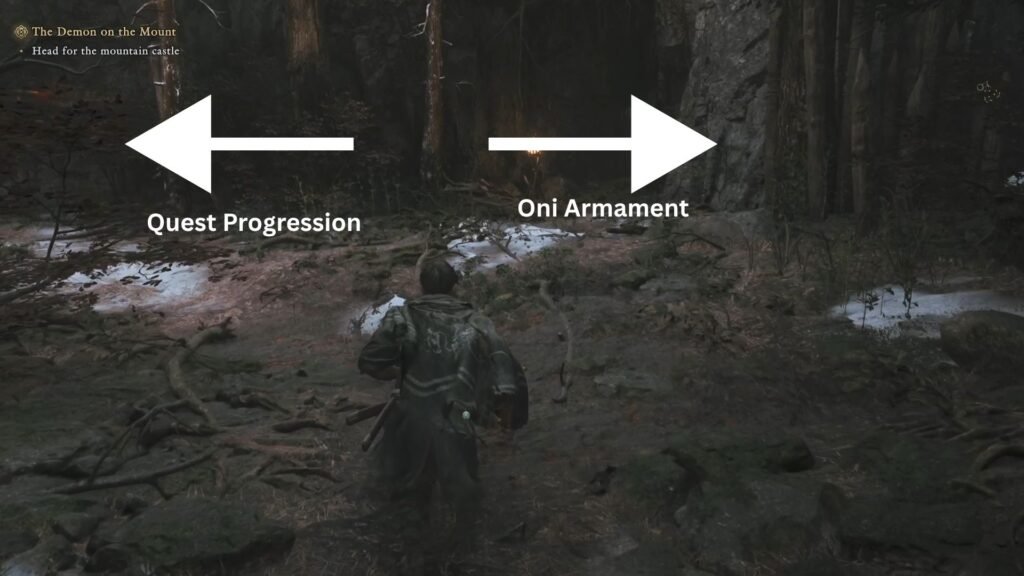
Rest at the Shrine Mirror, and take the elevator down. Take the path straight ahead (the other one in any case is a dead end) that winds downwards. Now here, there are two paths. The one on the right leads to a key Oni Armament – The Flashing Void – required for a trophy and pretty useful in one-on-one fights, so take that first, and then take the path on the left.
Cross the bridge, and as you arrive to the castle, you will find it locked. After the cutscene, take the other bridge on your right to search for the monk. Unlock the Spirit Mirror, and take the path on your right (the Gate ahead, again, is locked).
Head for the waterfall at the summit
Take care of the Genma, speak to the Man, and move ahead. The Gate ahead, is thankfully not locked. Take care of the archers in the next arena, and open the next Gate to progress.
In the next arena, ignore the archers for now, and take the ramp straight ahead. Take the left to enter the house and rescue another survivor. From there, jump on to the ramp with the two archers. Take care of them, and then drop down on your right with another survivor. Before moving ahead, go to the back of the building to loot the chest for Leather * 1.
Sever the threads at their source – 2
Take the ladder up to the roof. The objective would have now changed to severing the threads, use your Oni Vision to trace them. Use the ladder on the other side to go down. You will see the Oni Vision glowing, but you will not be able to get a shot from this side.
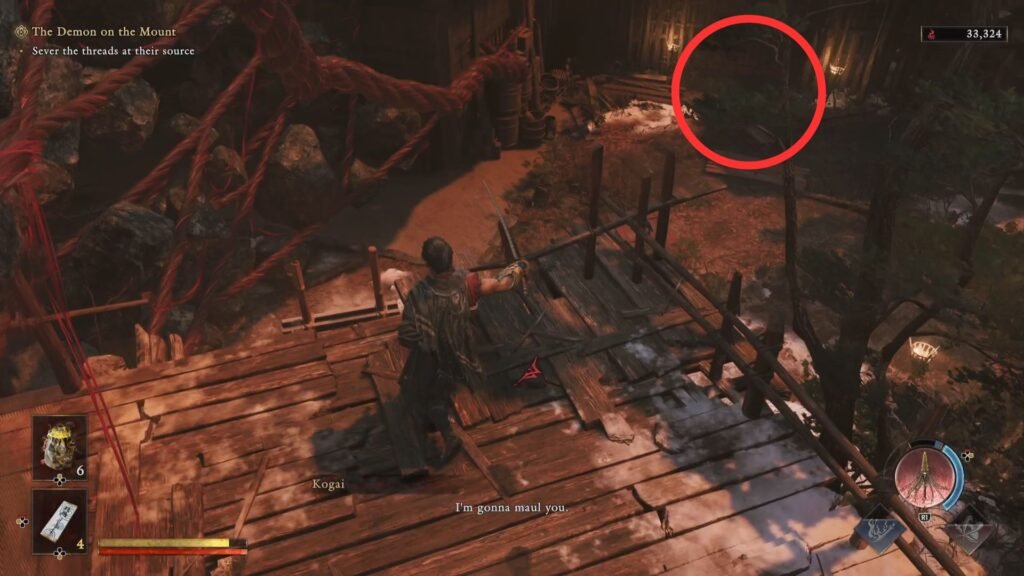
Open the Gate, and first take care of the archers. Use the ladder, and enter the building on the left. Here, you will see a hole that leads to the ground floor. Take that, help the survivor, open the door, and from here, destroy the Red Thread.
Head for the waterfall at the summit – 2
As you enter from the now open door – prepare for a tough fight against 2 waves of Genma, and then Absorb the Rift. Take the ladder, break open the Oni Barrier, and open the Gate on your right. Unlock the Shrine Mirror, and prepare for a short but relatively frantic platforming section.
The setup here is that there is a bridge which keeps hurling logs at you. There are wall running sections that you need to reach before the logs hits you. There will be archers on top that will keep peppering you with arrows. Don’t worry, unlike some other games, even if you do get under a log, your health will not be completely wiped out. You will eventually then reach a place, from which you can destroy the source from which these logs are being hurled at you, and then progress.
While the steps below may seem long, they are pretty intuitive and you will be able to make this section through without too much trouble.
- Use Oni Strength to destroy the logs
- Use the first wall running section on your left, and then the one on your right.
- Take the platform extension on the left, and use the wall running section there.
- Take the ramp, and the ladder, and cross the bridge.
- Take care of the archers, and destroy the logs blocking your path.
- Take the ladder down, and use the wall running section on your left.
- Quickly then take the one on the right before the next log hits you.
- Take the ladder on your left.
- Cross the bridge, and take the ladder on your left.
- Use the logs to destroy the gate.
You can now cross the bridge peacefully to the next section. Loot the Leather * 1 from the chest in the building, and then take the path behind it. Move ahead, watch the cutscene that further builds on what is going on in the castle
Investigate the Underground Cell
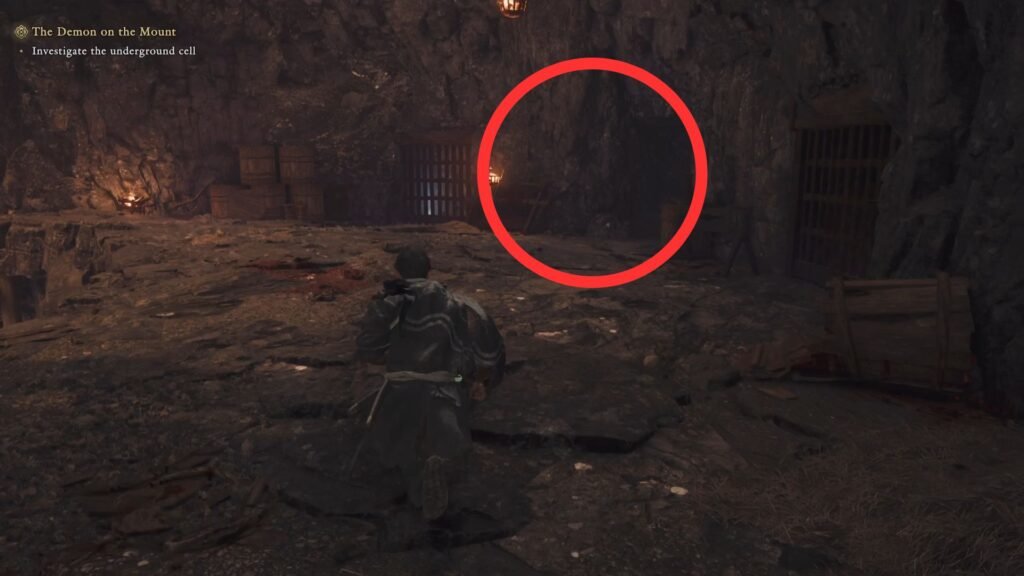
Save at the Spirit Mirror, and as you move up the ramp, you will see shinies and chests, all inaccessible behind locked gates. We can’t do anything about it for now, till we get the Dungeon Key. So proceed through that one lone open gate (with the lit torch outside it).
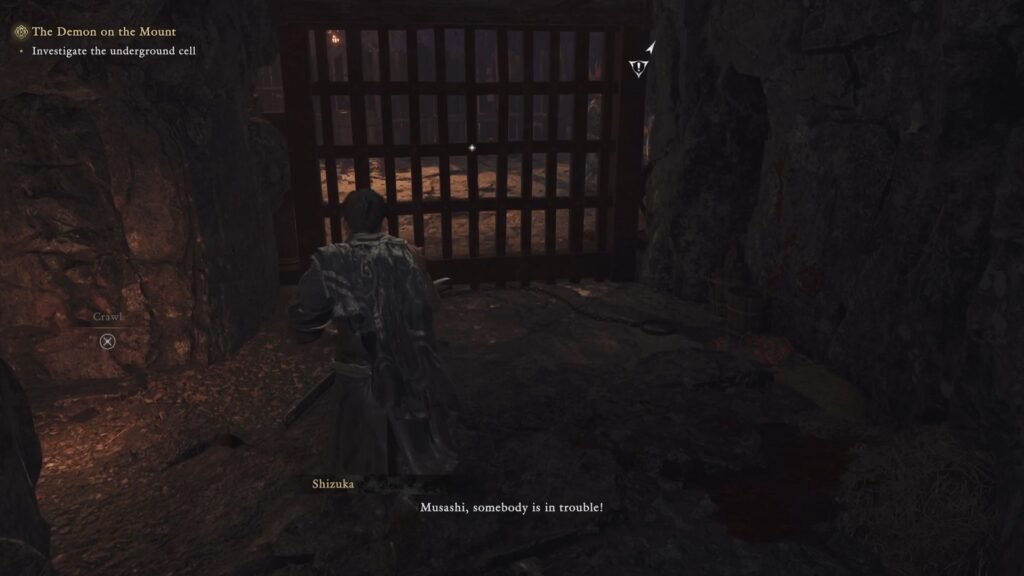
Take the 2 wall running sections – each one with a left and a right section – without worrying about the collectible you pass on your left. Now, take the crawl space on your left, and the narrow space to slide through. Open the Oni Barrier, and rescue the survivor, who hands you the precious Dungeon Key.
Go back to the area with all the locked doors (where you now have some Genma to take care of); and get all the goodies. Once you are done with that, climb down the ramp, and on your right, you will see a closed gate where you now need to go to progress the quest.
You will arrive into a section that has Malice all around with certain portions that you can safely climb onto. Take a Prayer Bead if required, and let’s start.
Climb onto the nearest platform, and go to the area with the metal crates with a wall running section above you. Jump down, and soon the objective will change to sever the threads.
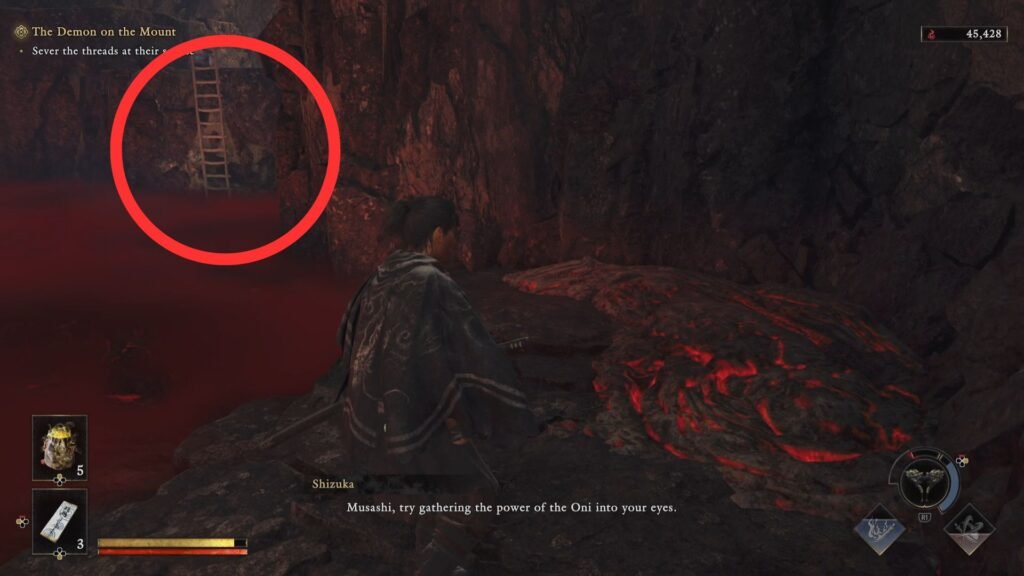
You will spot a ladder straight ahead, and then onto the metal crates. Now, from here, you should be able to sever one thread, as shown in the image below. This will clear up the path ahead.
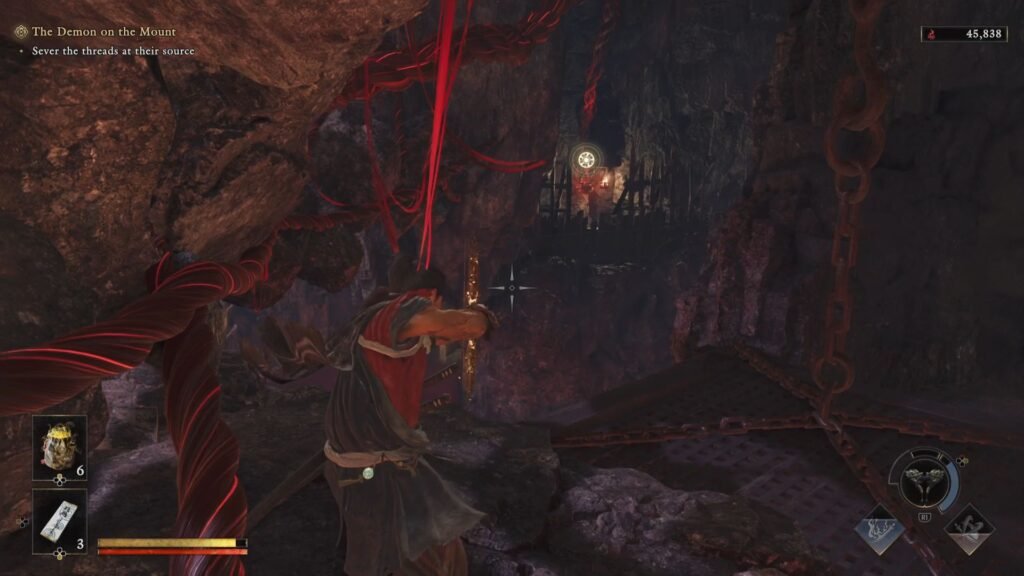
Use the lever to line up the crates on your left, and use the wall running platforms on your left, and then on the right to then land on the platform straight ahead. Continue on the linear path, take care of the lone enemy in front, and use the 3 wall running sections to land on the platform with an opening to its left.
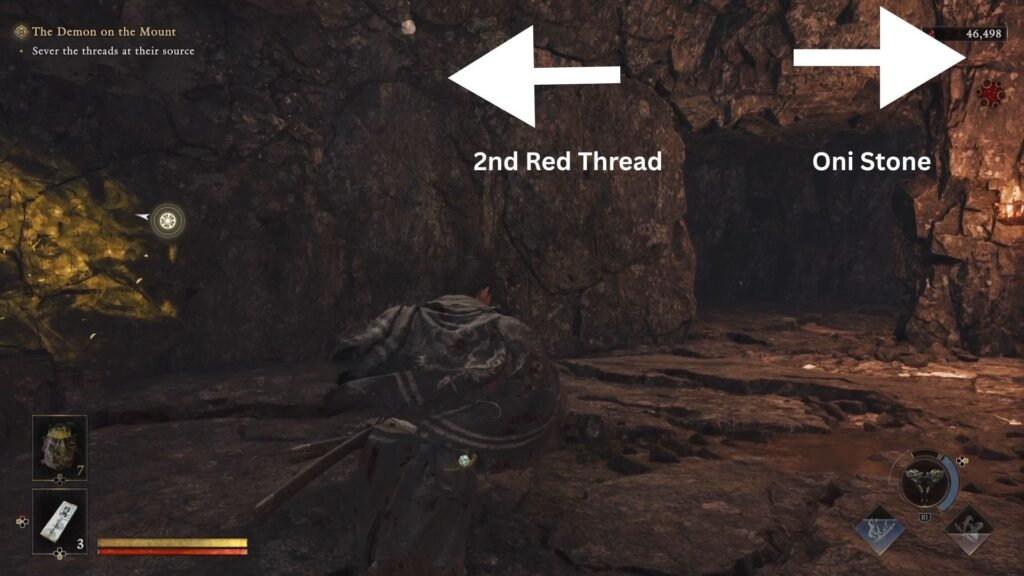
There, you will have 2 paths. Take the left, and sever the second thread. Then, take the right to loot the treasure chest with 1 Oni Stone.
Head After the Monk – 2
Now, retrace your steps back to the platform where you landed after the wall running (the one where Musashi is in the image above). Take the path across the metal crates to the ladder in front. Use the lever to align the metal crates, and use the wall running sections to then land at the exit. It is critical here that you do not take the path that is already aligned before using the lever – else you will have to take a long winding path back to this spot.
You will enter into an open area, and yes, time for a Rift fight. The first two waves are Genma that are pretty manageable, and the last is Dohatsu-Ten. With him defeated, absorb the Rift, take the ladder up ahead, and save at the Spirit Mirror.
With this, you are done with the level – exiting out completes this quest and triggers a series of cutscenes that ends with you in one of the most challenging boss fights in Onimusha Way of the Sword.
