
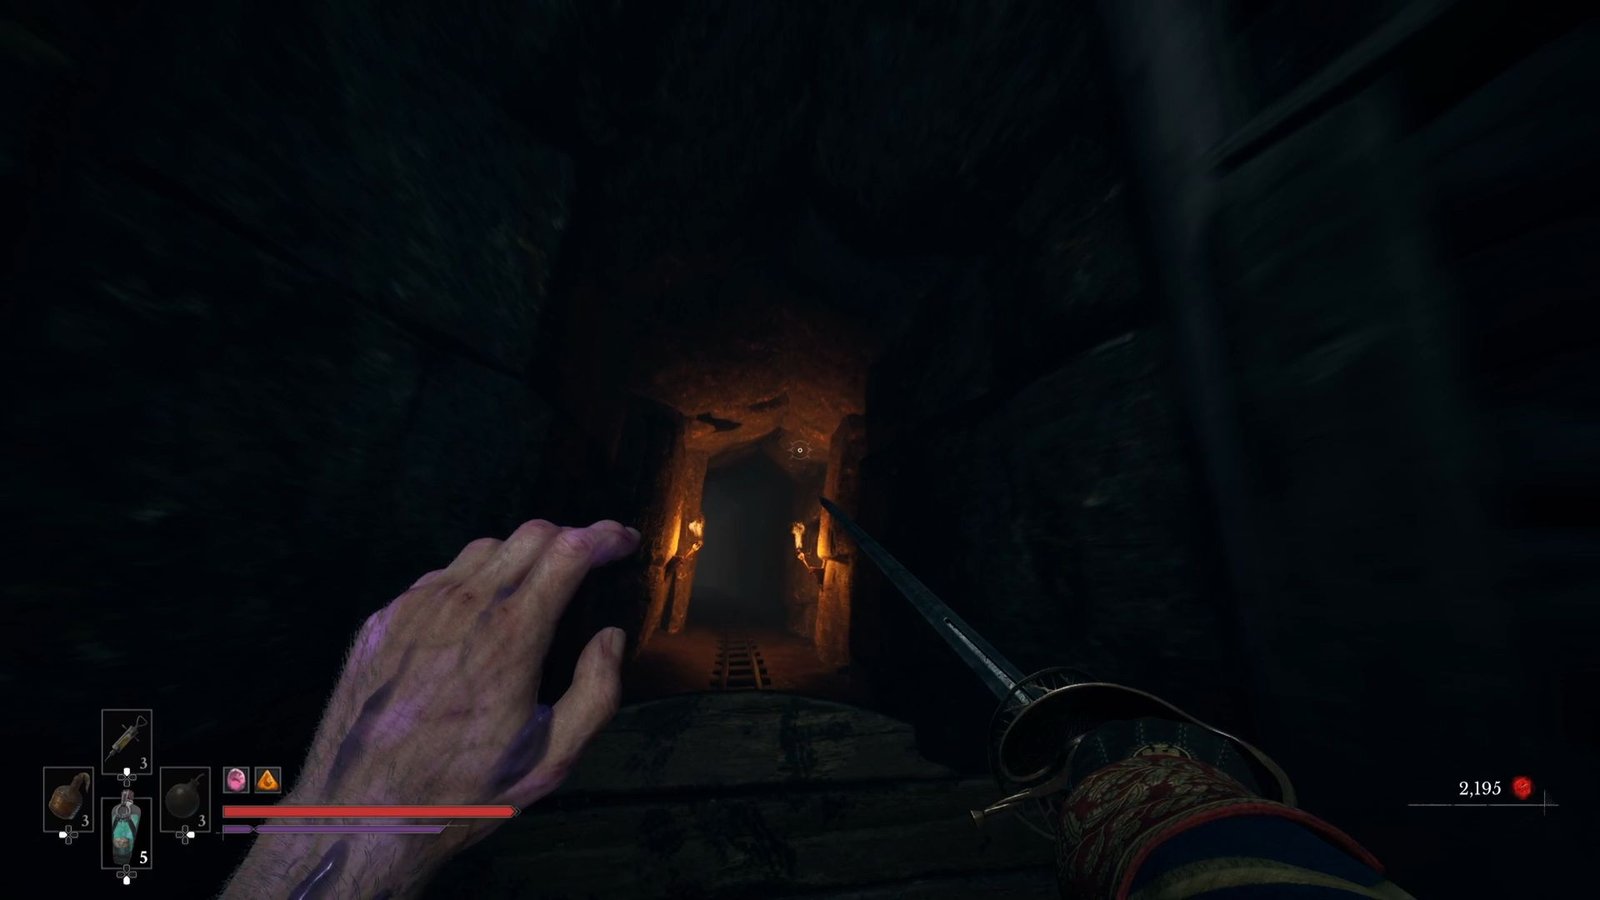
After going through a majority of Chapter 4: Dark Descent in Valor Mortis, collecting loot, Amber, and collectibles, and arriving at the Lantern, you would assume that things would culminate in a boss fight. You would be wrong. Because what follows is a frantic mine cart ride that would give the best such sequences across Uncharted, Tomb Raider, and the likes a run for money.
If you are looking for help on how to get through this bonkers section in the game, I have put up the details on how the sequence plays out, what are the tools that you should use from your now-considerable arsenal, and a video at the very end with the entire sequence. Buckle up!
Starting the Minecart Ride
As you jump down from the Mine Cart Route Lantern, and the ride begins, the first challenge will be to open the gate, and keep it open for the cart to pass through. So, what you need to do is:
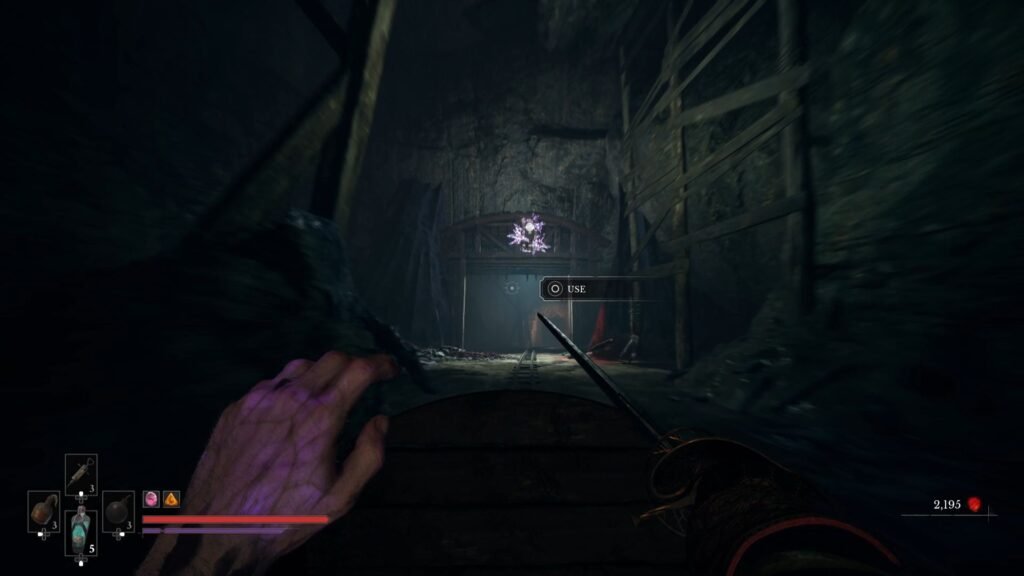
- Press and hold O to get the gate to open
- Equip the Stasis Transmutation
- Look at the central lever on the top of the gate so that the ‘eye’ turns pink
- Press L2 to freeze the gate in the open position.
It is ok if the gate comes down a bit when you are in the processing of freezing it, as long as it is at a height that can let the cart pass through, you should be ok. Just ensure that you press and hold O as soon as the sign pops up.
Section 2 – Shooting the Nephtoglobin
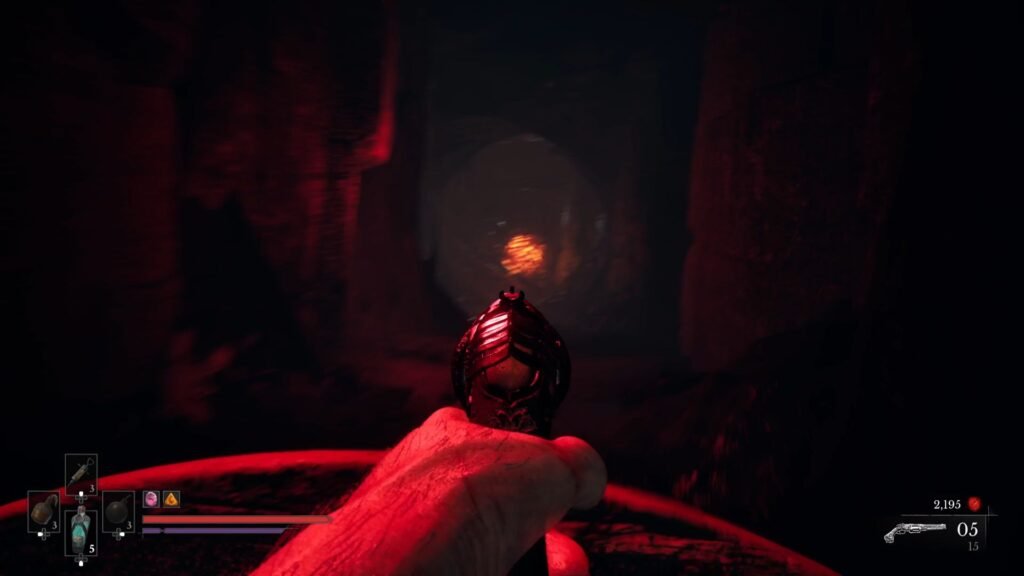
The second challenge is shooting a Nephtoglobin that is blocking your path. This should be an easy one, just keep a tab on two things:
- Switch to the Pistol and have it ready – there will be plenty of time for you to switch from Stasis to Pistol
- Keep the vision locked on to the centre of the screen, with the speed and rapid turns that the cart makes, sometimes the cart would be going in a different direction, and you looking elsewhere.
Section 3 – Changing Tracks Direction
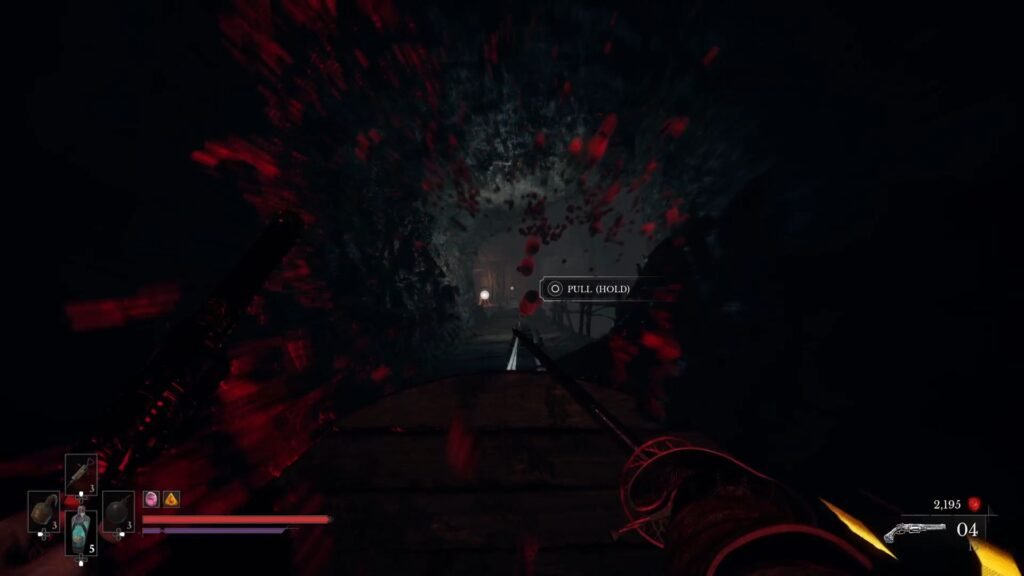
Now this is important. As soon as you shoot the Nephtoglobin, the cart will be veering towards a closed gate and will crash. You need to press O right away to change the tracks and make the cart go left, instead of straight.
The timing here is critical since this prompt appears almost instantly as the cart passes through the previous section, so be ready for this.
Section 4 – Shooting Explosive Barrels
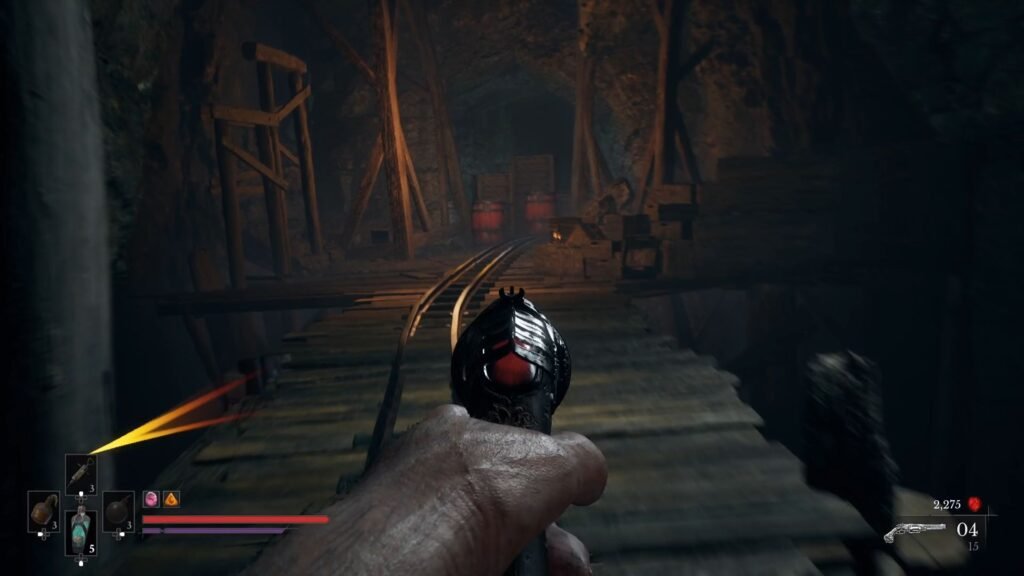
There is time enough for this, and is an easy one. Just keep the Pistol equipped, the track path leading to the explosives is also a straight one, so you don’t have to worry on that front. Unlike the previous sections though, even if you miss these barrels – they will only cause health damage and not a Game Over screen
The key here is not to get distracted by the two enemies shooting at you from either side. They will not hit, and even if they do, it will be a minor hit on your health bar that does not matter here.
The enemy getting run over is your cue to be ready for this section.
Section 5 – Aligning the dials
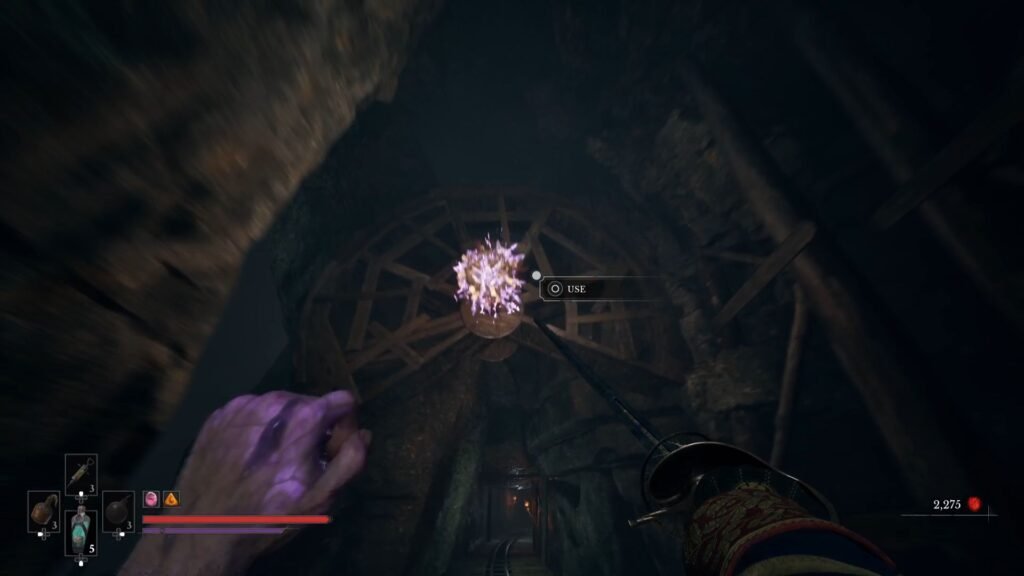
Now starts the tricky part of the ride. Here, you have to do two things – the first is easy, opening up the gate and keeping it there, like you did at the very beginning. The second one has big rotating dials, with a central mechanism. You need to apply Stasis on them the moment they have unblocked the path for the cart.
The thing to watch out here is that for the first part, the mechanism is to the left of the gate, unlike the first time around when it was on the top of the gate.
Also, if you align the dials incorrectly, all is not lost – you can still recover. Quickly press O to unfreeze, and then once they are aligned correctly, you can apply Stasis. Admittedly, that is sub optimal, but worth a shot.
With this done, you have almost made it, and there is just one tough section – the upcoming one.
Section 6 – Platforming
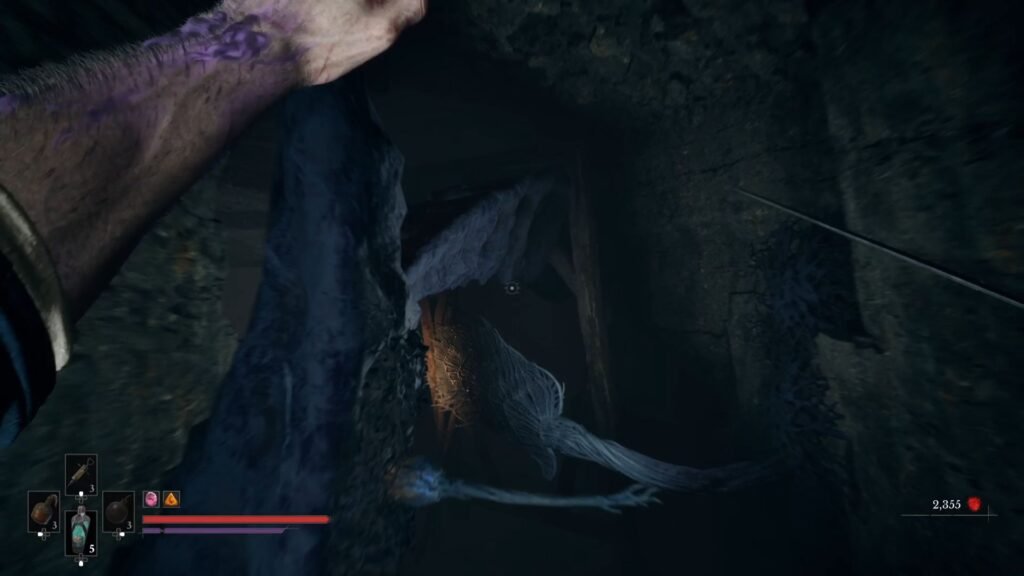
Now, you will be getting out of the cart just before it crashes ahead, and to a platforming sequence. Here, what you have to do is
- Press O as soon as you see the option to Grapple. This is not long hold, this is a single press.
- There are two ledges to swing across
- There is a Nephtoglobin Wall to scale,
- Then another ledge to swing across,
till you finally land in a second mine cart.
This is by far the toughest sequence, and my advice would be to build sufficient momentum between the second ledge swing and when you land on the Nephtoglobin Wall. If you make this through, then consider yourself almost home.
Section 7 – Explosive Barrels
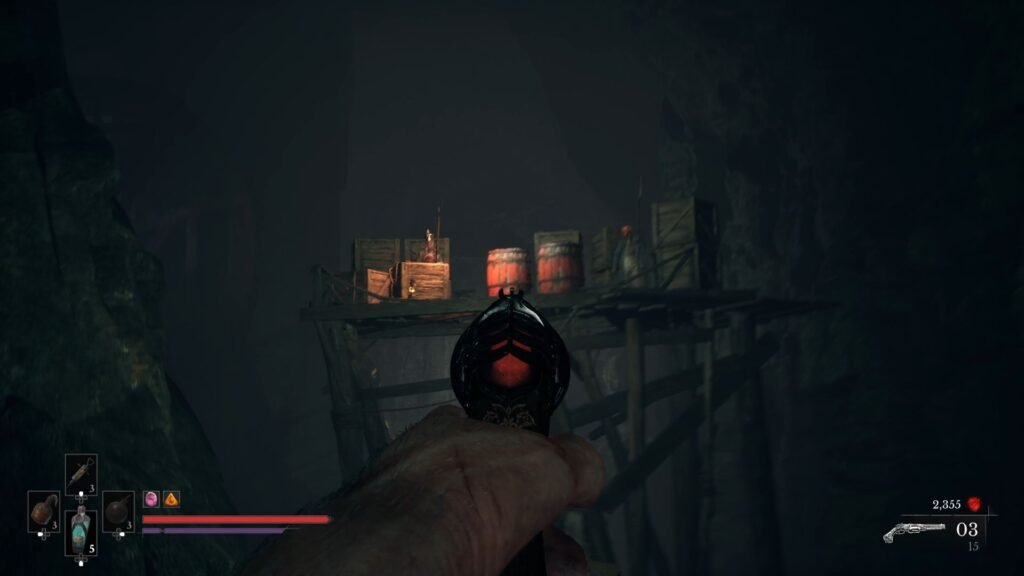
This one should again be pretty easy. Just shoot the Explosive Barrels and you are through. They are slightly above, but then you have enough time to adjust your aim and be ready. It is even ok if you miss this shot.
The one thing you should be ready beforehand is ensuring your Pistol is reloaded and has 3-4 shots ready in case you miss the first one.
Section 8 – Landing
The last two are just a Hold to lift the crate blocking your path, and then a Grapple to jump over as the cart crashes.
Check out the complete video of this sequence here:
Congratulations! With this, you have successfully completed the minecart ride sequence in Chapter 4: Dark Descent in Valor Mortis, and ready for yourself for a boss fight.
