
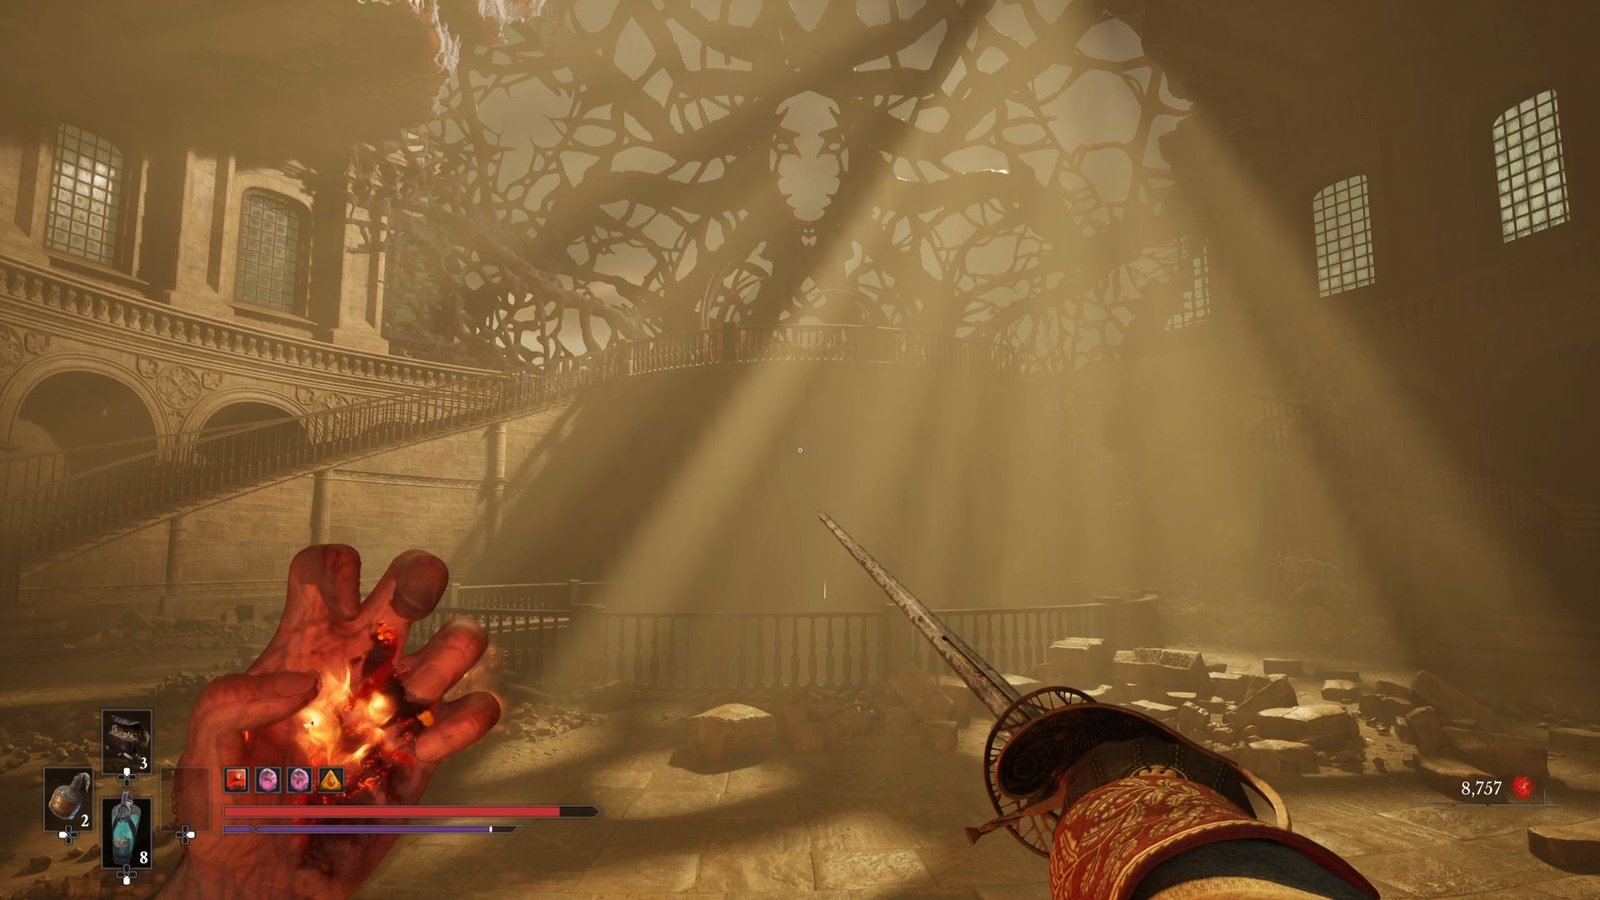
After the long trek that was Chapter 7 in Valor Mortis, taking place over The Outskirts and City of Orphans, the next one – Chapter 8: Blasphemy starts off in a much more closed space – the Laboratory. However, that does not in any way take away from the complexity of the dungeon – in classic souls like style, this one is filled with confusing routes, and shortcuts that lead back to other shortcuts.
The devs have also taken up enemy placements and the grouping of enemies a notch higher from this level onwards, so ensure that you have upgraded your arsenal and selected the best suited Amber for your playstyle.
Here is the full walkthrough for Chapter 8: Blasphemy in Valor Mortis
On This Page
Beginning Chapter 8 | Main Hall Lantern
As you enter the University from the City of Orphans, you will come across the first Lantern right away – Main Hall. Here, there are 3 entrances – 2 locked (one of which needs the Auditorium Key), and one where you find an Imperial Catalyst Clot and a dead end.
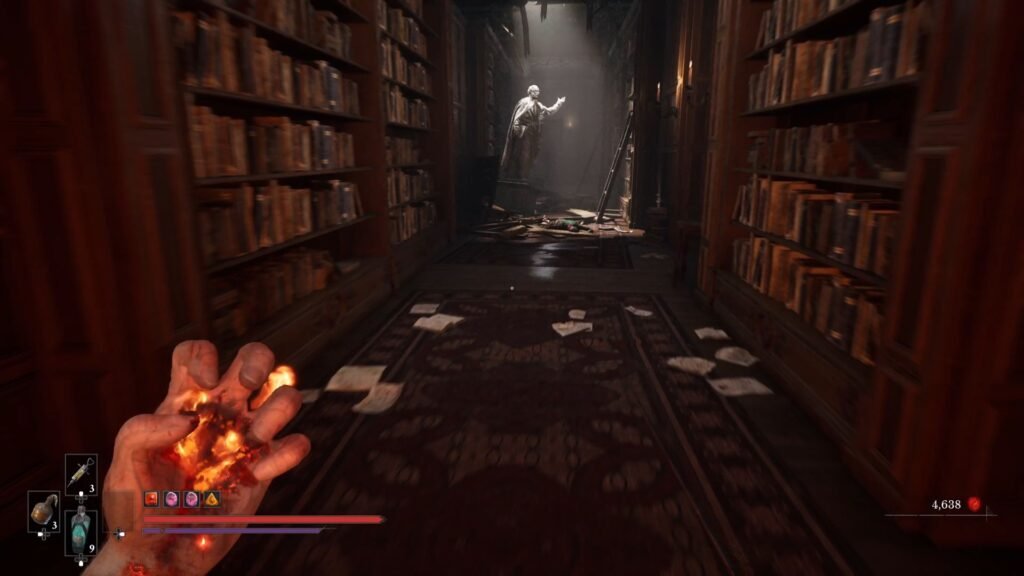
Take the stairs, and let’s begin from there, on the right. Here, you will find a door that is ajar and from where you can enter. Take the first left, and you should see a statue at the other end as I have shown in the image above. Make note of the blocked door, as you continue to the end of the passage, to the part with flickering lights and a blue Echo.
Auditorium Key Location
Look through the hole in the wall to see a chest tantalizingly out of reach. We will come here, in a while. Retrace your steps, and now, from the place where the above image was taken, look right to see a Formulation that you can activate to jump across.
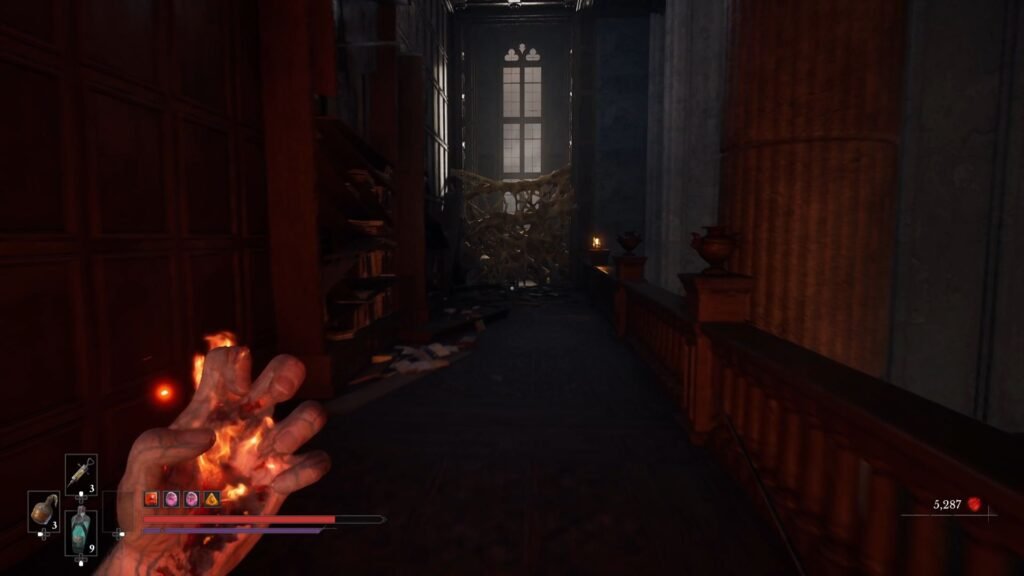
Clear the area, turn back and collect the Mythic Catalyst Clot, and now burn the Vines in the area from which the Lancer approached you. A Sapeur will ambush you from the right. Clear him out, and then go left.
The path straight ahead has a shiny, but also a hole in the ground that you cannot jump across. So, take a left once more, from the area that the Swordsman attacked you from. Continue straight past the hall with all the books and papers scattered on the ground.
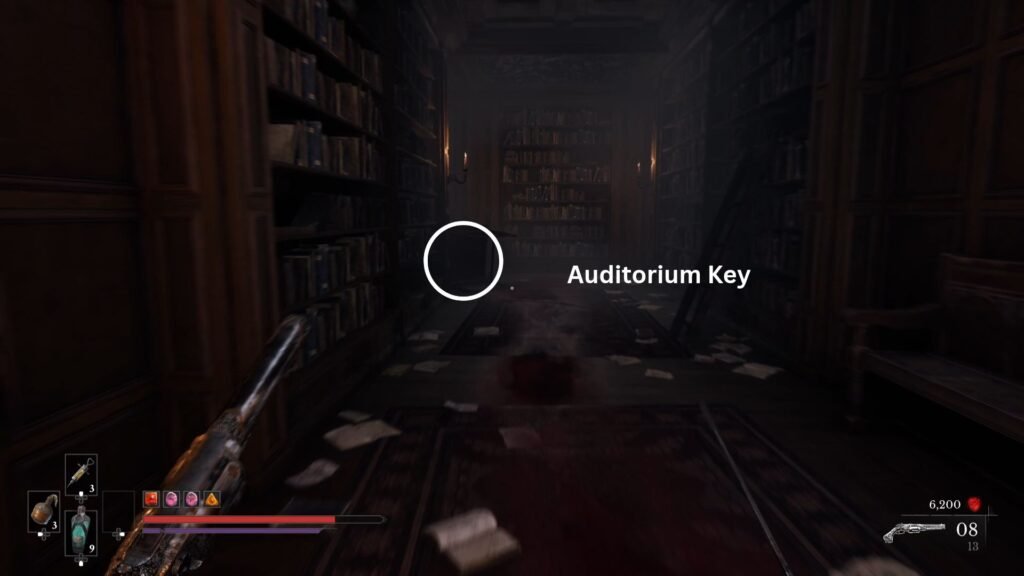
Now here, straight ahead, will be the door that leads you to the place with the statue shown couple of images back. On the right is a Spewer, and behind it, at the end of the passage is the precious Auditorium Key. Pocket it, we need it to unlock a good number of items soon. For now, retrace your steps, past all the scattered books, and from the door, take a left.
Empty Ferrofluid Flask
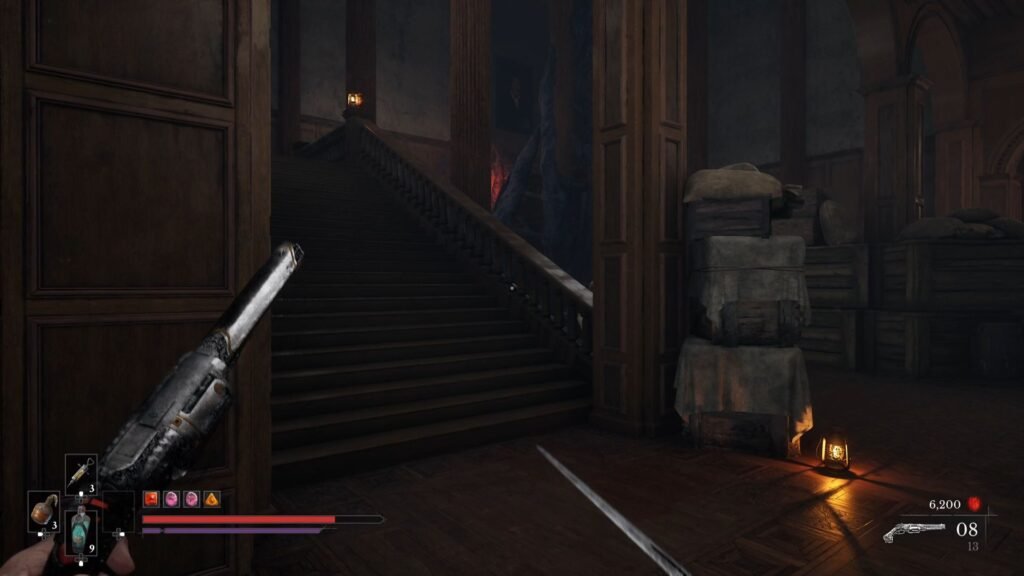
You should now arrive at the place shown in the image above. We will refer to this place as 2 stairs and a statue; since we will be coming here a couple of times. Here, take the stairs on the right and destroy the Nephtoglobin.
The Nephtoglobin was hiding a lever, pull it to get the statue to move. Go behind the statue, and we get access to the chest that we had seen earlier when listening to the blue Echo! This one contains Empty Ferrofluid Flask – so that’s a neat little secret solved!
Now go to the very end of the hall, a Swordsman will ambush you from the right. Get the Stasis Clad Rounds, and return, there’s nothing else here. Take the stairs on the left in the (Two stairs and a statue) room, and continue to the floor above.
Jump above the ramp to the other side, and grab the Mythic Catalyst Clot from your left below. The next area ahead is a narrow way with enemies lined up, including a Spewer and a Lancer. On your left ahead is a classroom, with a Sapeur. Take him out, and collect Stasis-Clad Rounds.
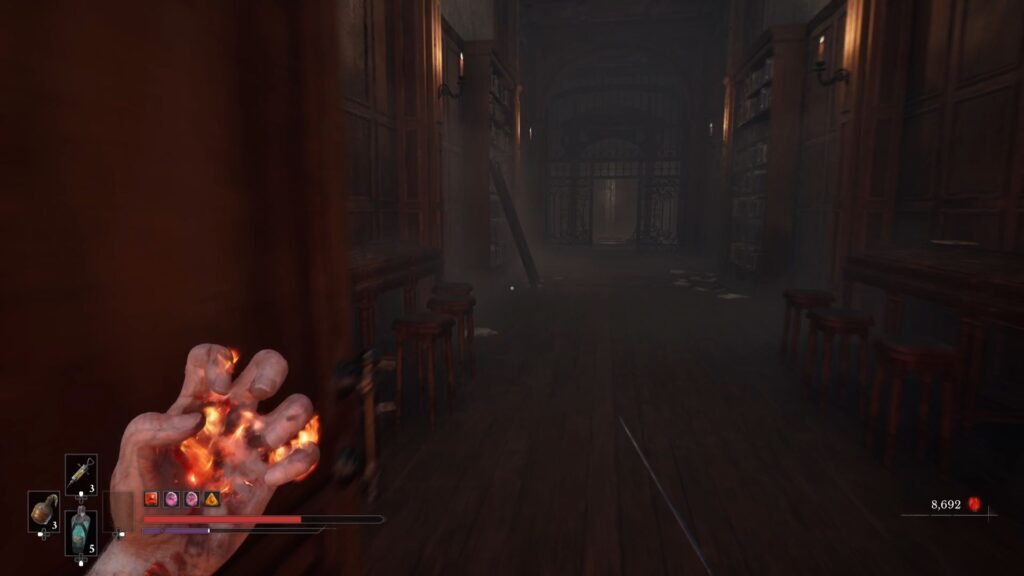
Now, exit the classroom from the door other than the one you came in, and straight ahead in the next room you will come across an elevator. Take the elevator, and it will open up into a hallway with bodies strewn around. One one end of the hallway will be an area with poison swamp, while the other will have a ladder descending to a Red Eye Marshall, and one going up to the roof.
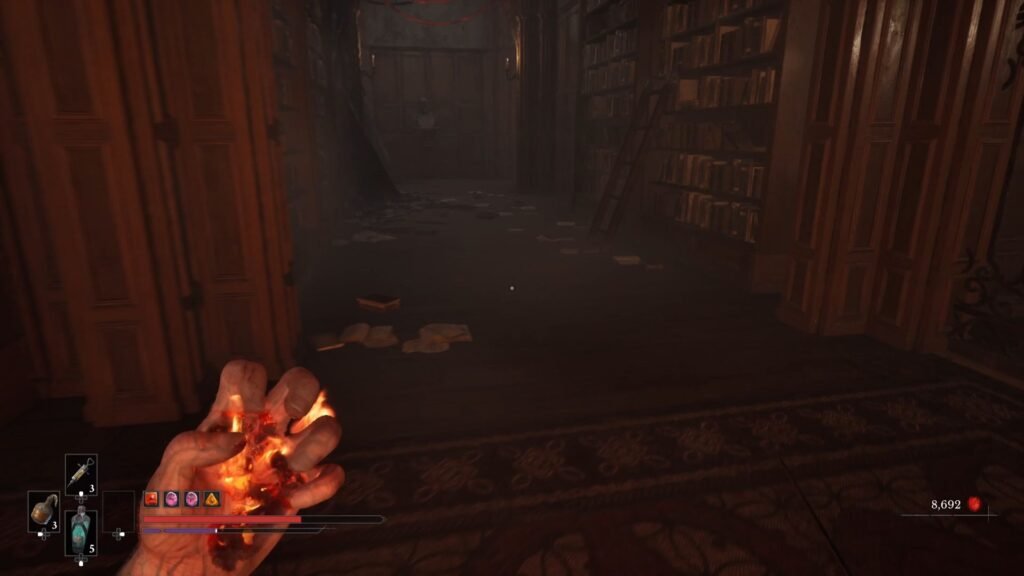
We have one more area that remains to be explored. When we had rushed straight to the elevator, there is a left just before it, and that’s what we will take now. This is similar to the area in the last chapter, where you can activate certain Formulations to separate out enemies, as well as open up paths.
Library Key Location
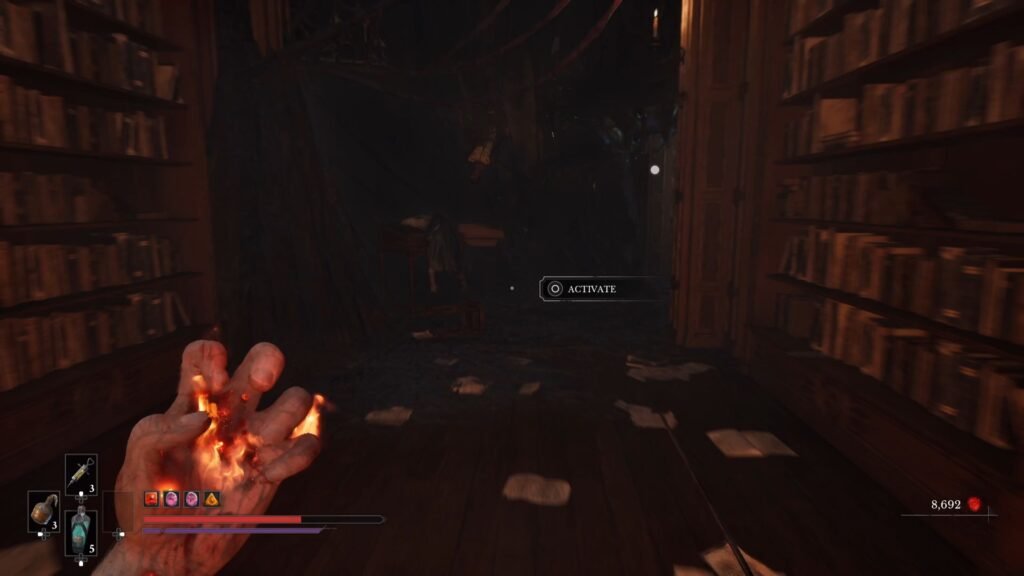
Go to the right first. Take care of the Spewer above you. Activate the Formulation to open up both the blocked paths – one ahead and one on the left. The one ahead has nothing but an ambush. The one on the left has an opening from where you can shoot the Rifleman. Once done, click Activate, to open up the blocked paths on your left and right. The left has the Library Key, behind the pink colored Formulation.
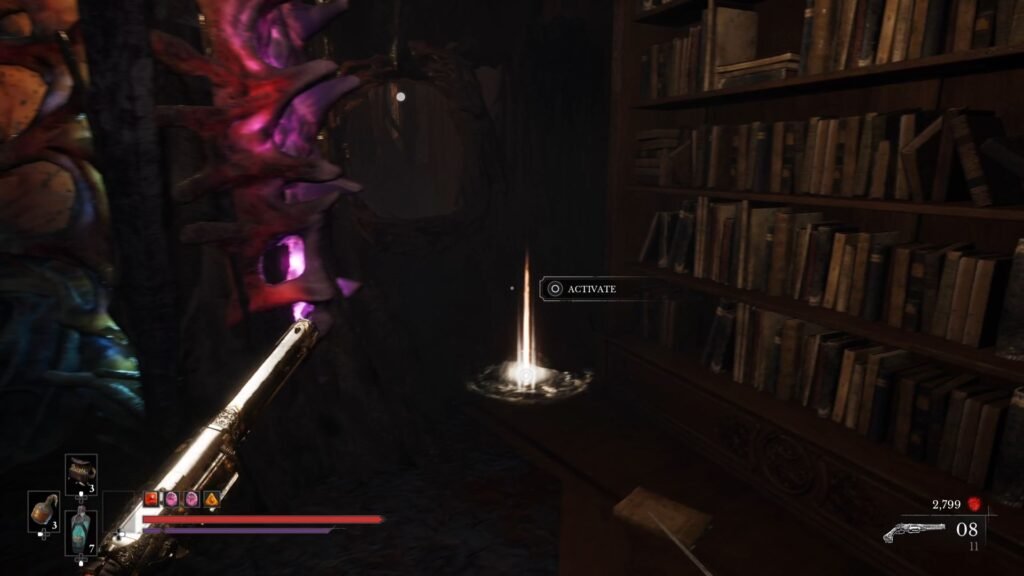
The right one has an ambush from a Sapeur. Continue down that path, take care of the Carrion on your left, and grab the Crude Transmutation Material. The other side unbolts back into the area with the elevator.
Library Key Use Location
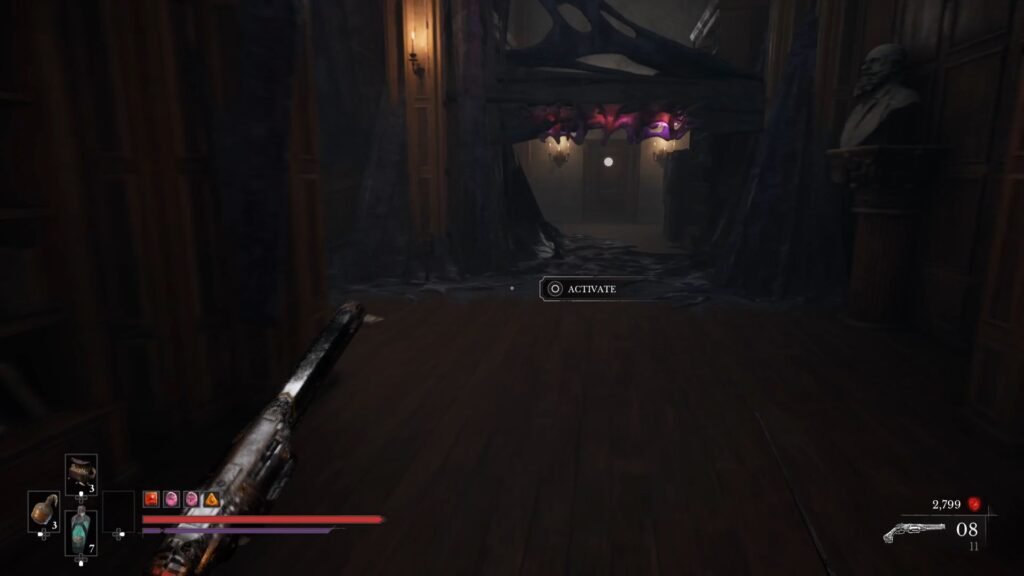
Make your way back out of this entire area, right to the beginning where you had come across the first Formulation here. Activate it, to block this entire path that you took, but unblock the one behind you. This leads to a door that needs the Library Key to unlock. Inside is a chest with Distilled Blade Material.
Payback Amber
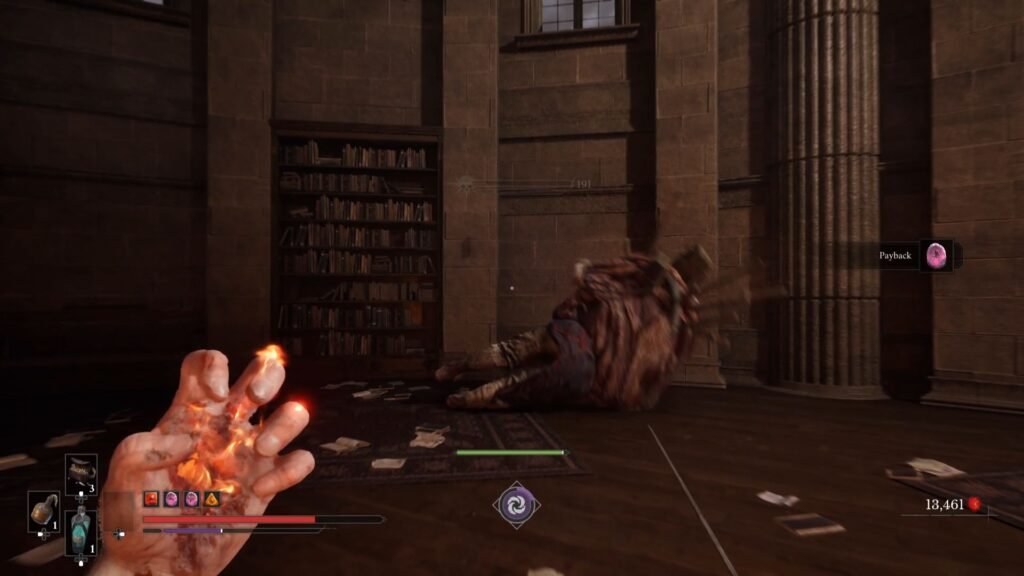
We are now done with this area, take the elevator, and first, drop down to defeat the Red Eye Iron Marshall. It has two new moves – a Stasis AoE; and the second one where it sends out tentacles at you – not unlike The Slaughtermill attack. Other than that, you should be able to defeat it with the usual (Fire + Blunderbuss) combo. The AoE wave attack can be jumped over, while the two tentacle attacks are also easily dodged. Defeating it gets you the Payback Amber.
Go back to the Lantern, save, and now let’s take the ladder to the rooftop, for a devilishly difficult enemy placement and ambush run. So here’s how it goes.
As you make your way out, there will be a Swordsman on the left. A Volunteer on the next roof will also get triggered. So, first, bait the Swordsman out of the Volunteer’s range, and take him out.
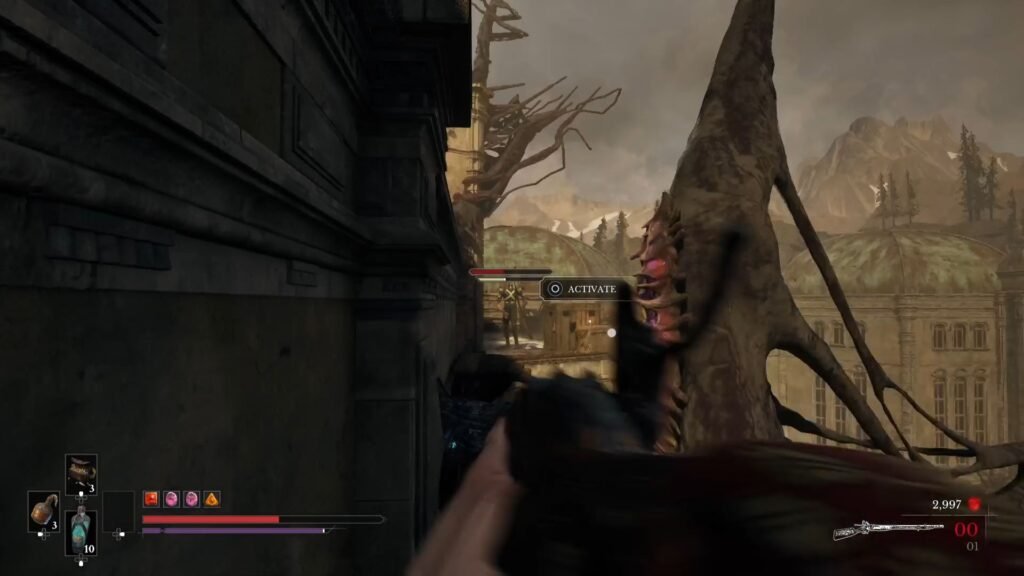
Then, use the Formulation between you and the Volunteer to get your Musket shots across and take him down. If you are not able to do that, run over while he is reloading, and quickly get him out of the equation.
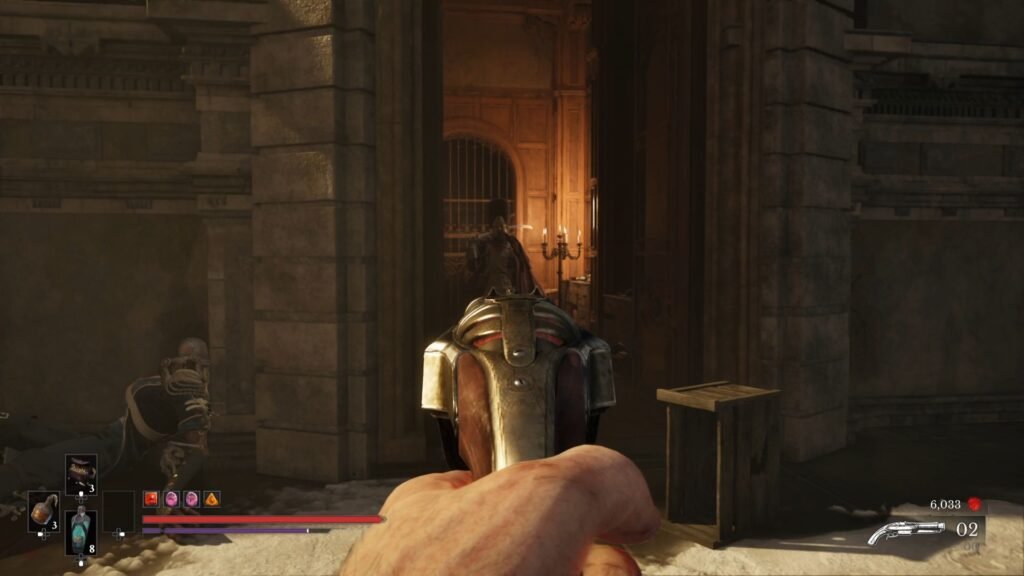
The reason to take him out quickly is an Eternal Guardian who will also ambush you on this rooftop. After dispatching them both, grab the Imperial Catalyst Clot from where the Guardian stepped out. Next, when you get on to the planks, a Swarm Mother will attack.
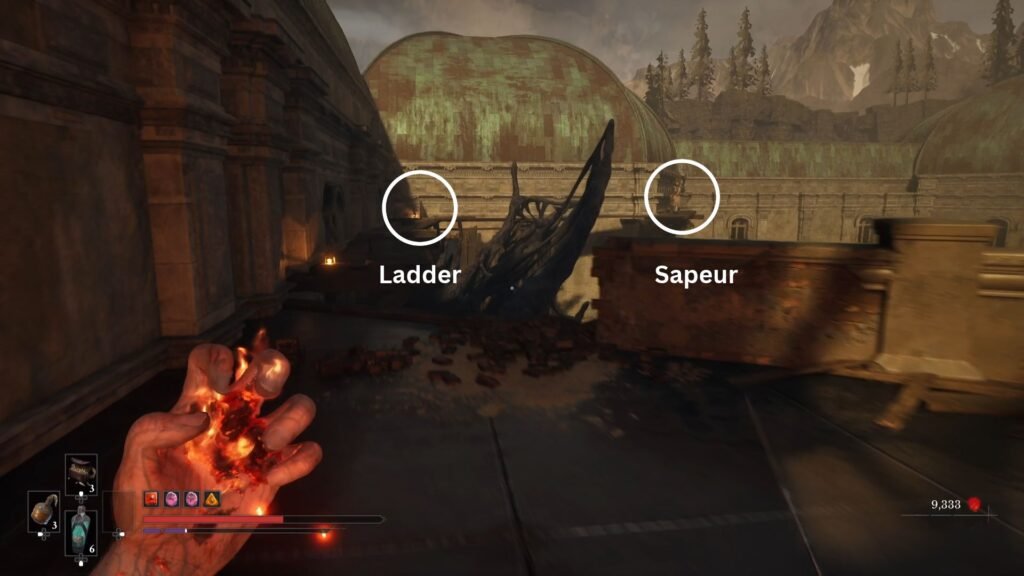
Either take it out (be wary, it can take out chunks of your health in a flash), or make a run for the ladder at the very end of the planks. This Swarm Mother will attack when you are roughly halfway through the planks. There will be a small lantern at the end of the planks to help locate the ladder. Also, note the Sapeur on the right – though he will not get activated if you take the ladder.
We are not done yet in terms of threats, though. As soon as you land, look straight ahead to see another Swarm Mother. Take it out with your Musket before jumping down into the big spacious hall.
Move along the passage into another hall with two large chandeliers, and pick up the Mythic Catalyst Clot. Do not go into the area with all the bookshelves, that has a lot of enemies. Continue along the passage to reach the other side of the hall where the Swarm Mother was waiting for us. Use the Formulation to jump across and get Special Cartridges.
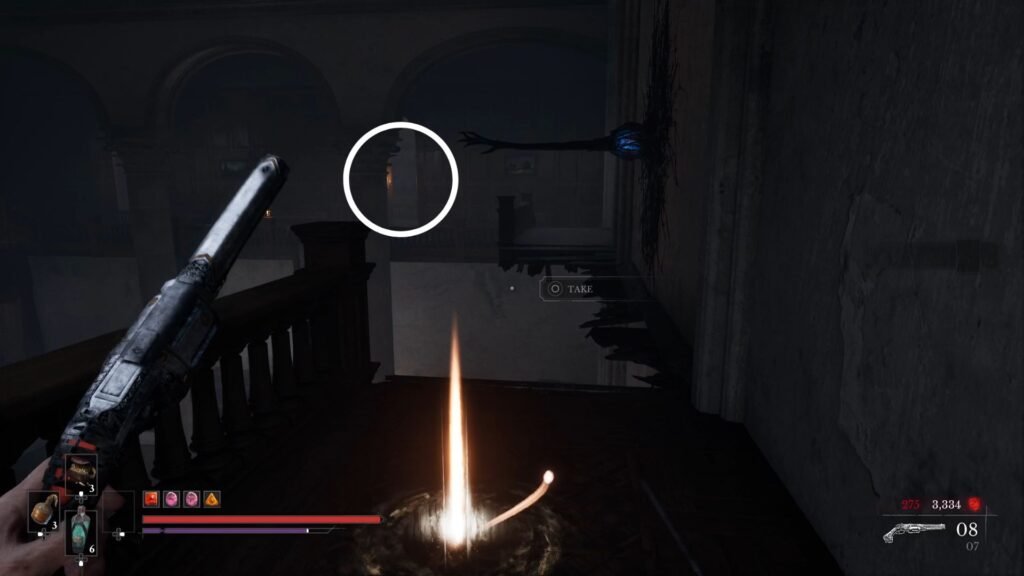
From here, take the first right, as I have shown in the image above.
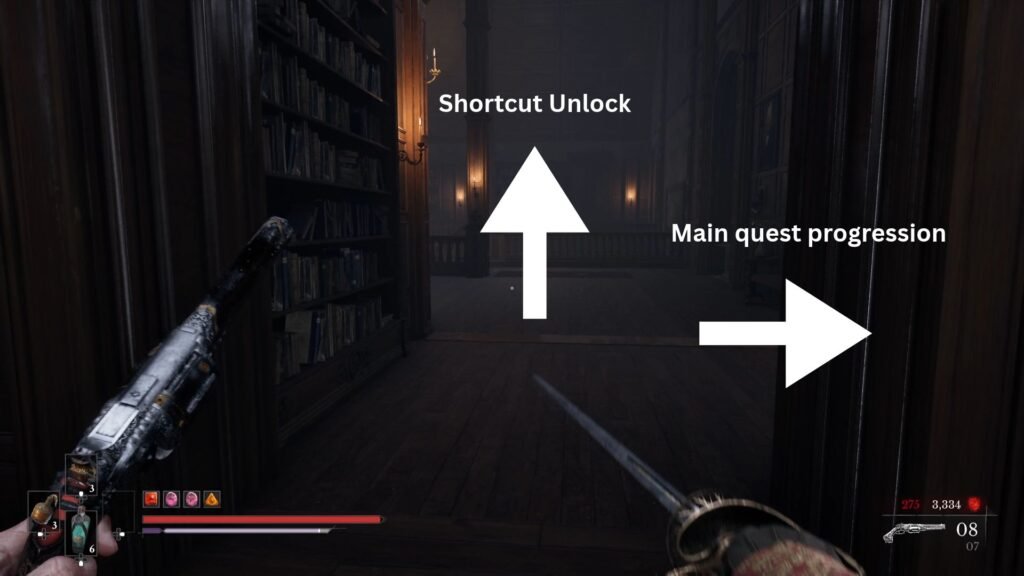
Go straight once you arrive at the spot above. Note the immediate right route here, we will be taking that once we have unlocked the shortcut. This will lead you to a carpeted hallway. Take the stairs going down into an enemy-free area, and a shortcut to that passageway with bodies strewn – from which you can access the Main Hall Lantern.
Once you have rested, make your way back, but this time take the right as shown in the image above. There is a mini mob waiting for you here on both sides. So approach cautiously, and bait the ones on your side of the area into a one on one fight as much as possible.
Only after having cleared that, take the narrow plank across and take out enemies there. Lure as many of them into the narrow corridor for crowd control – and then unleash the Fire or Blunderbuss on them.
Once the area is cleared, go to the right first, grab the Whetstone and Special Cartridges. Then, make your way to the other side and crawl into the next area for a fight with an Iron Marshall. Defeat it, and then use the lever straight ahead to bring the chandelier down and create a platform to jump across on your left.
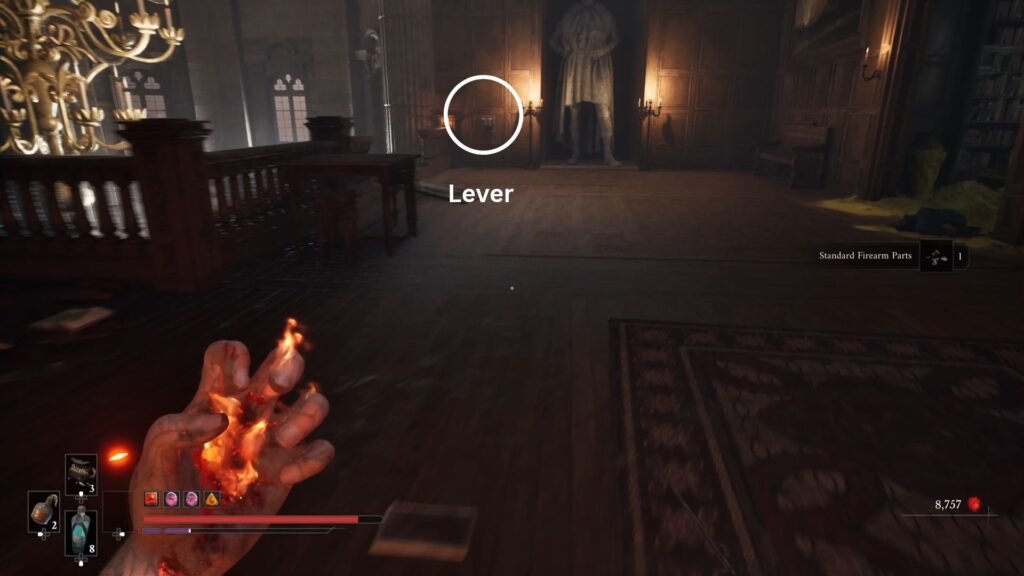
You will come across another elevator. The game now is going to throw some serious high level loot your way.
Getting the Shield Transmutation
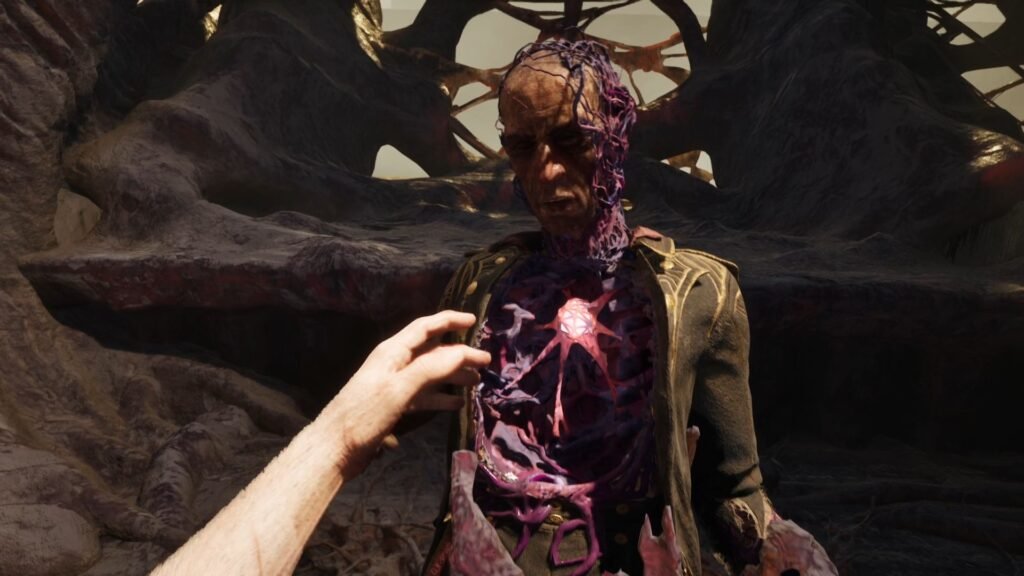
Take the elevator up – and it is time for the final addition to your arsenal … and a pretty powerful and useful one at that. This one serves exploration and combat. You can now hold this up and go through the poison filled areas that were out of bounds before. And in combat, you can absorb all damage and throw it back at the enemies with this!
Use your power to get the Nephtoglobin Vial from behind all the poison from below the stairs, and take the elevator down.
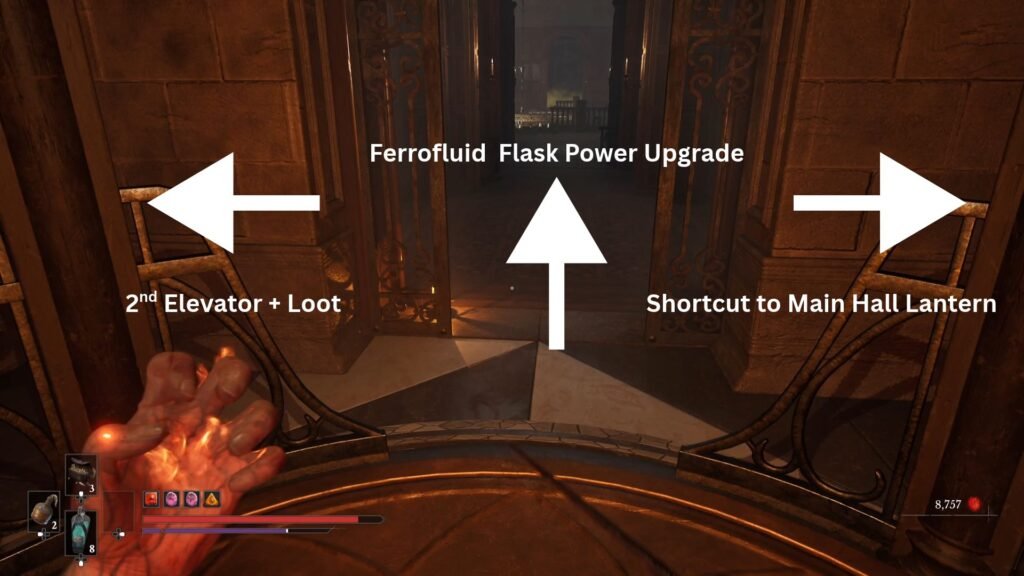
There are three routes here:
- Start with the right one. This unbolts the door and opens up into the Main Hall Lantern.
- The left one, through the poison area leads to another elevator. Take that one down, and loot the chest to get Distilled Blade Material, and a shortcut back to the Main Hall Lantern. Now, take the elevator again all the way up. Burn the Vines, to get the Stasis Whetstone from your left and another chest with Quintessential Transmutation Material.
- Finally, the one straight ahead across the chandelier, to access the poison filled area.
Ferrofluid Power Upgrade
When you cross the chandelier, you end up in the area where you had pressed the lever. The poison filled area is now accessible, so go there. On the very left of the statue, will be a narrow passage. Listen to the blue Echo, and then take yet another elevator. This leads you to an area with a shiny at the centre which is a Remnant’s Return.
As soon as you take that, enemies will get activated all around. This would be a good time to test out the Shield Absorption abilities.
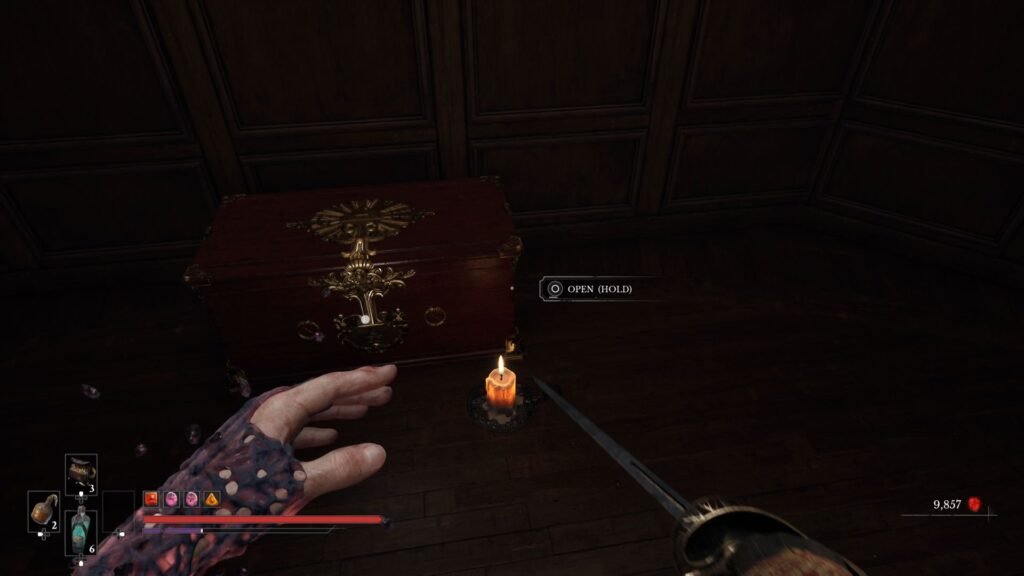
Either way, once you clear this area out, loot the chest directly behind the statue to get the Ferrofluid Flask Power Upgrade. Go through the poison area behind one of the bookshelves to get Protection Vial, and Pistol Cartridges near another one.
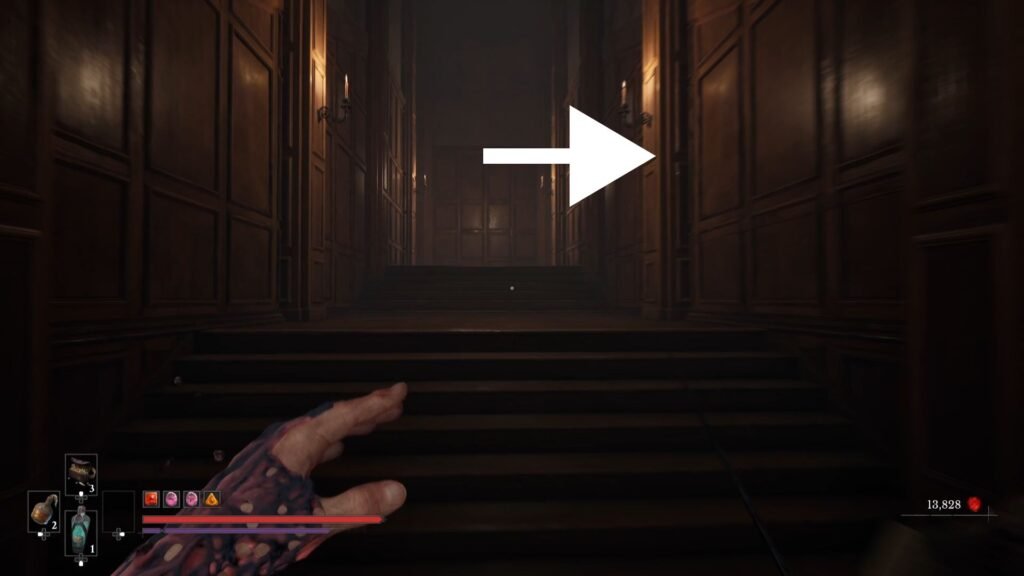
Go to the very end of this area, and from there take a right, to arrive into a large hall. To put in perspective, this is the very hall that you entered at the very beginning, after running across the rooftops and escaping the Swarm Mother.
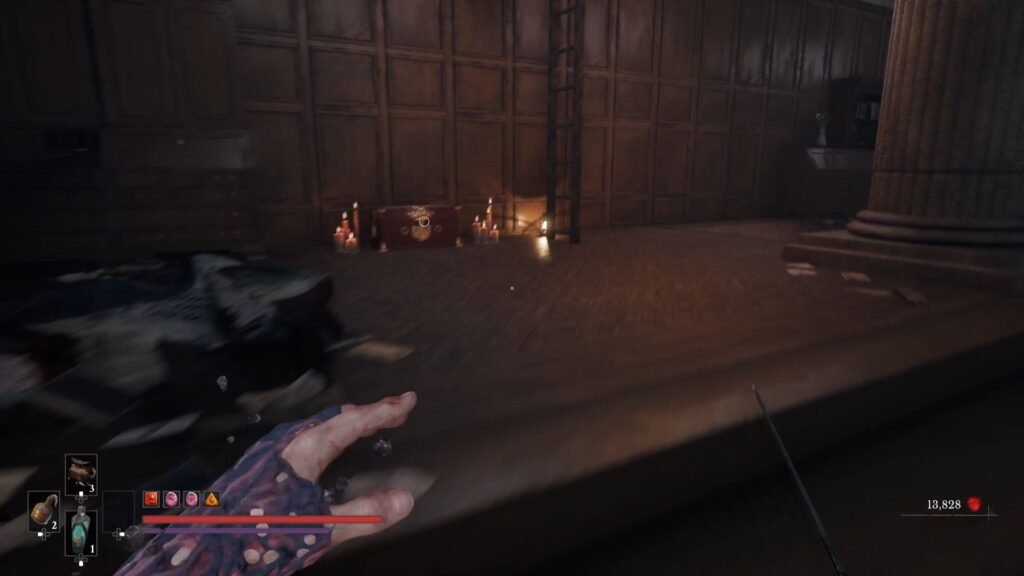
On the right, next to the ladder, is a chest with Masterwork Firearm Parts – the final upgrade material for your Firearms. Take the ladder, and unbolt the final shortcut that leads to the corpse-strewn hallway.
Auditorium Key Use
Now, go to the right side of the Main Hall Lantern, and we can now open the gate using the Auditorium Key. This takes us, well, into the Auditorium where some goodies await us – Exquisite Firearm Parts, Mighty Rounds, an Eternal Catalyst Clot.
Take the door at the top right of the Auditorium, continue up on the linear path, grab the Remnant’s Return, and unbolt the door that leads us back into the area that we have covered before.
Lift Shaft Lantern
One end of the corpse-strewn hallway leads to the Lantern, the other to the exit from the University filled with poison – which you can now pass through. Take the Deadly Rounds from the left, and enter into the next building. Unlock the door at the end of the hallway with the Laboratory Key, get the Protective Vials from behind the elevator, and then use it to go down to your next Lantern – Lift Shaft on the left.
Grab the Oil Grenade from the right of the Lantern, and then take the path on the left. Take the Pistol Cartridges, and you will be ambushed with the Experiment 83 boss from The Outskirts in Chapter 7. After dealing with it, continue ahead. Grab the Oil Grenade from the next room, and proceed ahead.
Take the first right, and defeat the Volunteer with dual swords. You will now arrive in an open area with a carriage hanging in the middle. Your objective is to get on to it, and from there to the area in front of it.
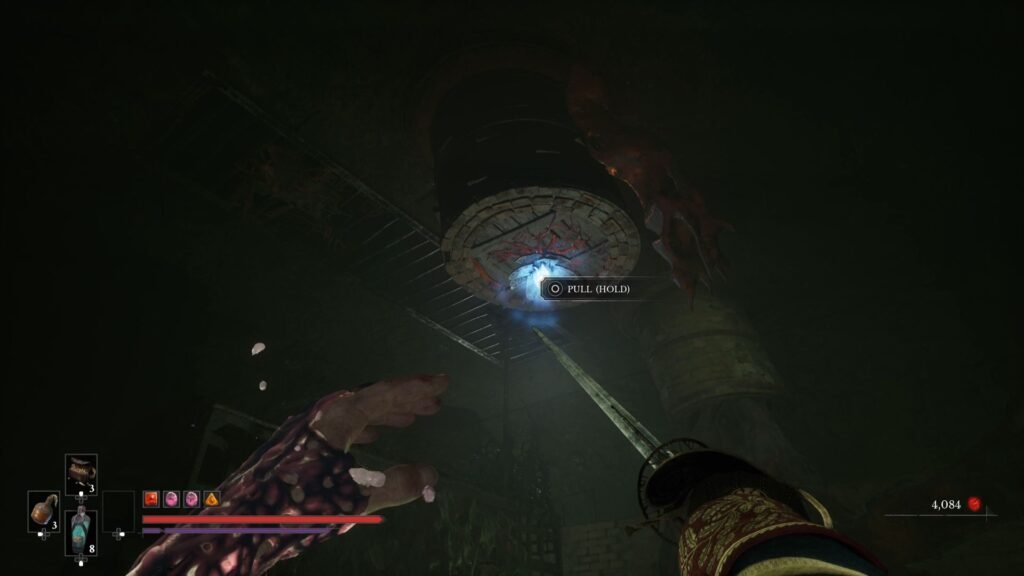
Pull the blue Node and shoot the Nephtoglobin. Continue ahead, grab the Hand Grenade, and jump on to the carriage.
Warrior’s Fury Amber | Lift Shaft Key
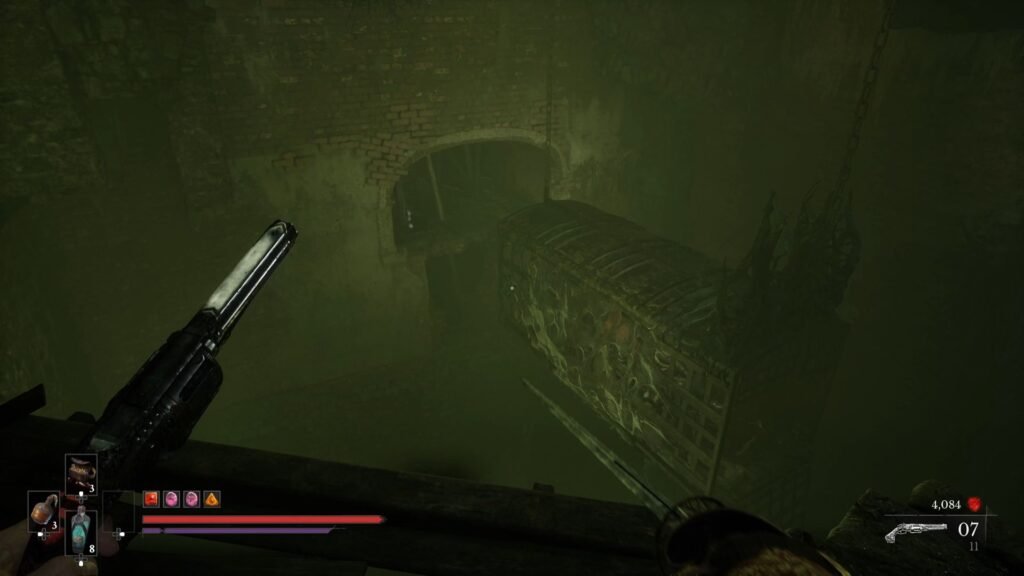
From the carriage, jump to the open ledge. It’s best to jump from the left side to land easily. The next area has two rooms. The one on the right has Carrions, a Spewer and an Imperial Catalyst Clot to collect. The one on the left has Hounds and a Red Eye Hound with the irritating habit of spreading Flame AoE wherever it walks. Fire does not work on it. So, ready either your Stasis or Shield, and your Blunderbuss.
First, get rid of the other Hounds using Grenades, and then work on the main one. Defeating it gets you the Warrior’s Fury Amber; a Mythic Catalyst Clot and the Lift Shaft Key from this room.
Use the key to open the gate in the middle of this area with the red light, and shoot the Nephtoglobin to unlock an elevator, which leads back to the Lift Shaft Lantern.
Ferrofluid Flask Power Upgrade
Rest at the Lantern, and go back to the lift. Exit from the other end. The first left will have a sword wielding Volunteer. Follow that corridor till the end to get Special Cartridges.
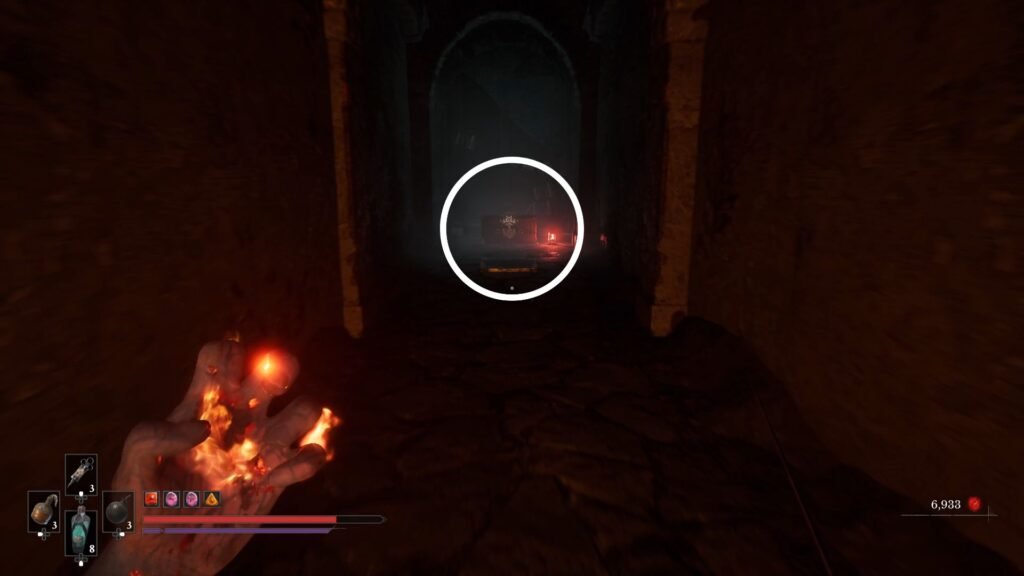
Now, exit that room and take the first left. You will see a red-lit lantern at the very end, with a chest containing a Ferrofluid Flask Power Upgrade. This is an exploding chest, so be careful. Also, avoid the trap right in front of it as well.
From here, turn back, go straight towards the flickering green lights and take the first left. You will have a Volunteer with dual wielding swords attack you. Grab the Imperial Catalyst Clot at the end of this passage, turn back and unbolt the door.
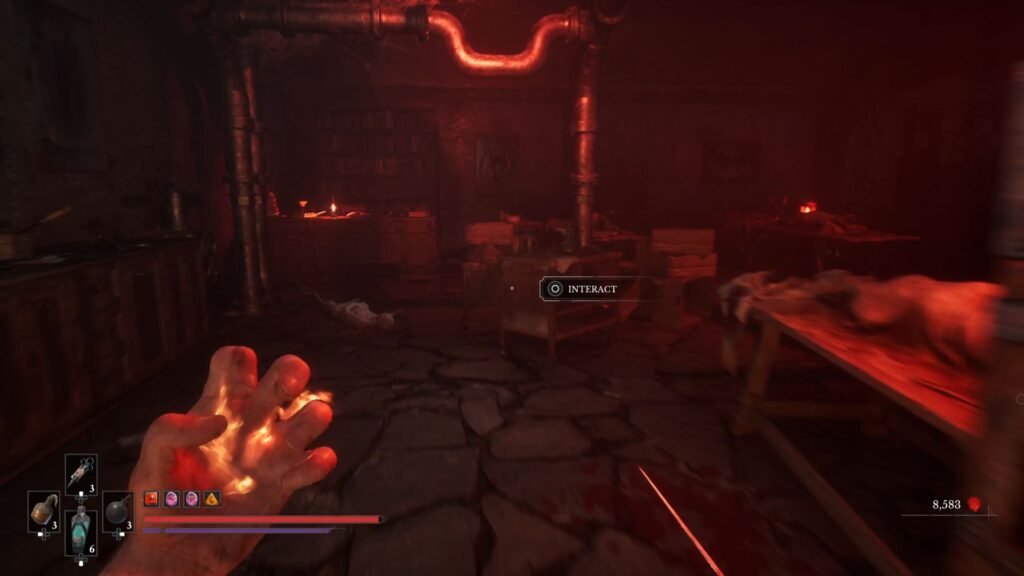
This leads to what is clearly a morgue to keep corpses for or after failed experiments. Read the Note at the end of this room, and press the lever to open up an exit to your left. Take the stairs leading down, and you are almost there to the next Lantern.
Defeat the Experiment 83 Spider enemy. From here, you have 3 paths. The left takes you to the Lantern, so if you are running low on potions, take that first.
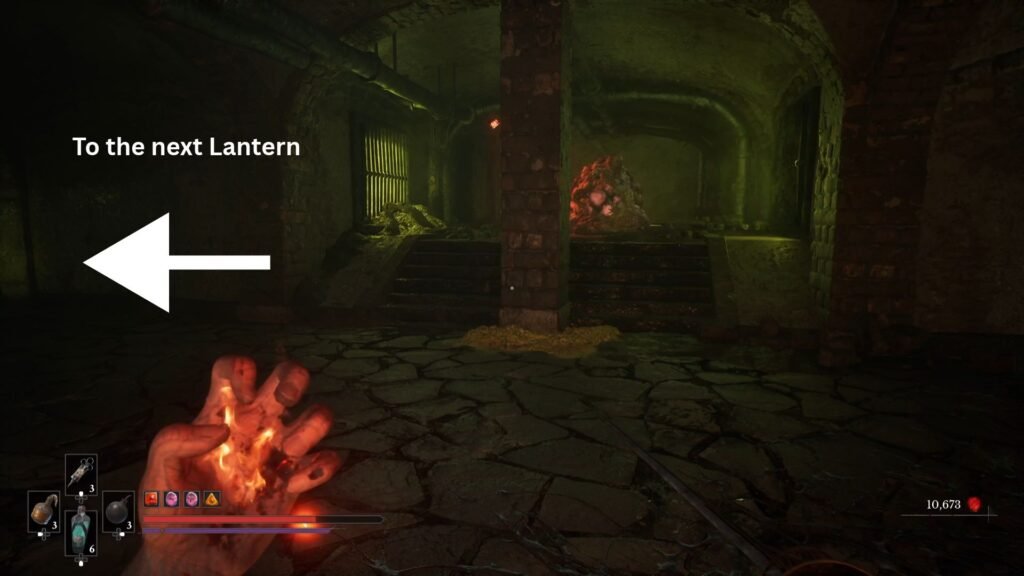
The path on the right has an ambush from another Experiment 83 enemy. Bait it into the poison-free area, defeat it, and loot the Eternal Catalyst Clot. The path straight ahead has a Stasis Whetstone.
Laboratories Lantern
The path on the left to the Lantern also has ambushes, so don’t rush in. Also, one key thing here is you don’t need to have the Shield Transmutation active at all times. The vents release poison only periodically, once you cross those, you are in a poison-free zone.
Make it past the first two vents on the floor. Shoot the Spewer below the platform.
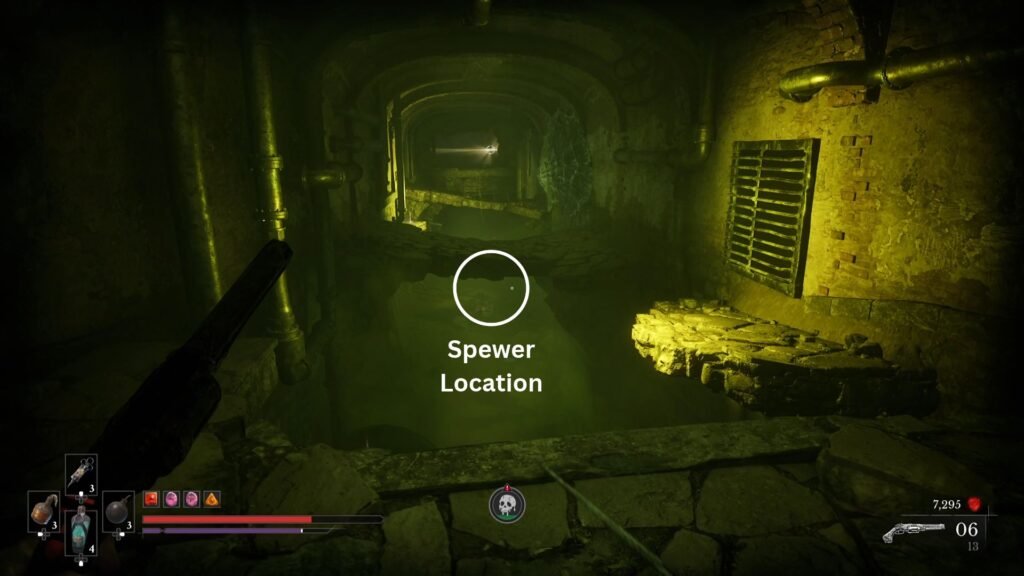
Then, jump to the next platform in between the vents spewing poison gas, and then quickly jump to the one after that. Here, again, you will have a Spewer at the top. Quickly take him out with your Pistol. Standing on this platform, you will not get poison gas buildup from any of the vents, so focus fully on the Spewer.
Ferrofluid Flask Power Upgrade | Lunatic’s Grasp Amber
Use the Nephtoglobin Wall on the right to then land on the next platform. Go to the very left, and from there jump across to the Lantern. Now, there are still a couple of chests below the platform with the Lantern that we want to get first.
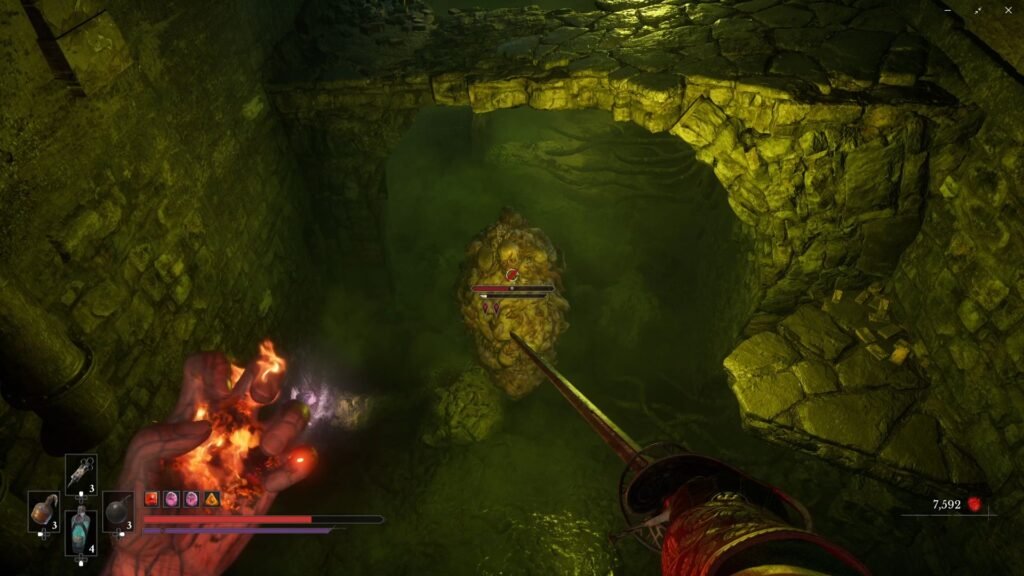
From the platform with the Lantern, get rid of the Carrion so that it does not interrupt us. Then, get down and loot the chests to get Ferrofluid Flask Power Upgrade, and Lunatic’s Grasp Amber. Both are exploding chests, so be cautious.
With this done, go back and save at the Laboratories Lantern.
Continue ahead, press the lever in between the cylinders on your left. This gets you an Imperial Catalyst Clot. Destroy the crates on your right to get Stasis-Clad Rounds. Defeat the dual swords wielding Volunteer. Grapple across and jump down to face two Volunteers – one with the Dual Swords, and one with the Two-handed heavy sword.
Grab the Mighty Rounds and fight one more Volunteer, and then get the Nephtoglobin Vial from the left of the poison spewing vents on the floor. Continue ahead, and get the blue Echo from the room on your left.
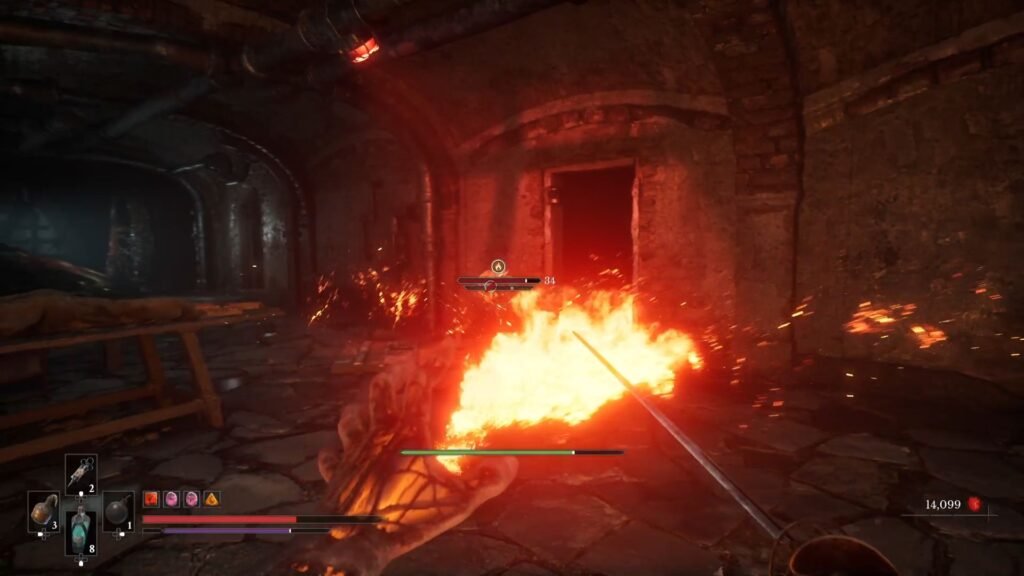
The next section has Howlers who will come attack you from the cells as you progress. Don’t hurry, and take them out one by one to avoid getting mobbed.
Get the Crude Transmutation Material and Imperial Catalyst Clot from the first two cells on your right after taking out the Howlers.
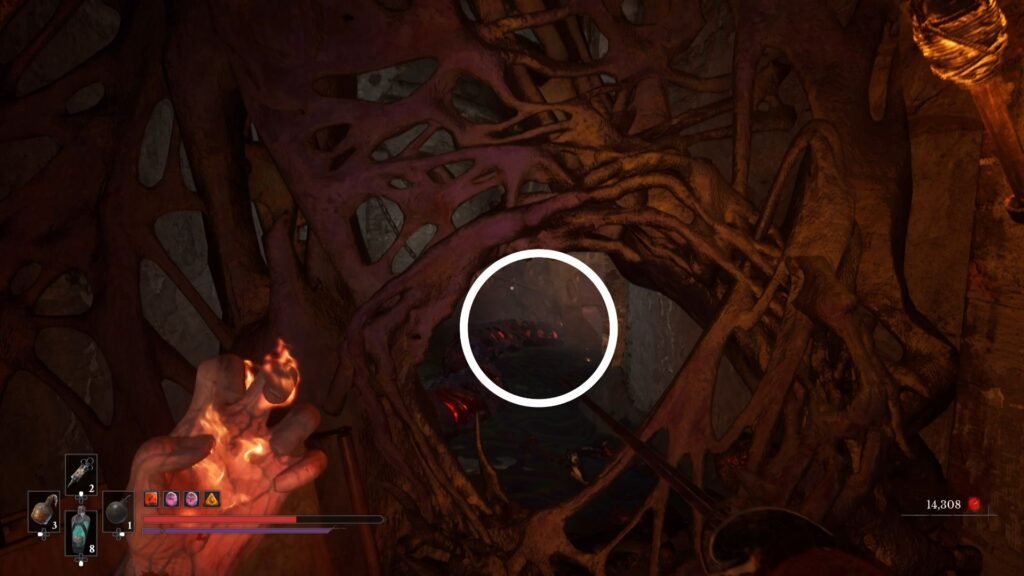
The path ahead will be blocked – however, you will be able to burn the Vines that you see behind the blocked path. This will expose the Nephtoglobin for you to shoot at and open up the path. Continue through the linear route, keeping an eye out for Howlers. Keep checking the cells for loot – there is a Mythic Catalyst Clot to collect.
Sewage Drain Lantern | Orphan Boss Fight
Burn the Vines, and save at the final Lantern – Sewage Drain of this section, to prepare for the upcoming boss fight against The Orphan.
The Orphan boss fight is a 2-phase fight. In the first phase, he will move slowly, however, his attacks will hit you very hard – and he has 4-hit combos that can effective get you out of the game if you get caught in one of those. However, the fight is pretty manageable as long as you keep track of your Stamina, and don’t get too greedy.
Phase 1
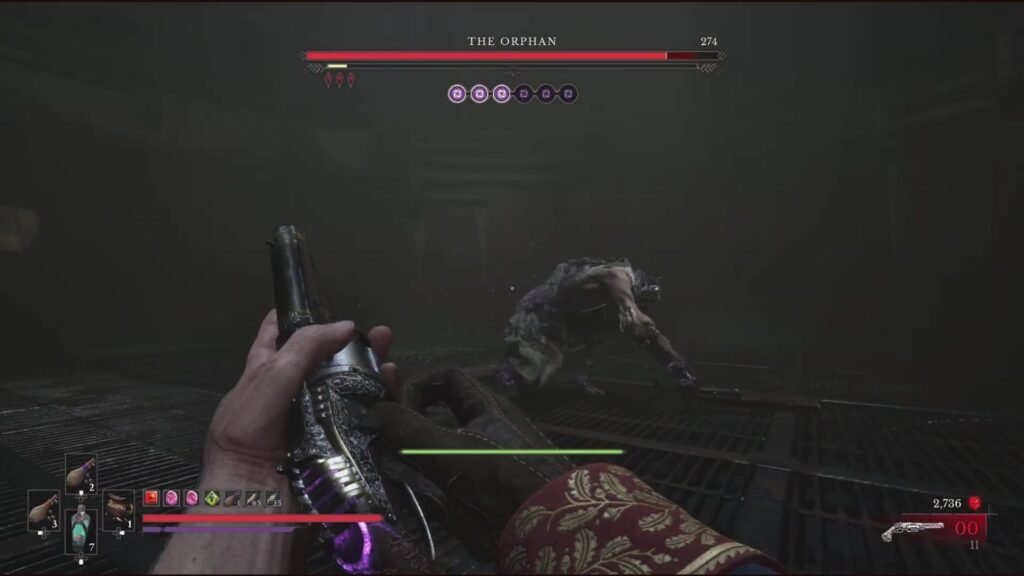
Opening – The Orphan will almost always open with a jump and slam, you can dodge it and get in a few attacks. His weapon will also get stuck, and as he tries to get it out, this is the best attack that you should wait for and capitalize on.
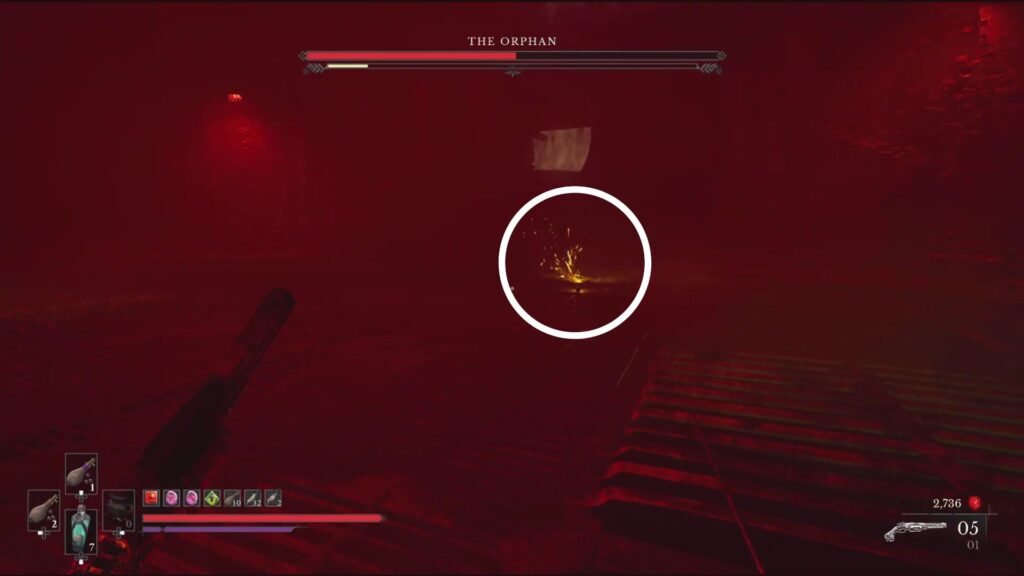
Disappearing Act – The arena will turn red. First, watch the floor for sparks, and jump as they approach you. Once you have avoided that, look above and keep away from the jump’s area. Go in and land a good number of hits.
Hitting his Head – The Orphan will hit himself on the head with the weapon. Go in and add your own attacks to it.
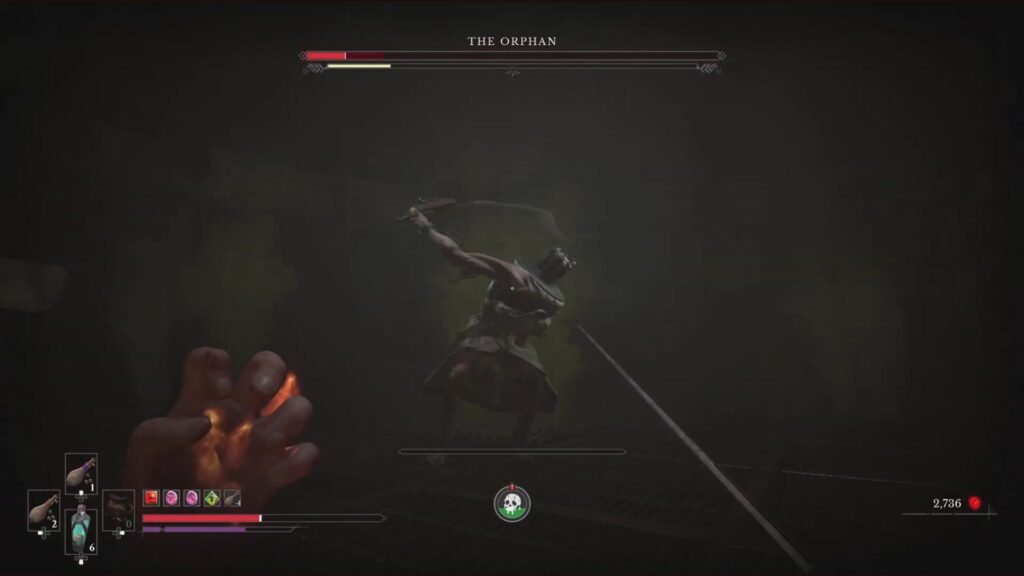
4 Winding Hits + Red Glowing Attack – The Orphan will perform 4 hits in a row, gaining momentum and speed with the last 2 hits, and end with a Red Glowing Attack. It is an easy one to dodge and counter attack.
2 Winding Hits + Rapid Swings – He will do 2 slow hits, and then get a burst of energy to do rapid swings with the weapon.
Key Strategies & Tips for Phase 1:
- Always keep stamina in reserve. When landing hits in the boss’s downtime, you will get tempted to get that 1 or 2 hits in more. Don’t. That is because you will need the stamina to dodge his flurry of attacks.
- Stasis build up works well, as you can take up a nice chunk of his health once he is fully frozen. So does Fire. A great Amber to equip is the one that enhances Fire & Stasis buildup on enemies. The negative effect of the same being true for you does not apply here, since the boss does not do any of these attacks.
Phase 2
Here, the boss unsheathes his straitjacket and the facecage, and becomes more agile. Stamina conservation, and waiting for the right attacks to land damage is key here as well.
3 Attacks + Red Glowing Attack + 1 Final Attack – The feint here is that the sequence does not stop with the Red Glowing Attack – he has one more attack to end this. The first two will be swipes, the third will be an upward swipe, then he will twist his body to land the Red Glowing Attack, followed by one final downward swipe. These are easy to avoid as long as you know this sequence. Occasionally, though, he will do this without the last final attack.
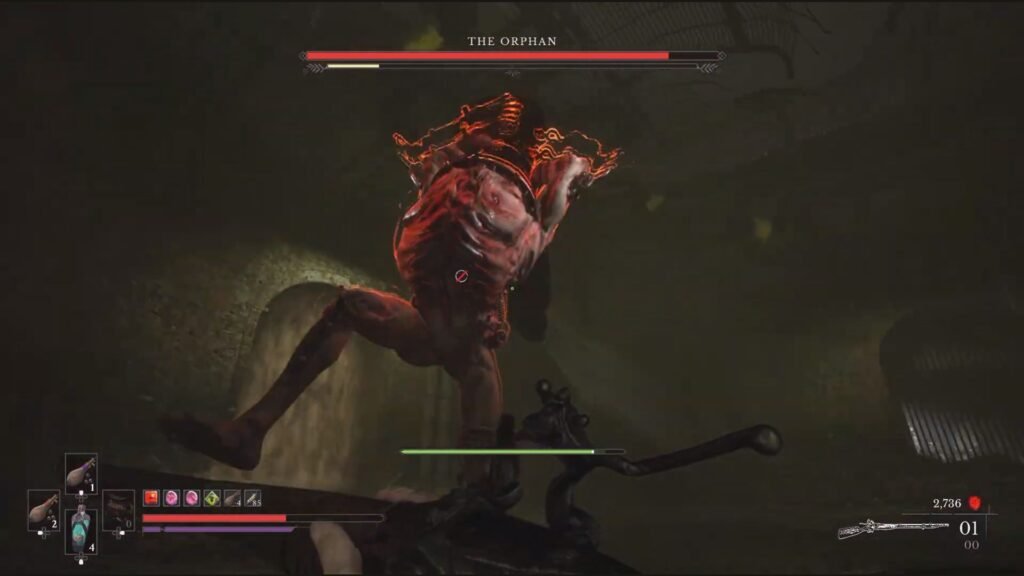
3 Red Glowing Attacks – He will pick up … a pipe, and do 3 consecutive Red Glowing Attacks. These are slow, but have decent reach, so stay a good distance away.
Acid Attack – The boss will tear open his chest to spew acid / poison in a straight line ahead, strafe to the right, and here go in to get a few attacks through.
Grab Attack – He will do a sudden low lunge at you, then roll over and sit, dazed for a couple of seconds. Again, good time to get your attacks in.
Once defeated, you get 40000 Catalysts. Go into the next room – and you finally get the notes you have been hunting for to hand over to Louis back at the Abandoned Church. This ends Chapter 8: Blasphemy in Valor Mortis, as you now prepare to head into the Fortress in Chapter 9.
