
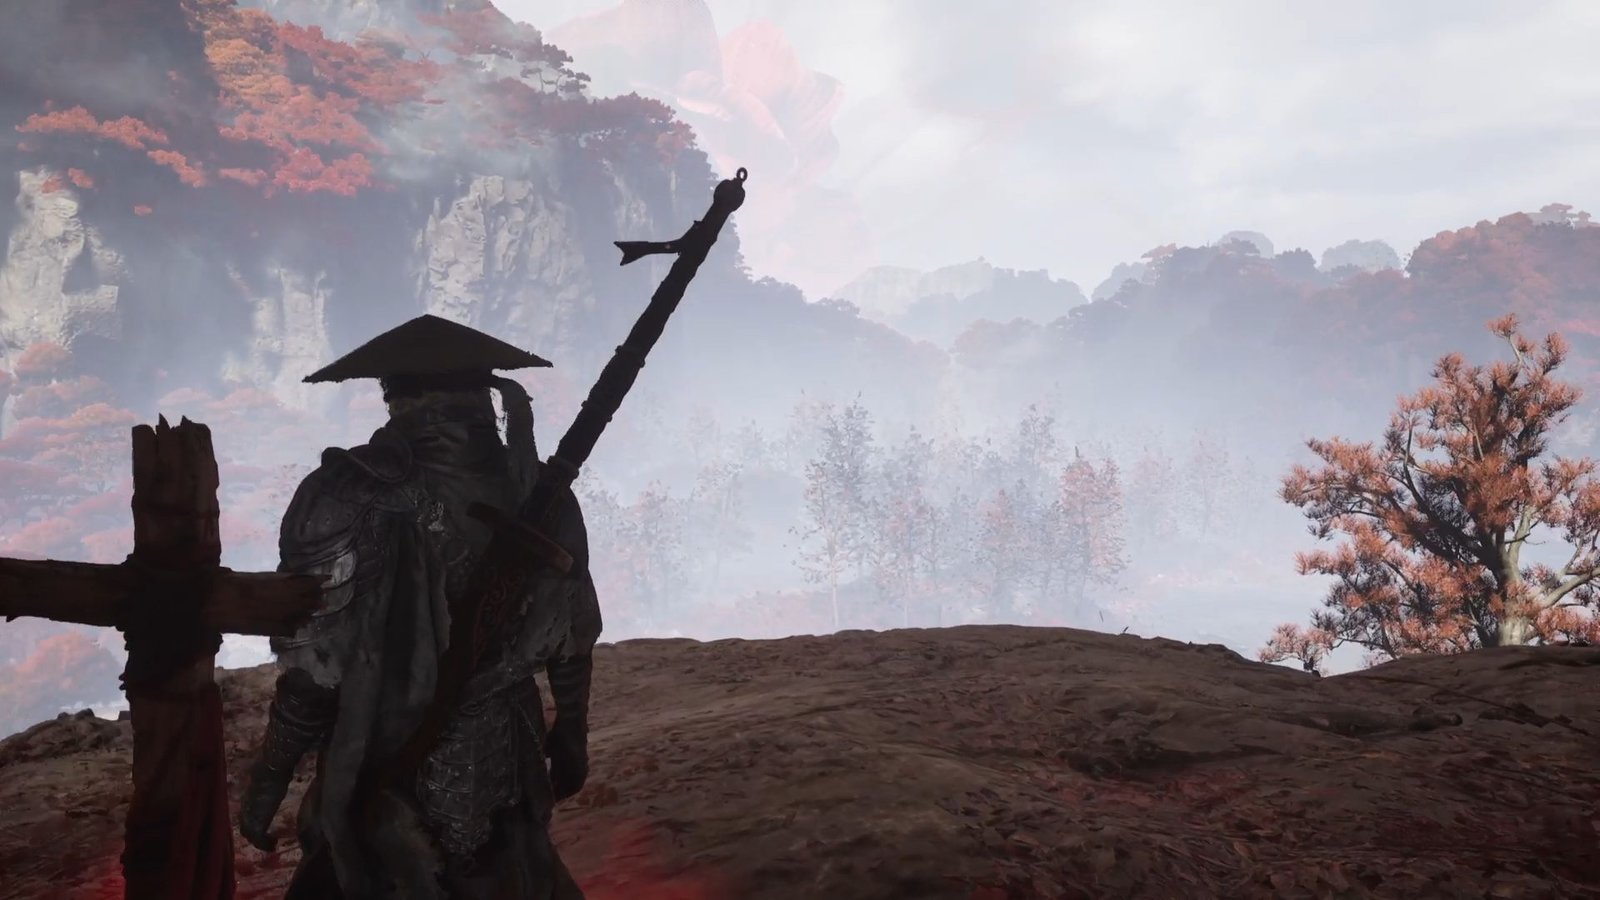
As you make your way through the cave from The Great Waterfall bell, you finally leave behind the Weeping Creek Valley that took up main quests Against the Fall, and Steel & Steam. The next chapter, and the region begins with an extensive cutscene, two, in fact, as you also have a conversation with the Illusion of Inanis.
This opens up the Crimson Forest, with the entirety of the Snake’s Reflection main mission taking place in this region. It too has its own set of new side quests, upgrade materials, and some new (and some familiar) NPCs to meet.
This is a full 100% walkthrough of everything there is to do, and worth doing, in Crimson Forest in Phantom Blade Zero.
On This Page
Beginning Snake’s Reflection
Picking up Illusion of Inanis
This quest automatically unlocks after the second cutscene with the Illusion of Inanis. Ring the Crimson Forest Crane Bell, and you get treated to a cutscene of what transpired at the Crimson Forest. As the day count now decreases by 1 to 61 Days Remaining.
Memory Flower (1/1)
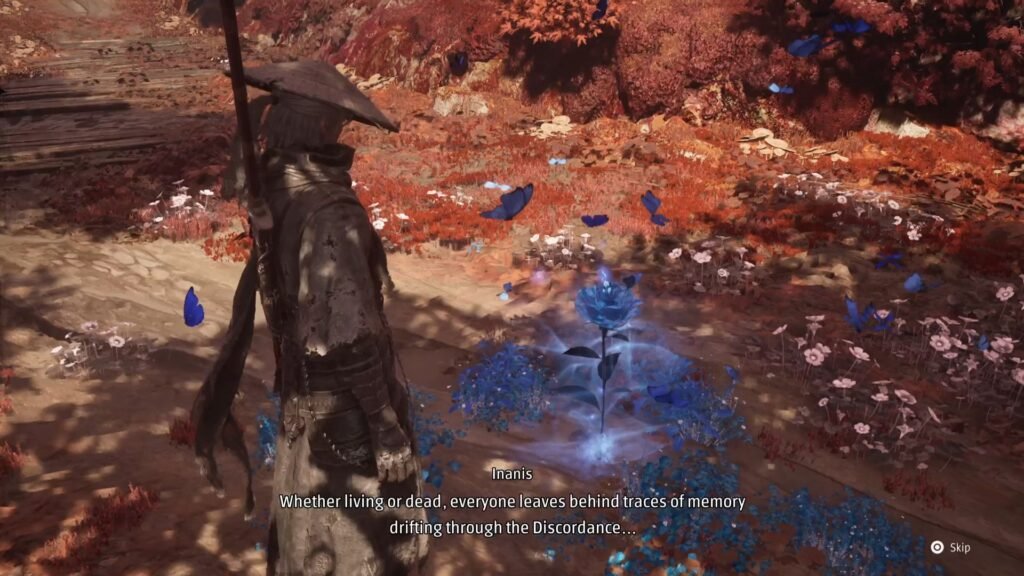
Check the Memory Flower Left By Inanis, to increase your health permanently by 5%.
Go straight from the Crane Bell to a campfire with a lot of crates and boxes around. Grab Ming Yuan’s Letter to his Uncle, Twinned Metal, and The Eleven Note. Now, proceed on the main path on the left of the Crane Bell to arrive at a lake. We have to take the steps going up straight ahead, but before that, clear out the enemies. Then, grab the Exotic Copper Ingot from the left, and Darkfire Charcoal from the right.
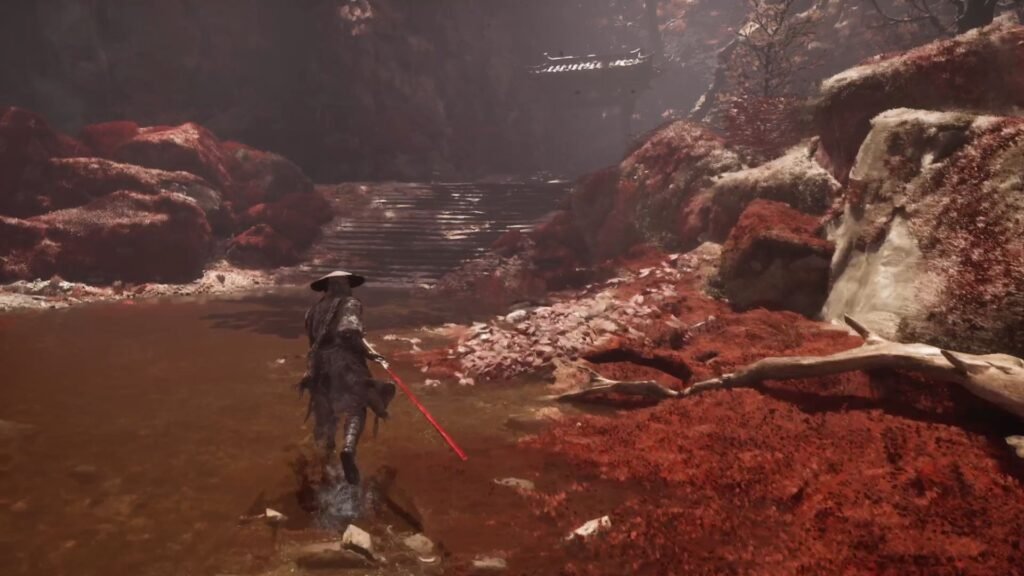
After the first flight of stairs, go right and get the Traversal Talisman. Continue ahead, and you will then pass through a gate with the stairs winding to the right, and then to the left on a linear path. When enemies have a shield – indicated also with a blue stamina bar, use your Dread Axe to cleave through the shield and open them up for normal attacks.
The next is an enemy group of 4, and they will throw dirt that obscures your vision (and the screen). This stays for a short time, however, red and blue flashes whenever they are executing these attacks do shine through.
Pick up the Forged Metal from the left before climbing up. Use the wall running section to go across, and grab the Broadplate Metal from the left, the Crimson Forest Reflections note, and Written Orders note from the corpses, after jumping down. Ring the Abandoned Main Road Bell.
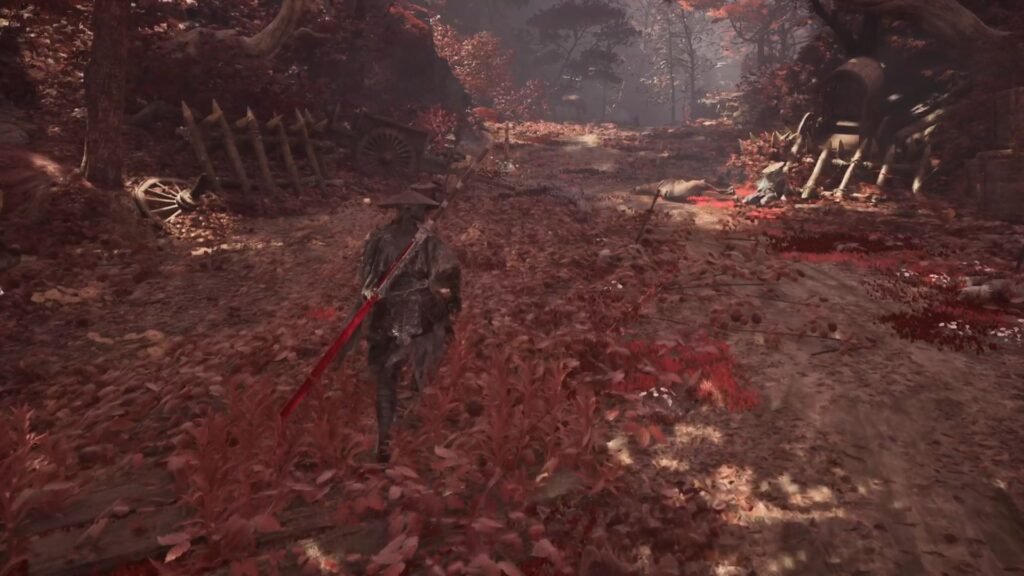
There is a path straight ahead with enemies, and one that winds up on the right. Both lead to the same place. After clearing out the enemies, walk to the end of the broken bridge and jump to the right. Use the two climbable sections to get to the other side of the bridge.
Shieldbreaker Talisman
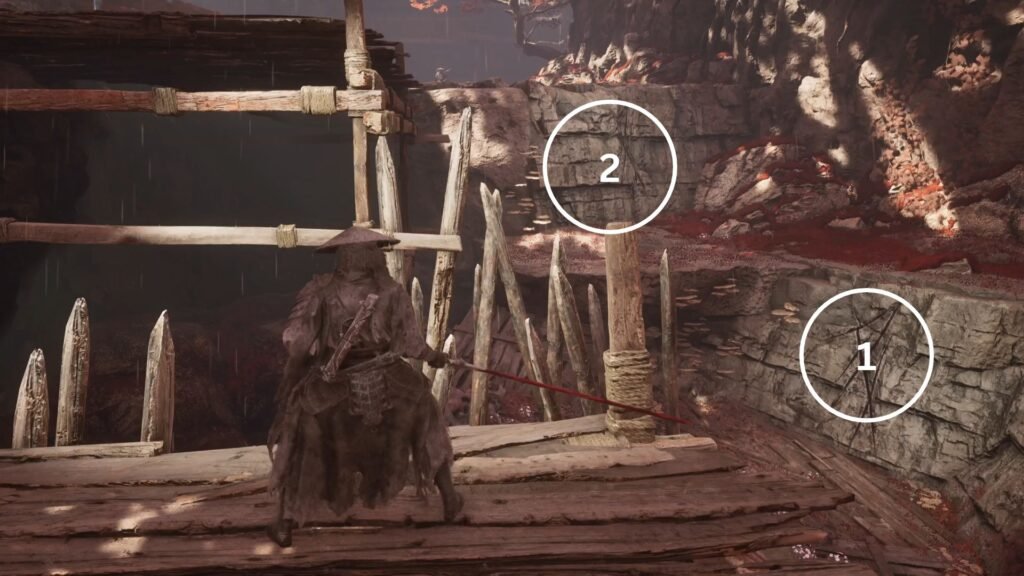
Defeat the enemies on the other side, including the one after climbing the ladder. Loot the chest to get Shieldbreaker Talisman accessory. Also get the Solvent from this side of the broken bridge. Now, take the path that winds upwards. First, go straight to grab a good chunk of 3744 Remnant Dust, and then go right.
From here, jump down, get the Mandate Military Pledge Note, and Twinned Metal. Use the 2 wall running sections, and as soon as you land, you will get ambushed. Clear out the enemy, and move along the linear path till it branches into two.
Blackstone Shard #1
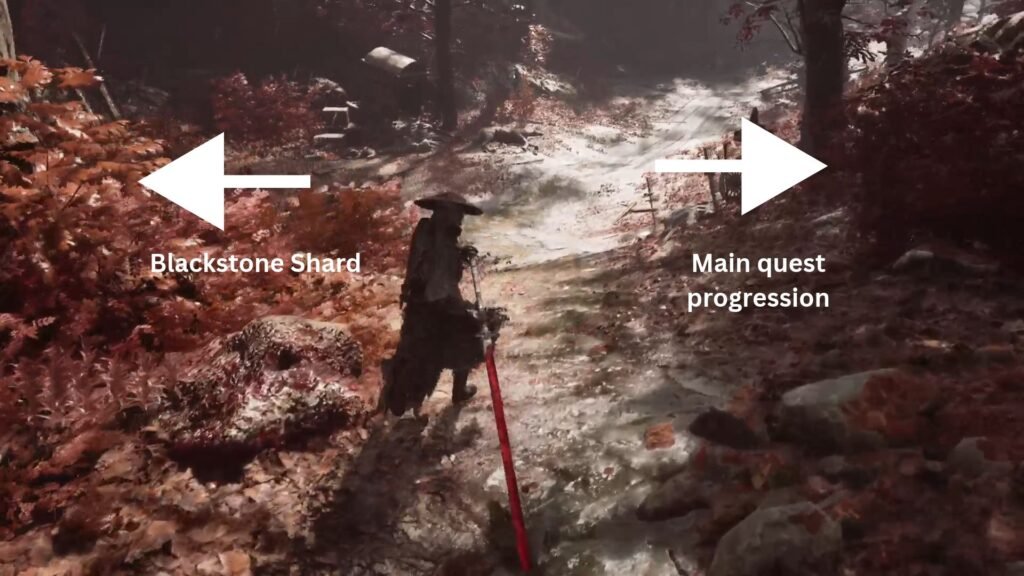
Let’s take the left first. Clear out the two enemies, taking the second one out with an assassination. Now, as soon as you try to grab the shiny, you will get attacked with an enemy wielding a flaming sword. Once defeated, get the Ancient Timber and loot the chest at the end to get the 1st Blackstone Shard for the region. There are 6 Blackstone Shards in total to collect – 4 for now, and 2 when you come back much later to the region.
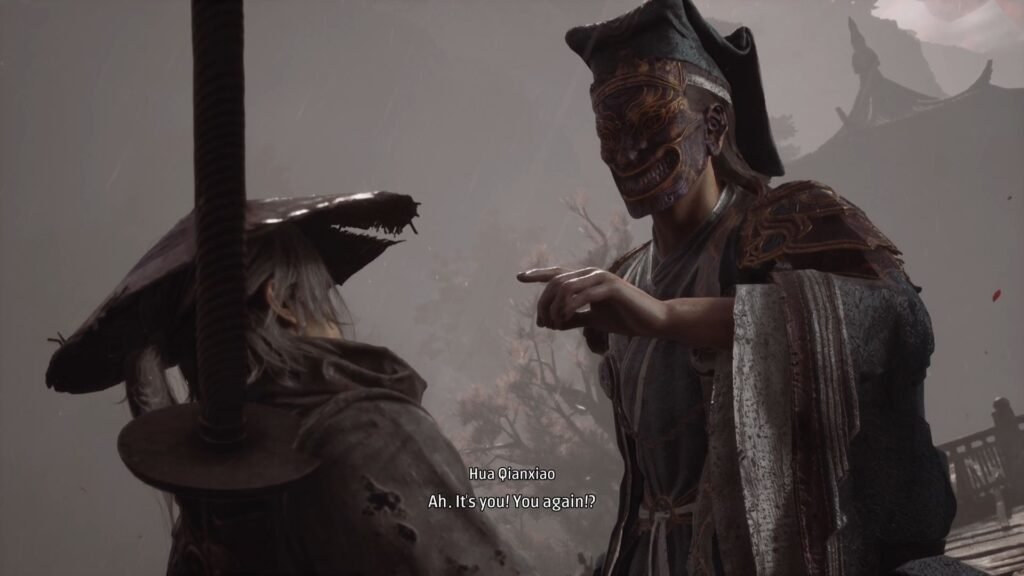
Take the right now, get the Orders to Protect the Young Lady note, and defeat the two enemies, including a first one for us – on a horseback. After defeating them, on the right, is the Pangzhen Bridge Overlook bell. Get ready for a great boss fight, that drops a powerful and fun weapon to use.
Hua Qianxiao, The Sword Fanatic Boss Fight
This is a single phase fight, and it pays to be aggressive throughout the fight. The best combo to parry, reduce his stamina bar, and deal damage is when he drunkenly slashes a couple of times, before closing the gap with a rapid flurry, and always ends with a red glowing attack. Dodge this one and get a few hits of your own in.
The other is when he will do it upside down, but the combo remains the same – a couple of hits from a distance, then a rapid flurry up close, and a red glowing attack.
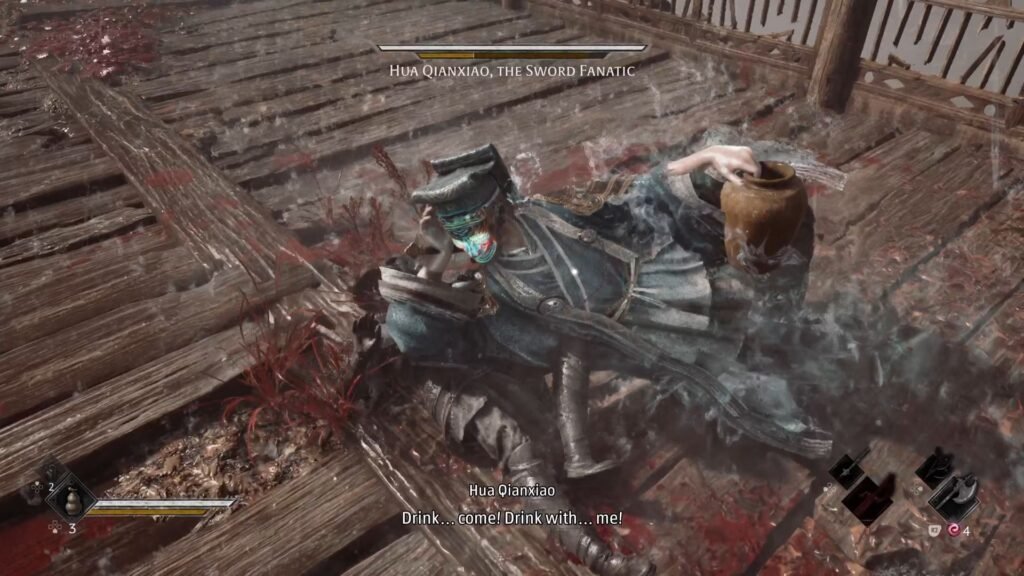
The other attack to cash in is when he will lie upon you, taking a swig, and then suddenly jump away, and always follow this up with a red glowing hit.
The Jagged Steel works best, as it builds bleed – ensure that it is leveled up to level 7-9. The other alternative is the Sanguine Reach, it also deals some serious damage when upgraded.
The Fanatic’s Broken Blade
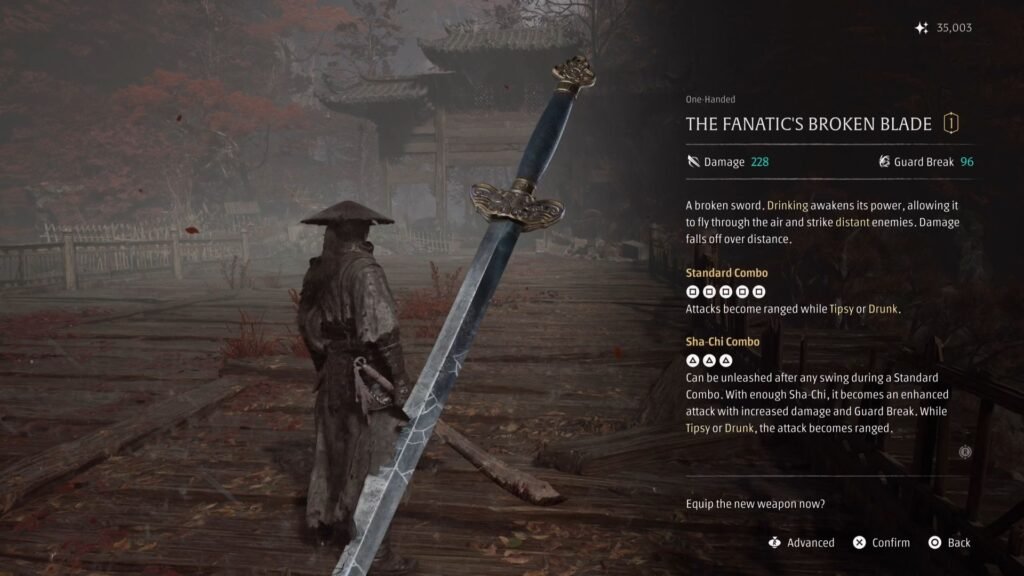
Defeat him to get the Fanatic’s Broken Blade – which deals melee damage, and when Tipsy or Drunk, deals ranged damage.
Simmering Brew
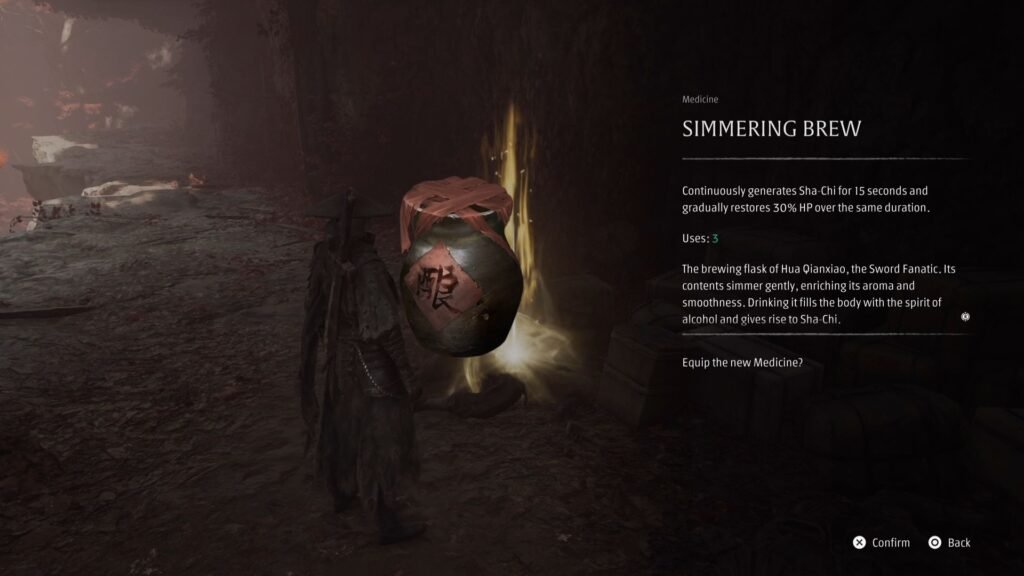
Immediately after the fight, moving ahead, the bridge gives way. Grapple across to collect the Simmering Brew Medicine. This one works best with the Fanatic’s Broken Blade.
Memory Flower Fellow Disciples (1/3)
Continue along, and collect the Tainted Crystal Shard on the way. On your path, there will be a right where 3 dogs will attack you. Defeat them to get the Memory Flower: Flower Disciples 1. Bond for Fellowship for the Crimson Forest area.
Meeting Quick Hand Zhang | Opening up and exploring area around Outlaw Trap bell
After this, go straight, defeat the 3 dogs and the enemy, climb up across the 2 surfaces, grab the Forged Metal, and defeat the 2 enemies to make it to the next bell – Trail of Cages.
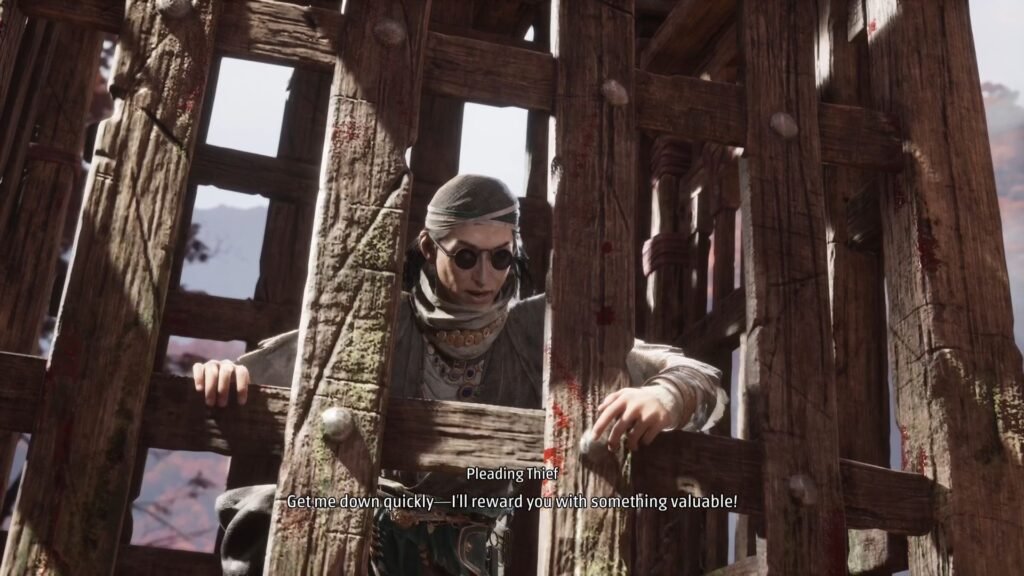
Continue ahead, grab the Exotic Copper Ingot, and you will next come across a key NPC with a host of a pretty rewarding side quest chain – Quick Hand Zhang. He requests us to rescue him from the cage, and that’s what we will do next.
Memory Flower – Fellow Disciples (2/3)
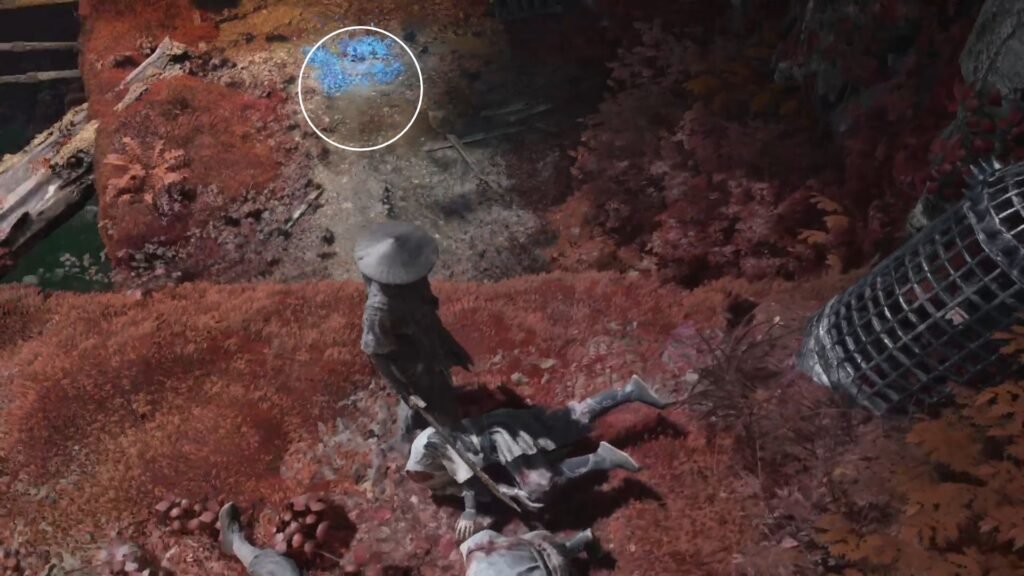
On the path, take a right to head into the cave, defeat the enemies, and get the Memory Flower: Fellow Disciples – II: Orders Reiterated on the level below.
Blackstone Shard #2
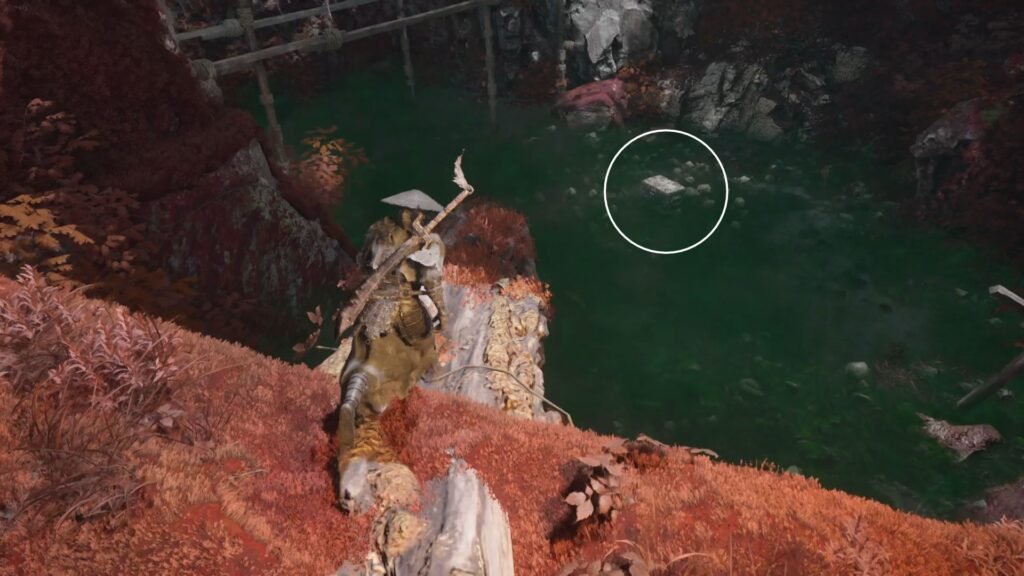
Further down, in a poison filled pool is a chest with Blackstone Shard. Grab it quickly and move to safe ground.
Cavalrybane
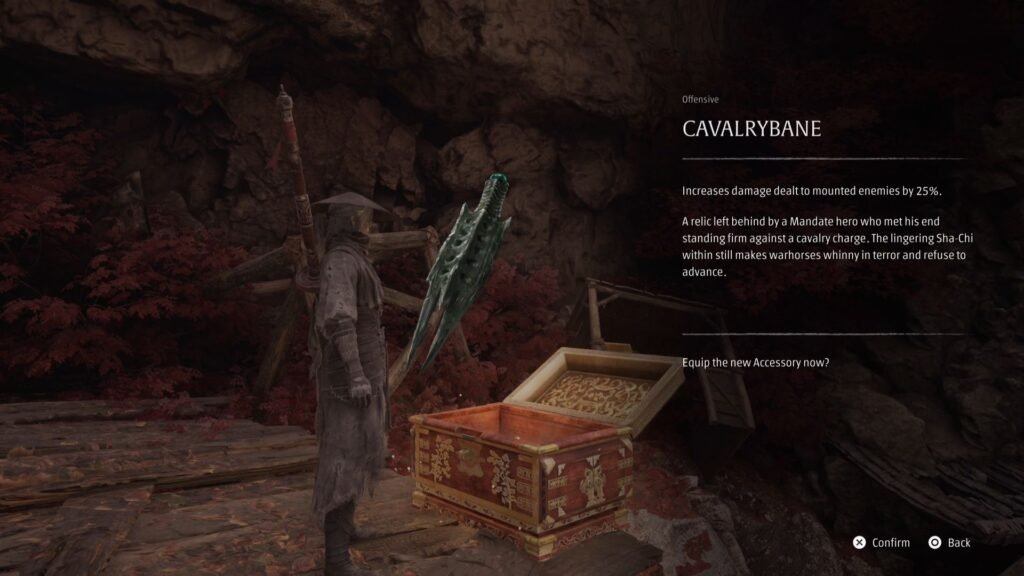
With that, collect the Solvent on the way up to the next set of enemies. Continue on the path to emerge out of the cave, with the crank needed to lower Quick Hand Zhang’s cage to the right. Jump down from the crank to the platform below that has the Cavalrybane accessory.
Picking up The Wily Hare’s Three Dens Quest
Make your way back to him, unlock the cage, and complete the interaction with him.
With that done, we can proceed on the path straight ahead for the main quest. Cross the bridge, defeat the enemies, and grab the Forged Metal, and Huangxing’s Edict Note.
Here, there will be an update to Whence The Wheeping, where Soul will comment that the same weeping he had heard earlier looks to be drawing him deep into the forest. Nothing else to do here, so continue along.
Defeat the enemy up ahead and ring the Outlaw Trap bell on your left.
Get the Solvent from the left, we have a missing Tunnel Crank that we need to get next to progress the main story.
Memory Flower – Fellow Disciples (3/3)
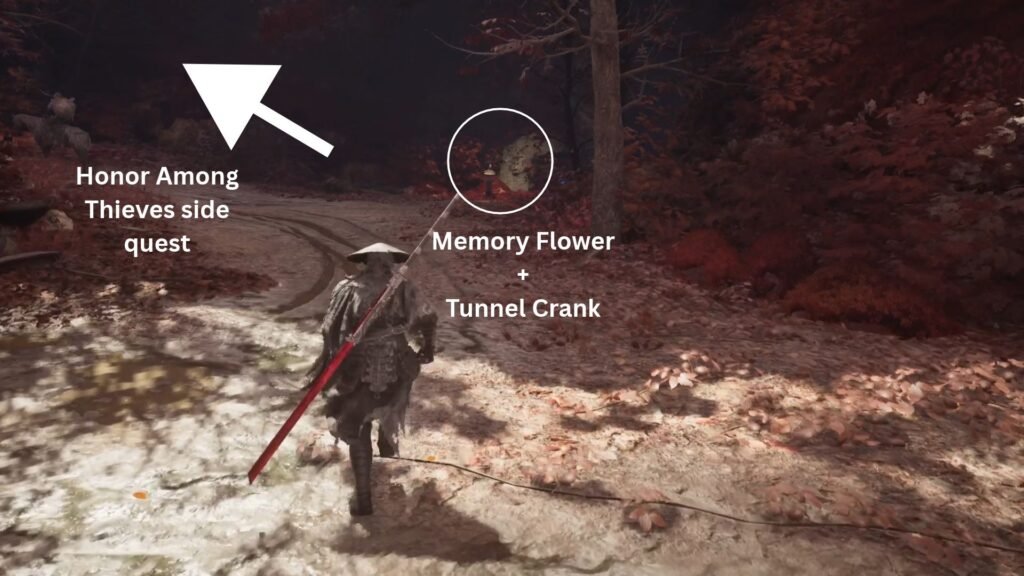
Before you take on the enemies on the path ahead, take a right, and get the Memory Flower: Fellow Disciples III – No Leniency. This should be the 3rd one that completes the requirement to get a 7% permanent increase in health.
Continue down the path from the Memory Flower, and defeat the enemy group here to get Remnant Dust, Preservation Talisman Fragment 1, and the Tunnel Crank.
Picking up Honor Among Thieves Quest
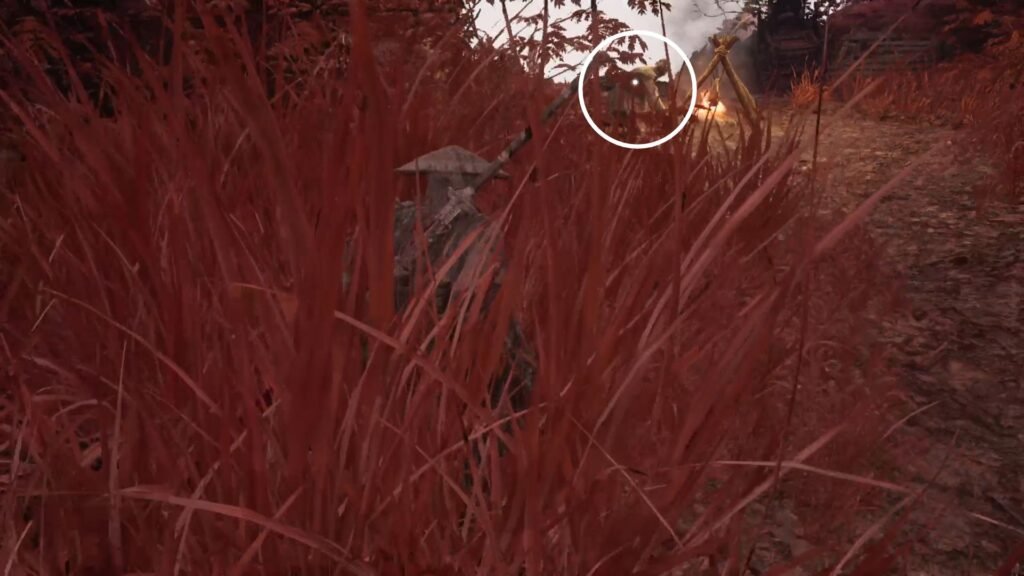
Now, take the path where you defeated the enemy on horseback, and crouch through the grass to take out a lone enemy. This gets you a Note which starts the Honor Among Thieves side quest. Read the Blood Letter from Nimble Thief Note carefully, as the second step for this will need you answering questions based on this.
Sha-Chi Amber Shard #1 | Kuye Dew Medicine
Use the Tunnel Crank to open up the path on the left. Take the ladder down, and head left first.
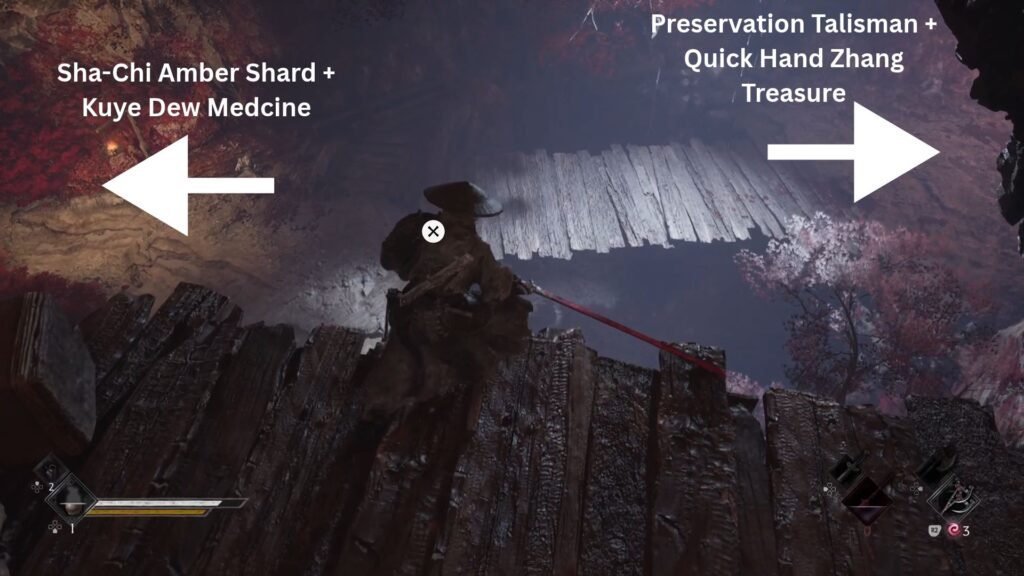
Open the gate, and clear out the ambush from the two enemies. After that, loot the chest to get the 1st Sha-Chi Amber Shard of the Crimson Forest area. Like the Blackstone Shard, there are a total of 6 Amber Shards to find – 4 for now, and 2 later.
Head outside and take the steps down to get Kuye Dew Medicine.
Preservation Jar
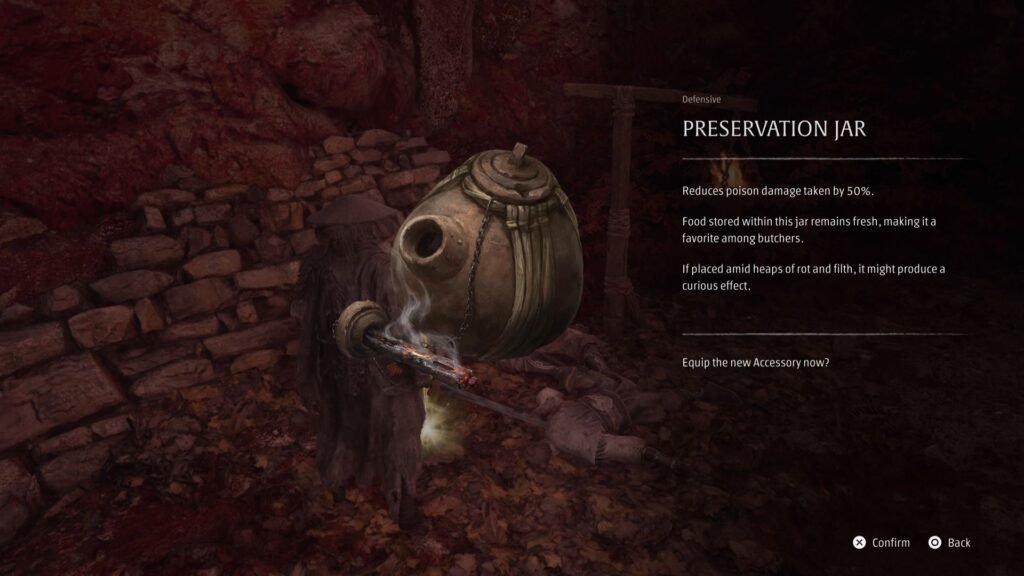
With that done, retrace your steps and take a right now. Here, defeat the enemy, and get the Preservation Talisman Fragment – II. This will automatically combine with the 1st part that you have in the inventory to now form the completed Preservation Jar – giving you a 50% poison damage reduction.
Quick Hand Zhang Treasure (1/3)
Continue ahead to the soldiers lying on the sides, and you will see a chest afar.
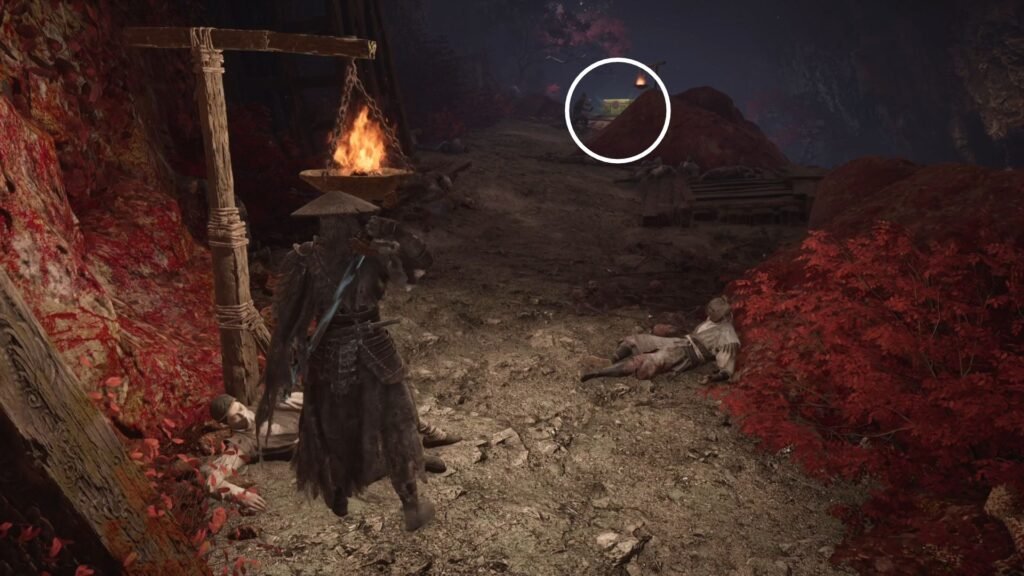
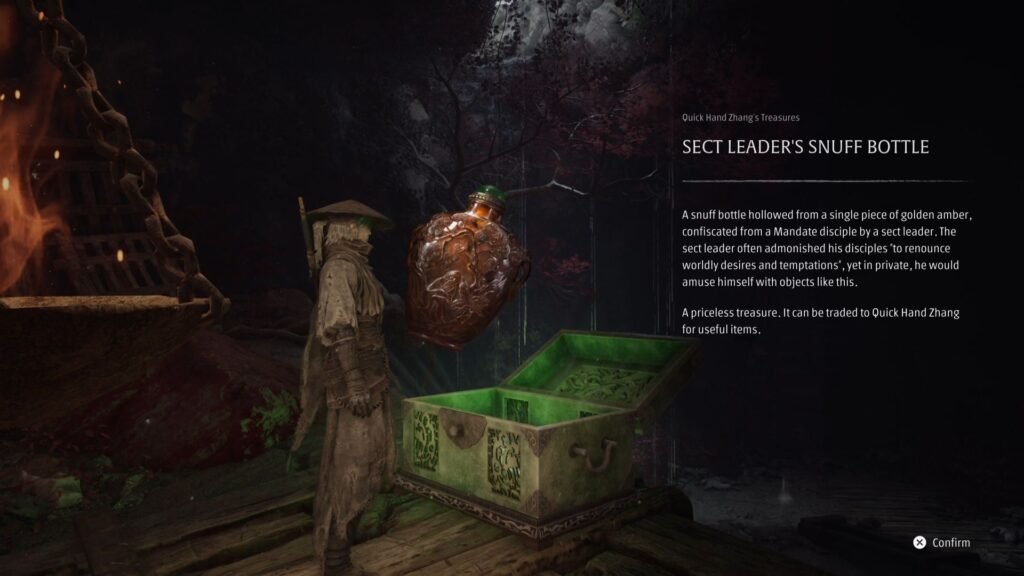
Assassinate the enemy with the back to you, and loot the chest to get Sect Leader’s Snuff Bottle – the first treasure of this area for Quick Hand Zhang.
From here, retrace your steps and take the path downwards on your immediate left. Defeat the dogs, and collect Remnant Dust.
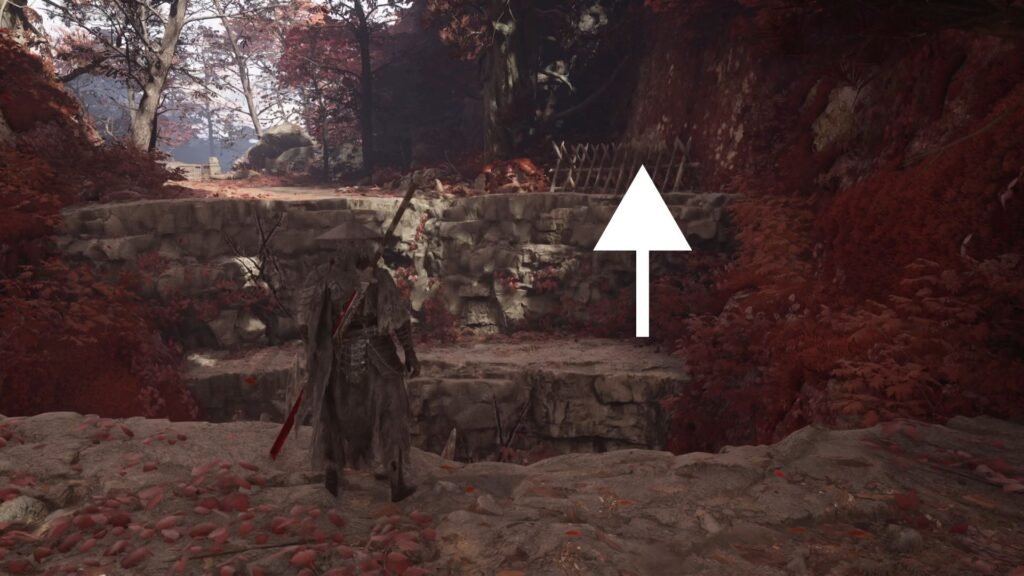
With that, we are done with this area. Return to the Bell, and go to the opposite side, across the gap (you can climb down and then go to the other side); and ready yourself for a boss fight.
Jing Ye, The Outlaw Boss Fight
Jing Ye is a boss that is effectively 2 phases, and 2 very different fights across the two. The 2nd phase is not a full new health bar, but when it drops to 50%, he will get down from his horse and fight you on ground.
The first thing that I highly, highly recommend is
- Equip the Shieldbreaker Talisman – This increases shield depletion by 50%, and reduces damage from spiked shields by 30%. This is a big help for phase 2.
- Upgrade the Dread Axe – Again, this is a prep for phase 2, where we will be using the Dread Axe to get his shield down.
- Get the Jagged Steel upgraded – The bursts of bleed damage goes a long way in helping bring down his health pool.
This is a fight where some level of patience is recommended – especially in phase 1. Parry his bleed attacks – the animation for this is a very obvious one where he takes up a bomb or a flask, tosses it, and cuts it to send those bleed projectiles at you.
He will also throw up dust to obscure your vision, but that is not a big problem as it clears off in a very short while.
In Phase 2, he will do the same attack, but, along with bleed projectiles, he will also do a jump attack, you have to avoid that first and then parry the bleed projectiles.
The red glowing attacks on Phase 1 also are a relatively easy tell, use those to counterattack and deal damage. He will generally do 2 or 3 slashes with the sword, before doing the red glowing attack.
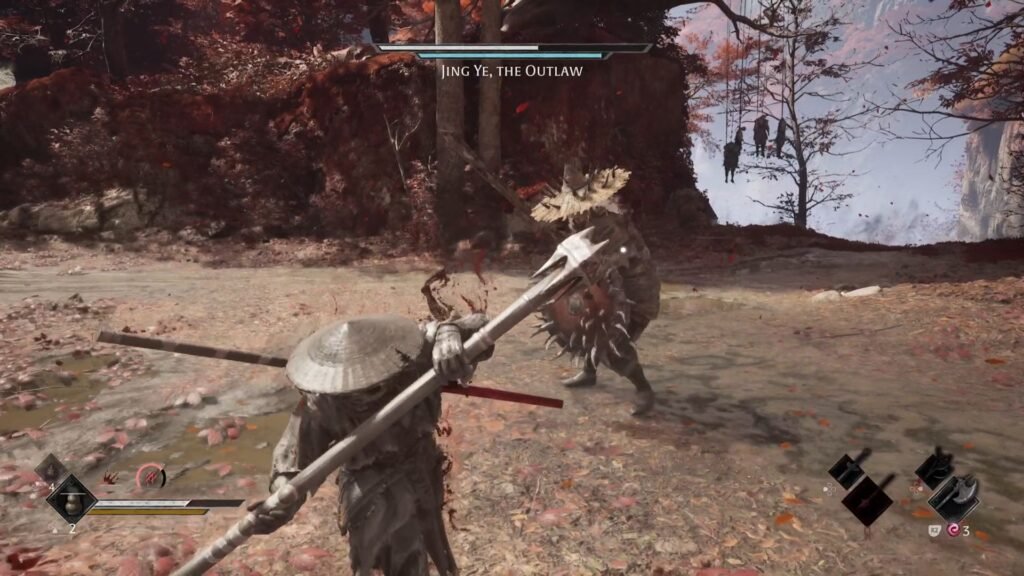
In Phase 2, get your Dread Axe out and launch a fully charged attack. With an upgraded Phantom Edge, one, or max 2 such shots should be enough to break his shield. He will get thrown away, so even if he deals damage to you, there will be time to heal after your Dread Axe attack.
His Phase 2 has a red glowing attack after a 5 attack combo – the 2nd and 3rd will be short vertical slashes, then he will kick his sword and launch a swipe, and then the red glowing attack.
Outlaw Warblade
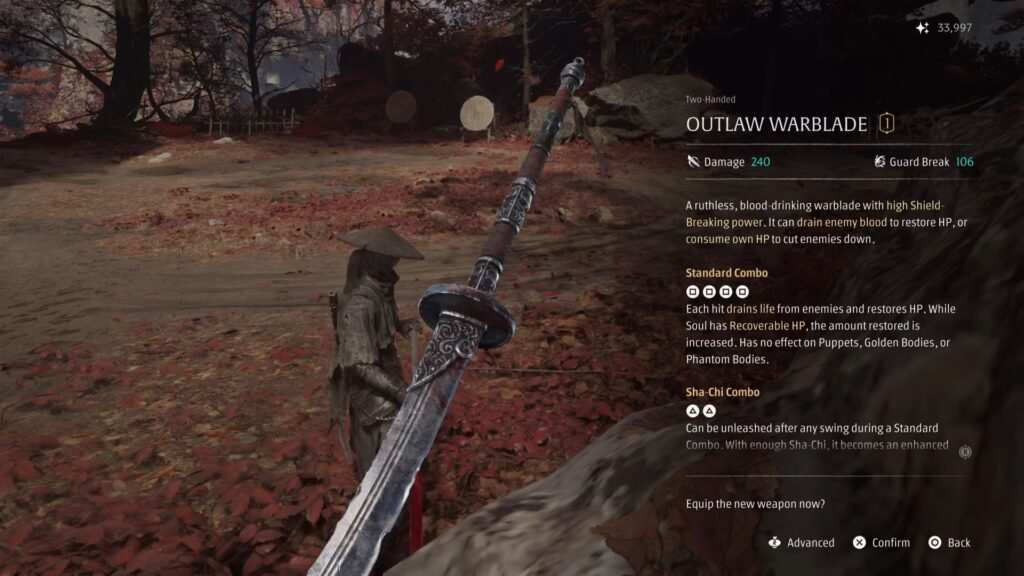
Defeating him gets you the Outlaw Warblade, and a path to the hub area for the Crimson Forest.
Memory Flower – On Perfect Transcension (1/4)
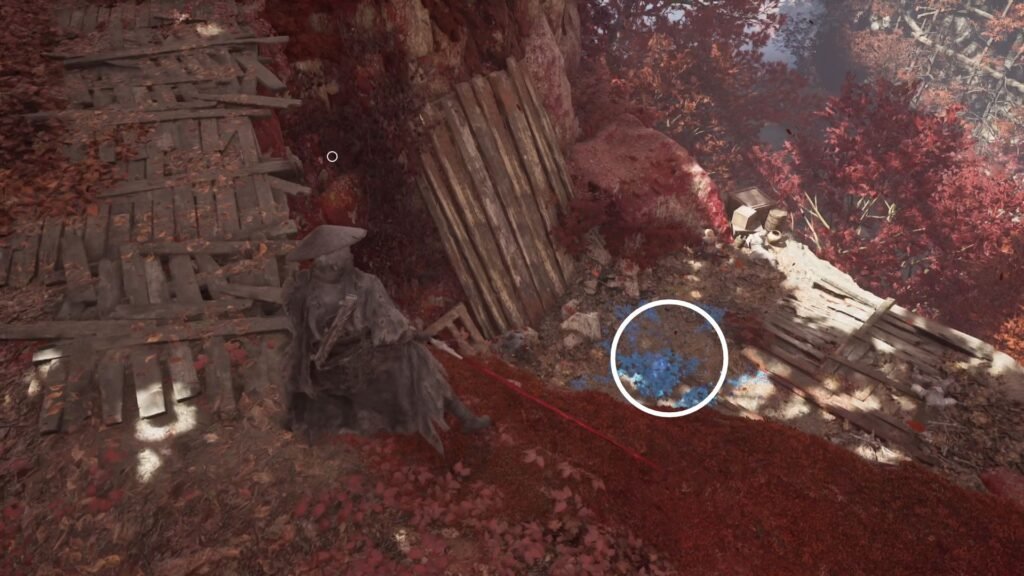
Jump down on the other side, and before getting onto the bridge, look to your right for another Memory Flower: On Perfect Transcension – 1. The Handwritten Order. Collect the Broadplate Metal from the left, and now make your way across the bridge
Crimson Forest Hub Area
There are quite a few NPCs to speak to and side quests to get / progress here, starting from the 2 NPCs standing on the bridge.
Picking up the Secrets of the Baishan Sect Quest
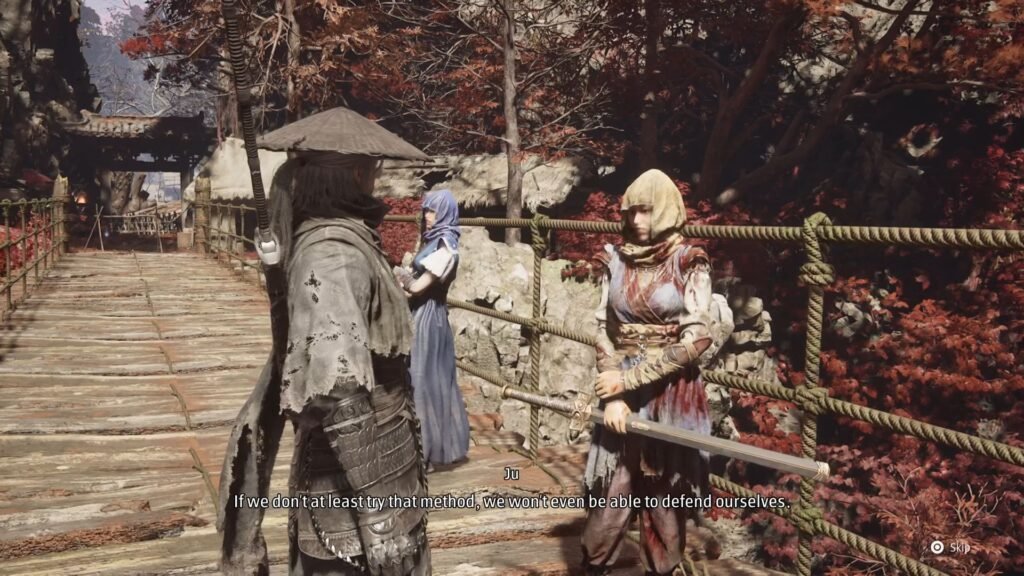
Speak to Ju and Lanlan to begin Secrets of the Baishan Sect. When you enter the hub area, pick up the Who is Quick Hand Zhang Note.
Silent Wrap Accessory | Honor Among Thieves Quest Closure
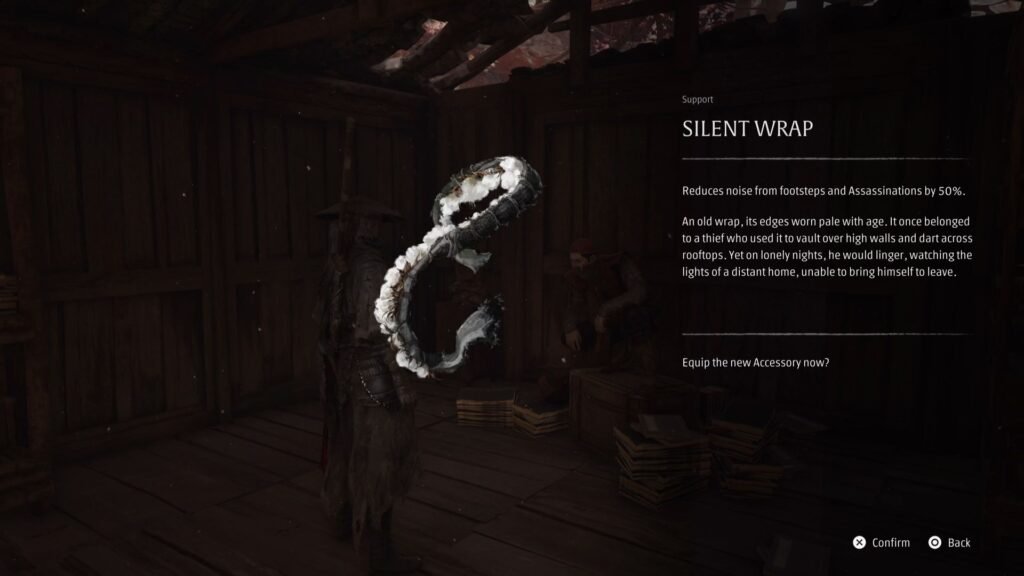
Then, beginning from the right, speak to the Irreverent / Gentle Thief to progress and close Honor Among Thieves quest, with the following right answers:
- Stole a patron’s jade belt
- Butterfly
- The letter didn’t mention the child. It seems his fate is unknown
You get the Silent Wrap accessory with this, and the Honor Among Thieves quest is complete.
Note the door down the path on the right – it is currently locked. For now get the Mandate’s Decree Note in front of it. Next, speak to the Old Beggar. Then, get the Exotic Copper Ingot to his right, and ring the Thieves’ Camp Crane Bell to get a cutscene.
Picking up A Healer’s Mercy Quest
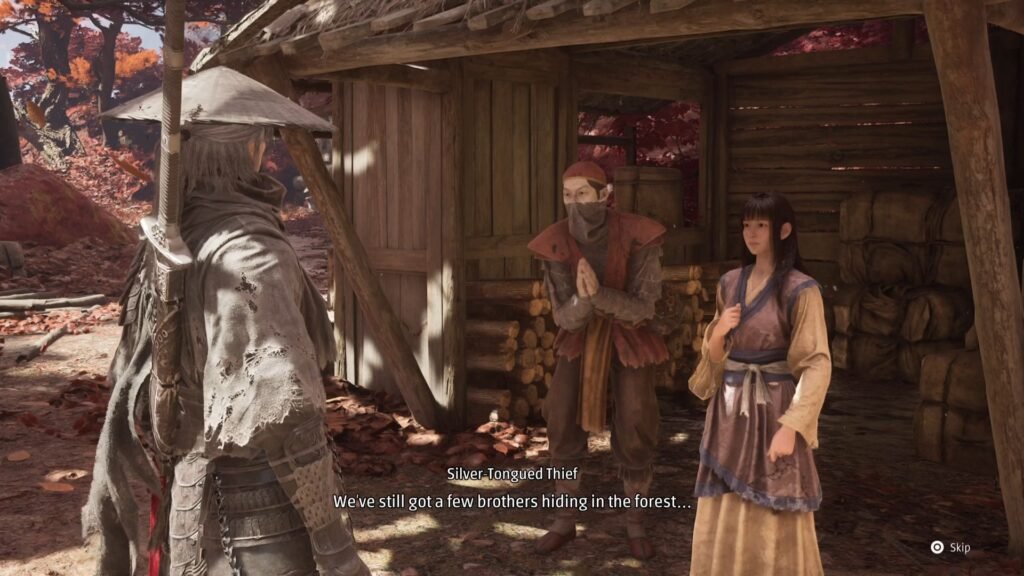
Next, you see a familiar face in Yu’er, and a Silver-Tongued Thief with her. Complete the interaction here. Select ‘The wounded in the woods’ to get the Record of Missing Thieves Note, and begin ‘A Healer’s Mercy’ side quest.
Quick Hand Pendant | Picking up Quick Hand’s Request Quest
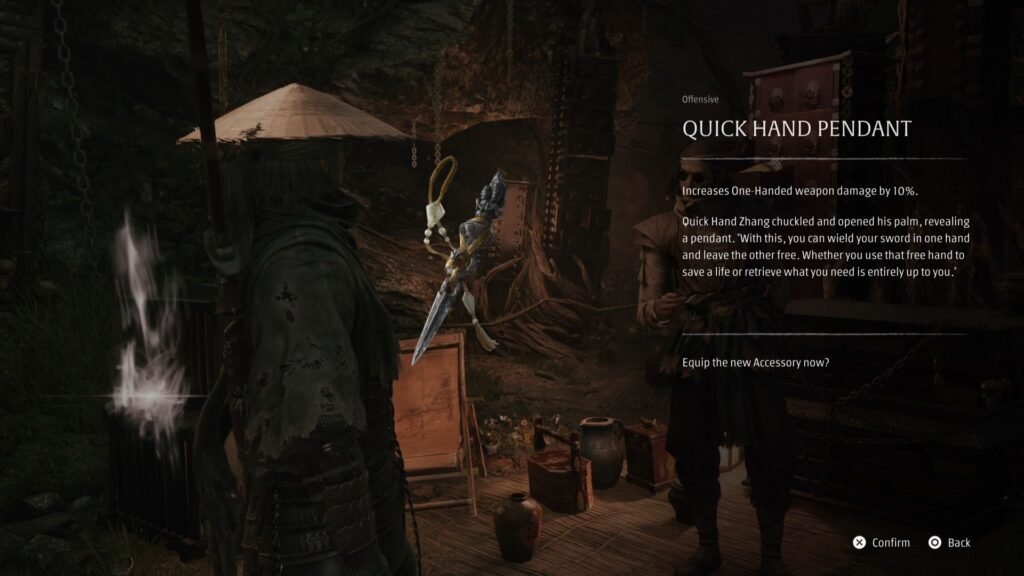
Climb up to the purple shiny (Traversal Talisman) next to interact with Quick Hand Zhang, to get the Quick Hand Pendant. He will also give you the Lost Treasures of the Crimson Forest Note, to begin Quick Hand’s Request side quest. In the interaction, also select ‘Are you the real Quick Hand Zhang’
This updates The Wily Hare’s Three Dens to finding Quick Hand Zhang’s other hideouts. This completes all interactions at the camp.
Memory Flower – Perfect Transcension (2/4 ) | Quick Hand Zhang Treasure (2/3)
Make your way down the road. Collect Solvent and enter the cave with the two thieves at the entrance. Interact with the Memory Flower: Perfect Trancension II -Corruption or Cowardice? Defeat the enemy with the bell and the dogs. Loot the chest to get the 2nd treasure on Quick Hand Zhang’s list – the Bloostained Seal.
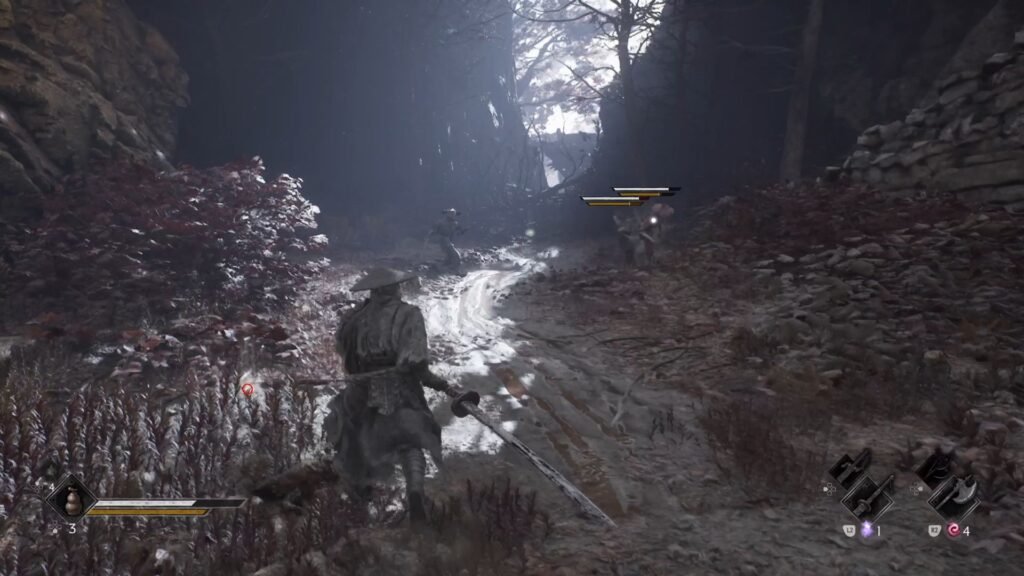
Crouch through the passage to arrive into an opening. Use the fallen tree to climb up from the pit. The door in front of you is locked, and there is a fight going on behind you. Join the fun and clear out everyone.
Collect the Lists of the Fallen Note, and take the steps going up. Note the lone building with a torch outside it, that is where we will be getting the key to open the locked gate from.
Apprentice’s Healer’s Memory
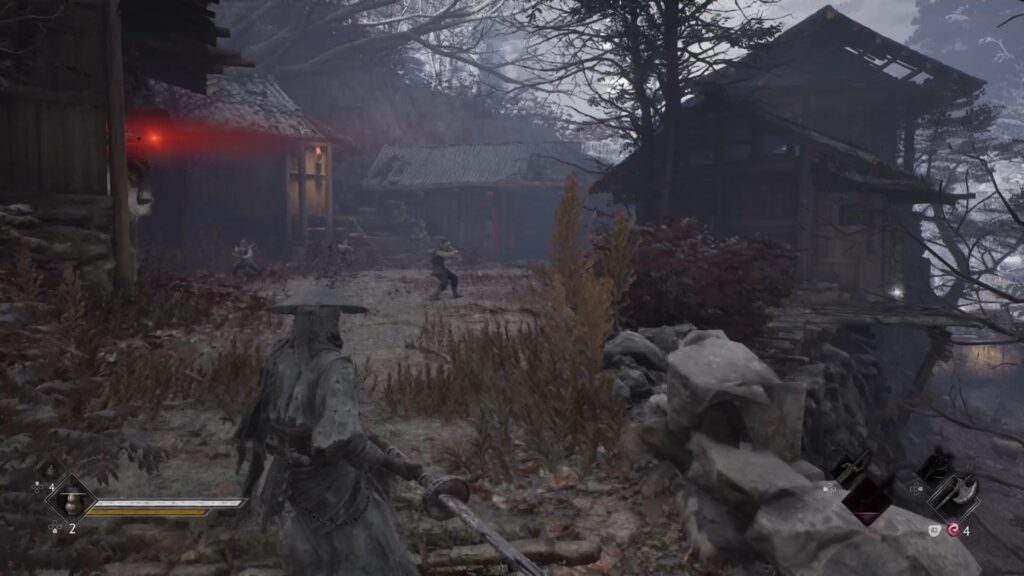
Defeat all the enemies here to get Apprentice Healer’s Memory – to upgrade Medicine to Level 2.
Enter the room with the 2 red banners to find a chest inside containing Blackstone Shard #3. Next, enter the hosue on it’s right (the one with a torch outside it) to get the Forest Outpost Courtyard Key. Use it to open the locked gate, and ring the Red Serpent House bell.
Take the Ancient Timber and continue up on the linear path. Clear out the enemies there. Take the ladder down on your left to get Incense Ash, Mechanical Gear, and Darkfire Charcoal from the chest. With that done, take the steps up to then take out the next group of enemies.
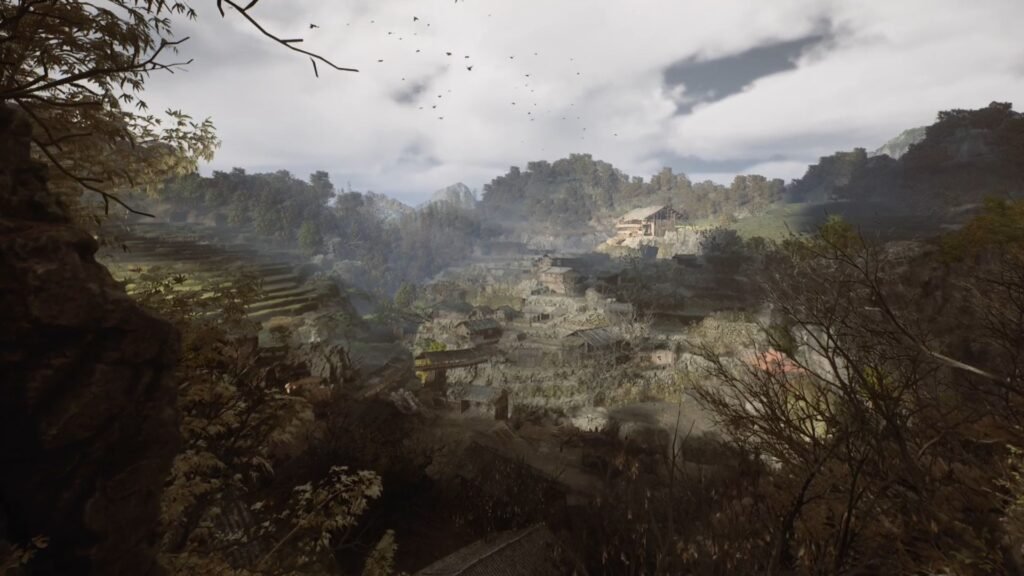
Take the climbable ledges on the left, get Darkfire Charcoal, and ring the Cliff of Longing bell. Interact with the puppets here.
Exploring Cliffside Lodge | Progressing side quests
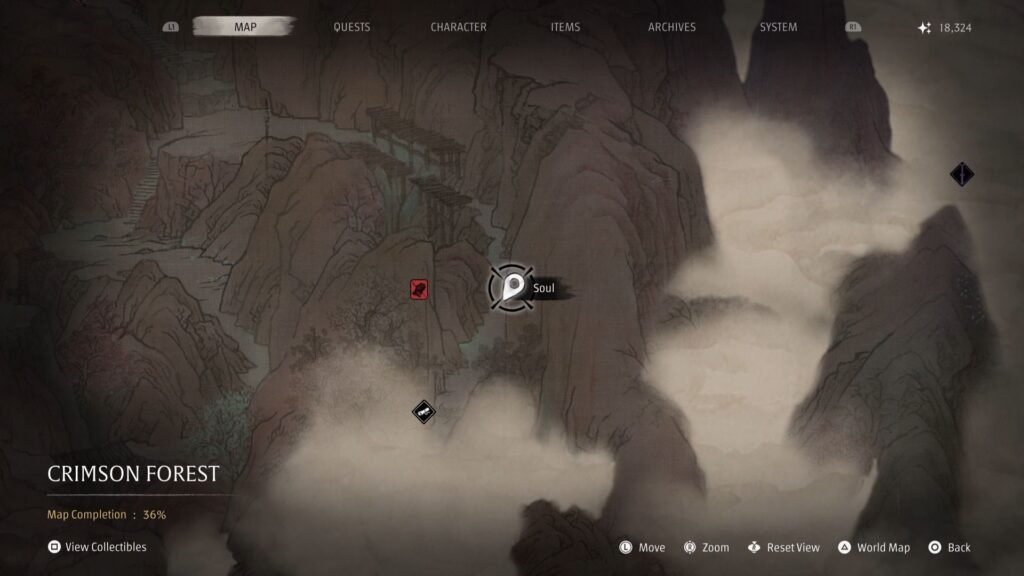
After saving here, get down, and continue straight from the campfire where we had defeated the enemies. First, jump down into the pit, take out the dog, and climb to the other side. You should now be here, as I have shown in the map above.
This will lead you to a house with red lanterns on the outside. First, go straight ahead through the entrance to the building to ring the Cliffside Lodge bell Do not take the left most path that is full of mist for now. There are a few goodies to get here and side quests to progress. Note the socket that needs a Cellar Crank to open.
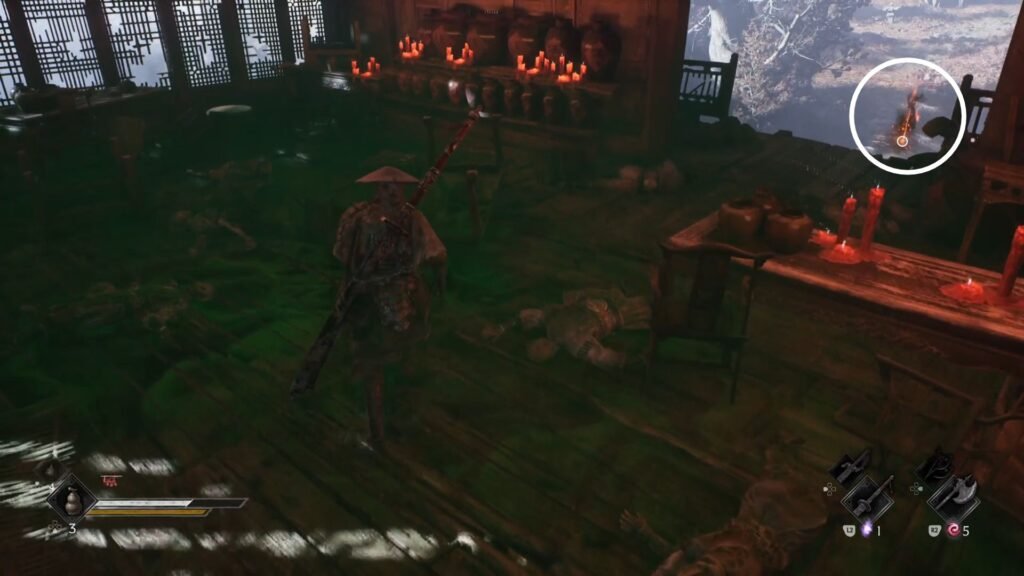
Take the ladder up, and clear out the enemies here. Now, equip the Preservation Jar for poison resistance, and enter into the poison filled room on the left, and onto the balcony to get the Cellar Crank.
Sha-Chi Amber Shard # 2
Use that now to open up the path behind the socket, and take the steps down. Here, on this level, there are two areas – the one straight ahead with an enemy lying in wait, and one on the right with a poison-filled room. Grab The Baishan Sect Reflections Note, and then lure the enemy in the poison-filled room and fight him in the clear area. Once defeated, get into the poison-filled room to loot a chest with Sha-Chi Amber Shard.
Thieves’ Camp Dungeon Key | Blackstone Shard # 4
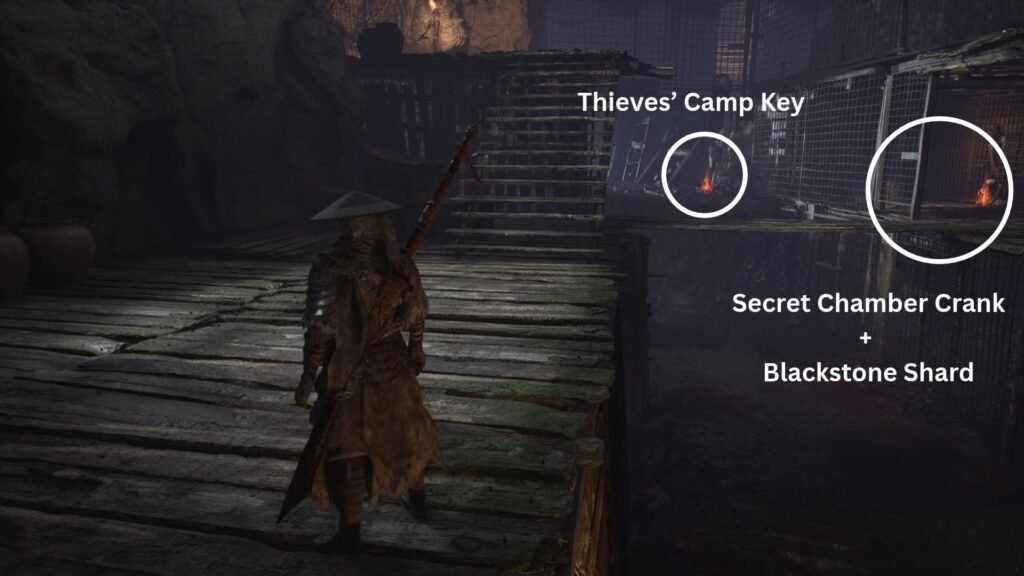
Now, take the path straight, clear out the enemy. Now, there is a level in between, and the ground level with enemies lying in wait. The in-between level has 3 items – 2 shinies, and 1 chest. First, clear out the enemies, then use the climbable ledge to get to the other side, and loot – Blackstone Shard #4 (this should complete all the shards into a Blackstone to permanently increase your damage and guard-break), the Secret Chamber Crank, and the Thieves’ Camp Dungeon Key for the locked door at the Thieves’ Camp.
Progressing A Healer’s Mercy & Secrets of the Baishan Sect
Now, continue ahead from where you got the key, get Remnant Dust from the right, and on the path. Then, open the door to rescue Zhen – The Slippery Eel, one of the four required as part of A Healer’s Mercy quest. The ladder on the right leads you back to the bell. We are not done with the area, though. So, enter and retrace your steps to where you had taken the Thieves’ Camp Dungeon Key.
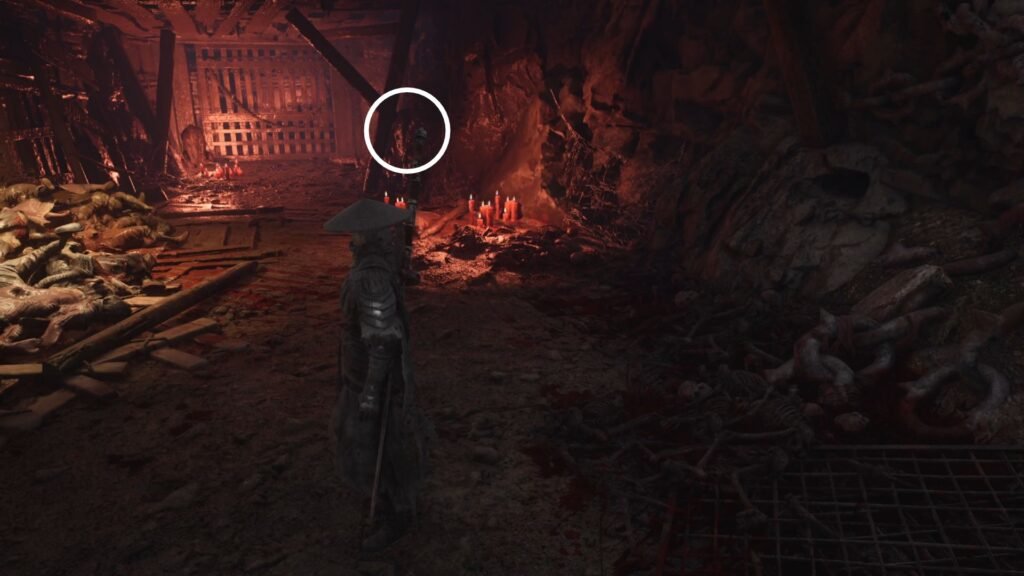
Insert the Secret Crank at the place shown in the image above, on the ground level. This will be the place with all the lit candles. This opens the door to your left. Interact with the Severely Wounded Baishan Disciple to progress Secrets of the Baishan Sect quest.
Memory Flower – On Perfect Transcension (3/4)
Lastly, go to the other end of the ground level to get Memory Flower: On Perfect Transcension 4 – The Means to Resist. While this is technically number 4, we are still missing one here. That will come much later, so for now, we are done with this area. Return to the Cliffside Lodge bell.
Stone Hand Iron Fever’s Memory Flower (1/2)
We can now take the mist-filled path on the left, collect the Broadplate Metal from the left, and head down what looks like a hanging tree bridge. You will get a cutscene, at the end of which you will find yourself near the Stone Hand Iron Fever’s Memory Flower – 1. The Legacy; and the Mirrorwood Entrance bell.
Iron Fever Boss Fight
This is a single phase boss fight – although, at around 50%, he does amp up his damage, but still, all of this is only across a single health bar.
The Outlaw Warblade and the Jagged Steel are great options for this fight. Compared to the last boss fight, this one is easier – and has readable attacks that are easy to parry. There are a couple of attacks that are better dodged.
He will come at you with a flurry of kicks, fists, and palms. The one where he lunges at you is a grab attack that is to be dodged and avoided.
In the second phase, he will do a couple of small leaps before doing the lunge attack, and is easier to dodge, in fact.
Iron Gauntlets
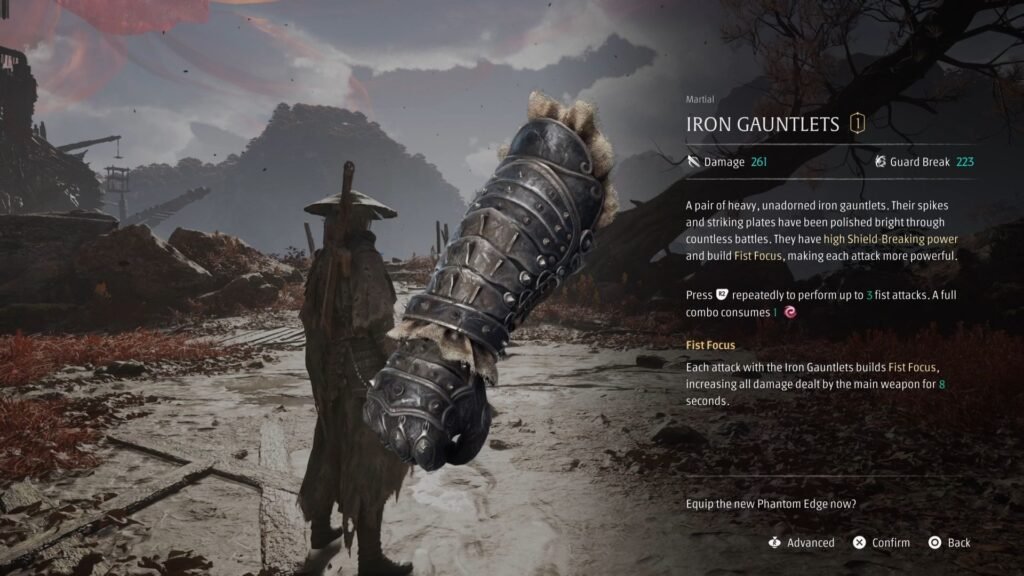
Defeating him gets you the Iron Gauntlets Phantom Edge.
Stone Hand Iron Fever’s Memory Flower (2/2)
Get the 2nd Memory Flower (2: Different Paths) for a 5% increase in HP.
Inani’s Memory Flower (1/6) | Picking up Resonant Strings quest
Now, take the narrow path that leads to a cave, and get Inani’s Memory Flower 1. The Performance. This also kicks off the Picking up Resonant Strings side quest, that has you collecting 6 of Inani’s Memory Flowers.
Now, from the Memory Flower, take the right to the Mirrorwood Long Pillar. We will save here, and go to unlock the Thieves’ Camp door.
Hub Area revisit | Unlocking the Thieves’ Camp door
Here, give the medicine to Gui the Night Raven. Then, take out the enemies on the ground level, to get a Cave Prison Key. There will be a specific boundary beyond which the game will give a message of not going ahead without a shield.
Amber Shards # 3 & 4 | Quick Hand Zhang Treasure (3/3)
Leave that part for now, and let’s raid the remaining. With the Cave Prison Key, we get access to 3 things here – Amber Shards numbers 3 & 4, and the final treasure for Quick Hand Zhang – the Ancient Crossbow.
Flying Dagger Phantom Edge
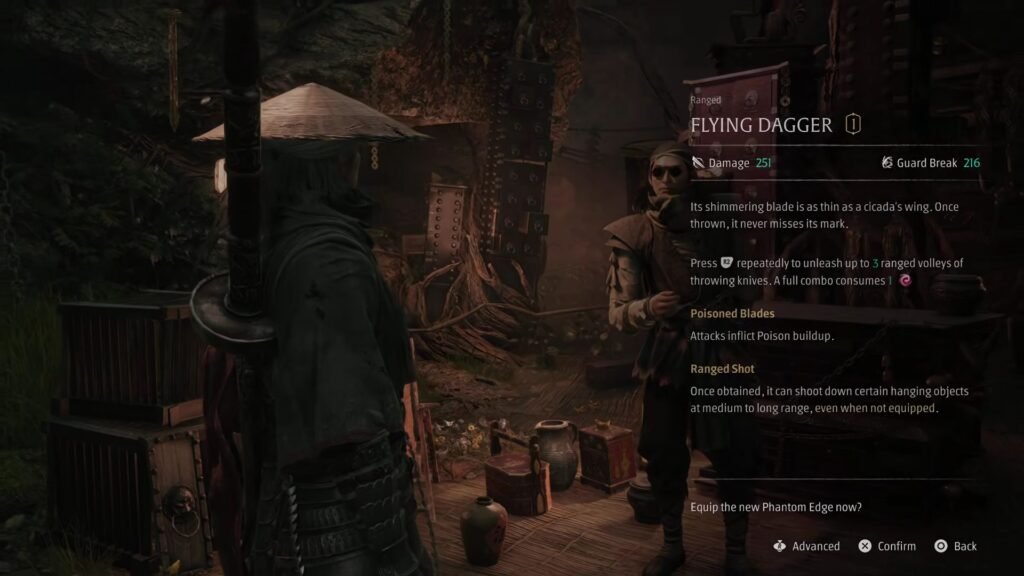
Return to Quick Hand Zhang, and hand over the treasures to get the Flying Dagger Phantom Edge.
Calming Gourd
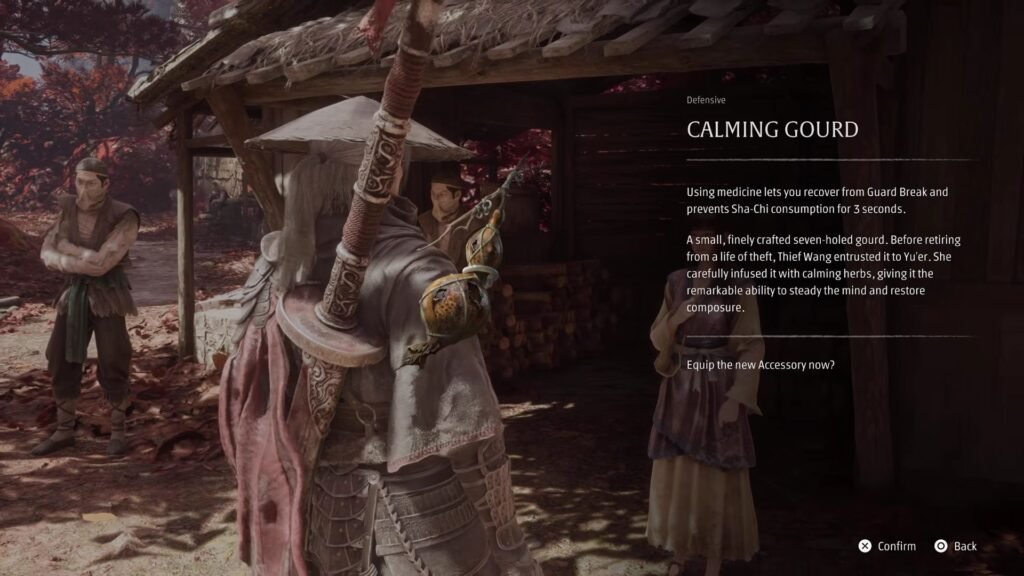
Return to Yu’er, and you get the Calming Gourd accessory.
Seal of Dugu
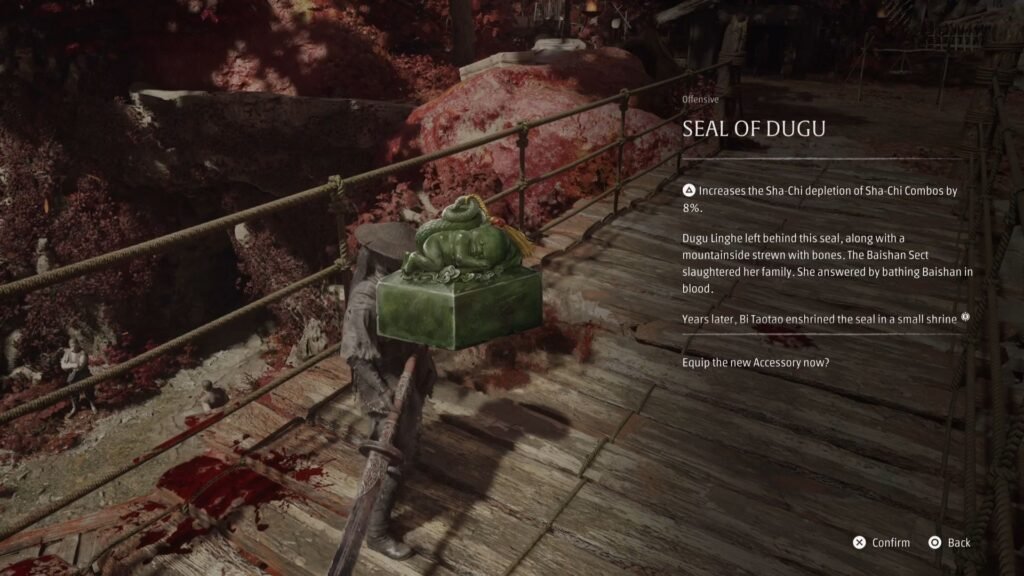
Speak to Ju on the bridge, and select It was you who killed her to get the Seal of Dugu accessory.
Exploring Mirrorwood Long Pillar & the area ahead
Inanis’ Memory Flowers (2/6) & (3/6)
Now, return to the Mirrorwood Long Pillar, and go right. There will be a set of 3 continuous grapple hooks to take you to the next area. Save at the Burial Grounds bell, and take out the enemies up ahead. Then ,get the Forged Metal, and the Inanis’ Memory Flower 2. Gravely Ill.
Continue ahead into the mist, and keep looking at the collectibles as an indicator for the way ahead. Apart from these collectibles, there is nothing else to miss out in the forest, so don’t worry. These will lead you to Inanis’ Memory Flower 3. The Gilded Lotus.
From here, collect the Ancient Timber, and move towards the big tree leaning into the open area, to trigger a cutscene, which closes the Illusion of Inanis quest.
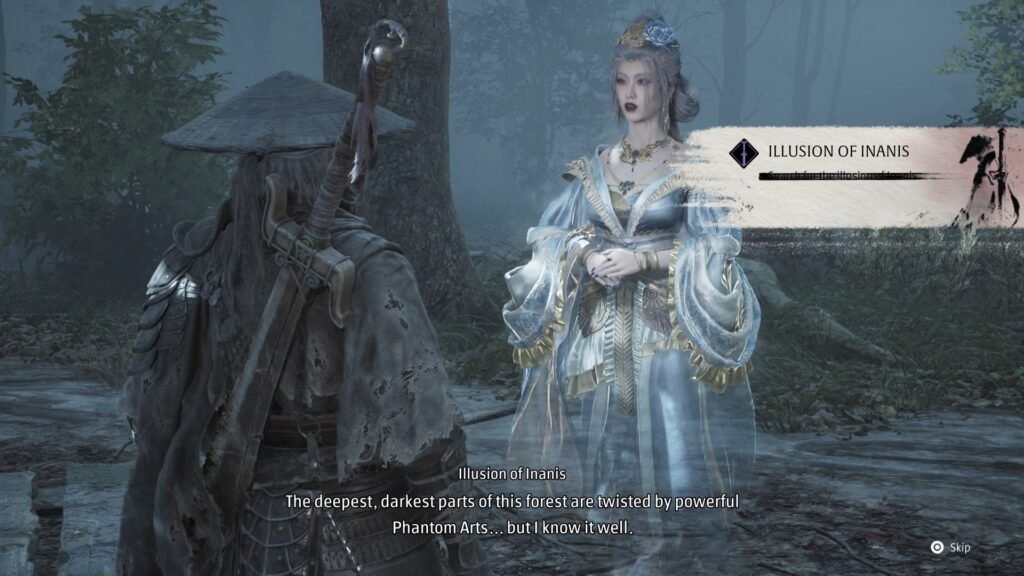
She will then clear the path ahead for you. Jump down and ring the Parting Mists bell. Here, on one side is a lake, and on the other side, a path that winds upwards with a grapple point. Let’s go to the lake, first.
Banyan’s Heart | Picking up Heart of the Banyan Tree quest
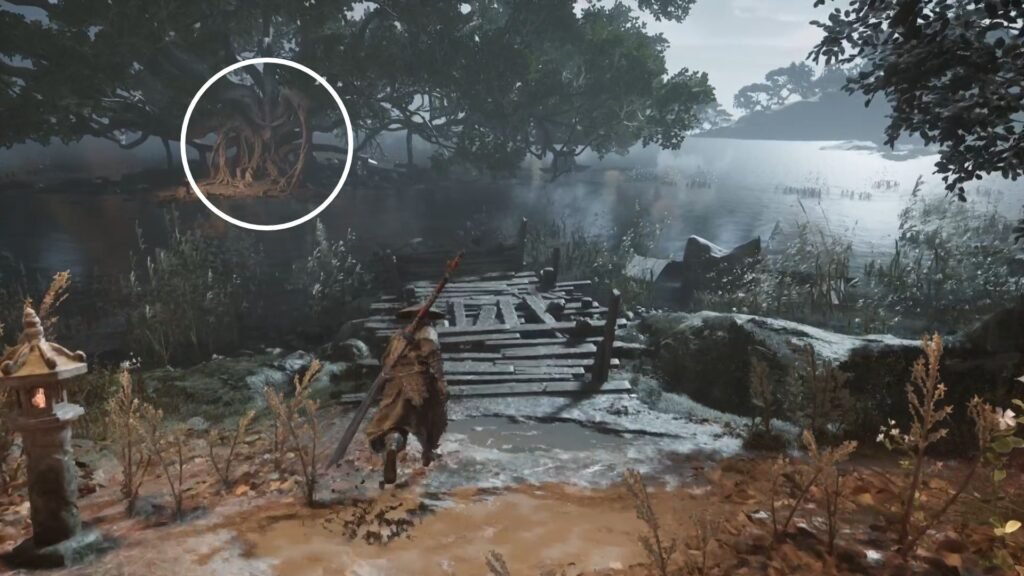
Interact with the Banyan Tree in the middle of the lake to trigger an awesome cutscene, and a challenge fight. Here, you will have 3 waves of enemies:
- The first will have 5 enemies – among which there are 2 with a shield.
- The second will have 2 enemies on horseback, 1 with a shield, and 1 of those fat ones armed with a sickle.
- The final one will have 2 enemies + Jing Ye, The Outlaw
If you get defeated during wave 2 or 3, the fight starts from that point and not from the 1st wave. On getting through all 3 successfully, you get the Banyan’s Heart, that will help unlock special skills in the Skill Tree.
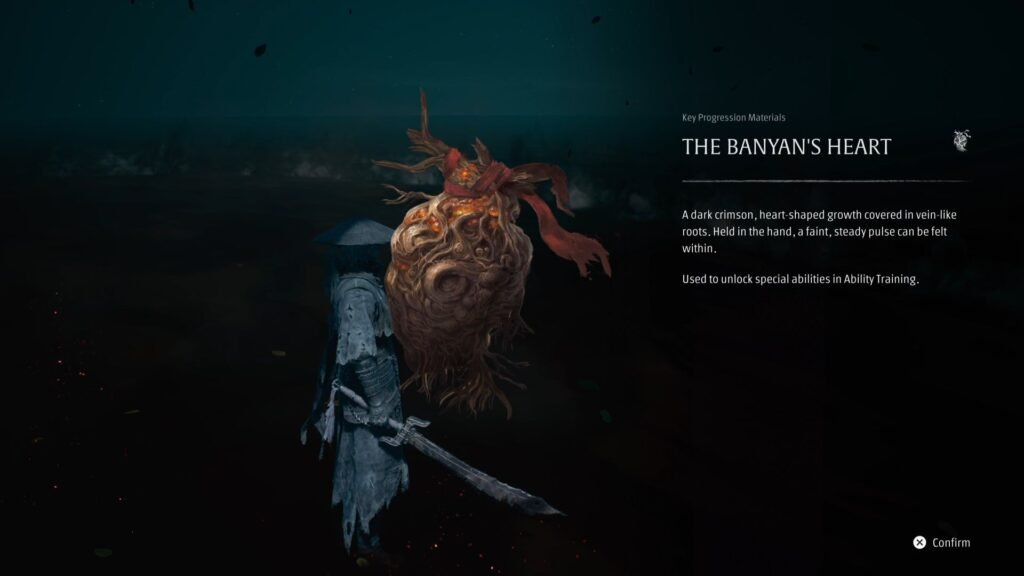
This also begins the Heart of the Banyan quest, where you have to discover and complete 5 such human-faced Banyan Tree challenges.
Now, from the bell, take the path winding upwards. Grapple ahead into the next set of enemies. This is followed by another grapple and enemies, nothing here that you can’t handle.
Inanis’ Memory Flower (4/6), (5/6), and (6/6)
Jump down for the next Memory Flower – Inanis’ Memory Flower 4. An Uninvited Guest. Continue ahead, defeat the enemies – the Fanatic’s Broken Blade, or any of the ranged Phantom Edges help clear the birds faster. Get the Forged Metal, and cross the lake to the next Memory Flower; and the Mirrorwood Depths bell.
Gather the Tainted Crystal Shard, and then the final Memory Flower to complete the set and get the 10% increase in health.
Mirrorwood Depths Puzzle | Bai Chilian’s Memory Flowers (1/2), and (2/2)
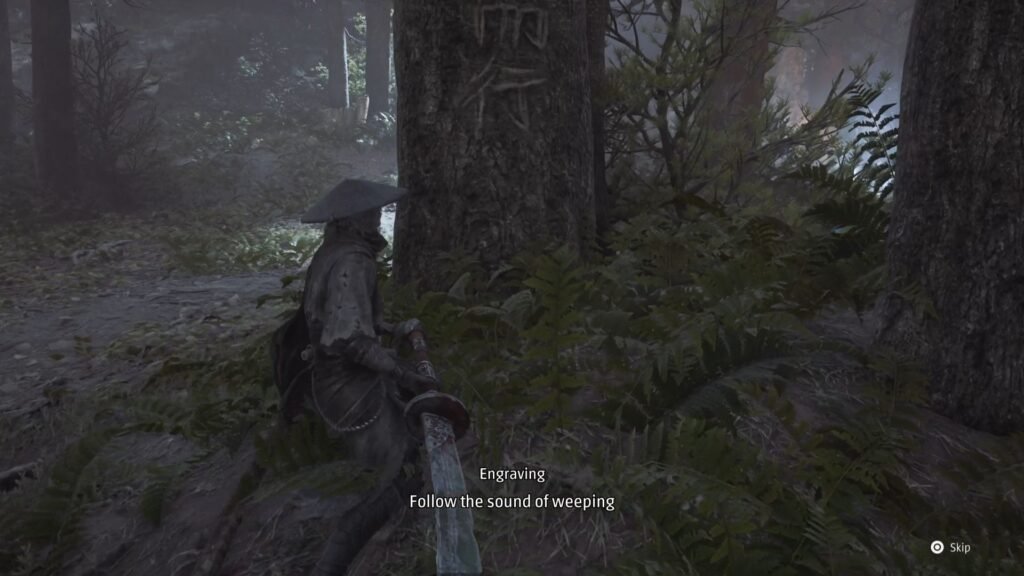
From here, the path back to the bell will get closed, and you will have three potential exits. What you have to do is go to each, and listen for the sound of weeping. The one that you hear the sound coming from, is the exit that you have to take. If you make the wrong choice, you will get transported back to the same area.
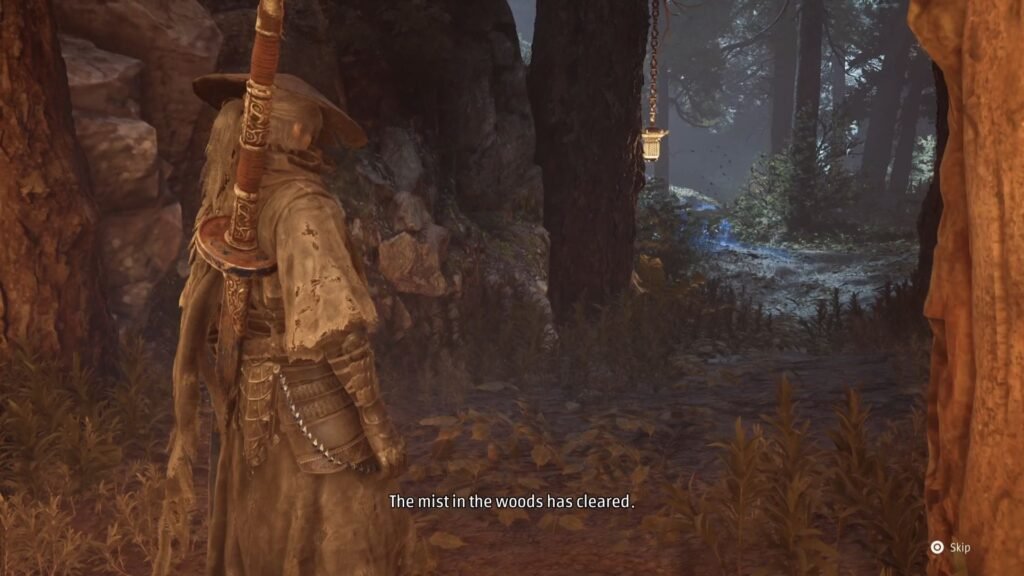
This following the sound of weeping will need to till you get a message saying that the mists have been cleared – which means you have made it through the ‘puzzle’.
There are two sets of such puzzles. For the first ‘set’ – choose Left, then Middle, then Right. The central portal will then become interactable, and once you step into it, you will have 2 Memory Flowers to collect. These will increase your health permanently by 5%.
Then for the second puzzle ‘set’ – choose Right, then Left, then Middle portal, and with that, you should see the next and final bell – Threadbound Great Tree for the chapter and the area in front of you.
Bai Chilian Boss Fight
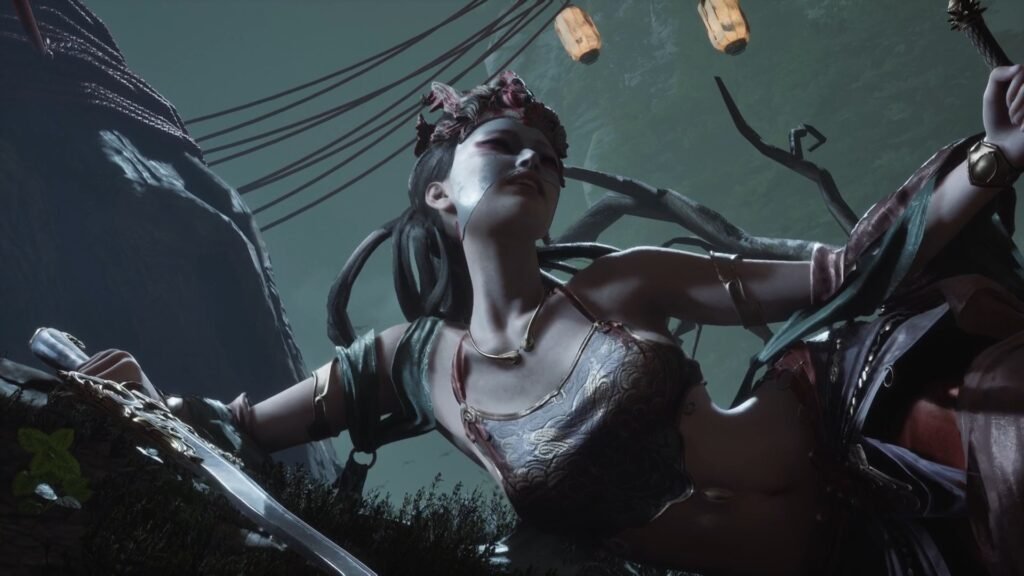
The Bai Chilian is a 2-phase boss fight, and easily one of the tougher fights you would have had in the game. There will be very, very limited opportunities for you to deal damage, as she keeps flying around. So, the only way to get her down is to break her stamina bar.
Equipping the Reflex Device that gives you increases the timing window for your parries and dodges is a good idea for this fight.
The Jagged Steel works best to land quick hits and build bleed, along with any of the ranged Phantom Edges. Equip the Outlaw Warblade as well, to get back health with it’s special attack when she is down.
Any time she calls the coiled snakes from the ground, dodge them, always keeping an eye out for where the boss will appear next and her moveset.
She will throw ranged projectiles at you, those are the best and easiest to parry to reduce her stamina bar.
The second phase is even more chaotic with even more limited opportunities to deal damage. Fortunately, parrying her attacks will deplete her stamina bar faster as well. Even then, it is likely that she will land at a spot away from you, which means precious damage dealing time lost.
Which is good, then, that you have help here – At about 25% of her health gone, the Illusion of the Chord will join the fight on your side, and stay for the rest of the fight. She will do a lot of heavy lifting, and her attacks will take down good portions of Bai’s stamina, and even health.
Your attempt here has to be to remain as close as possible to Bai when her stamina is about to get depleted, so that you can run in and get your choicest hits through.
White Serpent & Crimson Viper | Resonance Talisman
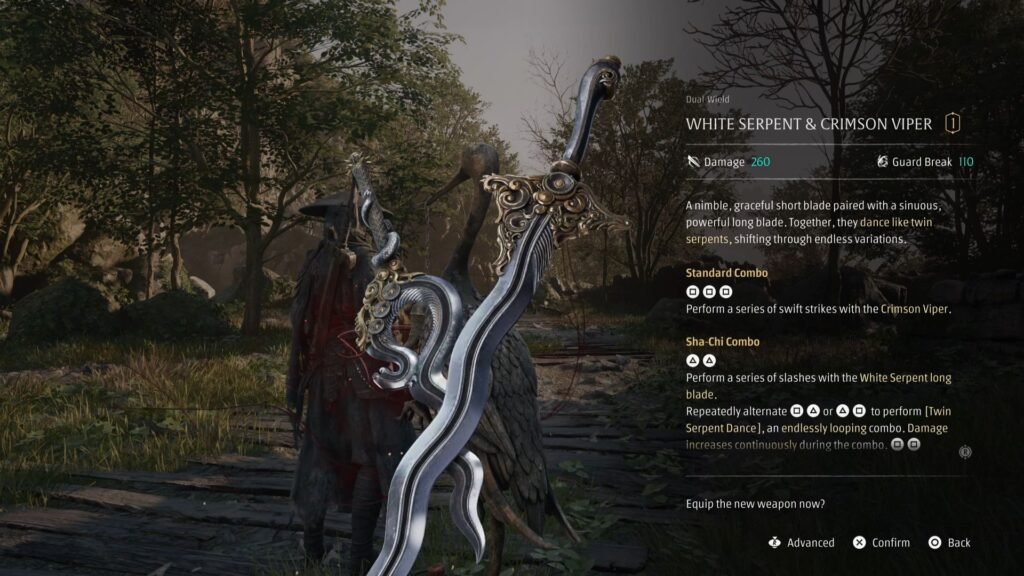
On defeating her, watch the cutscene on what actually transpired during the battle a year ago. As far as rewards, you get the White Serpent & Crimson Viper weapon, the Resonance Talisman accessory, and the Broken Illusory Pipa story item.
With this, Crimson Forest, and the Snake’s Reflection chapter is over, as you find yourself in the Village of Lu in Phantom Blade Zero.
