
William’s search for the Shrike in Chapter 7 takes him to the City of Orphans, the next area in the same chapter after completing The Outskirts. This one takes place over a shorter area, but has 3 Ferrofluid Flask Power Upgrades, Ambers, and no boss fights.
The Shrike will finally get revealed in the end, so it makes the run that we have had so far through The Outskirts, and the one that we will now be having through the City of Orphans worth it. Here is how to go about getting everything that is worth getting in Chapter 7: Witch Hunt City of Orphans area.
Table of Contents
Tribunal Square Lantern
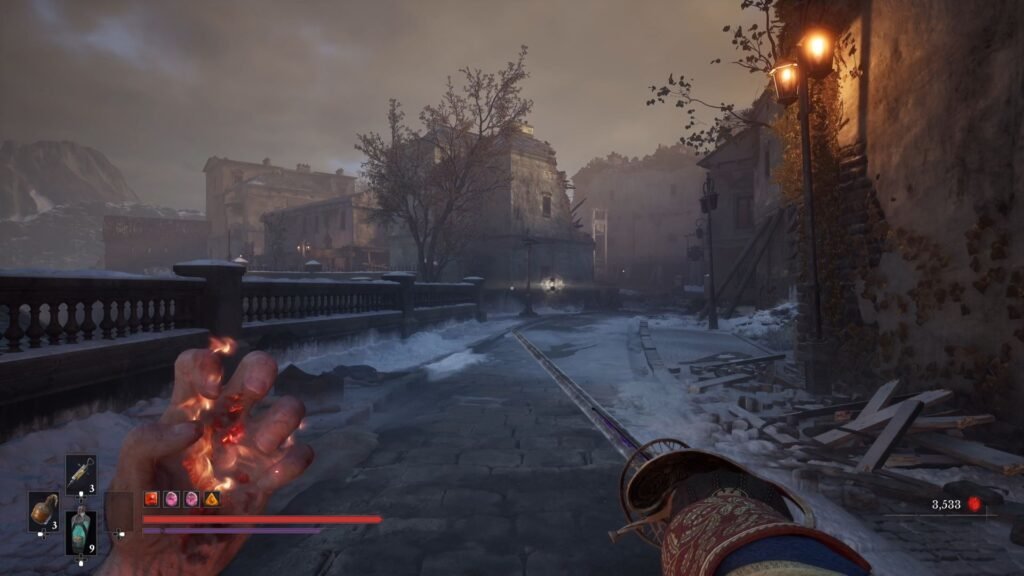
After transporting you to the City of Orphans, you immediately get to your first Lantern in this area – Tribunal Square. Here, just before the Lantern, on your right is one of the several children’s paintings that you need to find as part of the Monster Hunt side quest.
Continue ahead, to see a group of enemies watching the guillotine. Ignore all of them for now. Break the crates and move ahead.
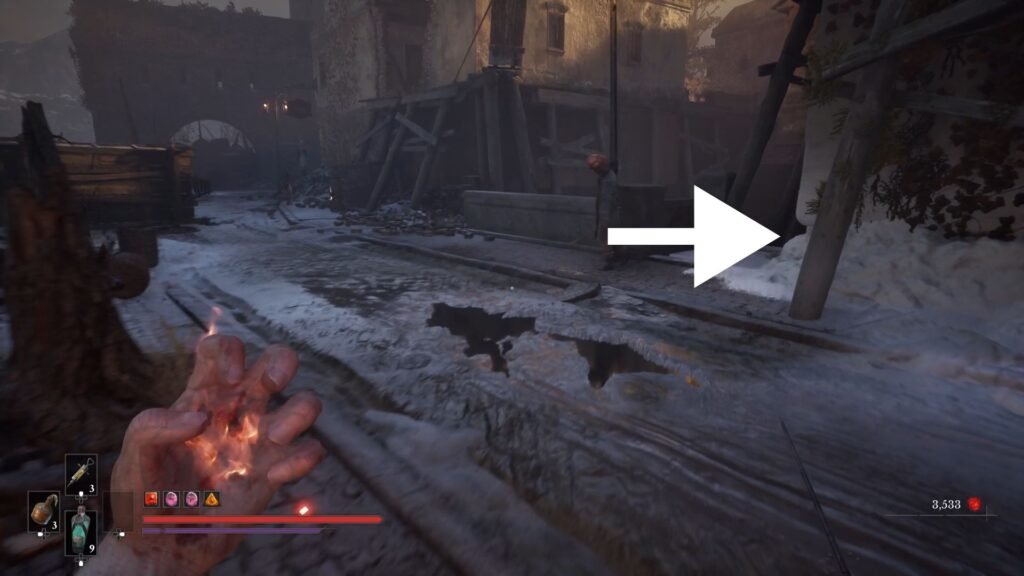
Here, you will see a path straight ahead, and stairs on your right. Let’s take that, it is a cleaner, sneakier way of clearing this area.
Sixth Sense Amber
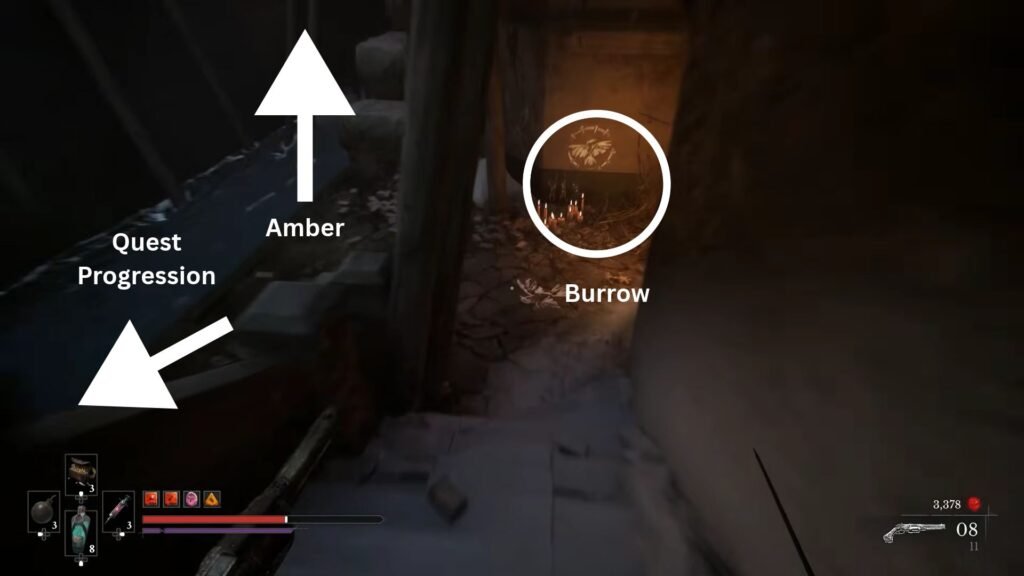
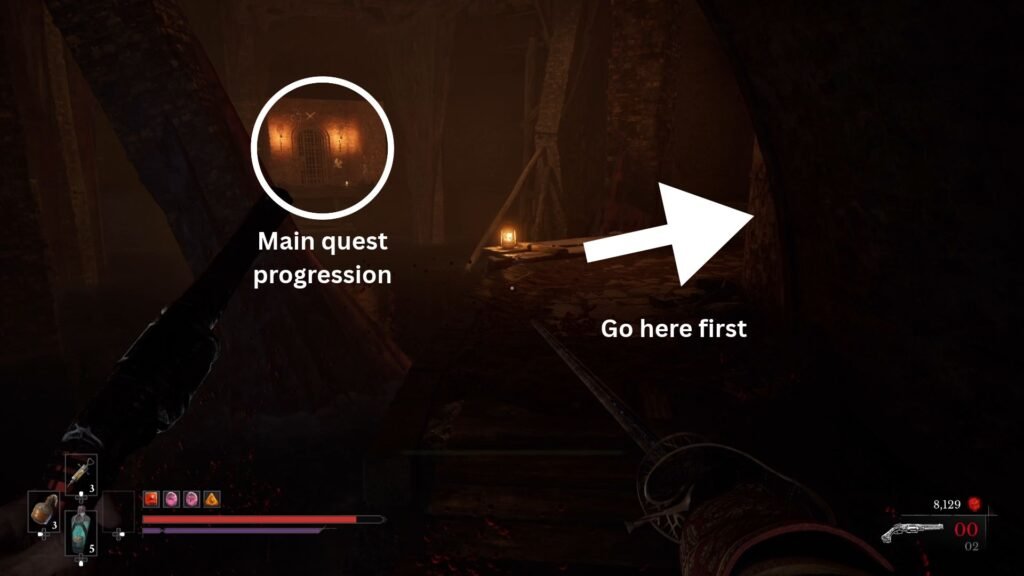
As soon as you take the stairs, you will see the Mice’s burrow. Approach there, and complete the interaction. Here, there will be a left, and a right. The right will have a set of crates that you can jump onto. Do that first, and it will lead you to a ledge that you can go across, above the place where you fought the Volunteer.
At the very end is a chest with the Sixth Sense Amber. Then, retrace your steps and take the left to grab the second drawing for the Monster Hunt quest, and proceed ahead. Take the Note, and jump across the platforms. This will take you to the other end of the path that we had seen earlier.
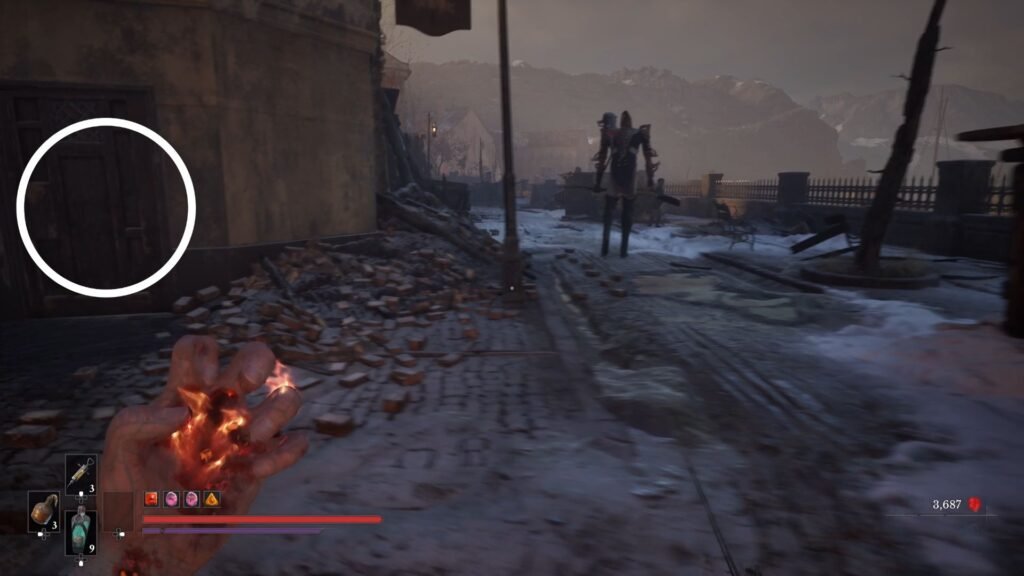
It is easier to land a backstab and take a chunk out of the Volunteer’s health. Clear out the enemies, get the Mythic Catalyst Clot, and enter the door. Shoot the 2 Nephtoglobins to clear a path. Dispose off the enemies in the ground floor and take the stairs to the first.
Ferrofluid Flask Power Upgrade | Bottomless Well Amber
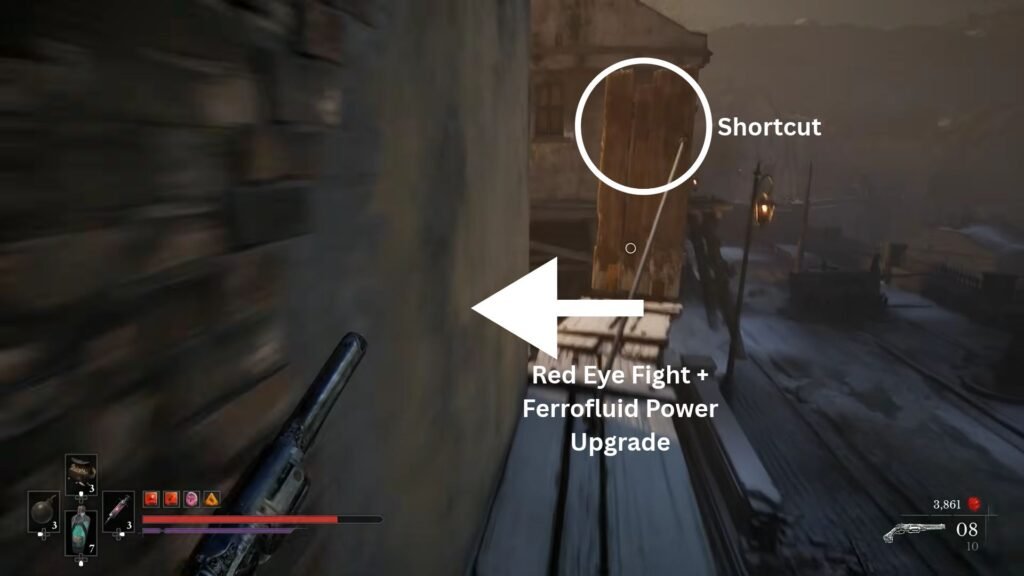
There are 2 things to do here. First, on the right, there will be a Nephtoglobin blocking access. Shoot that, and get the Mythic Catalyst Clot. Second, from the other opening, you will see a set of ledges going out that you can take that unlock a shortcut at the end. From here, take a left. This leads you to a fight with a Red Eye Lancer, which gives you the Bottomless Well Amber, and a chest with a Ferrofluid Flask Power Upgrade.
Beginning the Bedtime Stories Side Quest
With this, we can finally take the path on the street that we had unlocked by shooting the Nephtoglobin. The street is full of burning corpses and waste on both sides. Once you cross this street, you will see a path that winds upwards on the right, and a set of stairs straight ahead, and a path on the left.
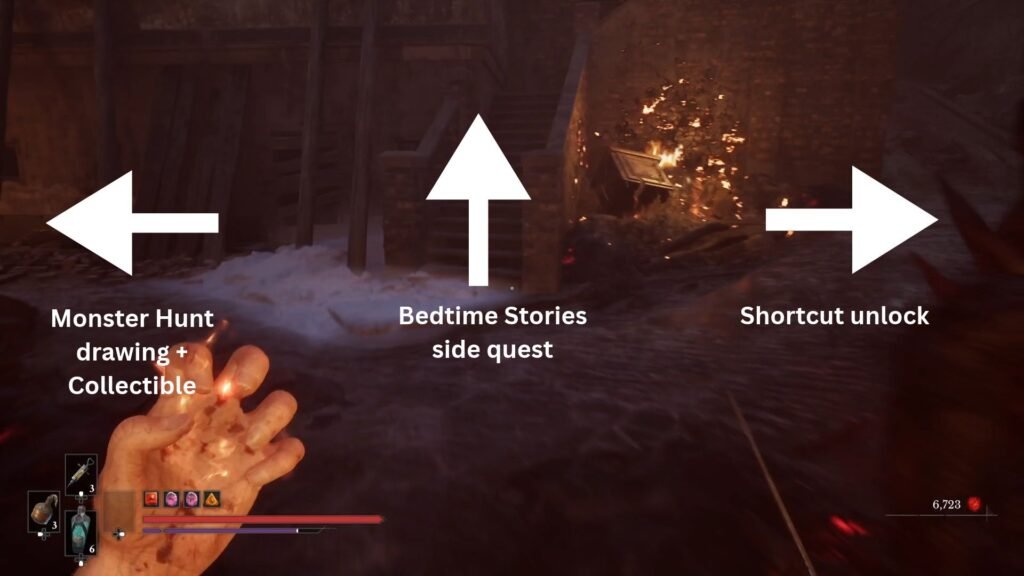
First, take the left. Grab the Mythic Catalyst Clot, and the Monster Hunt painting. Then, take the steps, these lead to the Bedtime Stories side quest. Picking this up first helps, as the next area will have an item that we need to close for this quest. Then, lastly, take the right. Grab the Note, and then you will come across another burrow, but you will not be able to interact with it.
Grab the Mythic Catalyst Clot, and shoot the explosive barrel to open up a path. Then, shoot the lantern, and then the Nephtoglobin. Take the Superior Firearm Parts, and unbolt the door that opens up a shortcut with the guillotine to your left.
Now, retrace your steps, and right in front of the burrow, you will see a door with the familiar drawings on the wall next to it. Open the door, and prepare for a fight through 3 floors of ambushes. Grab the Mythic Catalyst Clot after taking out the Volunteer with dual swords, and make your way to the first floor.
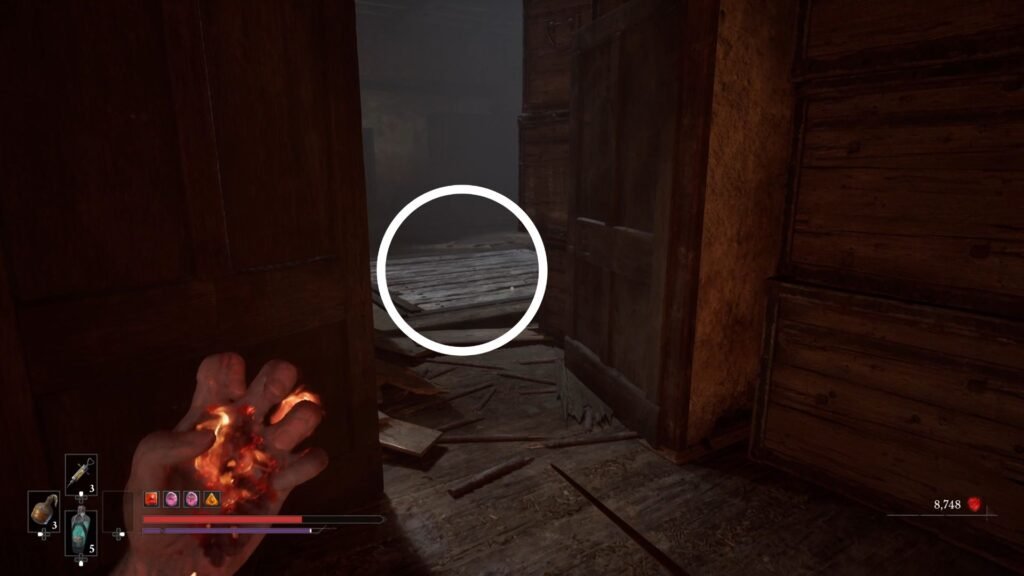
Jump over to the balcony on the other side, and continue. Watch out for the next room that has the Grenadier, and more importantly, boards that will give way if you step on them. If you do, this will drop you down a couple of floors, with Carrions and Spewers who will mob you.
Make your way back to where you fought the Grenadier, take the Deadly Rounds on the left, and open the door on your left. Collect the Mythic Catalyst Clot, and speak with the Mice. They tell you to find a ‘red Mice hole’, which may tell you where the Shrike is.
With that interaction done, take the stairs on the next floor. Take the Note. All four sides of this area are accessible through the narrow boards. The one on the left has Superior Firearm Parts, the right has a Mythic Catalyst Clot, and straight ahead is the exit.
As soon as you drop, make a run towards the right. There is a formidable enemy approaching from the left, and we want to unlock the shortcut before taking him on.
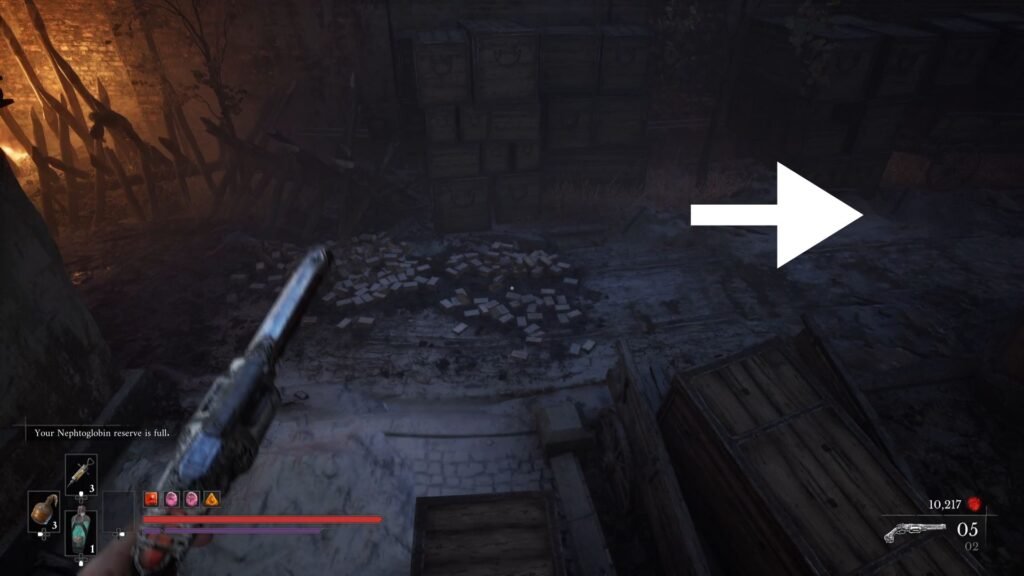
Avoid the 2 howlers in front of you, and take the steps leading down to open a shortcut back to the Lantern that is visible on your left.
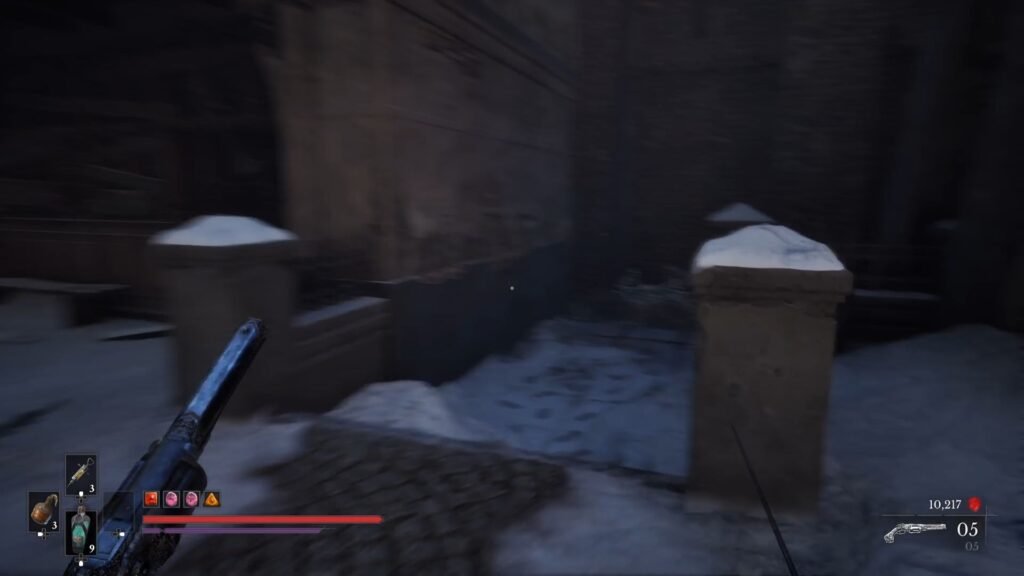
Now, from the Lantern, head right, with the guillotine and the group on your left, and before the gate that you came from, you will spot a path that you can take on the right. Here, you will come across a Mice burrow. Complete the interaction – we still don’t get where Shrike is, as the Mice don’t trust us fully yet.
Next, take out the 2 Howlers that we avoided last time, loot the Mythic Catalyst Clot, and complete the conversation with the Mice Burrow there on the right. Here, we are asked to find the Wooden Fort.
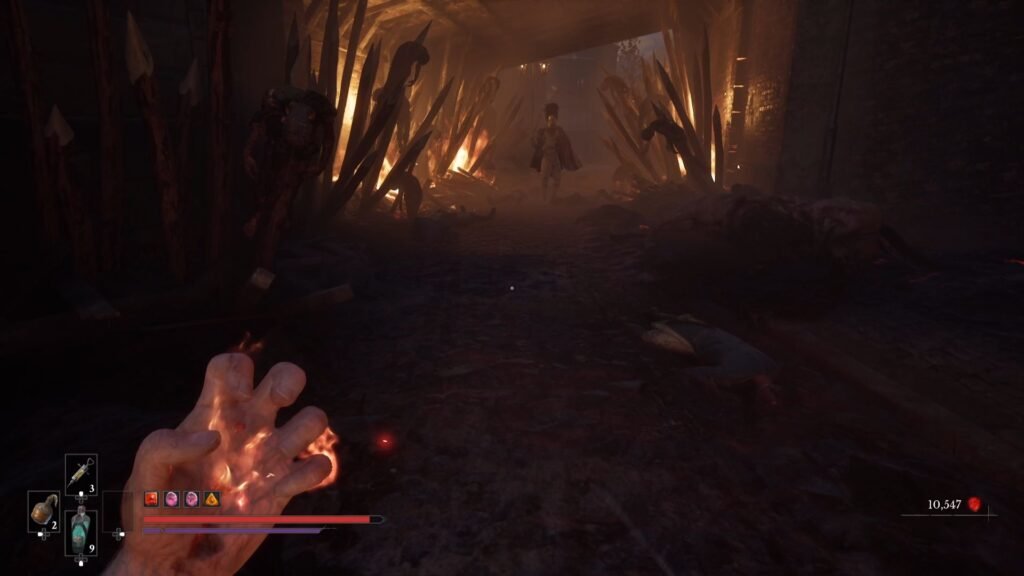
Now, it is time to go straight from here, and tackle the Guardian enemy. The fight will be the 2nd phase equivalent of the Justicar Aurelius boss fight, with a mix of sword and claw attacks. Continue ahead, grab the Remnant’s Return from the left, the Hand Grenade from the cart, and the 3rd drawing for the Monster Hunt quest from the leftmost end of the area.
Shamble Street Lantern
Go ahead, and activate the second Lantern in the City of Orphans – Shamble Street. Grab the Refreshing Vial next to the cart, and take the bridge at the other end of the street, to the other side. Use the Formulation to separate out the enemies and take them out one by one.
You will be going down the open area that you can see from the left. Take down a couple of Howlers if you want to from here, and then proceed. Take the ladder, and cross the open area to the next building. But before that, collect the Mythical Catalyst Clot from the room on the right. Again, use the Formulation to separate out enemies.
Continue ahead, use the white box to jump above, and shoot the Nephtoglobin on your left. From here, you should be able to see the Lantern on your right. Turn back to continue along the main path, use the Grapple to swing over to the other side.
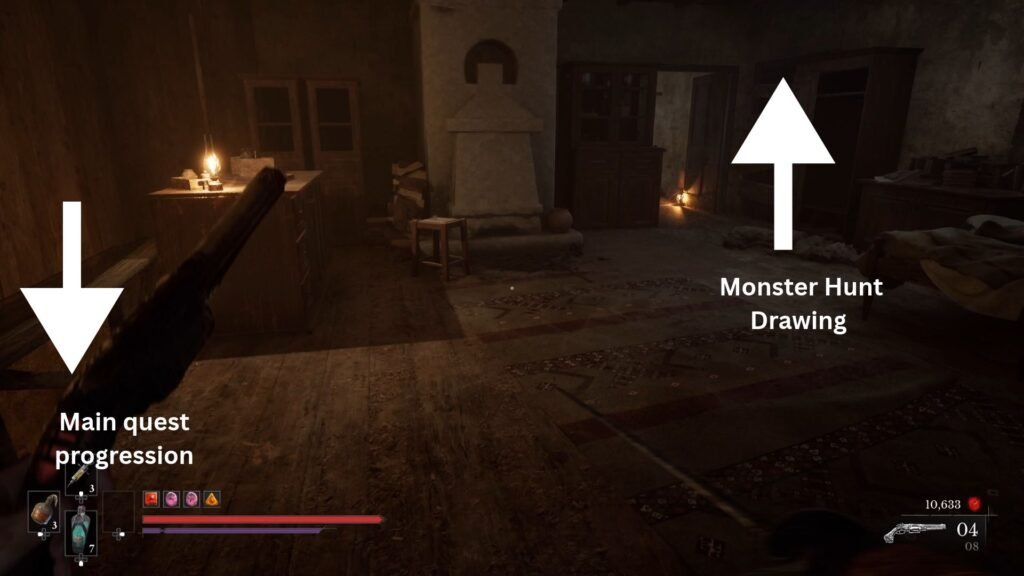
Collect the next Monster Hunt drawing, and take the stairs down.to, for once, a floor with no ambushes – in fact, no enemies at all. Jump down, collect the Standard Firearm Parts from the left, the Stasis Whetstone at the extreme right, and speak with Lucjan who is sitting at one of the benches.
Beginning Misericorde Side Quest
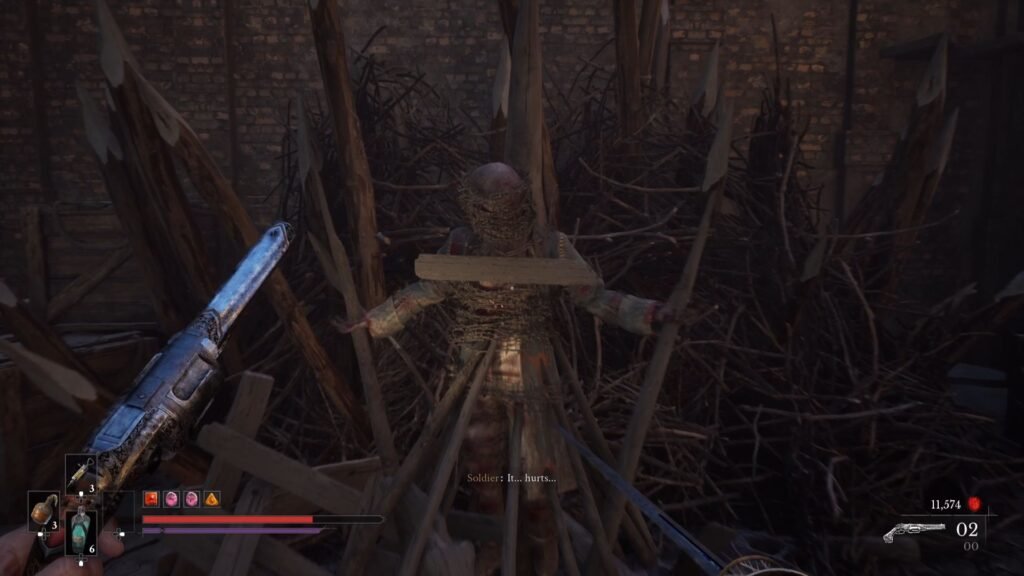
With that done, there are 2 paths, the one straight ahead, and the one of the left. Take the left one first. There are the following things to do here:
- A villager in pain and all tied up in a ghastly manner. Speak to him to start the Misericorde side quest.
- Note the painting of the Shrike on a wall on the right, and the crates below. This is the progression area for the main quest and Misericorde side quest.
- The steps to the left of the tied up villager. The first set of stairs open up a shortcut on the right back to the Lantern.
- A locked door on the right of the tied up villager, and the steps that needs a Sewer Master Key to open up. We will get this later as we progress to the next Lantern.
Now, return to those crates, break them, and enter the area. The main quest and Misericorde progression lie along the same path, hence picking up the side quest before this section makes a lot of sense. This area is again a multi-level building with ambushes, but nothing that you can’t handle, and is pretty linear.
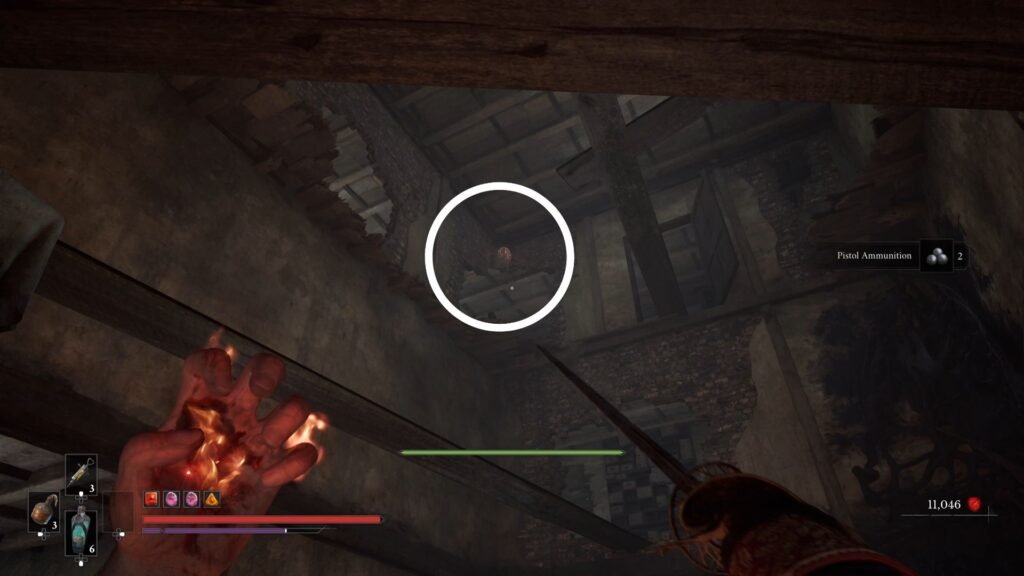
Keep an eye out for these nests and take them out first whenever you see them. Take the right section first as you enter, and at the last room on the left, collect the Special Cartridges. The section straight ahead will have a Note in the nearby room in this section, indicating the children aiding the rebels, the reluctance of the troops to use force against them, and the Wooden Fort as the likely point where the Shrike could be found.
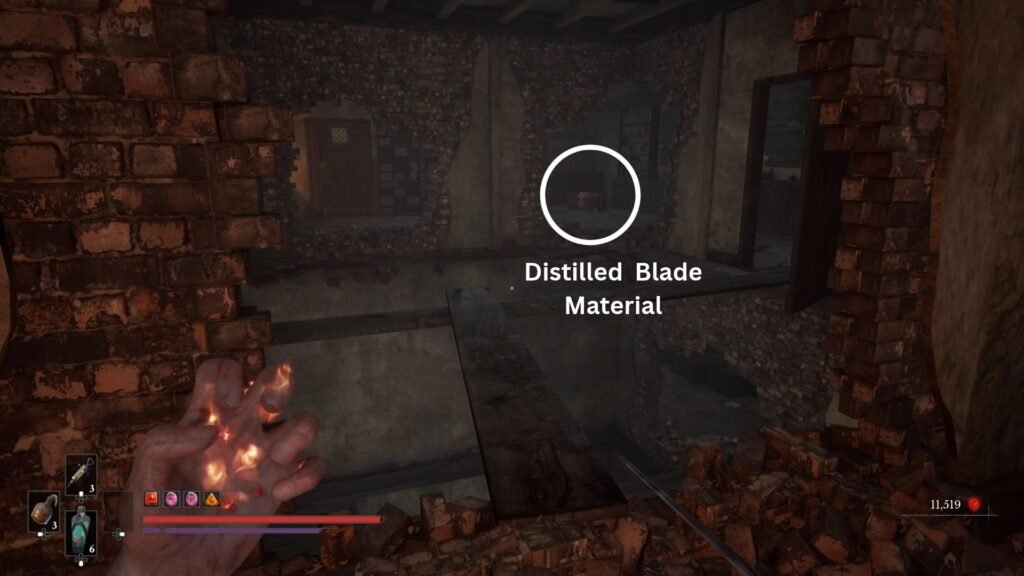
Finally, go left, across the narrow planks, to the next floor. Loot the Distilled Blade Material from the chest (is an exploding one); and open the door on the right to move out of the building. On the left is Drawing #5, collect it and go to the right. Use the Nephtoglobin Formulation to swing across.
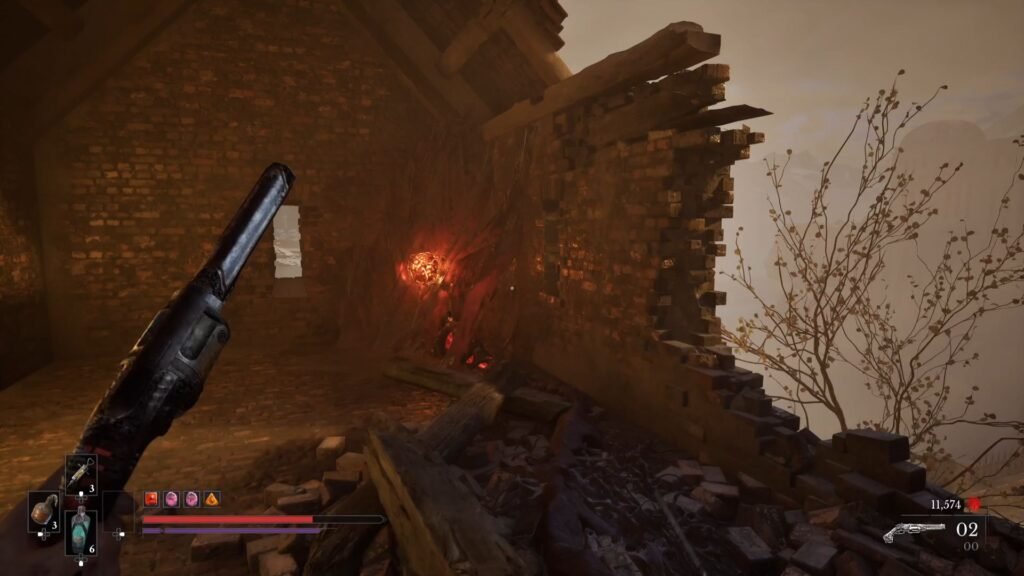
Continue ahead, and shoot the Nephtoglobin. Our work here is done, you can return below, and now, go straight ahead after clearing everything on the left side of the area from the Shamble Street Lantern.
Interact with the tied villager and choose whichever option you want to go for. Do nothing will be what the Shrike would have liked, while End his suffering is the more humane choice. You will get a Remnant’s Return once done, and the side quest will be complete.
Now, the path straight ahead leads to a huge open square. First, take the crates and stick to the left, to come across Drawing # 6 for the Monster Hunt side quest. Then, clear out the enemies – the big ones here to watch out for are 2 Volunteers. One will do a Stasis AoE, so keep an eye out for that attack. The other one is a dual swords wielding one.
Once the area is cleared, take the Stasis Whetstone near the explosive barrels, and the Imperial Catalyst Clot by jumping across crates and ledges on the right. Just before you make your way to the street with flames, on the right will be a Remnant’s Return that you can find after destroying crates.
Now take that street. While passing through it, there will be a part on the right you can go through. Jump down, grab the Flaming Whetstone, and move ahead. You will see the Wooden Fort looming in the distance.
Ferrofluid Flask Power Upgrade
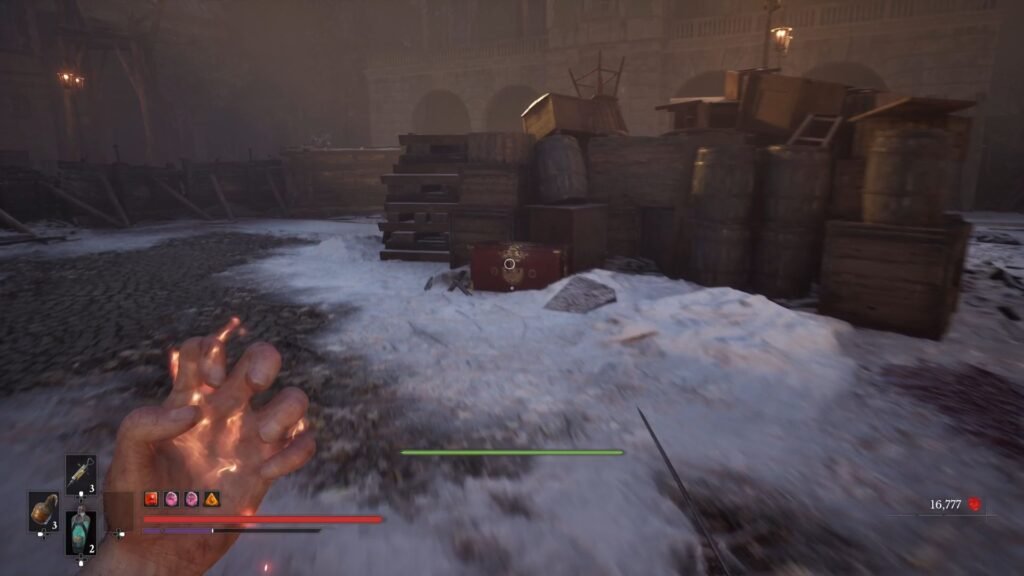
The big square ahead has a fight with a grenade shooting Iron Marshall and a couple of Howlers. There are quite a few explosive barrels around to use. Get the Ferrofluid Flask Power Upgrade from the chest once the area is clear.
Further ahead is a Volunteer with dual swords. Take him out, move ahead, pull the blue Node, grab the Pistol Cartridges, and use the ladder. Keep taking the ledges and ascend to the very top. At the first Nephtoglobin Formulation, jump right to grab the Protective Vial.
Take the Crude Transmutation Material from the left once you reach the top, and enter the door to begin the interaction with the children.
Wooden Fort Quiz – Correct Answers
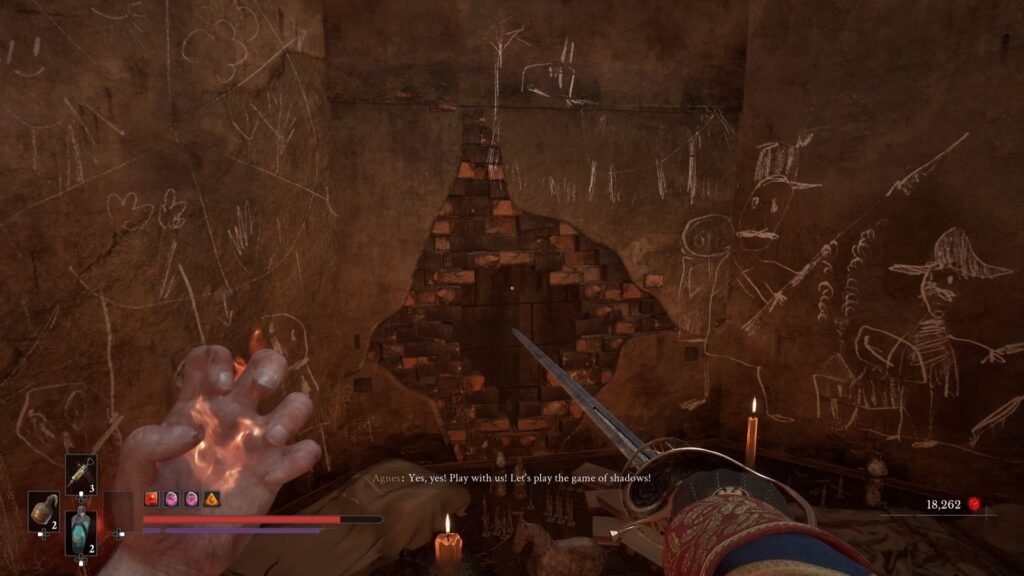
The children here ask you to first play the game of shadows before they help you out with the location of the Shrike. You have no option but to agree. The shadows will get projected on the wall behind you, and you have to guess out of the 2 options, what do these stand for.
- Correct Answer 1: A big bad wolf
- Correct Answer 2: An owl
- Correct Answer 3: A dead rabbit
Even if you don’t get them right, the children will unlock the sewers for you to proceed ahead.
This, finally completes Chapter 7: Witch Hunt in Valor Mortis! The area does not change, though, as you begin Chapter 8. The next Lantern – Sewers, gets counted in City of Orphans.
Continue ascending the tower, and use the zip line. You can enter the Sewers to progress the main quest, but do the following first
- Collect the Refreshing Vial
- Open up the shortcut to the square by pulling the blue Node
- Collect the Drawing of the Sphinx.
Sewers Lantern
All these are on the area right of the Sewers entrance. With these done, take the Note – where the troops seem to have given up hope of finding the Shrike, and enter the Sewers.
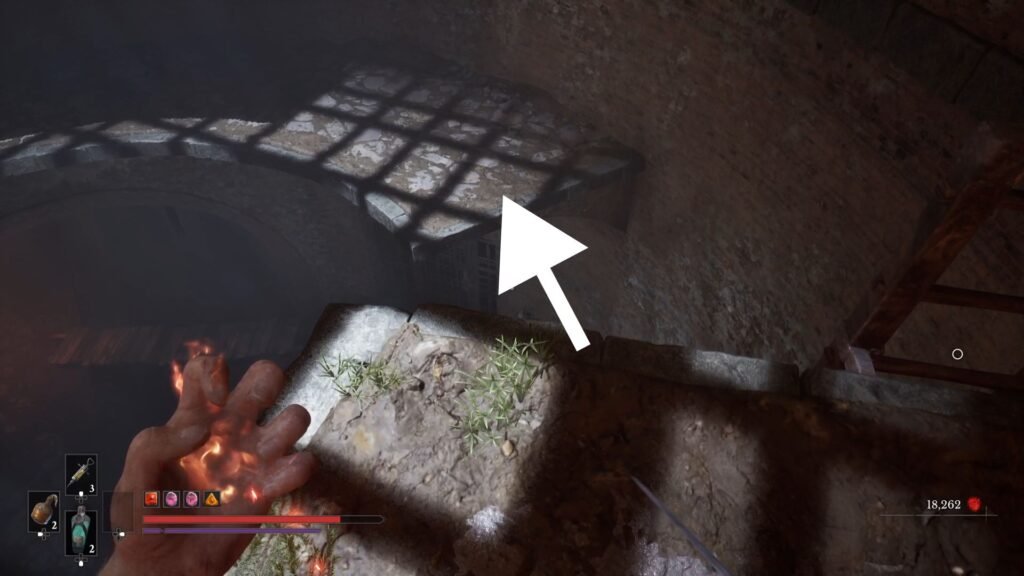
Instead of taking the ladder on the right, jump across, get the Stasis Clad Rounds and unlock the ladder. Use that ladder to climb down, then the crates to jump to the second platform, and collect the Imperial Catalyst Clot.
Beginning the Mummy & Daddy Side Quest
Climb back down, save at the Lantern, and interact with the Burrow to start the Mummy & Daddy side quest.
Continue ahead. The path is essentially linear, but narrow – and with a lot of awkward enemy placements. You will keep coming across doors that need either a Sewers Key or a Master Sewers key to unlock. We will get both of these, for now, continue on the path that is available.
Proceed cautiously. The few points to specifically watch out for are a Swarm Mother that rushes at you just before the first Grapple, the Sapeur that ambushes you when you try open the door that says it needs the Sewers Key, and the Volunteer with the rifle who snipes from a distance.
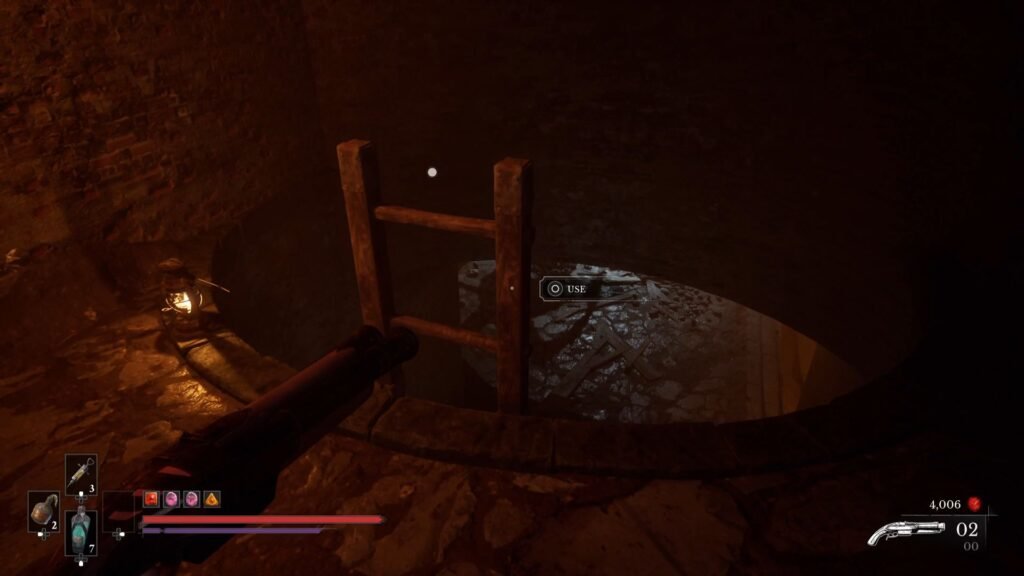
After the Volunteer, you will see a ladder going down. On the other side, are 2 Grenadiers who will absolutely bomb you to death. So, just take the ladder, go down a bit, and as soon as you see the attack indicator icon, climb back up. Use a Grenade or the Blunderbuss to substantially reduce the health of 1 of the 2. Try and bait it again, if it does not work, get in and finish the work with the Pistol / Grenades.
From the chest, you finally get the Sewers Key. Read the Note, burn the Vines, and progress ahead. Interact with the Burrow to progress and complete the Mummy & Daddy side quest.
Now, take the bridge across towards the shiny. Grab the Oil Grenade, and proceed ahead. Use the debris to get to the other side. Collect the Crude Blade Material on the right, and shoot the Nephtoglobin to clear a path to a circular central area with a Grapple in the middle.
Ferrofluid Flask Power Upgrade
Take a right first, cross to the other side, and take the narrow plank. From here, look at the Grapple, and it will land you into an area with a chest containing the Ferrofluid Flask Power Upgrade. Now, use the Grapple and exit the door using the Sewers Key, which leads us back to the Lantern to rest.
Once ready, make your way back to this door from the Lantern, and with the key, we can now open the first door that we came across on the left. Watch out for the ambushes and proceed cautiously – its much better to take down the enemies one by one rather than have them mob you.
Continue straight, sticking to the right, till you come across a blue Node that opens up the shortcut to the Lantern. Take a left before that, swing across the ledge and activate the Formulation. Grab the shiny, which happens to be the much needed Master Sewers Key.
Open the door right behind the Lantern with the newly obtained key to get a Masterworks Firearm Part, required for the final upgrade to a Firearm.
With this, go back to the section, and we come to the final part where you have to take out a Guardian, and a Volunteer with a rifle. Try to get the Volunteer’s health reduced with a Musket, then run to him and get him out of the equation.
With you and the Guardian, it should now be a familiar fight. There is an explosive barrel on the left side of the arena that you can use to your advantage.
Either way, once the area is cleared, you are effectively done with the Chapter, and all that remains is a cutscene with … who else, but the Shrike, before getting into Chapter 8: Blasphemy in Valor Mortis.
