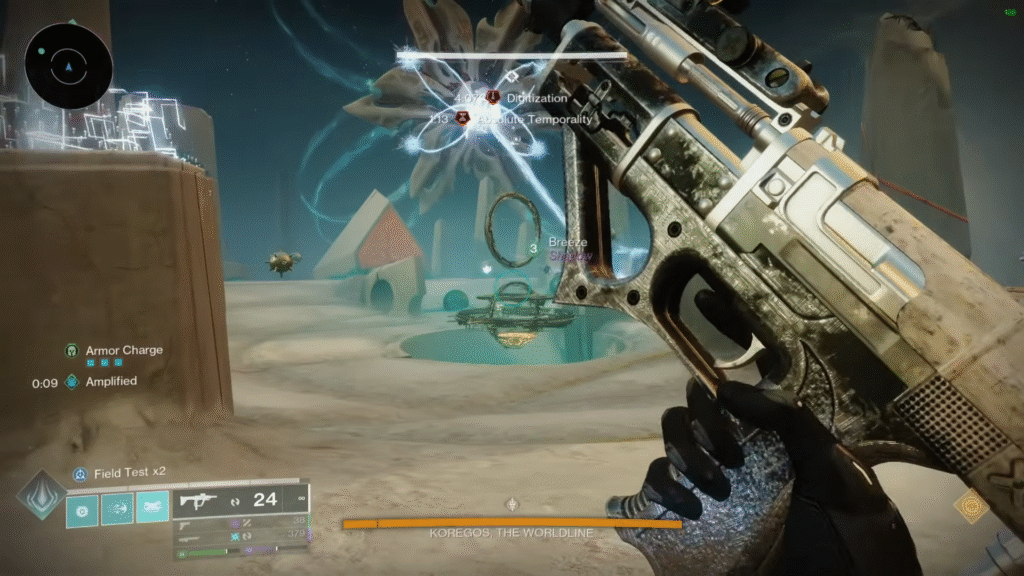
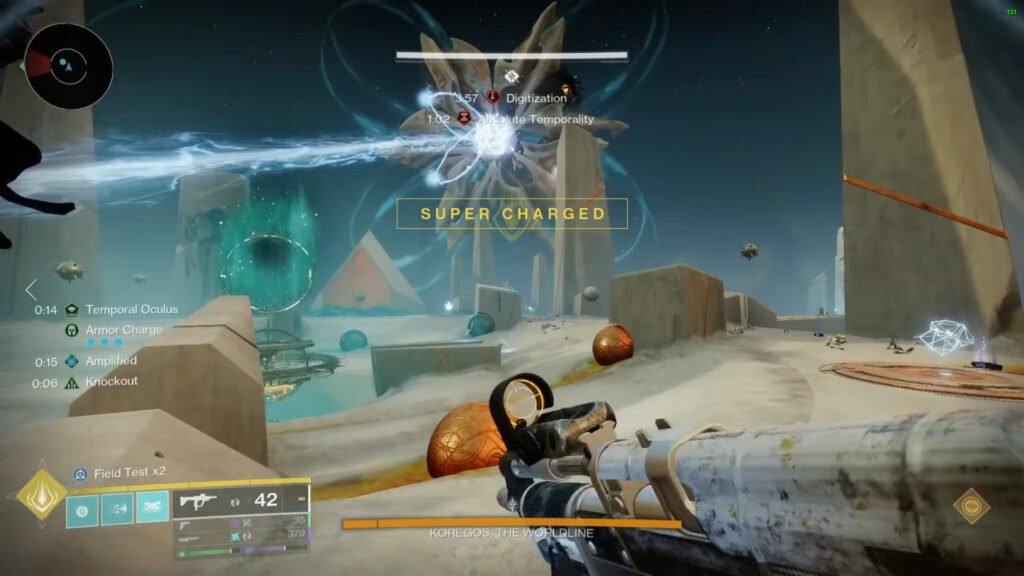
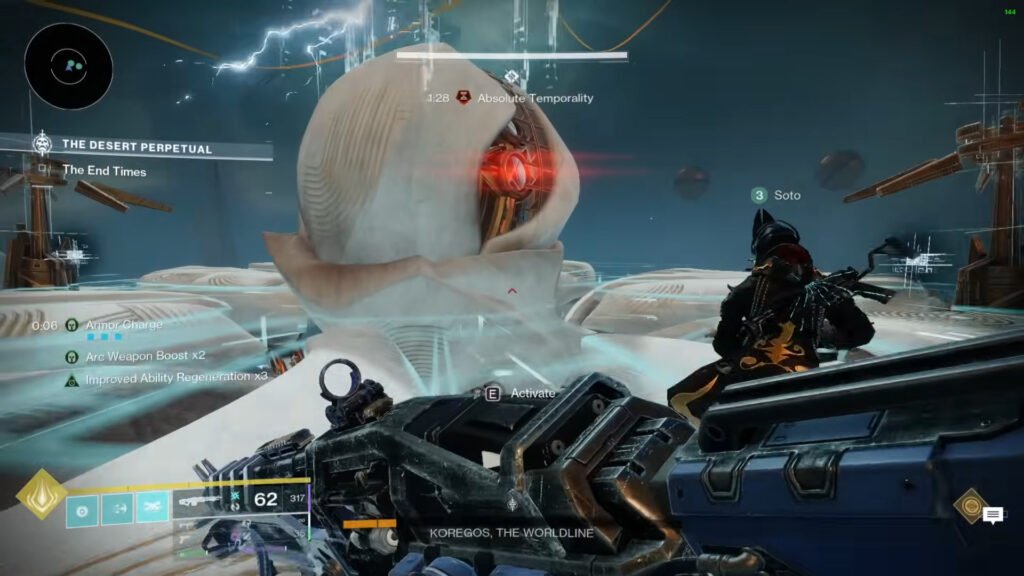
Koregos, The Worldline in Destiny 2 is a real test of everything you’ve learned throughout the Desert Perpetual raid. If you’re walking into this fight for the first time, you’ll probably feel overwhelmed at first.
There’s a lot going on with buffs, mine callouts, timer management, and a DPS phase that can feel tight if your team isn’t fully in sync. But once it clicks, this fight becomes surprisingly enjoyable, and honestly, one of the better end-raid encounters you would have.
Understand the Buffs and Set Up for Koregos, The Worldline

Once you enter the final arena of The Desert Perpetual raid, you’ll notice a square Vex construct in the center. Interact with it to kick off the fight. You’ll be facing waves of adds, a large harpy boss with multiple cannons, a central hourglass, and three side plates:
- Left (Constant)
- Middle (Absolute)
- Right (Cyclical)
Keep in mind that two Hydras will spawn as well. Make sure to clear them quickly to activate the plates.
What worked for my team was putting three players on Constant, two on Cyclical, and one on Absolute. Constant players are the ones who’ll be stunning the boss, Cyclical and Absolute handle the mines and key callouts. You’ll see a hoop and hourglass spawn in the center, and glowing mines scattered across the arena.
The pressure’s already on because of a countdown timer called Digitization. Unfortunately, if that hits zero, the whole team wipes.
Koregos First Phase: Stun, Buff Up, and Communicate
To move forward, the Constant players need to shoot four specific nodes on Koregos. A sniper helps here, and once all four are hit, the boss is stunned and rings spawn on the outer pillars.

At this point, players with each of the three buffs — Constant, Cyclical, and Absolute need to jump through those rings. Doing so gives all three of them a shared buff called Temporal Occulus. This part always feels like a small victory because it means your team setup is working.
Next, the player with the Absolute buff will see a colored hoop in the center: red, blue, or white. That color becomes the filter for the next stage.
More Game Guides: Best Meta Loadouts in Off The Grid
The Mine Puzzle: Where It Can Get Messy
This part really tested our communication the first few tries. Here’s how it plays out. The Constant player sees all the mines glowing in red, blue, or white. The Cyclical player, however, sees which of those are fake and which are real. Only the Absolute player can actually destroy the real ones, but they won’t know which unless the other two guide them.
So the Absolute calls out the hoop’s colour, Constant identifies all mines in that colour, and Cyclical narrows it down to which is legit. Once Absolute destroys the correct mine, it drops a Chronon. Cyclical then picks it up and runs it through the hoop in the center to slowly fill the hourglass.
This loop of stunning the boss, identifying and destroying the right mine, and feeding the hourglass keeps going. If you’re off even slightly, the timer hits zero and it’s a wipe. It’s chaotic, but once your team gets the rhythm, it feels smooth. Each action refreshes a different buff timer, so you’re constantly working to keep everyone alive and engaged.
Koregos DPS Phase
Filling the hourglass fully spawns a white node beneath it. Shooting it triggers a platforming section up to the DPS zone. But before the damage starts, there’s a small cube puzzle. You’ll see three terminals, each surrounded by white cubes.
Cyclical and Constant players each see two cubes, and Absolute sees all three. The trick is for Absolute to activate the cube that both of the others can also see. Once you do this for all three terminals, you’re finally cleared for damage.
More Game Guides: How To Mine Stone, Metal & Sulfur Ore in Deadzone
DPS Tips and Final Push

Koregos doesn’t give you a lot of time to deal damage unless you manage it right. Once damage starts, go all in with weapons like Thunderlord, Lord of Wolves, or subclass supers like Thundercrash. What I really liked here is how the encounter extends the DPS phase in a unique way. While you’re damaging Koregos, hoops start spawning again — each with a colour.
One player needs to pick up a Chronon matching that colour and pass through the hoop. Do it right, and the DPS phase extends. You can stretch it up to three hoops, which is more than enough to push through to final stand.
Once the health bar drops fully, Koregos heads into a last-stand phase. Don’t panic. Stay on task and make sure you get that final chunk of health off. When he drops, just jump back down to the arena floor, and that’s it, the Desert Perpetual raid is complete.
Easy Tips for Koregos fight in Destiny 2
Keep these tips in mind when fighting:
- Beware of the boss’s arc beams on the floor as they hit hard, and dodging them is crucial to surviving long enough to finish your burst.
- When Koregos hits its final stand, its crit spots move vertically. Adjust your positioning and drop everything, including heavy weapons and buffs, to bring it down.
- Occasionally, Koregos will announce it’s “preparing an algorithm.” When this happens, the Constant players need to quickly shoot the boss’s harpy cannons again to interrupt it. Failing to do this results in a full team wipe.
- If a player gets marked by Koregos (you’ll see a glowing orange beam), they need to break line of sight immediately. The follow-up beam will one-shot you if you stay exposed.
If you can do all this, then you’re going to be great against Koregos, The Worldline in Destiny 2.

