The Plate Launcher in Mycopunk is a useful weapon that can support you during tougher missions. However, getting it involves going through a specific route during one of the early space expeditions. If you’re unsure how to reach it or which path to follow, this guide covers every step clearly without skipping any detail.
Plate Launcher Location in Mycopunk
To begin the process of getting the Plate Launcher, start a mission in Gravity Farms. Look for the objective called Cleanup Detail, which involves clearing out a fungal infestation.
You’ll be asked to select a difficulty. Choose whatever suits your current build. We recommend going with the Glider; however, the Wrangler class is also suitable in this case. Glider’s mobility will make the platforming sections easier, but Wrangler can also handle it well. Before starting, ensure you’ve equipped a reliable weapon, as you’ll face some resistance early on.
Also read: Mycopunk: Best Class To Pick Answered
Enter the Area: Use a Pole to Jump the Fence

After the mission begins, head toward the fenced section. You can build a pole as shown in the image. Use this to climb over the fence and enter the facility.
Once inside, a few enemies will appear. They’re manageable, especially with a ranged weapon. After clearing them, move toward the back of the area where you’ll find a yellow screen box, resembling a computer terminal. Interact with it from the platform. This will cause the floor to drop, leading you into the main section of the mission.
Platforming and Navigation

After landing in the lower area, continue walking until you reach an open zone. Drop down to a slab-like bridge section with scattered planks. Glider’s rocket boots can help here for a safe landing. Cross this section and look for a wall poster that says “New Atlas.” Go past it, descend the nearby stairs, and drop down once again.
You’ll now reach an area filled with pipe-like poles. Cross over carefully. You can also mount a pole in the larger pipe sections to swing across when needed. This section requires patience and attention to placement.
Enter the Tunnel and Prepare for Combat
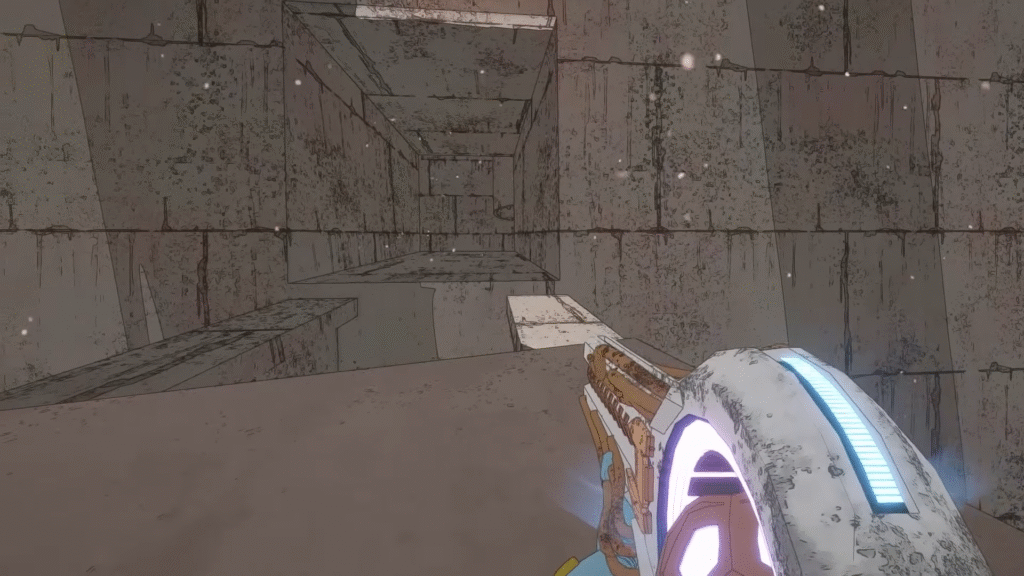
After crossing the pipes, enter a tunnel area. Continue forward and take the left path until you enter a combat room. You’ll find a group of enemies here, including a large creature and flying pods. Use the nearby containers as cover, and throw charged projectiles to weaken the group. Once they’re defeated, exit through the right side of the room.
Outdoor Segment and Scaling the Pipes
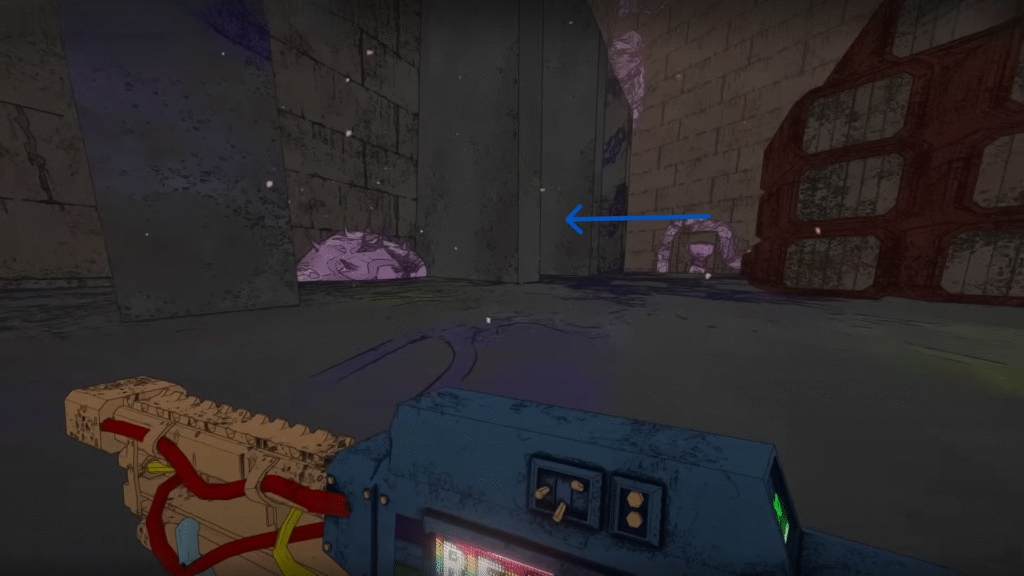
After exiting, climb the pipe in front of you and eliminate any remaining enemies nearby. Continue along the pipe route ahead.
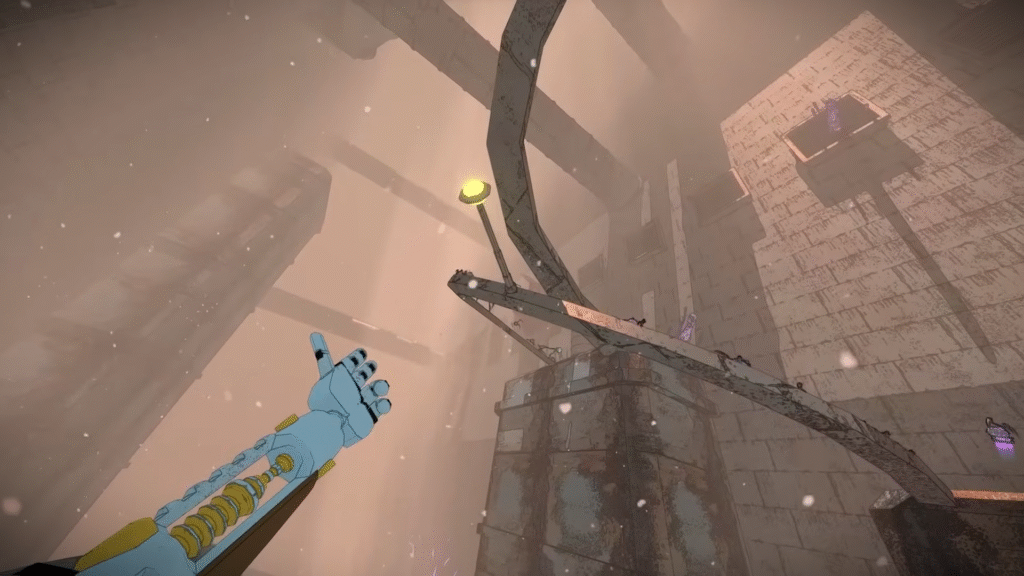
As you move forward, attach a pole to the platform ahead. Use this pole to climb higher. Continue progressing while either confronting or avoiding enemies along the way. You will encounter a series of short jumps and platforms, and you can choose whether to defeat the enemies in these areas or to bypass them.
Reach the Final Checkpoint and Defeat the Boss
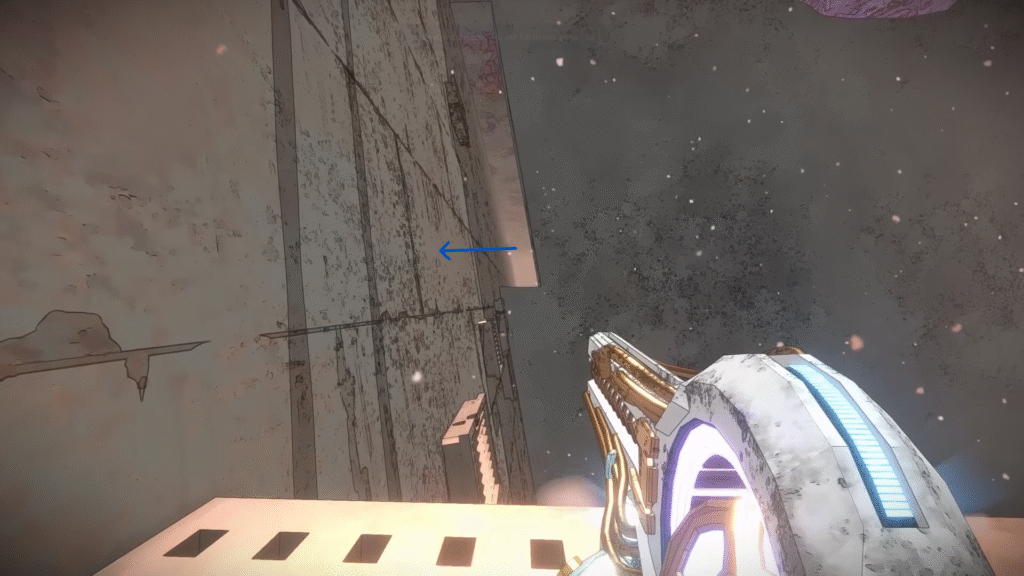
At the end of the path, climb one final pole to reach the last platform. This is where you will face a boss encounter. The boss has smaller enemies surrounding it. Its weak point is the antenna-like structures on its head, so make sure to focus your attacks there.
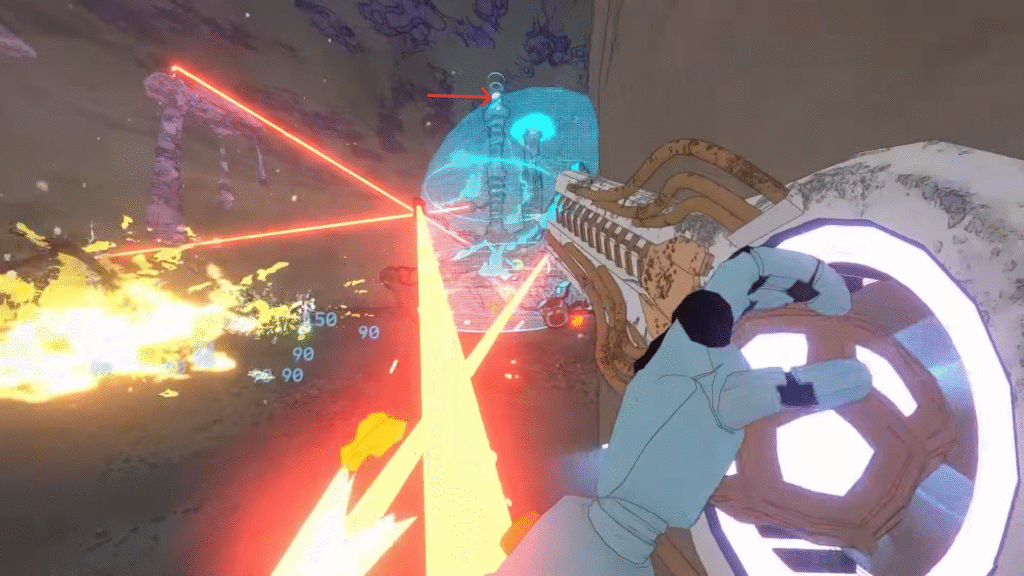
After defeating the boss and clearing the smaller enemies, proceed toward the nearby door.
Collecting the Plate Launcher
Just beyond this final area, you’ll find the Plate Launcher on the ground. It’s placed in a clear spot near the exit. Press E to pick it up and add it to your loadout.
This concludes our guide on obtaining the Plate Launcher in Mycopunk.
