
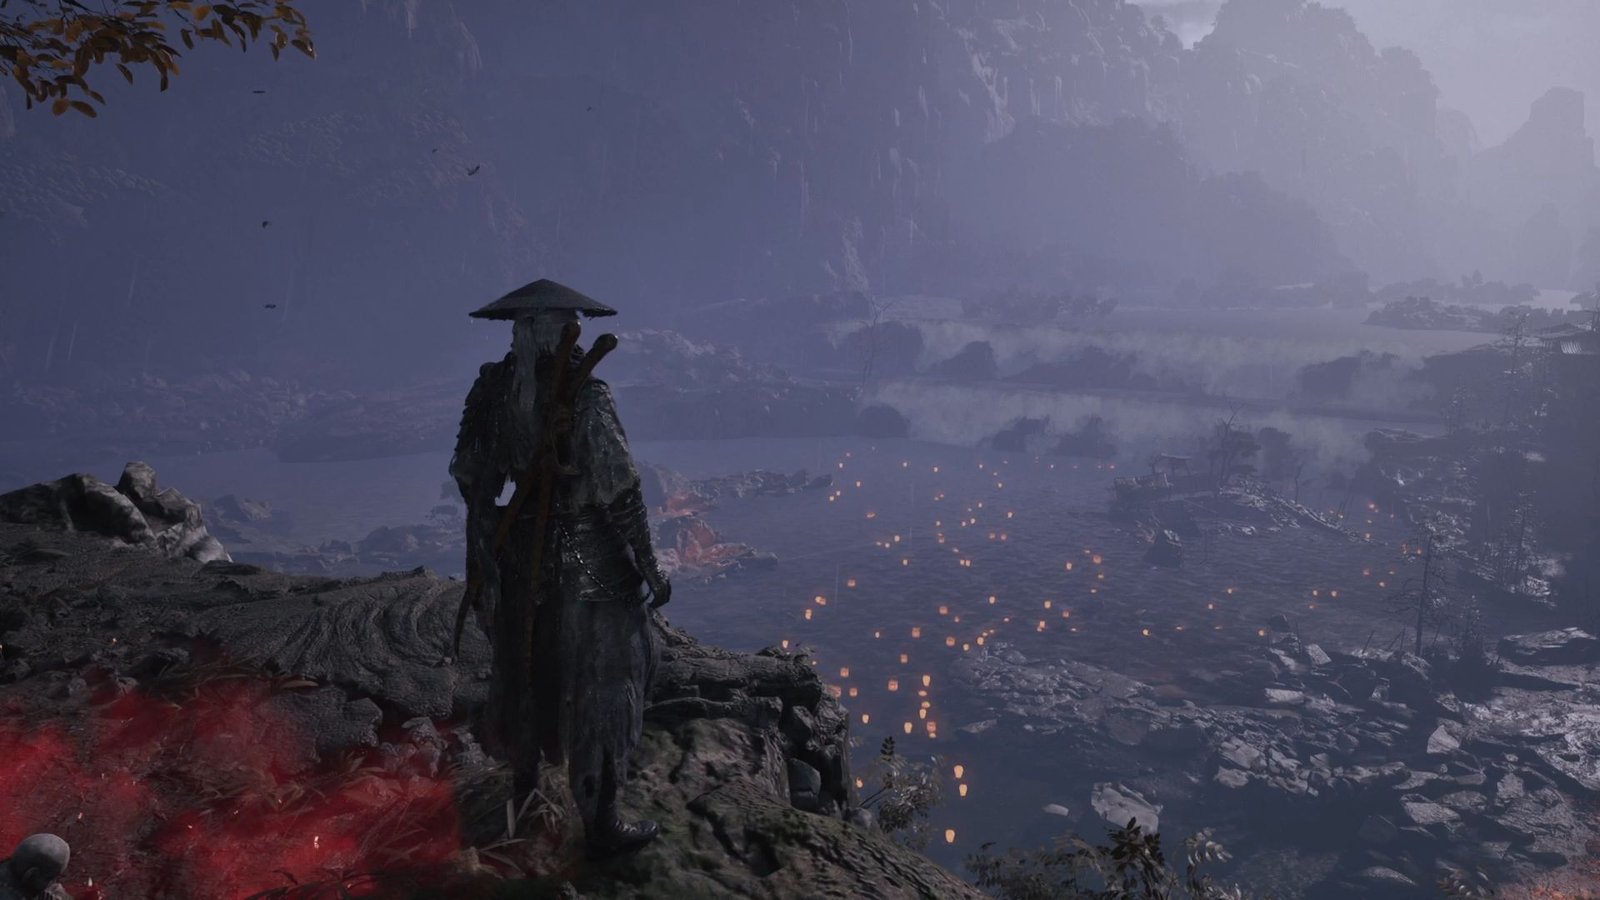
Pangzhen is a massive region. It engulfs two main chapters of the story – The Town of Death, and The Heart’s Trail. While we will finish The Heart’s Trail chapter by the end of this article – a part of Pangzhen will still be unexplored – and that’s by design.
For that balance part of Pangzhen, you need to first go to progress the main story across other regions that have opened up by the end of this article, and then come back here. For now, in this article, we will cover and complete everything that we can at this point, and save the rest for another article – in line with how the game wants us to progress.
As before, we are keeping count of key collectibles like Amber Shards, Blackstone Shards, and so on for Pangzhen consistent, and continuing from where we left these numbers in the previous walkthrough article.
On This Page
Chang Hong, The Thunder Spear Boss Fight
This is a 2 phase boss fight, so pace yourself accordingly. The Thunderward is a compulsory accessory here to make the fight much more manageable.
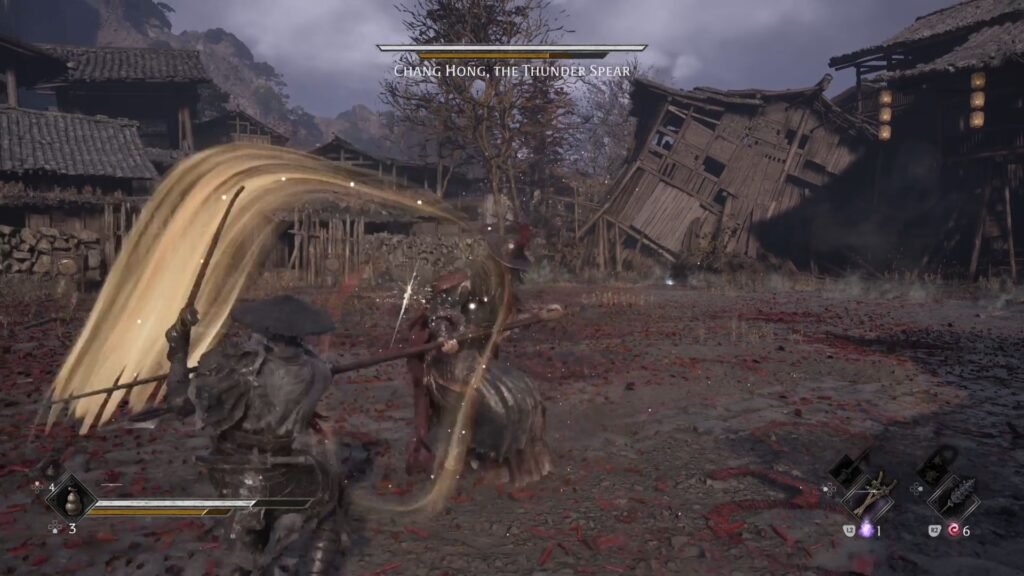
Most of the boss attacks are relatively easy to read and parry. Everytime he rotates his spear and rushes at you, is when it always ends with a red glowing attack.
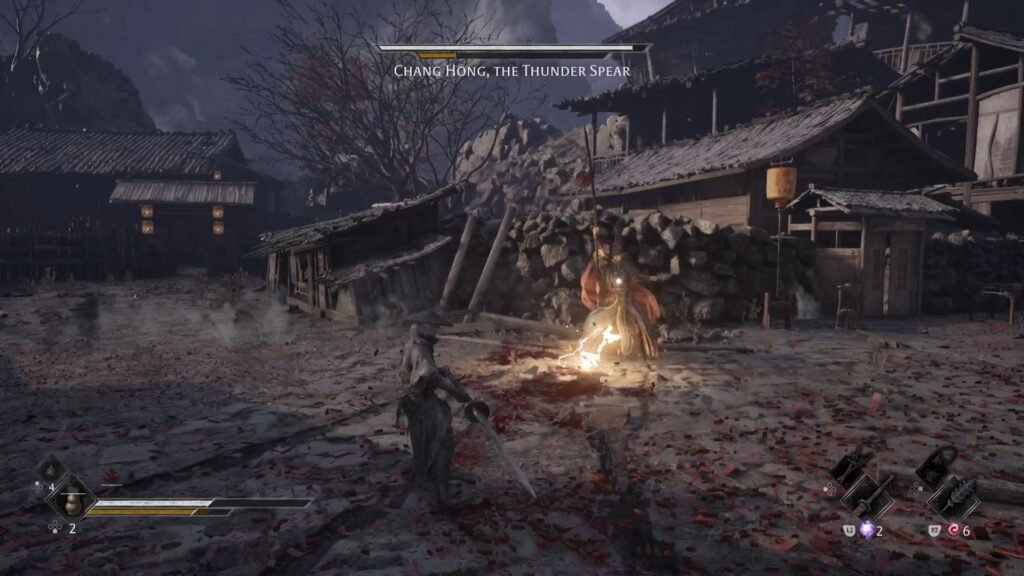
He will raise his spear aloft, and summon a lightning wave AoE. When you see this, stay back, and dodge twice to avoid it. He also has an overhead slam attack that needs to be dodged.
When it comes to Phase 2, he does that on horseback, and is an easier one to work with. He will charge at you – stay out of the way by dodging. He will also throw a lightning AoE in front- strafe to the right or left to avoid it.
He will have a blue glowing attack where he does a short jump and lunges at you. Here as well, he does the lightning AoE by holding his spear aloft – the radius is bigger, and the damage is higher. So, stay out of the way as far back as you can.
The red glowing attack is similar to the blue one – except that he will not jump, he will just raise his horse and slam. Your parries take out his Sha-Chi bar quite a bit, and Fiend Saws work really well to take down his health when he is down.
He also has a tendency to kick up dust, and do red/blue glowing attacks immediately after that.
Thunder Spear
You get the Thunder Spear Phantom Edge on defeating him.
Return to the Lion Dance Hall bell, and go left to take on a boss, and then the Banyan Tree. Go past the Pedantic Puppet, down the steps into the lake.
You Loong, Leader of the Backwater Crew | You Loong’s Deluge Phantom Edge
This is a pretty simple fight, and the only thing that extends this is that the boss frequently disappears into the water (you can track the bubbles for his location), and then makes a dramatic jump + lunge at you. Dodge to avoid this move.
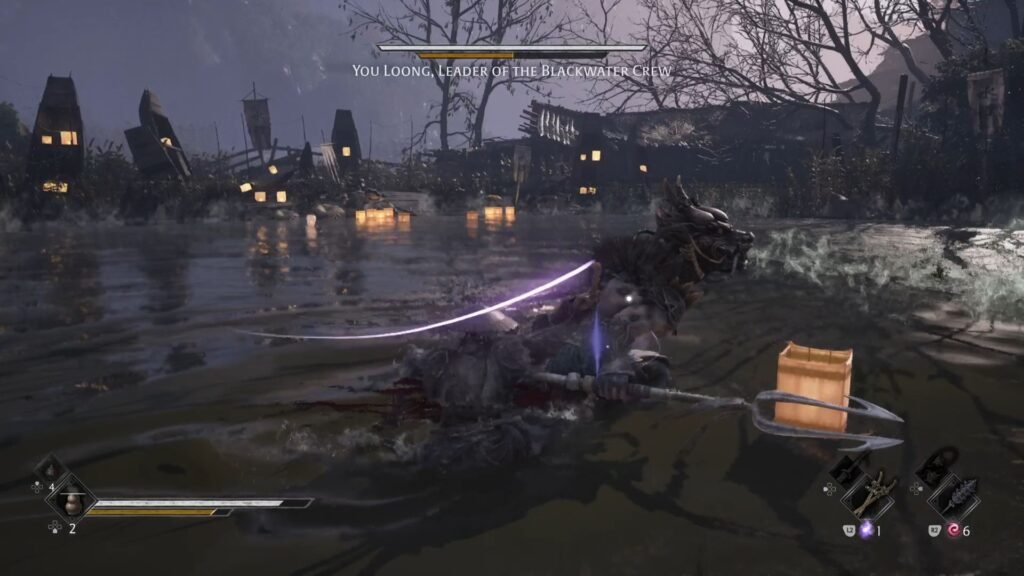
If he spews out water, strafe left or right, don’t try to parry or block. You can also go behind him to continue attacking him while he is doing this animation.
There are no changes to his moveset through the entire fight. Once he is defeated, you get the You Loong’s Deluge Phantom Edge. You can now use this to clear out Fire Brambles. We will be using this pretty soon to explore one previously inaccessible area.
Challenge (1/3) | Banyan Tree Heart
Now, go past the arena to exit the other side, and you will see the next Banyan Tree challenge. Ensure that you equip either the Dread Axe or the Iron Gauntlet before taking this on. There are 2 enemy waves:
- 5 puppets and the 1 Mother Puppet
- 3 puppets and 2 sword and shield puppets
- Master Bi Yuan of the Tianxuan Sect
Once completed successfully, you get the Banyan Heart.
Marketplace Bell revisited
You Loong’s Phantom Deluge opens up a previously inaccesible area, so let’s go there first. With that, travel to the Marketplace bell
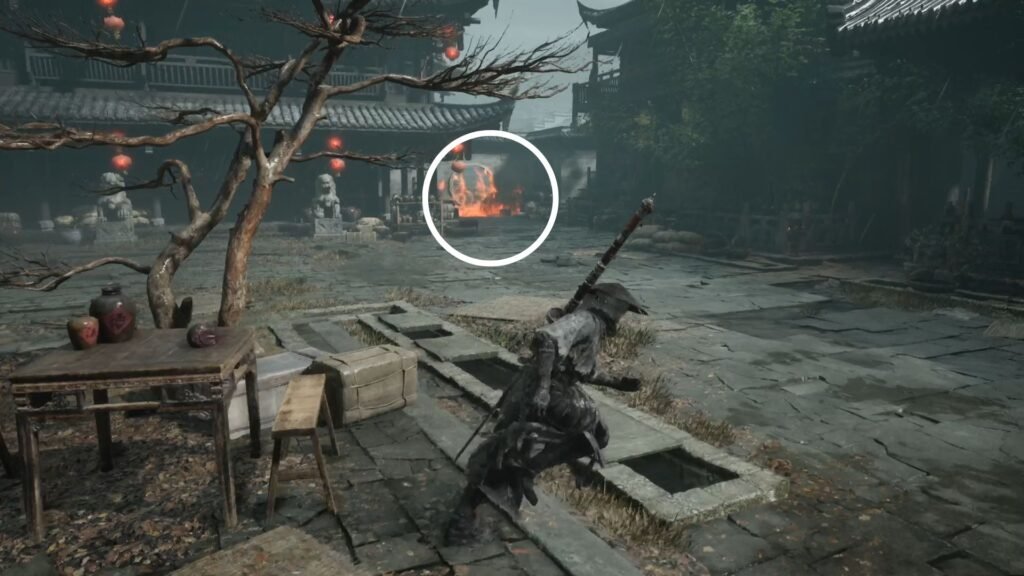
Go down the steps, to the right of the building with 2 lions at the entrance. We can now enter this area. Use You Loong’s Deluge to extinguish the flames. Take out the three enemies here, and loot the Otherworldly Copper and Polished Twinned Metal.
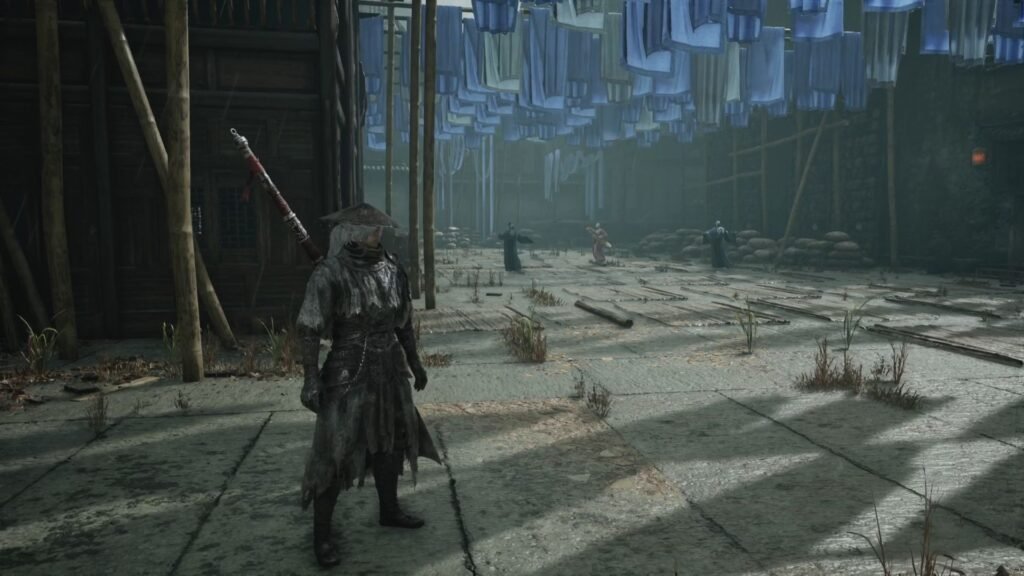
Go up the steps and open the red gate. This will take you to an area with blue and white banners above, and 3 enemies below waiting for you. Take them out, and go through the door on the left to defeat some more enemies. Open the chest to get Polished Broadplate Metal, Polished Forged Metal, and Camphor Timber.
Quick Hand Zhang Treasure # 4
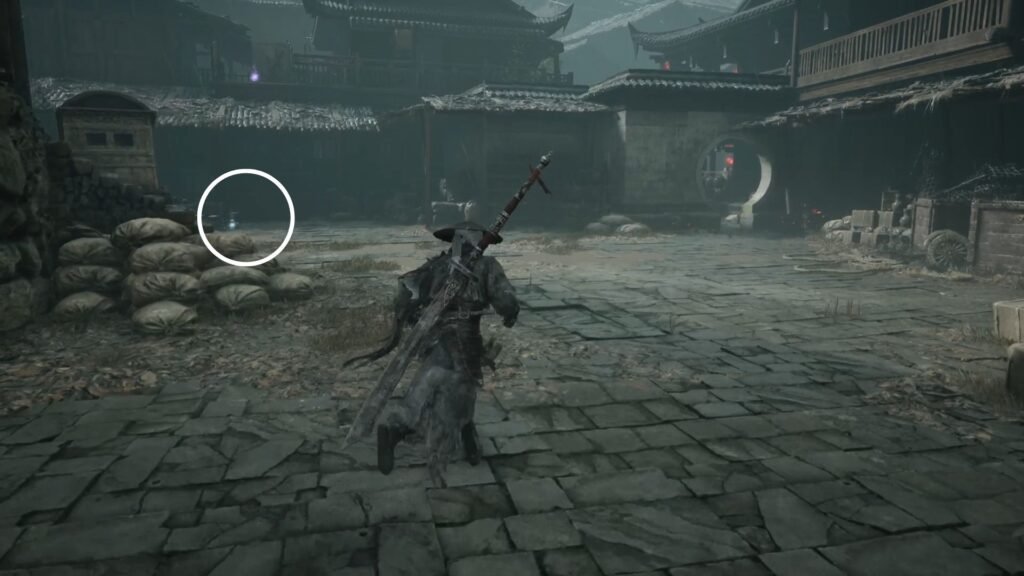
Now, approach the collectible as highlighted in the image above, and you will see a point to grapple on the roof. Do exactly that, collect the Weapon Reforge Talisman, use the climbable wall to go up. Defeat the enemies here, and, on your right, you will see the familiar green chest with Quick Hand Zhang’s Treasure No. 4 – Jade Brush Rest. Get the Skilled Healer’s Memory, and jump down back to the Marketplace bell.
Completing Quick Hand Zhang’ Request | Goldblaze
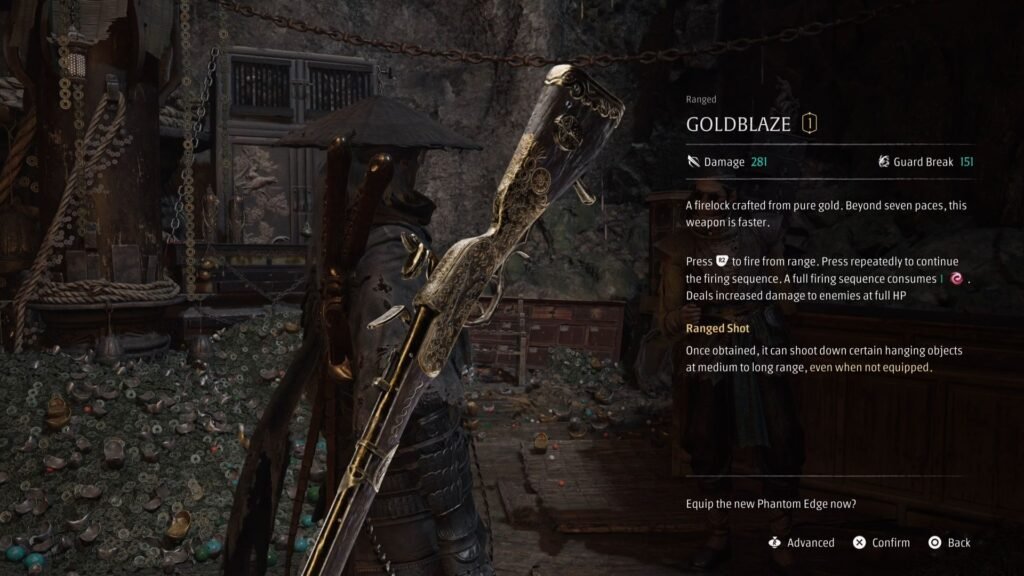
Head to Zhang’s Hideout (Pangzhen), and he will reward you with the Goldblaze Phantom Edge.
Let’s proceed with the main quest, now, so make your way to the Ancestral Shrine Square bell, cross the arena to enter and ring the Yu’er’s House bell.
Progressing from Yu’er’s House Onwards
We now take a break (a short one) from the boss rush, and progress the main story – and this action happens at Yu’er’s House.
Blessed Jade Pendant
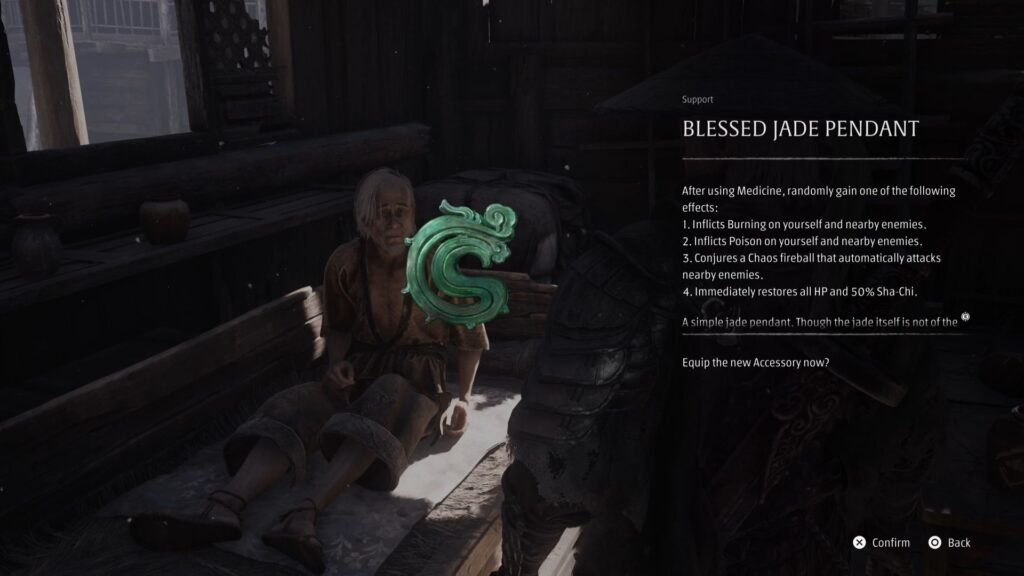
Complete the interaction, watch the cutscene – there will be a point to select a dialog option – go with either, it does not have any consequences. I will not spoil the scene here for you. Interact with Yu’er’s father, and once that is done, you will get the trophy, and the Blessed Jade Pendant.
Step out of the house, and you will be attacked by 3 Lion Dance Disciples. One of these will drop the Letter with Messy Handwriting Note, and, the Heavy Lion Hall Gate Key. Make your way to the Ancient Shrine Square bell, but before that, look for an open door to a building on the right. Enter to get Refined Indigo Crystal, Phantom Reforge Talisman, and Exotic Copper Ingot.
Blackstone Shard #7 | Memory Flower of Lion Dance Grandmaster (6/6) | Blazing Lion Head
Fast travel to the Lion Dance Hall bell, and enter. Clear out the courtyard to get the Blackstone Shard. On the left, take the steps to get Solvent and Polished Broadplate Metal.
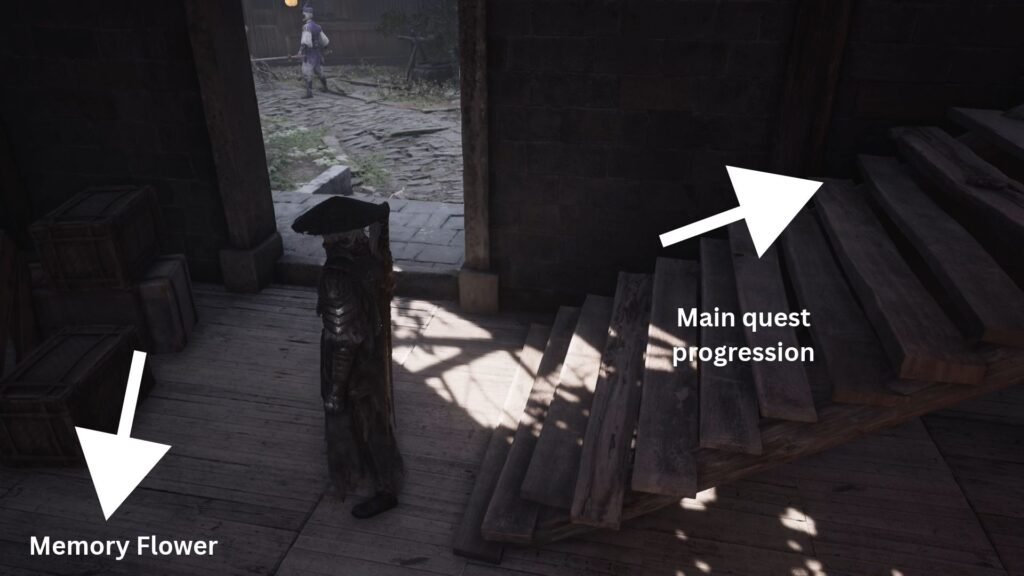
Go through the narrow passage on the side of the main stage that is on fire, to get to the area behind it. You will find the final Memory Flower here. On the right side, defeat the enemies standing guard in the open area to get Polished Broadplate Metal, Skilled Healer’s Memory, and use You Loong’s Deluge to get Blazing Lion Head Phantom Edge Soul Tempering Material.
Amber Shard # 7
Take the steps to the first level. Here, defeat the enemies, get the Polished Forged Metal, drop the ladder to create a shortcut, and then jump down from the opposite side of the ladder. Get the Polished Twinned Metal, the Remnant Dust on top of the poles (you can climb onto them), and then the steps straight ahead to the chest with Amber Shard # 7. Continue on the linear path to Lion Dance Hall Depths bell.
Enter the arena to trigger a cutscene. Approach the Mane, and complete the QTE to then start the boss fight.
Flame, The Mask-Bound Lion Dance Grandmaster Boss fight
This a 2 phase boss fight It is also not easy to go through his health bar, so this is going to take time. The 1st phase is the more problematic one here. The Flameward accessory helps – it reduces the fire damage and burn buildup.
I found this fight easiest to get through playing defensively, and that is mainly because one of the attacks is a fireball throw – it is a blue attack, and if you are up close, with all the flames around, it becomes difficult to detect the flash, and parry it in time before it hits you. Keeping your distance from the boss helps – to parry these and throw them back at the boss.
The other blue glowing attack is easy to tell and parry. He will jump and slam three times, and the fourth will be the one you need to parry. However, if he is aflame, then these slams will be mini AoEs, and he will end with a long flame spewing attack. Keep your distance till all this is over.
He will also spin his claws twice, and the second one will be a blue glowing attack. Another attack is when he will do a horizontal dive at you, spinning furiously, and then land with a blue glowing attack.
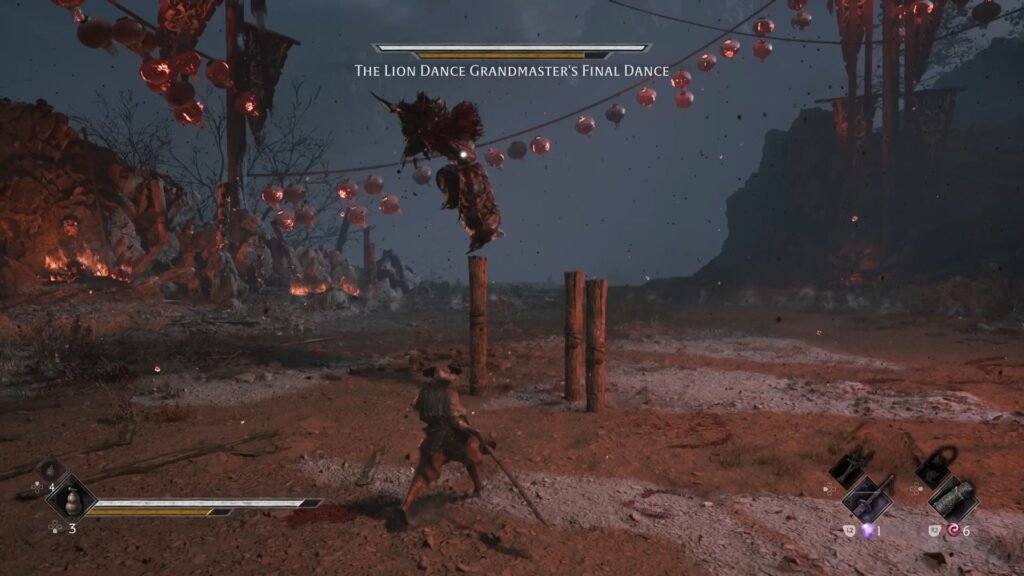
Once you are done with phase 1, phase 2 will begin. Here, the best attack to deal damage is when he calls in the poles to jump up, and then, almost always does a red glowing attack that is easy to dodge. If it not a red glowing attack, he will then get up quickly and do a few swipes. These are relatively easy to parry and bring down his Sha-Chi bar.
Keep dodging his attacks and parrying the ones that you are feeling confident of. In between, he will use the mask as…skates and roll on them towards you. Keep pressing dodge to avoid this attack, else it takes a good chunk from your health bar.
There will be a couple of times in the fight that he will call his disciples – he will not do much attacking during this period, so focus fully on taking them out.
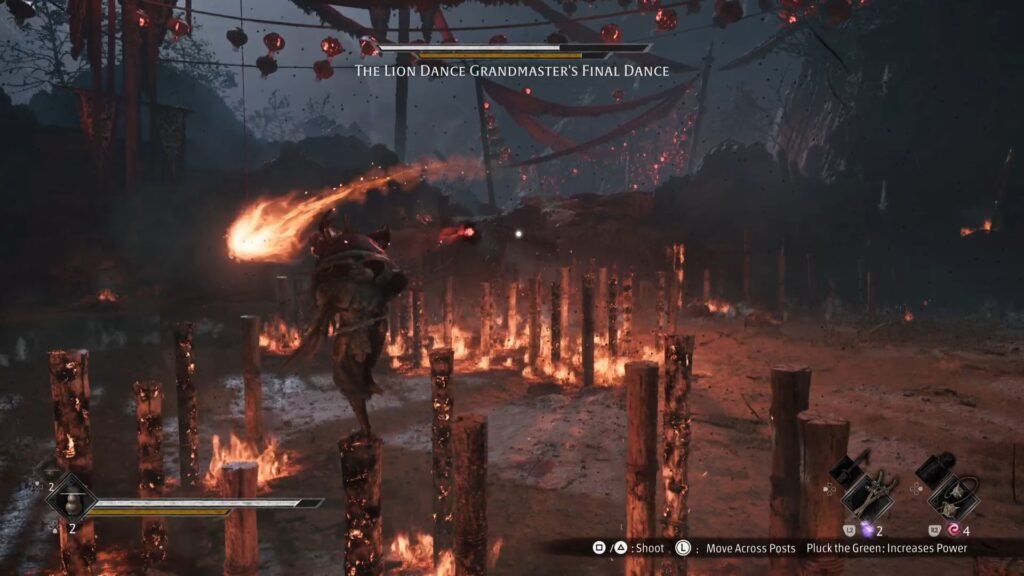
After this, the fight moves into something else entirely, where both of you are on poles, avoiding each others fireballs, while you attempt to get as many green globes to increase the power of your attacks. Your attacks will either cancel out his, or if they manage to land, do a good bit of Sha-Chi damage. This part will end once it is fully depleted, so rush in and do as much damage after that as you can.
Flaming Mane | Revisiting Previously Inaccessible Areas
This will happen twice in the fight – once at ~60% of his health, and the next at around ~30% of his health. Defeating him gets you the Dormant Flaming Mane. Ring the Sealed Lion Crane bell, and watch the cutscene.
Go to Jingyang Hall, and complete the interaction there. After the cutscene, you can now use the Flaming Mane. With this, you can now access areas that were previously closed.
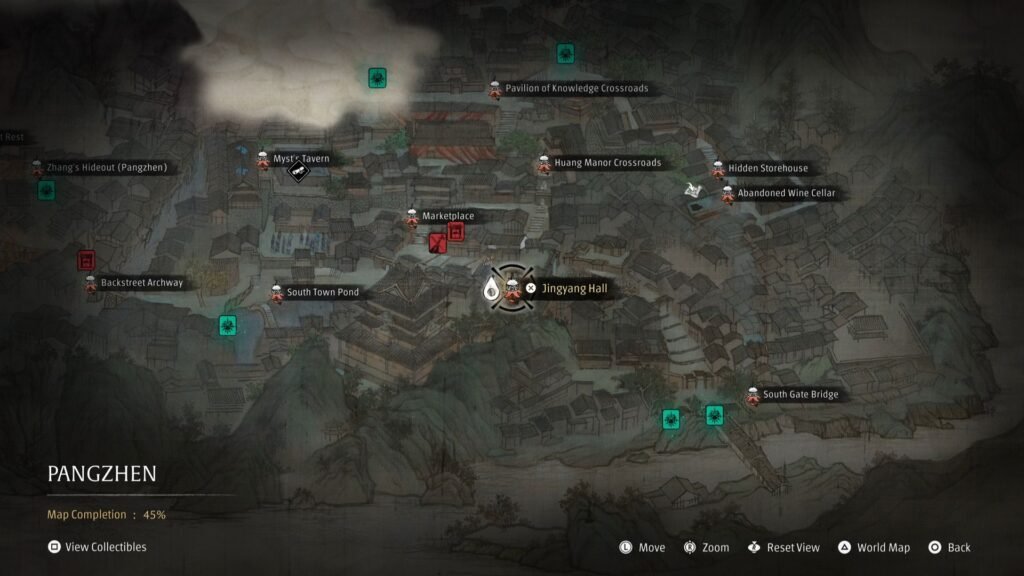
Quite a few areas open up for you, most with optional upgrade materials, but these are a couple that you should go and explore once again:
Optional – These are linear areas with upgrade materials and some enemies to go through:
- Areas west of South Gate Bridge bell
- Area left of Zhang’s Hideout (Pangzhen) bell
- Area west of South Town Pond bell
Required – These need to be visited to progress the main story / get key collectibles:
- Black Serpent House in Village of Lu (required): Loong Emblem (Yang) Black Serpent Fang
- Red Serpent House in Crimson Forest (required): Loong Emblem (Yin), Red Serpent Tongue
- Huang Manor Crossroads: Blackstone Shard, Mirage Estate Bell (described below)
- South of Pond of Fading Song (described below)
- East of Pavilion of Knowledge Crossroads
We will first cover the area South of Pond of Fading Song, as the other area – the one east of Pavilion of Knowledge Crossroads opens up the path to a new region, so we will leave that for the last.
Revisiting South of Pond of Fading Song
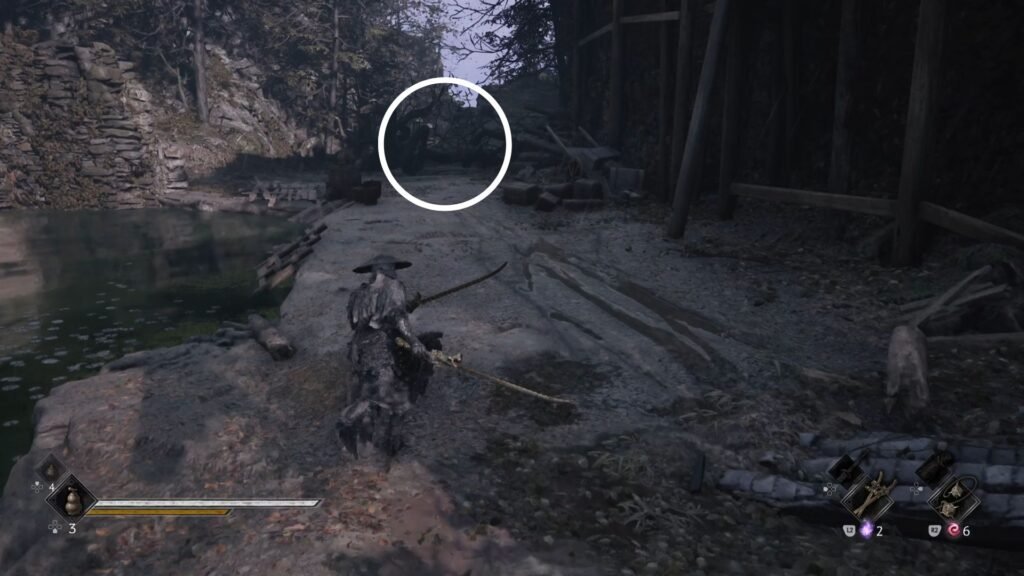
Get the Ignored Plea Note, and cross the lake to get Polished Twinned Metal from the left edge and use the Flaming Mane. Get the Polished Forged Metal and head up the steps. Collect the Polished Broadplate Metal. Cross the bridge, to get a panoramic view of the docks area. Ring the Back Hill Pavilion Bell.
Now, go to the area just before the bridge and look to the right, and clear out the enemies here. Continue across the rooftops, till you come to a point with 1 ladder going down, and 1, inside the room on your right, going up.
Memory Flower: A Mother’s Heart (1/2) | A Mother’s Heart quest | Merciful Dew
Go down the ladder first, backstab and take out the enemy, loot the chest to get the Backstreet Cellar Crank. Drop the ladder down, and continue straight. Get the Signed Deed Note, and the Memory Flower. Ring the Pangzhen Slums bell. This would be a good point to use the Backstreet Cellar Crank, complete the side quest, and get Merciful Dew medicine.
Now, retrace your steps, and take the ladder going up first to arrive into an open area with a group of enemies, and a chest with Refined Indigo Crystal, Skilled Healer’s Memory, and Concentrated Solvent. From here, use the Traversal Talisman back to the bell.
Continue down the path from the bell to get Polished Twinned Metal, and kill all the enemies engaged in the fight. Get the Tainted Crystal Shard, and the chest with Concentrated Solvent, Polished Broadplate Metal, and Polished Twinned Metal. Grab the Ancient Timber from the left. Note the Memory Flower that has spawned here, that you cannot interact with.
Now, retrace your steps to take the ladder, and up left from the point where you had inserted the Cellar Crank to ring the Old Man Gen’s House bell. Go up the steps, enter the house, interact with the old lady, and get the Dusty Old Wooden Comb. Return it to Old Man Gen in the Village of Lu to complete The Journey Home side quest.
Challenge (2/3) | Acolyte Lei Ting Boss Fight
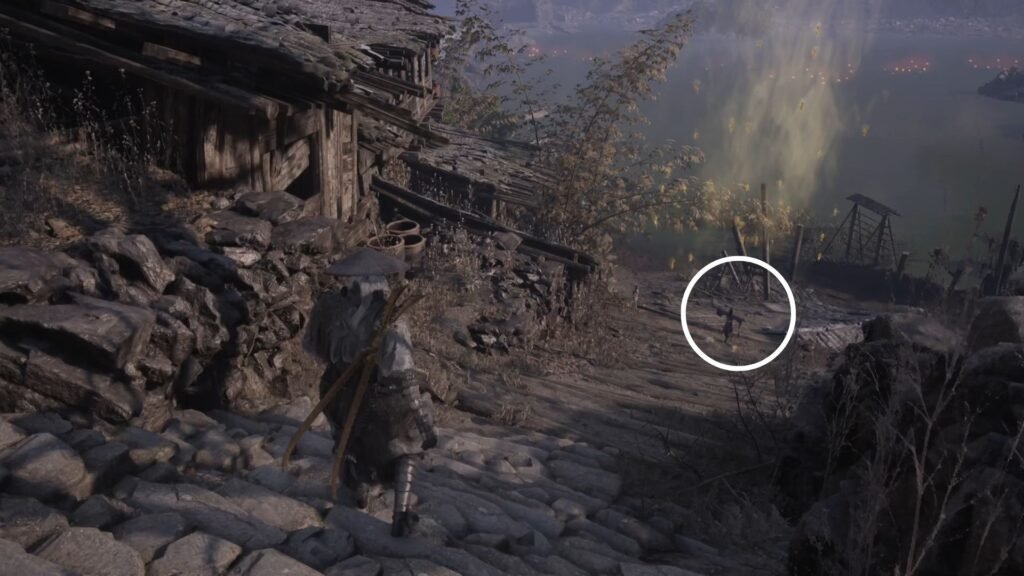
Return to Old Man Gen’s House bell in Pangzhen, and proceed down the main path, defeating enemies on the way. Get the Polished Broadplate Metal, open up the gate and ready up for a challenge fight.
This will not be too difficult a fight, the only attack to watch out for is one the boss keeps shooting lightning bolts at range – keep parrying them and be ready for a red glowing attack at the end.
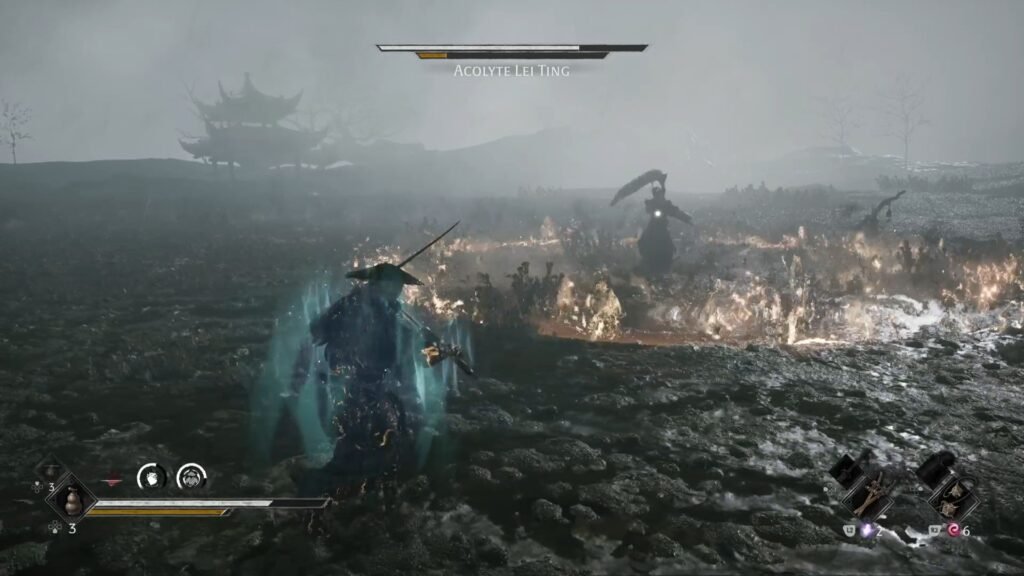
The other one is where the boss sends lightning AoE in waves – these can be jumped over. Defeating him gets you the Leiting’s Thunder Mask. Continue ahead, on the right, get Darkfire Charcoal, and Tainted Crystal Shard.
With that, we are done with exploring this section of the map. Travel back to the Pavilion of Knowledge Crossroads.
Blackstone Shard #8 | Memory Flower: Estate Experiments (3/3)
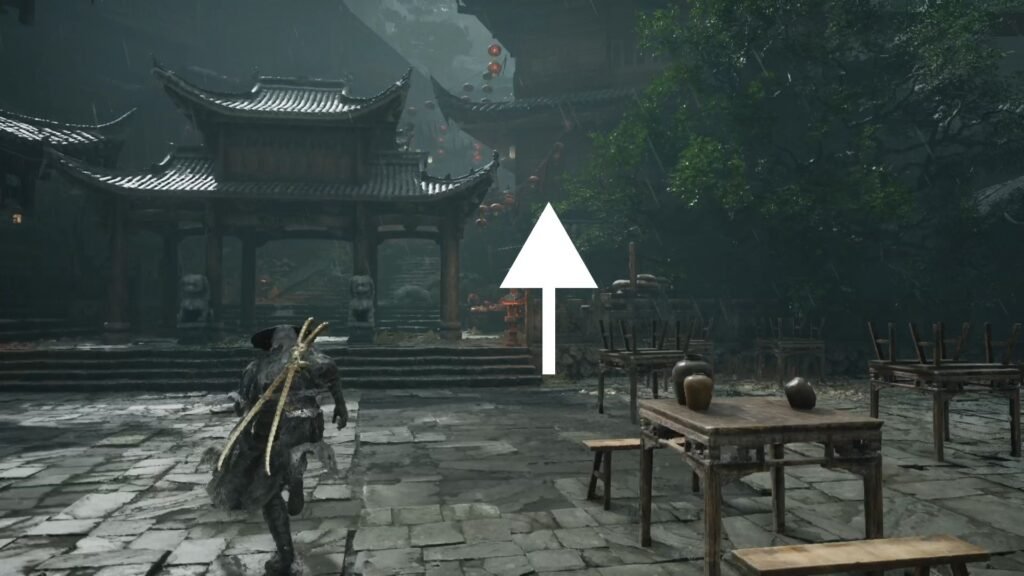
Start from the Huang Manor Crossroads bell, and go straight and right. Burn the Vines, and defeat the enemies on the way. Get the final Memory Flower for Estate Experiments group.
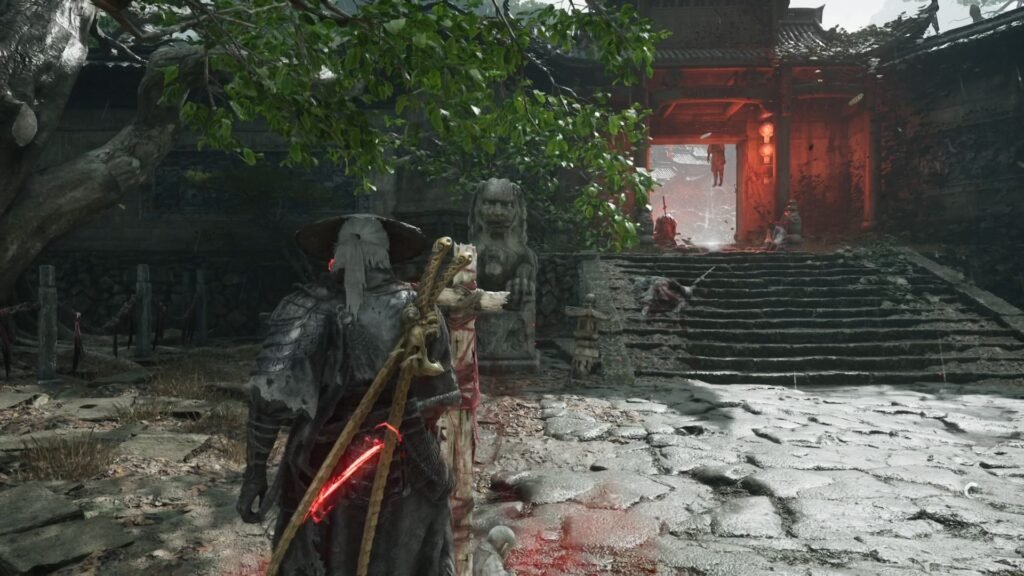
Go up the next set of steps, and ring the Mirage Estate bell. From here, look behind to spot the Blackstone Shard chest below you. From here, enter the Mirage Estate, see the cutscene. At the end, you are now to look for an alternate route to enter the Mirage Estate. Get the An Unsigned Poem Note next to it – which indicates that the route we are looking for is through the Green Serpent House.
With this ends The Heart’s Trail, and the next quest to work upon is The Four Serpent Houses. This requires us to obtain 3 key items. We have got the Red & Black Serpent House key items, and 1 remains – the White Serpent House, which lies in Meigu Lake.
Progressing towards Meigu Lake
Start from the Pavilion of Knowledge Crossroads bell. Climb up the steps, and use the Flaming Vane on the left to get To Dad, Chang Qing Note, then go up the roof that slopes upwards, get Universal Solvent from destroying the crates on the right. Ignore the 2 points to go up on the right, and look down for another enemy group. Get them out, and get An Old Friend’s Final Letter Note.
Now, take the climbable wall, and use the iron chain to swing across. Kill all the enemies, watch for the ambush as you enter the next room, get the Page From A Diary Note, and ring the Mandate Lodgings bell.
Use the climbable wall here and another one after that. Use the iron chain to swing across. Kill the enemies and ring the Dockside Warehouse bell.
Soulclaimer, Elite Shadow Warden Boss | Parting Hooks
Go to the Dockside Warehouse, and get ready for another boss fight. This is essentially your same Shadow Warden, but an up-jumped version, fortified with 2 minions. His moveset is pretty similar to what you have faced, and he will end his combos with a red glowing attack.
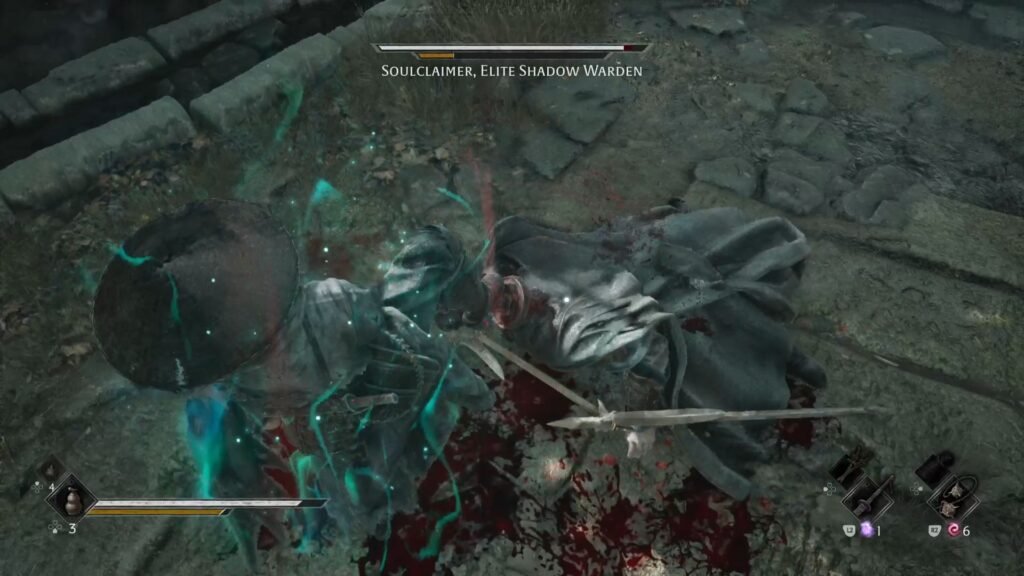
Like in all boss fights, get the minions out first, and then concentrate on the boss. The frantic lock-on may make things difficult, but try to do this to the best extent possible.
There are no extra phases, or any change in his moveset through the fight. Defeating him gets you the Parting Hooks dual wield weapon. Get Flawless Forged Metal from the building on the right, and go down the steps to save at the Pangzhen Docks bell.
Amber Shard #8
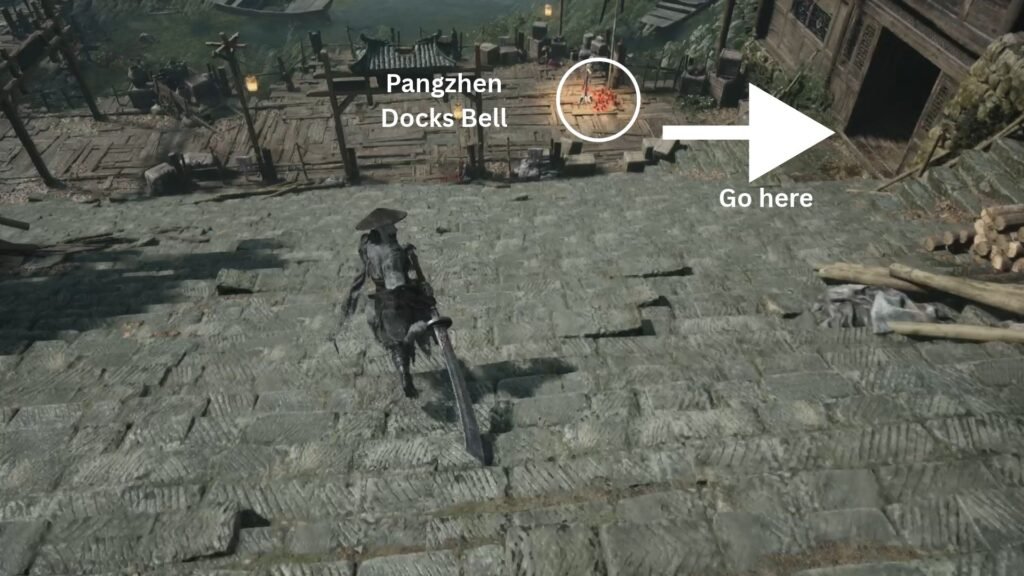
Go to the building on the right of the Pangzhen Docks bell, and the first floor there has the chest with Amber Shard # 8.
Taking the boat to Meigu Lake region
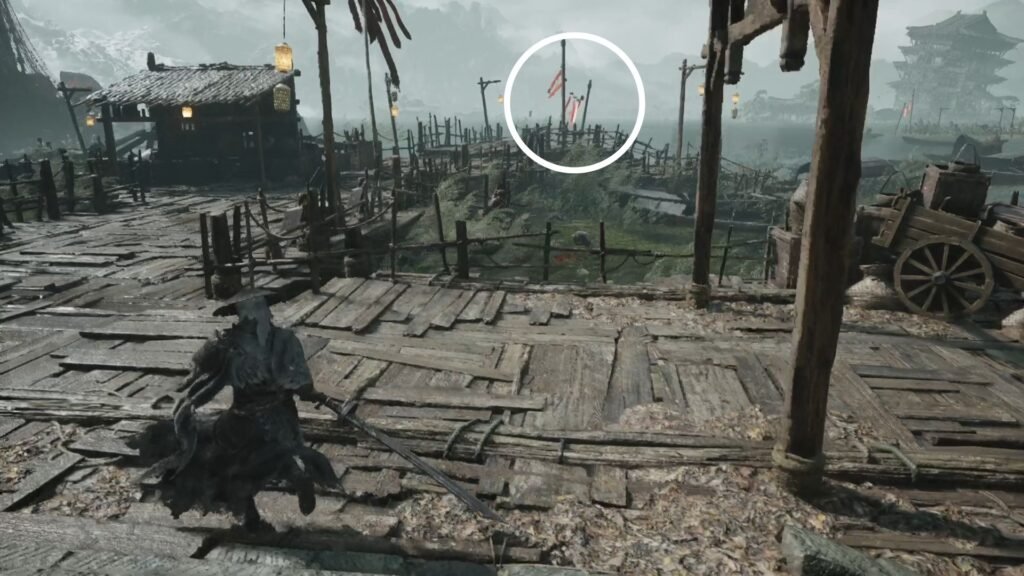
Now, look for a dock with red and white coloured banners – this is the one that has the boat which you can take to start exploring the next region in the game – Meigu Lake.
