
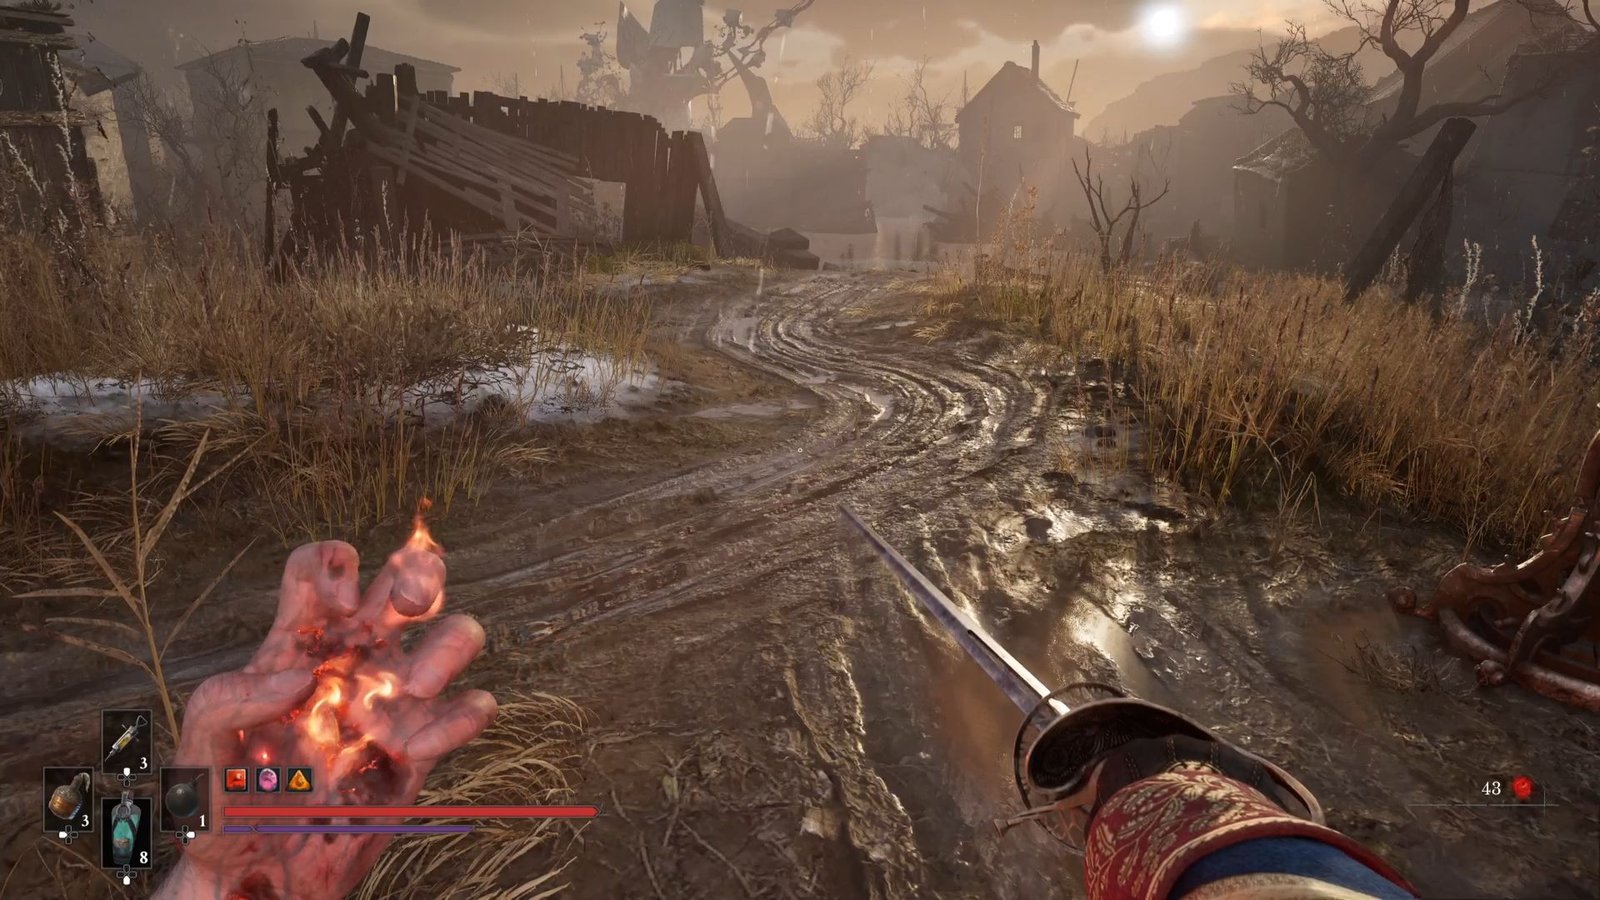
Chapter 7 in Valor Mortis continues right away as soon as we finish Chapter 6: Punishment, and exit the Church. The Shrike urges you to find her quickly, and with that, you get transported to The Outskirts area. Chapter 7 bucks the trend of previous chapters in two ways – it has two boss fights, one of them being the more difficult ones in the game, and the other one quite easy. It is also spread over two extensive areas.
Each area is filled with the usual collectibles, side quests and upgrade material. I have broken down the Chapter 7 walkthrough into two, here, we will complete The Outskirts area, and then the second part will take care of the City of Orphans area.
Table of Contents
Beginning Chapter 7 | Broken Bridge Lantern
Continue your way, as Napoleon scoffs (in your head) at the cheap propaganda. Look at a couple of posters to understand why he is so pissed. Continue ahead, and you will come across the Broken Bridge Lantern – the first in The Outskirts area. Rest here to formally begin Chapter 7: Witch Hunt. Prepare yourself for a tough platforming + enemy placement challenge ahead.
Take the wall on the right and then jump over the ledge till you come to a closed gate. Look behind you to see a crawlspace. Go through it and continue ahead on the linear path, and before taking the Grapple straight ahead, on the right, observe a shrine to the Shrike, that looks as if it has been made by children. Now, take the Grapple to finally come to the open area with enemies lined up.
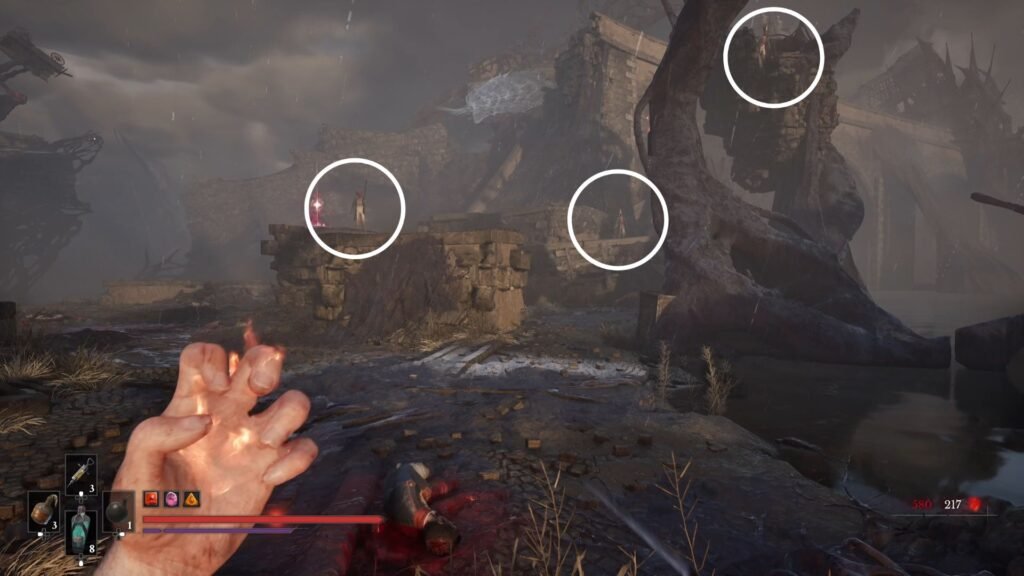
Here, make note of the 3 snipers. Your first immediate task is to clear out the two in front, and get on to higher ground – as a group of Carrions, as well as a Spewer will attack you the moment you enter this arena. The next priority is the Spewer – you can get a shot at him from where the 2nd highlighted enemy is standing guard in the image above. Once that is done, take care of the Carrions.
Don’t worry on using up health potions. Once this crowd is cleared, the next section is basically platforming with a couple of snipers to take out, and you will be at the next Lantern.
Dominatus Amber
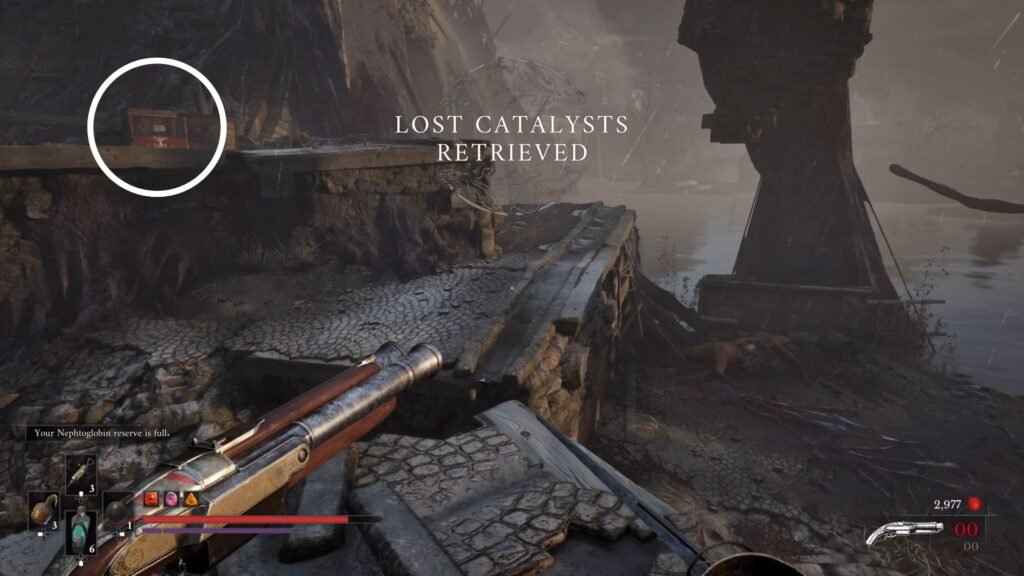
Now, loot the Mythic Catalyst Clot, and open the chest with Dominatus Amber. If you have been collecting all previous ones, this should now be at level 3. Now, from here, look to the opposite side, up ahead. You will spot a sniper. Take him out, from here.
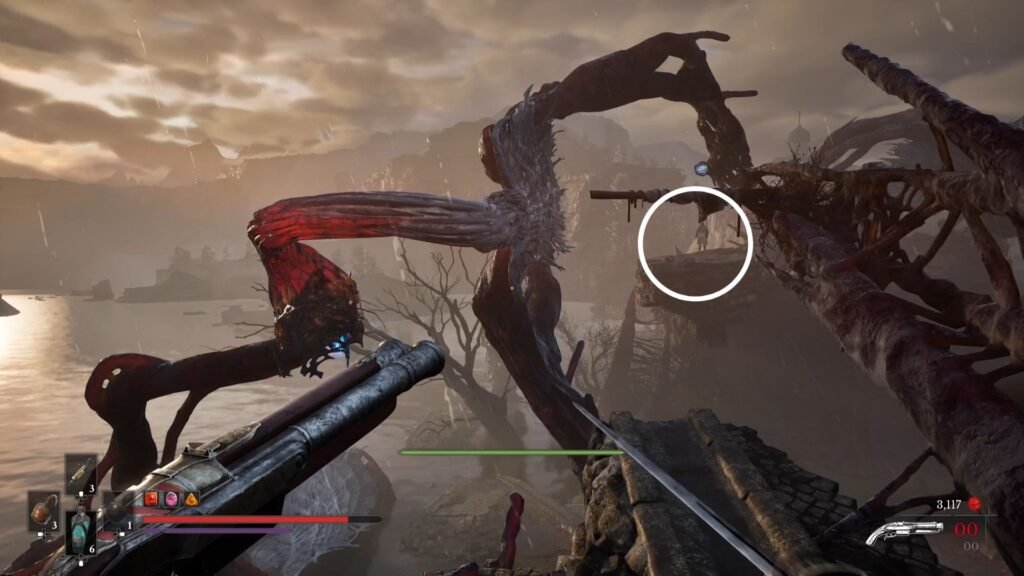
Now, jump down, and use the Nephtoglobin Wall to go left. Land on the sniper and take him out. You should now be at this spot, where the shot to that next sniper, if you have not taken him out already, should be much clearer. Here, there is a ledge to swing, a Wall to run, and a ledge to Activate and then use to land where the sniper is standing guard.
The next platforming section has 3 Walls to run alternately, and then land on the sniper. Then, use the explosive barrel to take out the next 2 snipers, and jump across there. With this, you are pretty much done with the section. Use the Wall to jump to the final ledge, as you see the Lantern, and what clearly is a boss arena, on your left.
Activate the Lantern – Breach, and save your game.
Justicar Aurelius Boss Fight
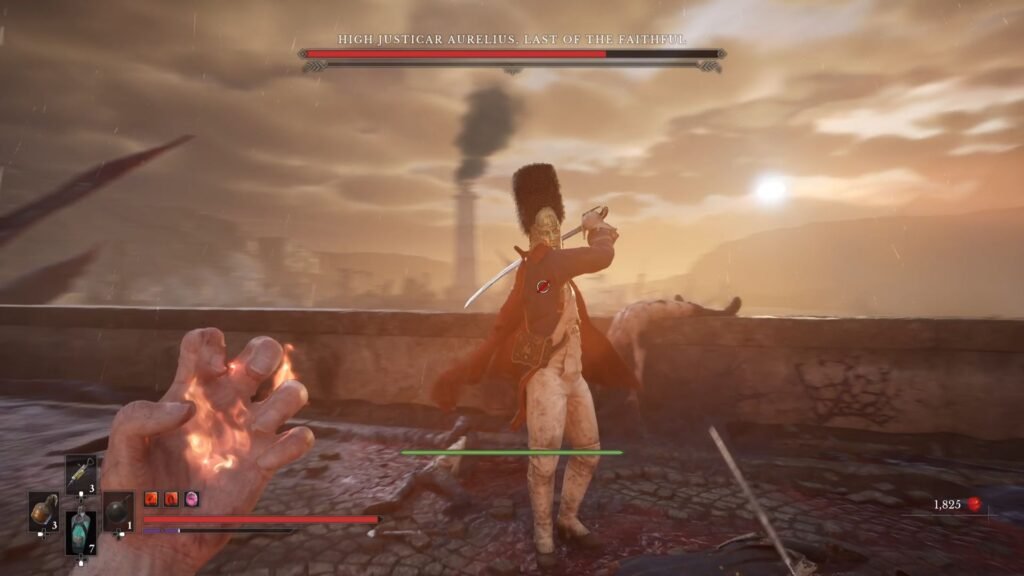
The boss fight ahead is a 2 phase fight – with the first phase having similar moves to the Eternal Guardians you may have faced as part of the Oathbound quest. The opponent here is a pretty aggressive one, and this fight will be a pretty short one. The second phase is much more manageable than the first as there are his red glowing attacks which are easy to avoid and punish.
I have put up a complete guide here on how to defeat Justicar Aurelius. Once the Justicar is taken care of, go back and do a quick save, and then lets proceed ahead.
Ferrofluid Flask Power Upgrade
Loot the chest on the other side of the boss arena to get Ferrofluid Flask Power Upgrade. Move ahead, take the Note on Mouse Rules, and then the crawlspace. Exit the other side, and dispose the enemy on the right knocking on a locked door. Interact with the locked door to have a conversation with ‘The Mice’. Note the chalk drawings on the walls, and the nest-like burrow in the building. These will be your cues to other interactions and side quest clues for this region.
Island of Whispers Lantern
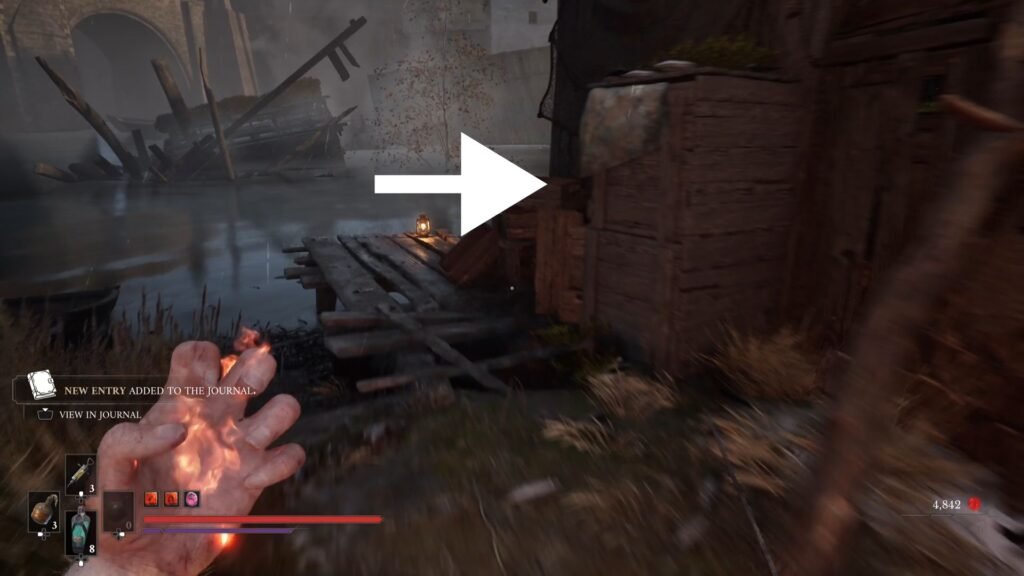
Take the Nephtoglobin Vial, and then activate the Lantern on the right side of the path – the Island of Whispers. From here, turn back and go right to first collect Oil Grenades from the building. The next building has the Mice Note Number One. Now, return to the Lantern, and you will see one side with a short plank, and a tree up ahead; and a bridge that is blocked . We will be eventually opening these 2 shortcuts back to the Lantern.
This entire area has mostly close quarters combat, with ambushes at quite a few corners. Don’t run into any area – approach cautiously to be safe, and try bait out any enemy that you see to whittle down the crowd. Mostly, there should not be anything here that is too difficult to handle.
Beginning The Shrike’s Anthem Side Quest
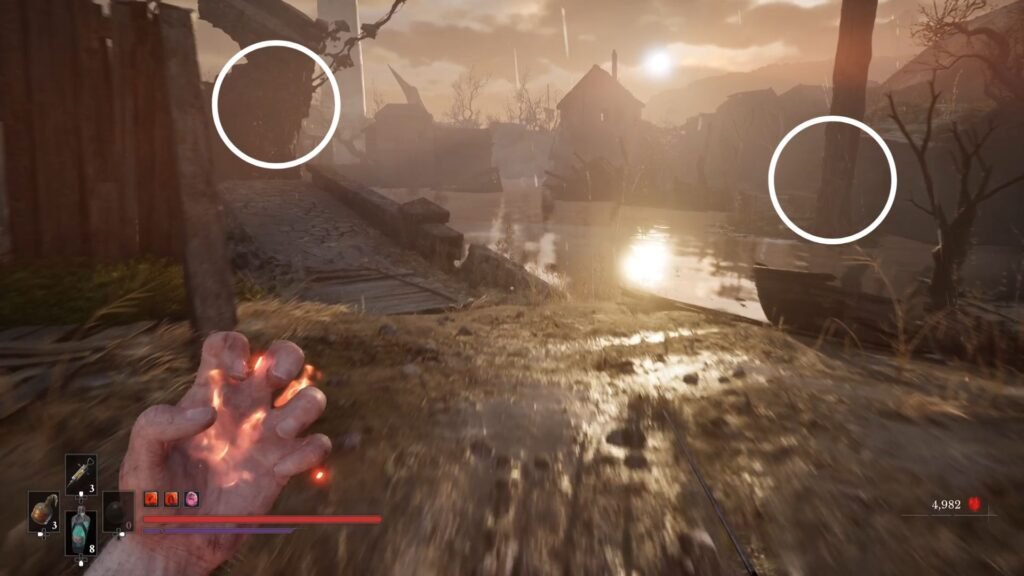
For now, lets move ahead on the only path available – which are the boards and submerged buildings. Pick up the Refreshing Vial from the rightmost building roof. From here, on your way, you will come across a note, which has only the first few lines of a poem. Picking this starts The Shrike’s Anthem side quest, which has you collecting pages to complete the other stanzas. This quest gets activated when you pick up any one of the stanzas, but this is the earliest and the actual starting point.
Continue along the linear path, take the Standard Firearm Parts and the Hand Grenade on crossing the bridge. The Flaming Whetstone opposite the blocked door, the Nephtoglobin Vial from the end of the path just below the Grenadier, and the Deadly Rounds after defeating him.
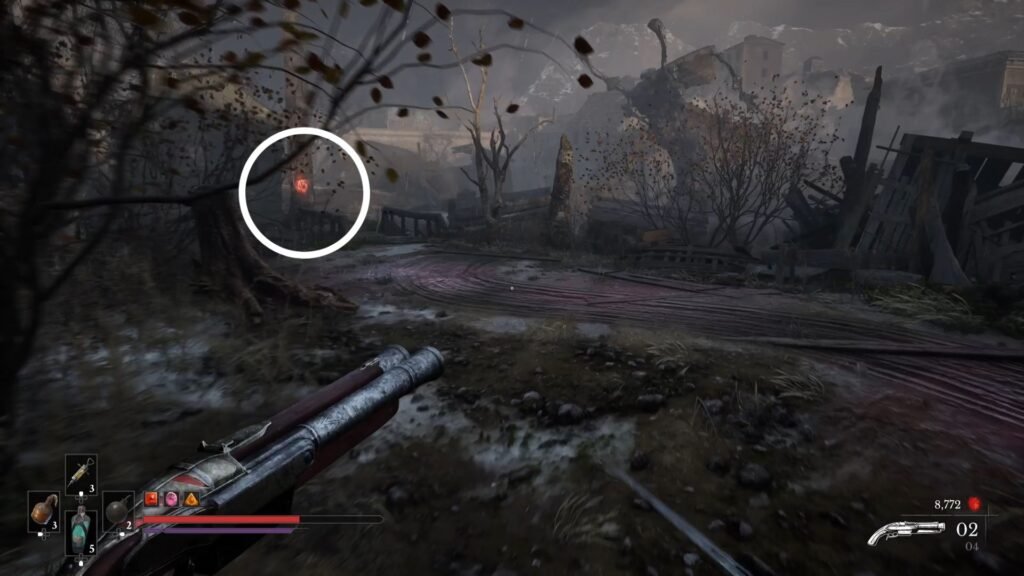
With the entire area now cleared off both the enemies and loot, proceed ahead, and enter the building with the bird symbol drawn. Use the ladder on the first floor, and shoot the Nephtoglobin on the tree to the left, to open the first of the two shortcuts back to the Lantern.
Continue back up the ladder, and use the ramp to get to the next building. Unbolt the door to open the locked door in front of which we had grabbed loot earlier. Grab the Legendary Catalyst Clot, and proceed ahead from the exit.
Surplus Amber
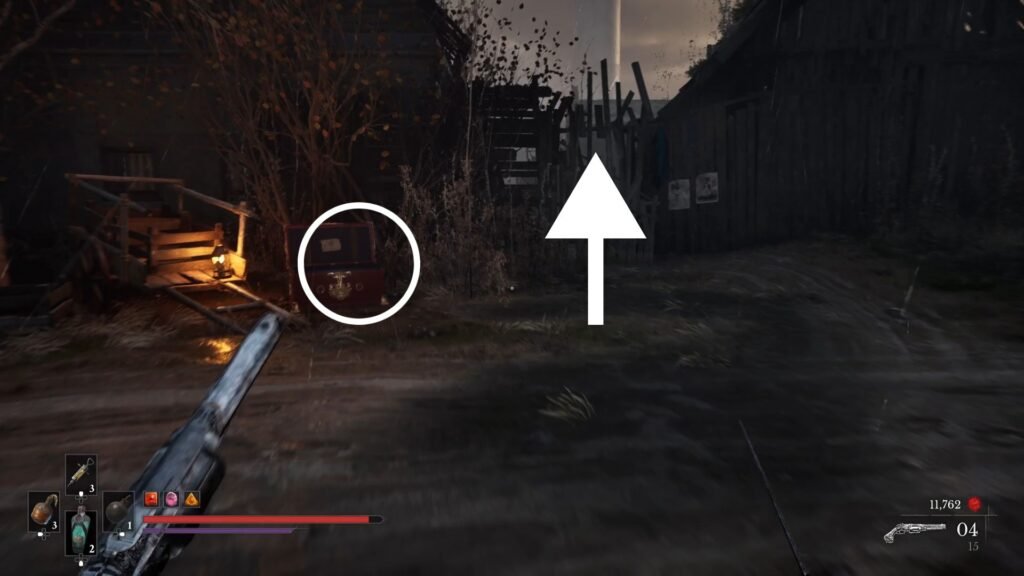
This leads into an open area with a corpse hanging. Clear out the enemies to get Imperial Catalyst Clot, and a chest with the Surplus Amber. From the chest, take the path up ahead with the partially open gate. Take the Refreshing Vial from the shed on the right, Oil Grenades from the ramp above, and Standard Firearms Parts. Exit the shed, take the Pure Blade Material straight ahead, go straight, and take the right path, hugging the river to your right, to come across our old friend Lucjan
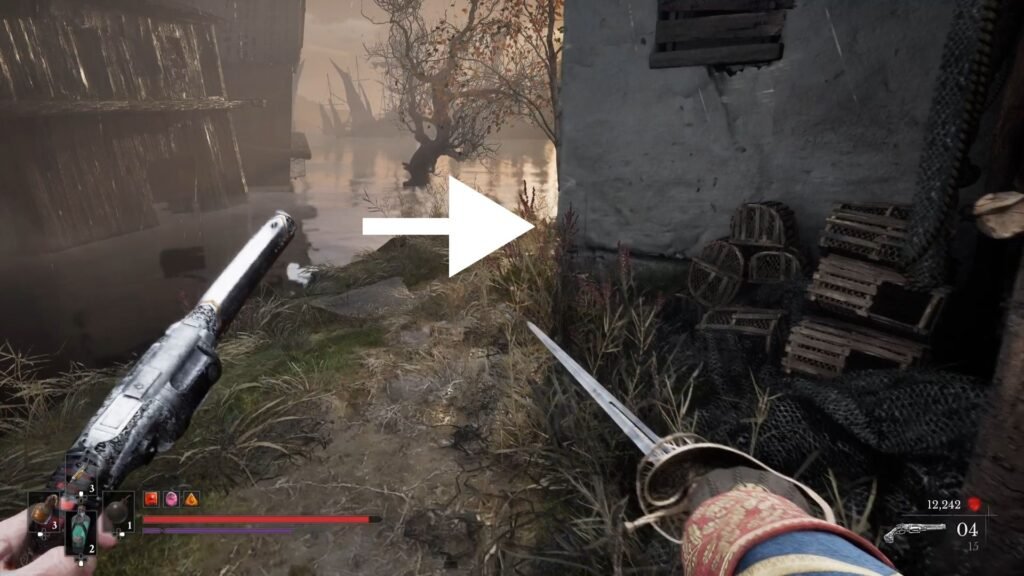
Once you have completed this, exit the area, and continue straight on the main path, till you see a building on the left that you can enter. Take the Pistol Cartridges and Crude Blade Material from the room with enemies, and read the Note on the table.
Unbolt the door ahead. This leads you to the tree shortcut that you have unlocked. You can run back and save if low on potions, or continue ahead. From here, there are 3 things that we can do by climbing to the upper platform. One is to progress The Shrike’s Anthem quest, and the other two are different paths that lead out of the building.
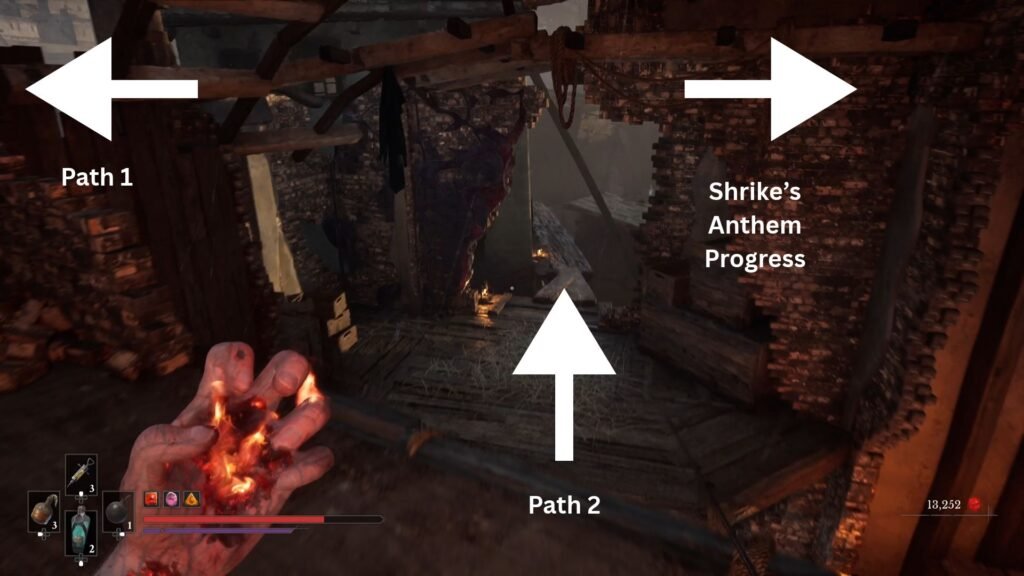
Do rooftop hopping across Path 1, till you get Exquisite Firearm Parts. Grab it, and then lets go to take Path 2. This is how the path should look like when you step outside of the building.
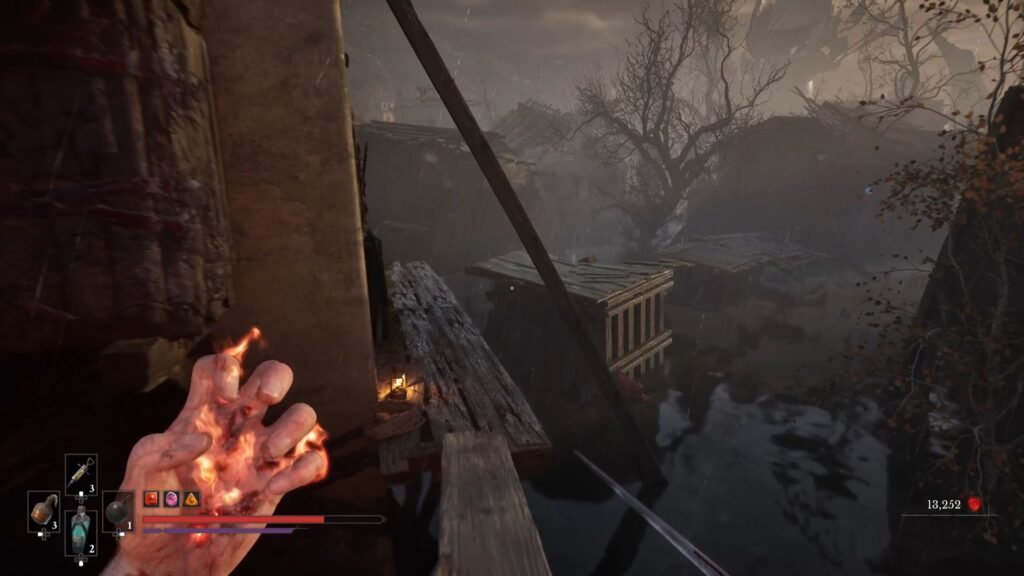
Continue along the ledges, use the Nephtoglobin Formulation to swing and then land on a platform. Jump to the next building hugging the wall on your left. Take care of the sniper on the left, and when you enter the building, a Poison Spewer + Carrion.
Continue along the linear path that alternates between open areas and buildings with enemies. Grab Fire Clad Rounds, and Crude Transmutation Material; till you arrive at a Grapple Point on your left.
Burn the Vines, activate the Nephtoglobin Formulation, and swing across to the roof and then back to solid ground. Read the Note from the notice board straight ahead. Grab the Protective Vial from the path to the left, and Mythic Catalyst Clot from the building next to it.
Beginning the Laudanum Side Quest
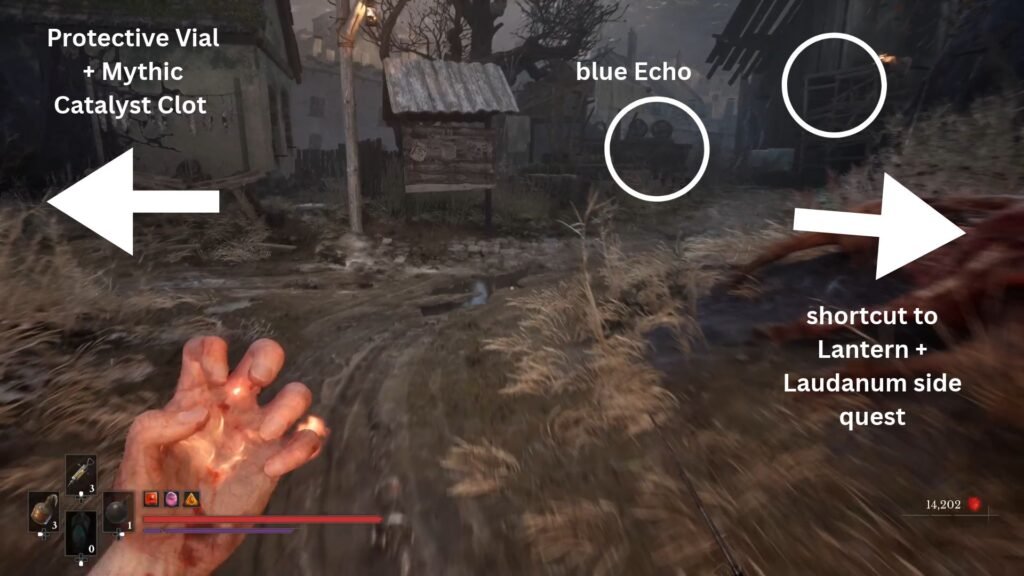
Retrace your steps, and from the notice board, take the turn that curves right, just before the climbable box and the building. Knock on the door to get the Laudanum side quest. Continue ahead, shoot the Nephtoglobin, and this opens up the second shortcut across the broken bridge, back to the Island of Whispers Lantern!
Market Square Lantern
With the shortcut unlocked, now, head into the building to the right of the notice board to progress the main quest. Clear out the enemies, exit the building, and enter the one on the right through the gap in the wall. Clear all rooms on the ground floor, pay particular attention to a room where you find a ladder on ground, it will be useful in a while. From here, one of the rooms on the left will lead you to the next Lantern – Market Square.
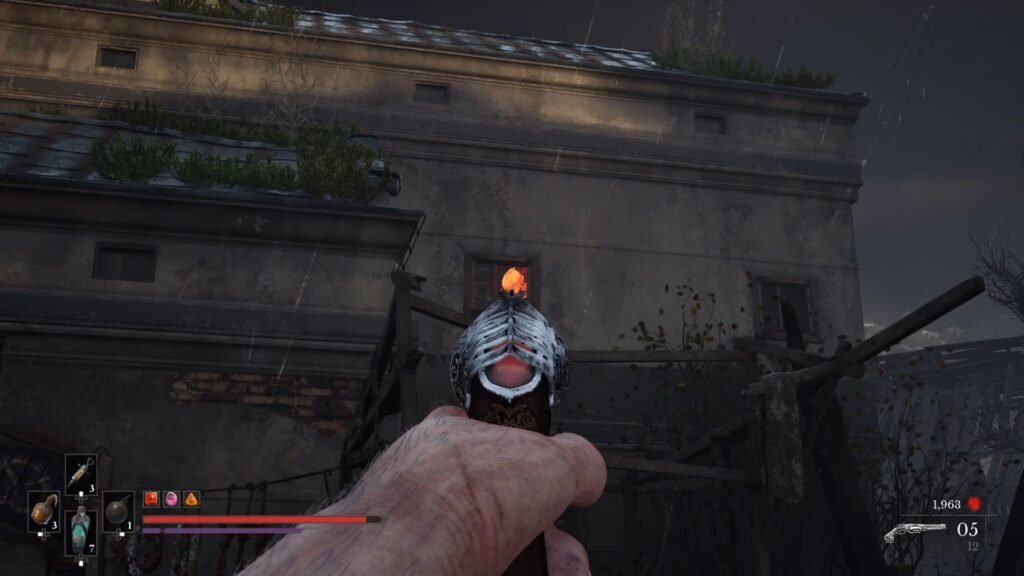
From here, if your look at the building, the first floor window will have a Nephtoglobin. Shoot it – this essentially drops a climbable box in one of the rooms. This can be used to reach the first floor with a Red Eye Volunteer. If you are wondering in which room the box fell , it is the one with a ladder kept on the floor. You can also cheese this enemy by staying on the ground floor and baiting him. He can’t come down, his attacks don’t reach you – but yours can. Get the Distilled Blade Material from the chest on the first floor after defeating him.
Now, in and around the Lantern, there are quite a few things to do. First, listen to the blue Echo on its right. Second, spot spot the burrow that the Mice make, and interact with it. There, Agnes and Mimi have a conversation and mention Bernie, their third companion, who apparently disappeared into a well. After this, head to a lit well just up ahead and you will have a conversation with Bernie – one of the Mice that had disappeared some time back. You will get a Tiny Whisper Gift for keeping the conversation a secret.
With this done, move along the path on the left to the Lantern, and you will get mobbed by poison spewing Howlers, and a Volunteer. So, take your time to clear this area. Grab a Pure Blade Material and Special Cartridges from the cabin on the right. Then, take the path in between the poison area, from where the Howlers mobbed you.
Enter the building on your left. Activate the ledge and use it to swing over. Get the Superior Firearm Parts behind the haystacks on the ground floor of the building, before moving out.
This will lead you to the building – which houses the Laudanum quest as well as the main quest progression. Again, clear out the ground floor rooms and then take the first floor rooms here.
Lighthouse Lantern
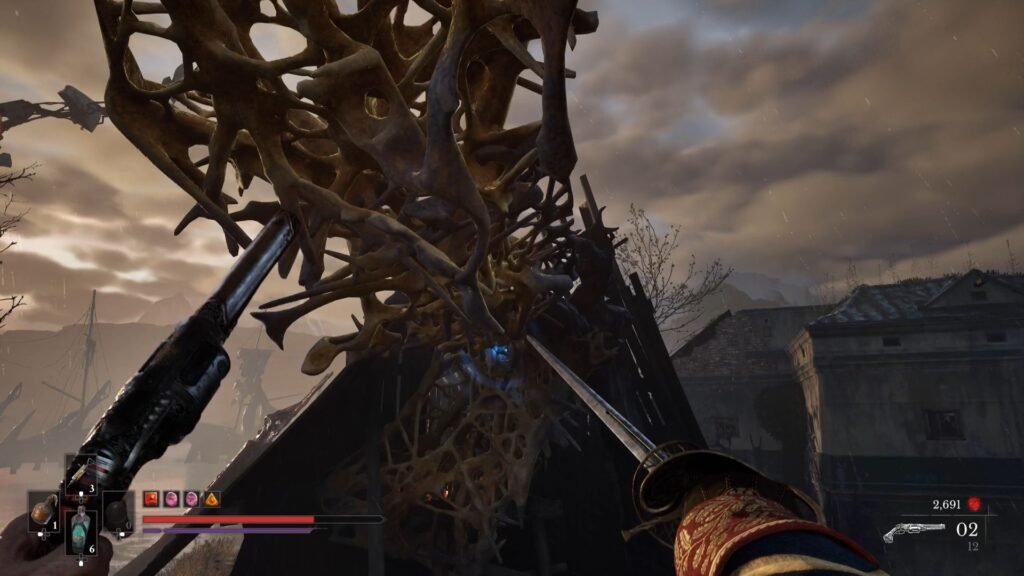
On the first floor, there will be a ledge where you can burn Vines – this opens up a Grapple point to the building across the street. Grab the Superior Firearm Parts, clear out the enemies on the ground floor, get the Legendary Catalyst Clot, and exit the building. Take the Grapple straight ahead to the next Lantern on the right, but not before getting the Stasis-Clad Rounds from your left. Activate the Lighthouse Lantern.
Empty Ferrofluid Flask
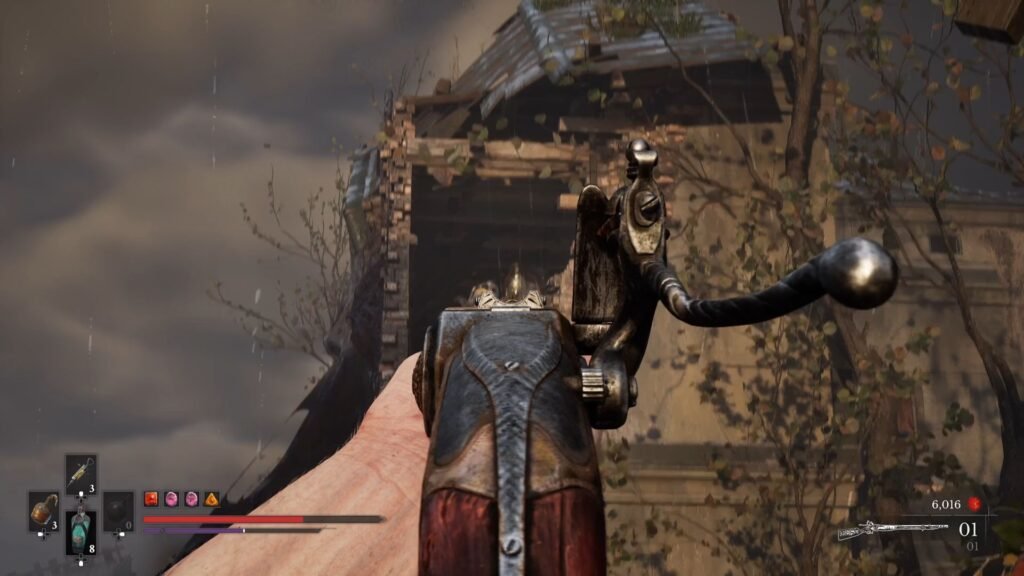
Before progressing ahead, there is an Empty Ferrofluid Flask that we can get. Make your way across the Grapple points back where you came, and take out the Volunteer shooting at you from the first floor of the building.
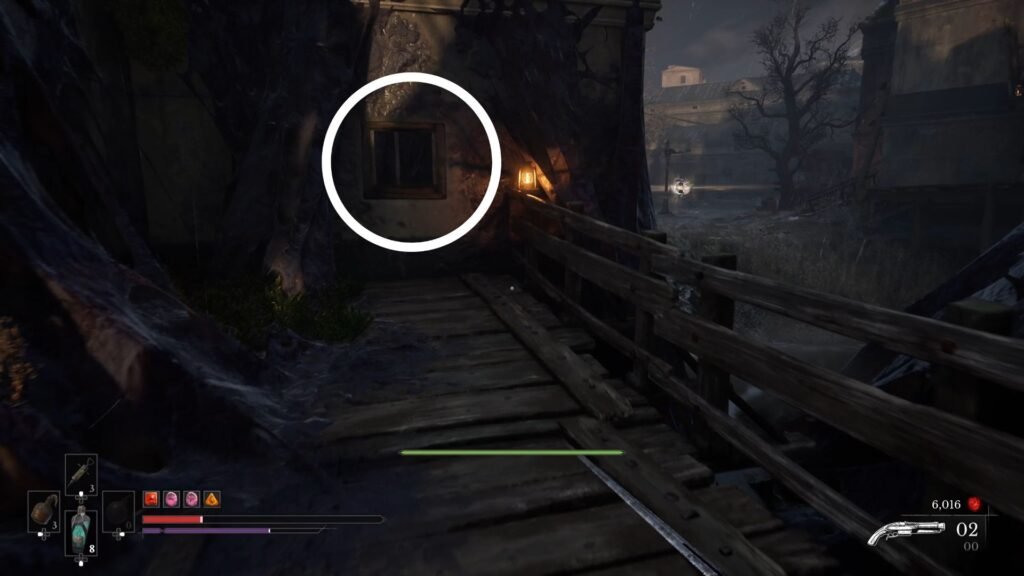
On the right of this building, there will be a path that leads to a window. Here, you will see some explosive barrels. Shoot them, to then open a path into this building.
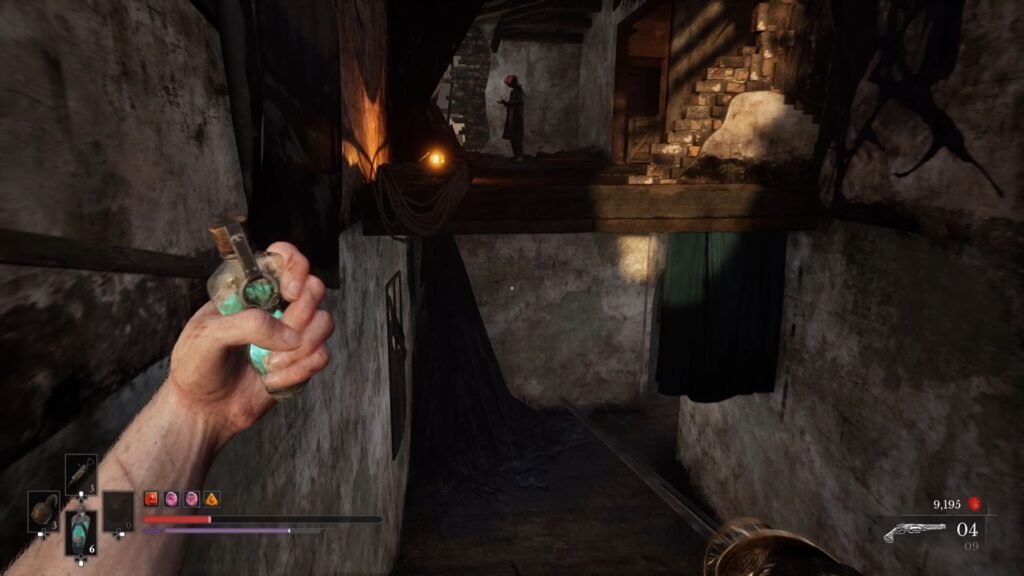
Now, to get to this area, take the planks on the left side of the building, and follow them. Get to the first floor, and you will now be standing at the exact same spot that the Volunteer was firing you from. Look behind, and you will see another ledge to jump to, with an enemy helpfully firing at you to make this easy to spot.
Jump across, and entire the room on the right to get Distilled Transmutation Material, and an Empty Ferrofluid Flask. Be careful, the chest with the Flask explodes on opening. Now, go back to the Lantern, and get ready for a pretty easy boss fight.
Experiment 83 Boss Fight
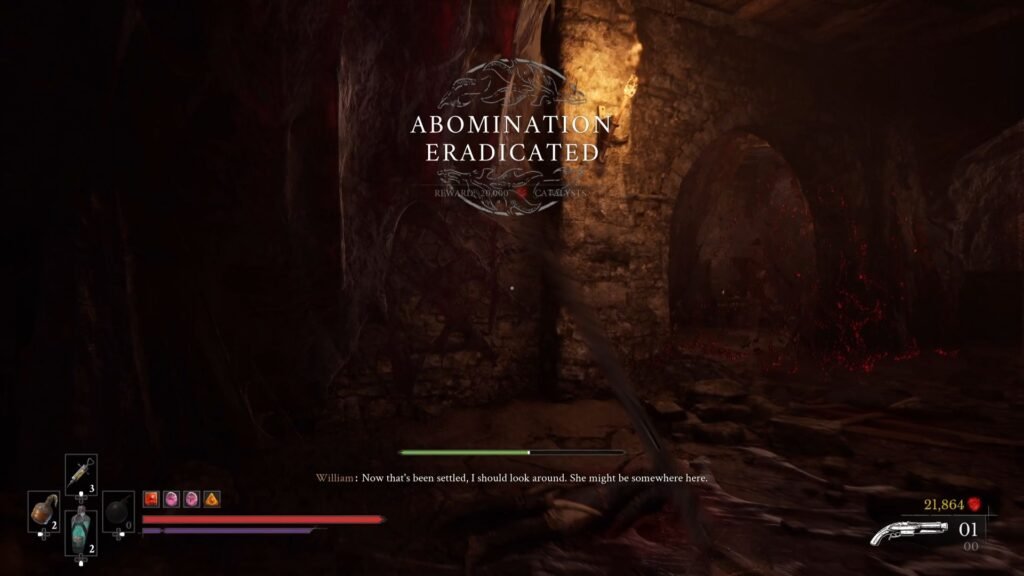
Prepare for a fight against a giant spider. It is best not to lock on in this fight – so that you can move along the narrow corridors better. The corridors will give you plenty of time and space to either chug a health potion, or a Nephtoglobin Vial if you need those. There is also an explosive barrel where you can bait the boss and shoot it to cause damage. In addition, there is a weak spot on the boss where, a steady aim can easily take away ~30% -35% of its health. Your Blunderbuss is your best friend in this fight at close quarters.
Avoid it’s grab attack as it can do a similar level of damage to you as well. Other than that, there are not many attacks to worry about. Once you defeat it, you get 20000 Catalysts. Search the area for a Note, which tells us about the experiments of a certain Moreau, that led to this abomination. Loot the chest to get Quintessential Blade Material.
Exit to listen to the blue Echo about soldiers deserting their posts in terror in spite of being told to go in and search for the Shrike. Take the steps, and shoot the Nephtoglobin to unlock the path back to the Lantern.
Harbour Lantern
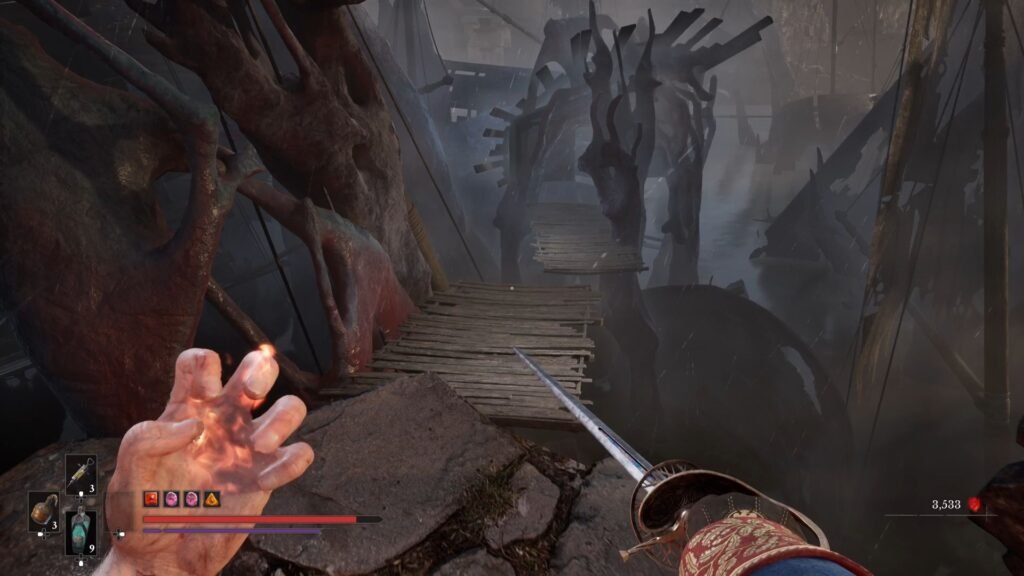
Now, take the path on the right for a platforming section. This should not be too difficult, the only thing to be careful of is that the first set of platforms that you jump on will give way if you don’t keep moving fast enough. Activate the Harbour Lantern – the last one in The Outskirts.
Follow the carriage tracks, grab the Pure Transmutation Material from the right, and continue on the linear path. Take the steps to then be transporterd to the City of Orphans – the next area that continues Chapter 7: Witch Hunt. It looks like the chapter won’t finish till we manage to find the Shrike.
